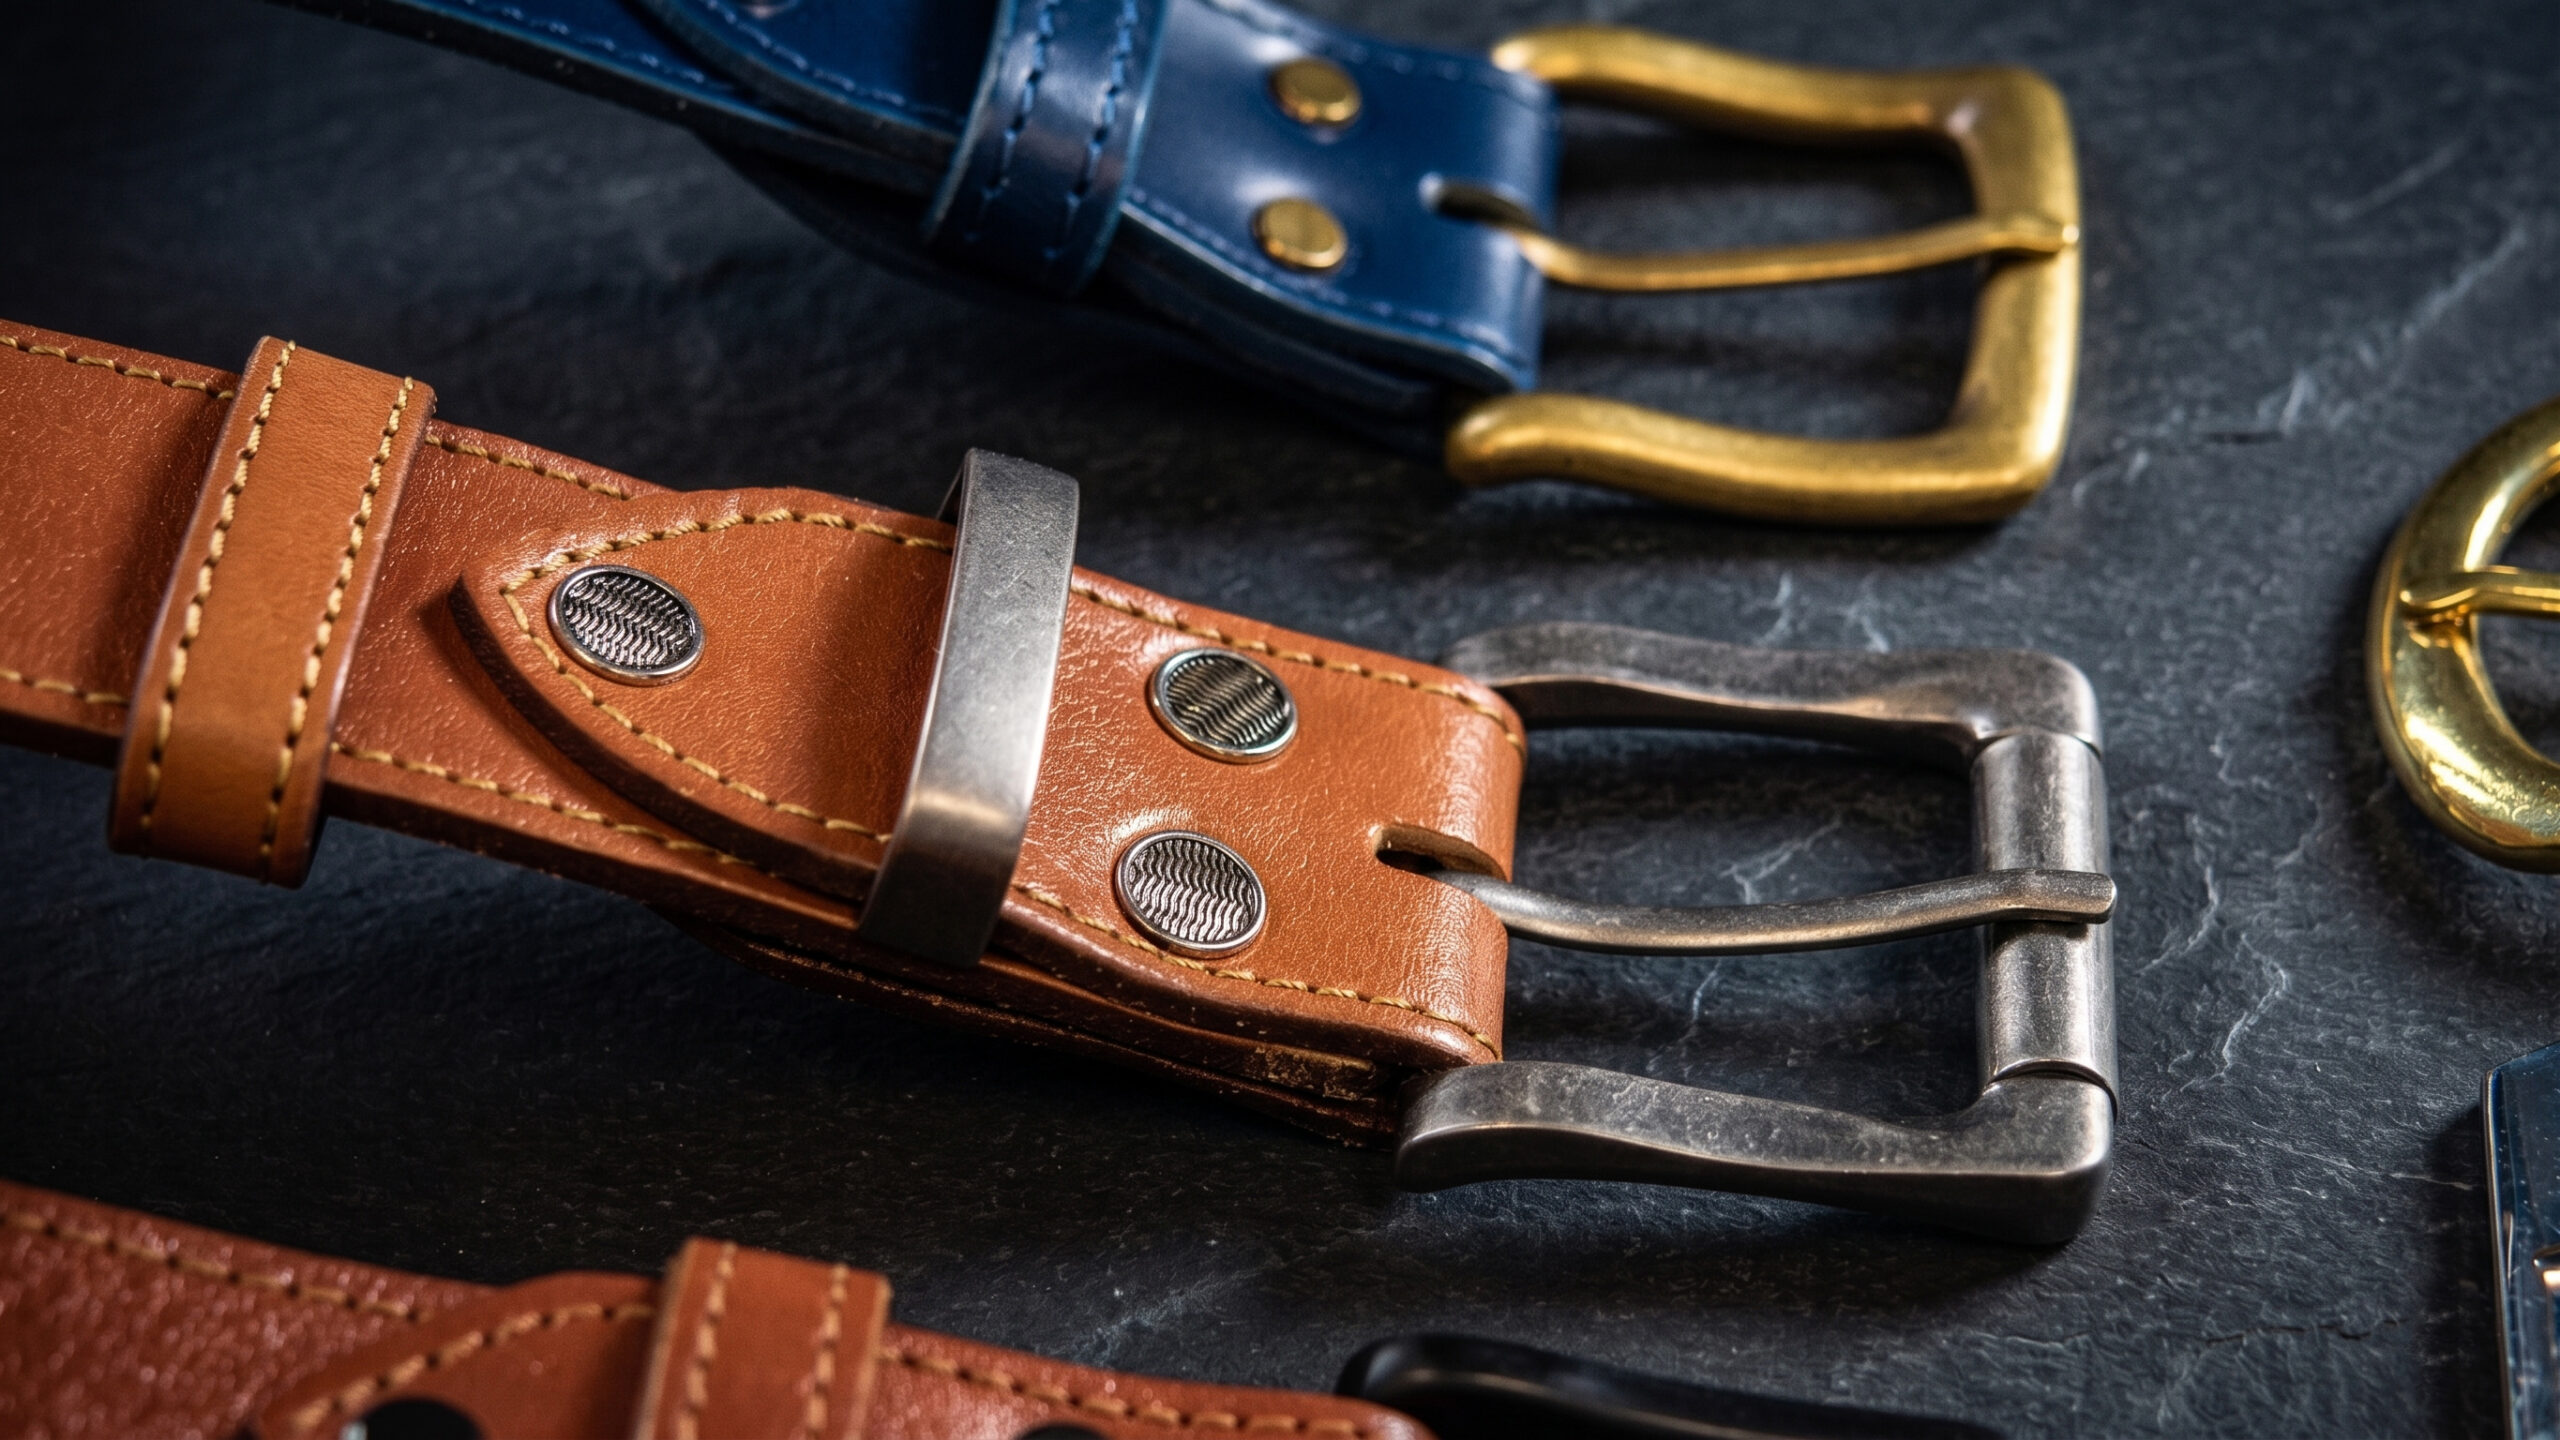
Collar, leash or belt: sooner or later you need to join layers of material so that the joint holds and can be taken apart when needed. The answer is Chicago screws, also known as screw posts or belt screws.
What is a Chicago screw and why use one?
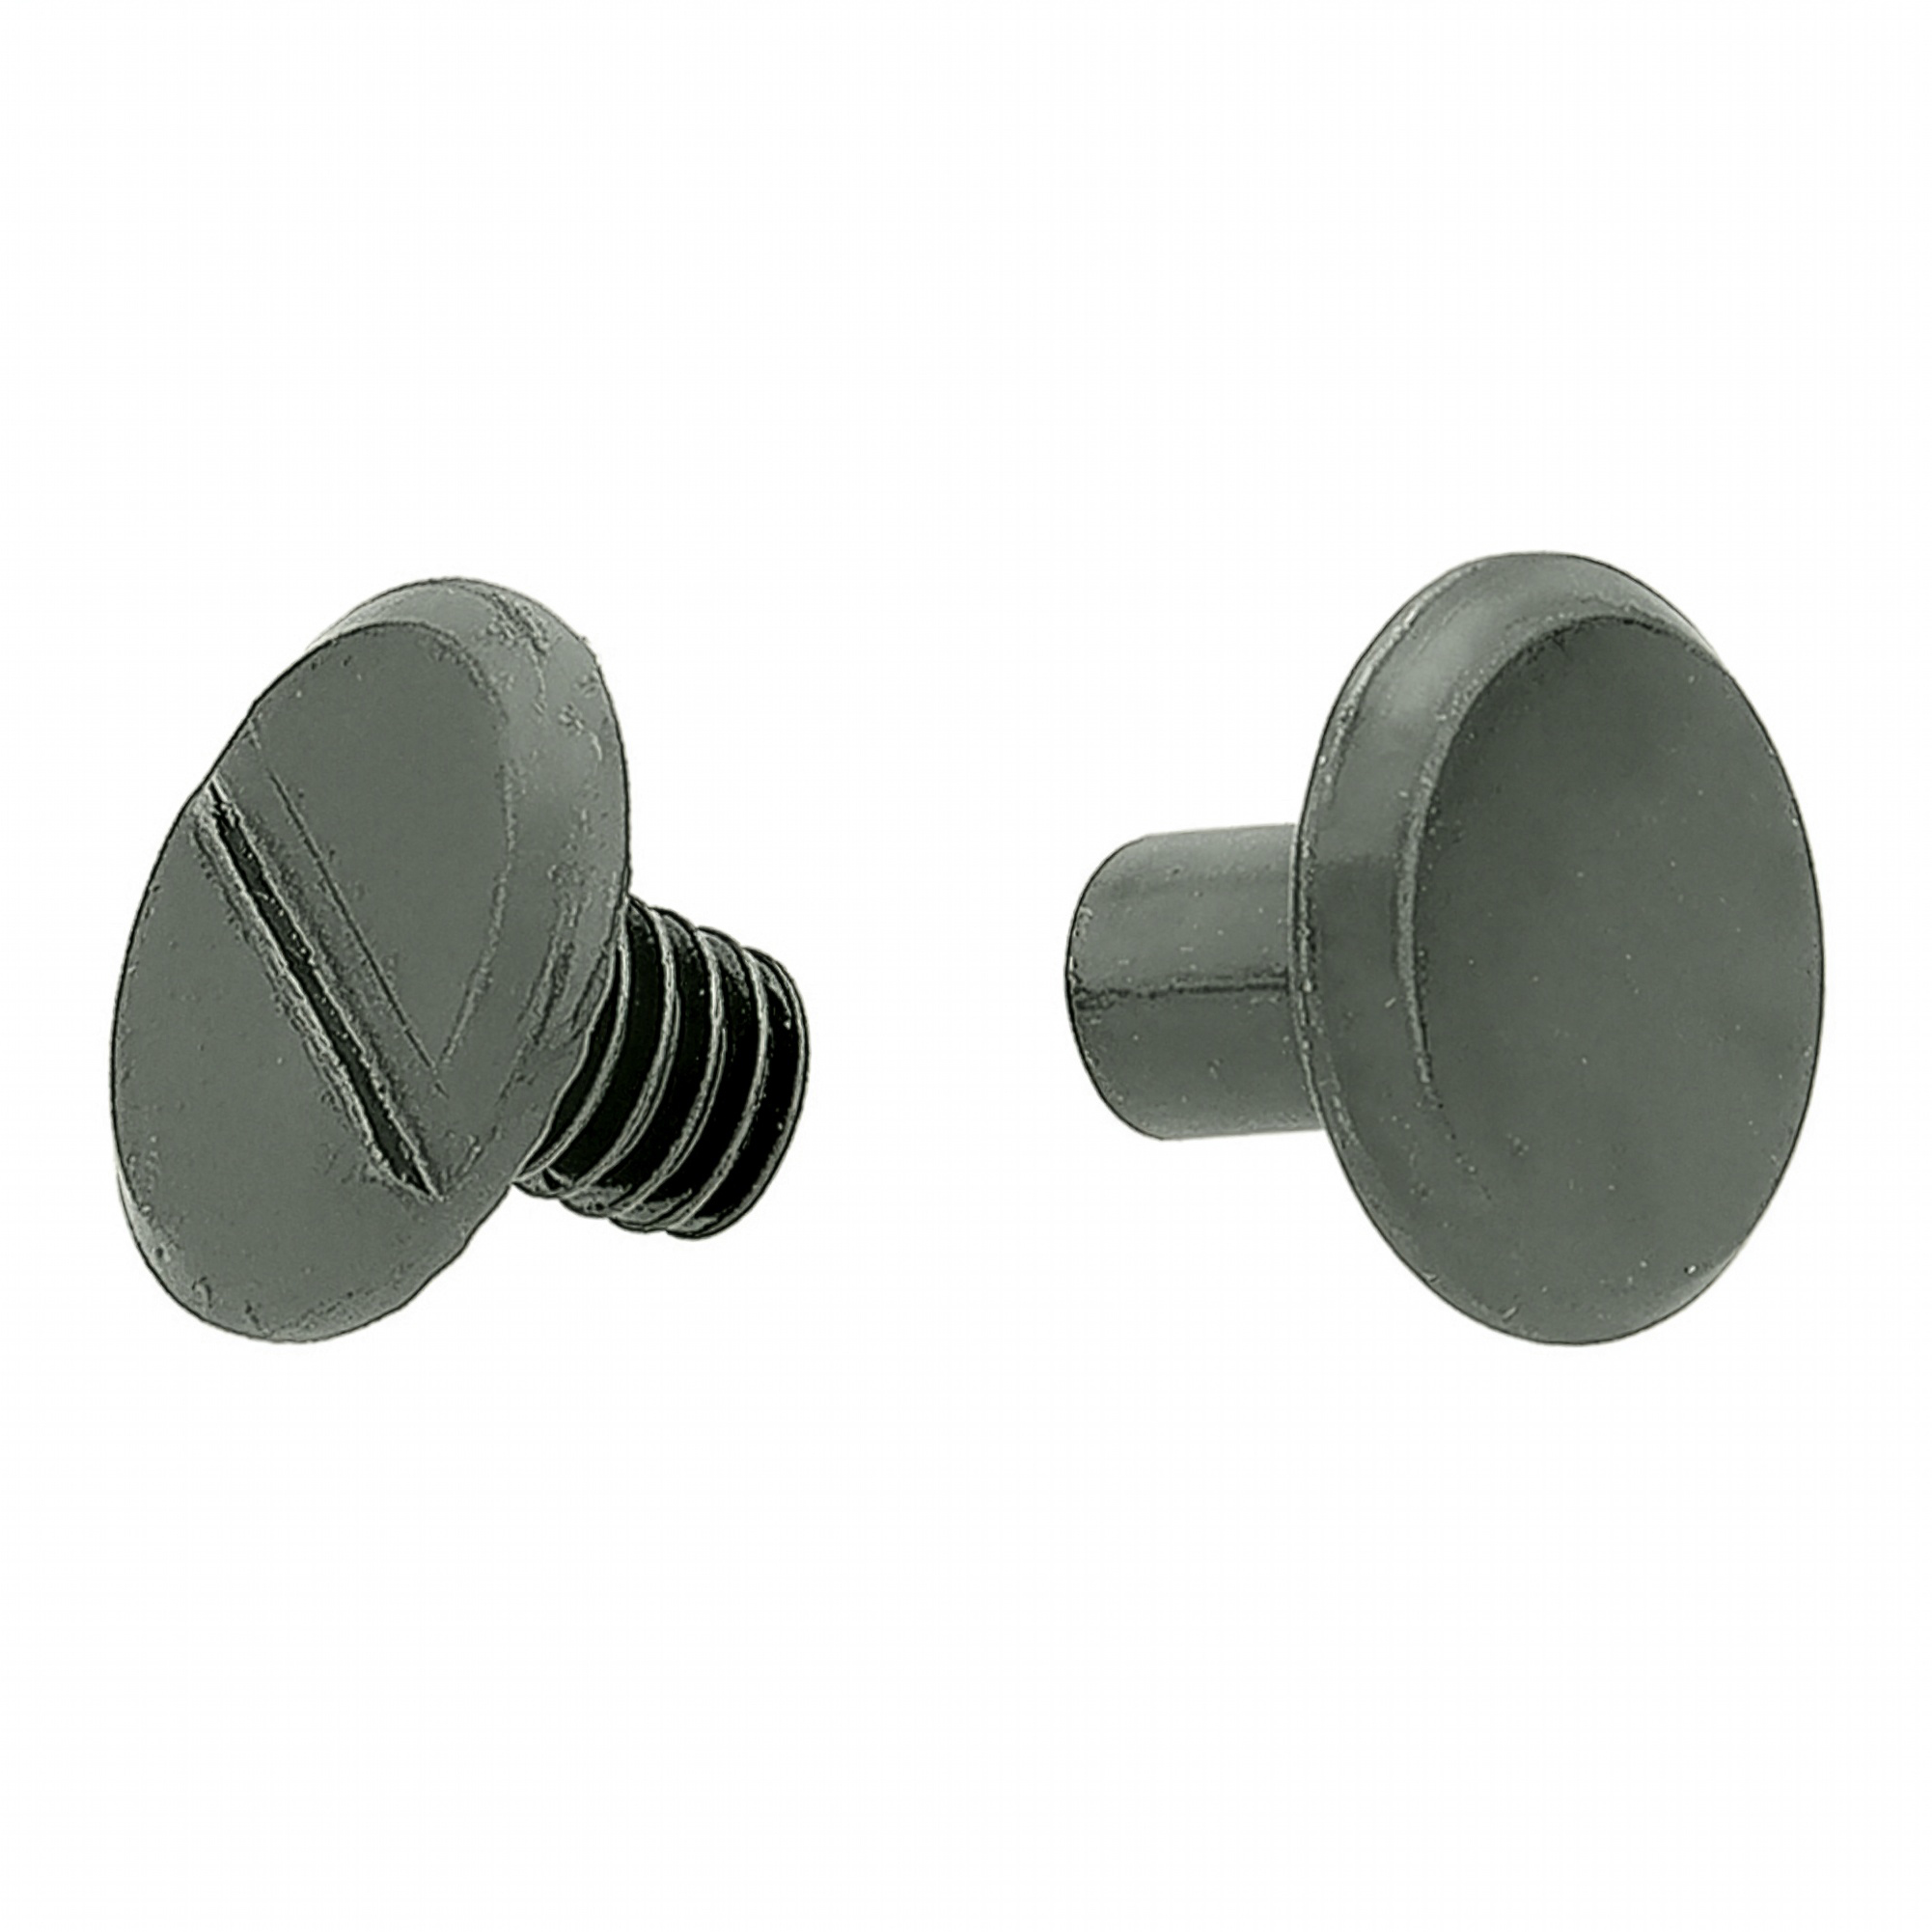
A Chicago screw has two parts: a hollow post with an internal thread and the screw itself. Unlike a classic rivet, which you have to flare with a hammer (fixing the joint for good), a screw gives you a clean look and the option to take it apart.
Main advantages
- Removable: Need to replace the buckle on a belt or the snap hook on a leash? A screwdriver is all it takes. A good solution for products you want to be able to change.
- Looks: A screw joint looks symmetrical and very clean. One side is smooth, the other shows the screwdriver slot, which gives the product an honest, handcrafted look.
- Strength and safety: You have full control over how tightly you clamp the joint. There is no risk of unintentionally deforming or damaging the material, which sometimes happens with rivets after a careless hammer blow.
Types by look and design
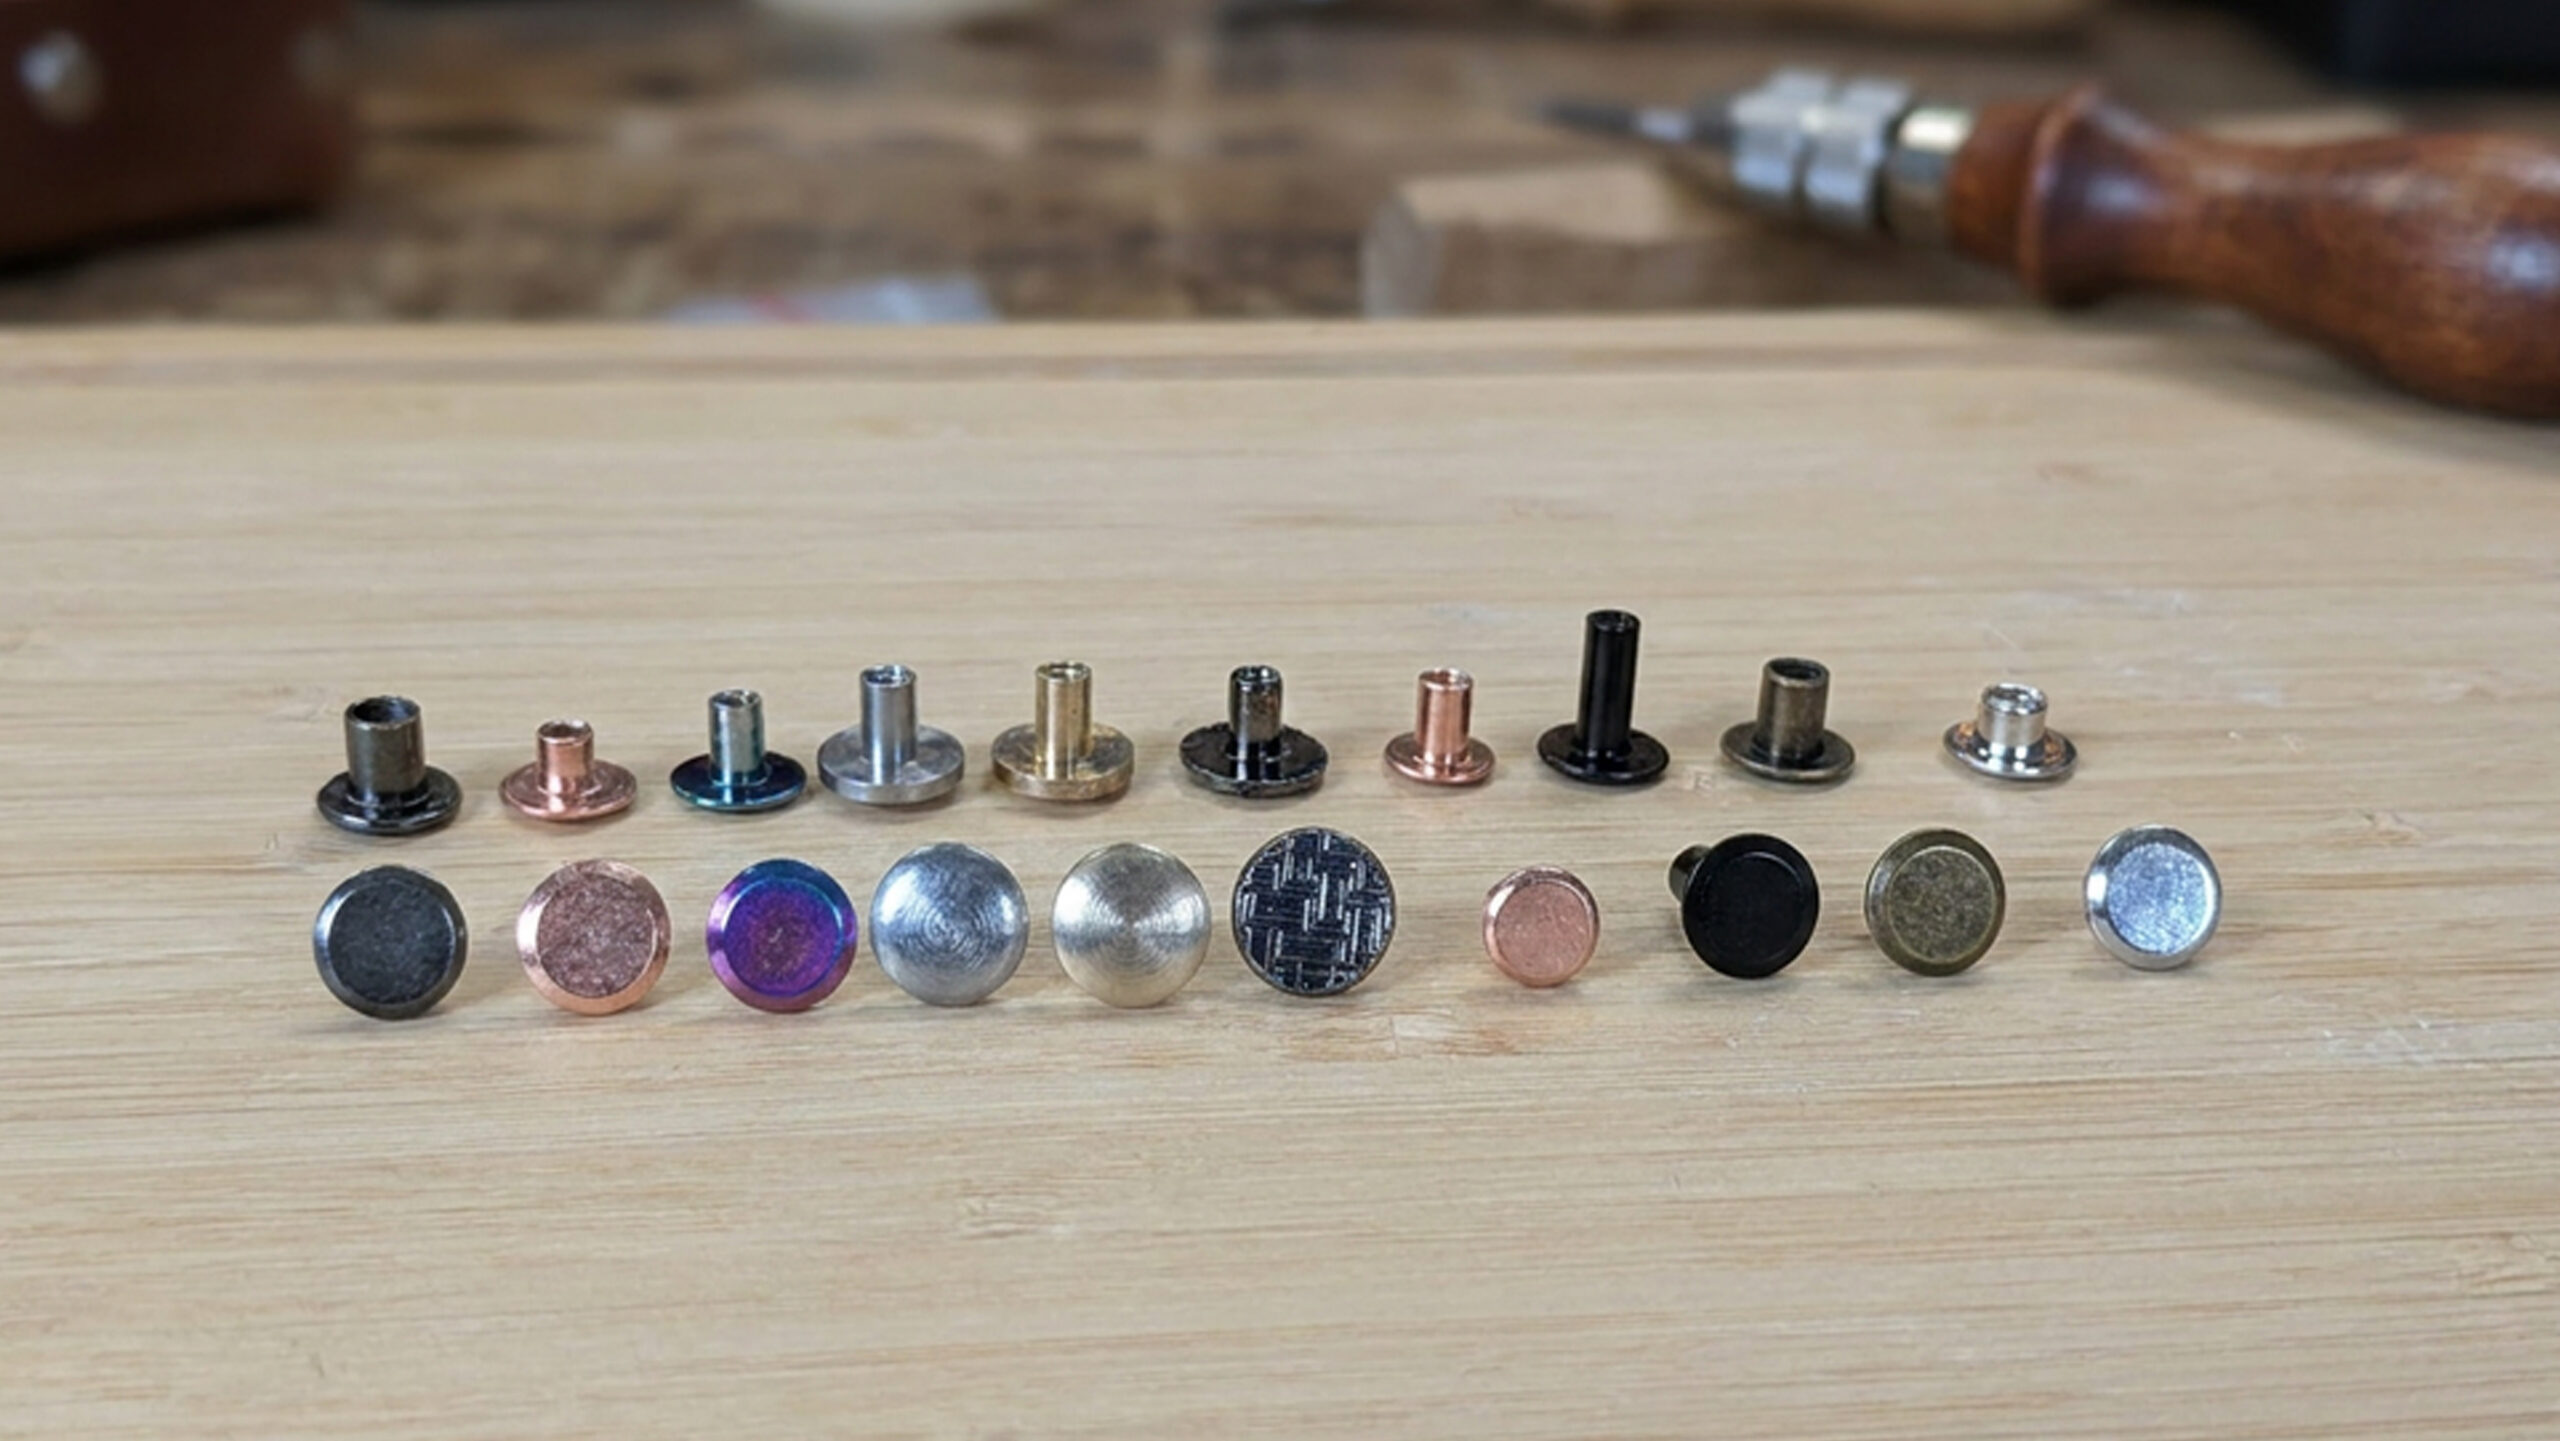
Our range includes different types of screws that differ not only in colour but also in how they look once installed. That lets you fine-tune the product exactly as you want it.
- Classic Chicago screws: The most common type. A post with a smooth head and a screw with a slot.
- Double-slotted screws: Both parts, the screw and the post, have a screwdriver slot. A good choice for joints you need to tighten really firmly, and they look very symmetrical.
- Decorative (patterned) screws: Screws with different head textures, such as a groove, waves or dotted stripes. They work like jewelry and stand out on wide collars or leather bags.
A practical note on slots
Most screws have a flat slot. It looks neat, but be careful during installation: a flat-head screwdriver can slip on smooth metal more easily. Apply even pressure to the screwdriver so that you do not scratch the screw head or the surrounding material.
Types by material
Choosing the material should not be just a matter of price. Above all, think about what the product will be used for and choose the screw material accordingly.
| Material | Properties | Best for… |
|---|---|---|
| Brass | More expensive than steel, cheaper than stainless steel. Does not rust; darkens over time and develops a patina. | Leather goods and collars where the metal should develop a patina over time. |
| Stainless steel | Resistant to water and corrosion. | Dog gear and products that often get wet. We do not state the tensile strength of the joint. |
| Steel with a surface finish | Affordable, strong, wide range of colours. | Everyday leather goods, home accessories. |
| Zinc alloy | Allows detailed surface finishes (brushing). | Design accessories where the surface matters. |
Did you know…?
Some of our screws are electroplated while screwed together, then hand-polished and unscrewed again. That gives them a unique look you will not find in ordinary mass production.
How to choose the right Chicago screw size
This is where most mistakes happen. If you choose a screw that is too long, it will move loosely in the joint and will not hold the layers together. If you choose one that is too short, the thread will not catch at all. So how do you get it right?
Before you add screws to your cart, measure the total thickness of the materials at the joint. Post lengths range from 4 to 20 mm in nickel-plated steel and from 4 to 10 mm in brass, stainless steel and colored finishes. We sell nickel-plated and colored steel screws in packs of 100 pcs, brass and stainless steel in packs of 10 pcs. And do not forget the specifics of your materials:
Natural leather: Keep in mind that leather is pliable and compresses at the joint as soon as you tighten it. The material keeps a permanent impression.
Waterproof webbing (Working with waterproof webbing): Its thickness is constant and the material practically does not compress, so measuring in millimeters is very accurate. Punch the hole with a tool that does not fray the stiff webbing; the article Comparing hole punching tools explains how to choose one.
Post length: Choose the post length (value “B”) according to the material. For leather, which compresses when tightened, choose a post 1–1.5 mm shorter than the measured thickness. For waterproof webbing, which does not compress, choose a post as long as the thickness of the layers. The heads then sit firmly against the material and the joint will not spin.
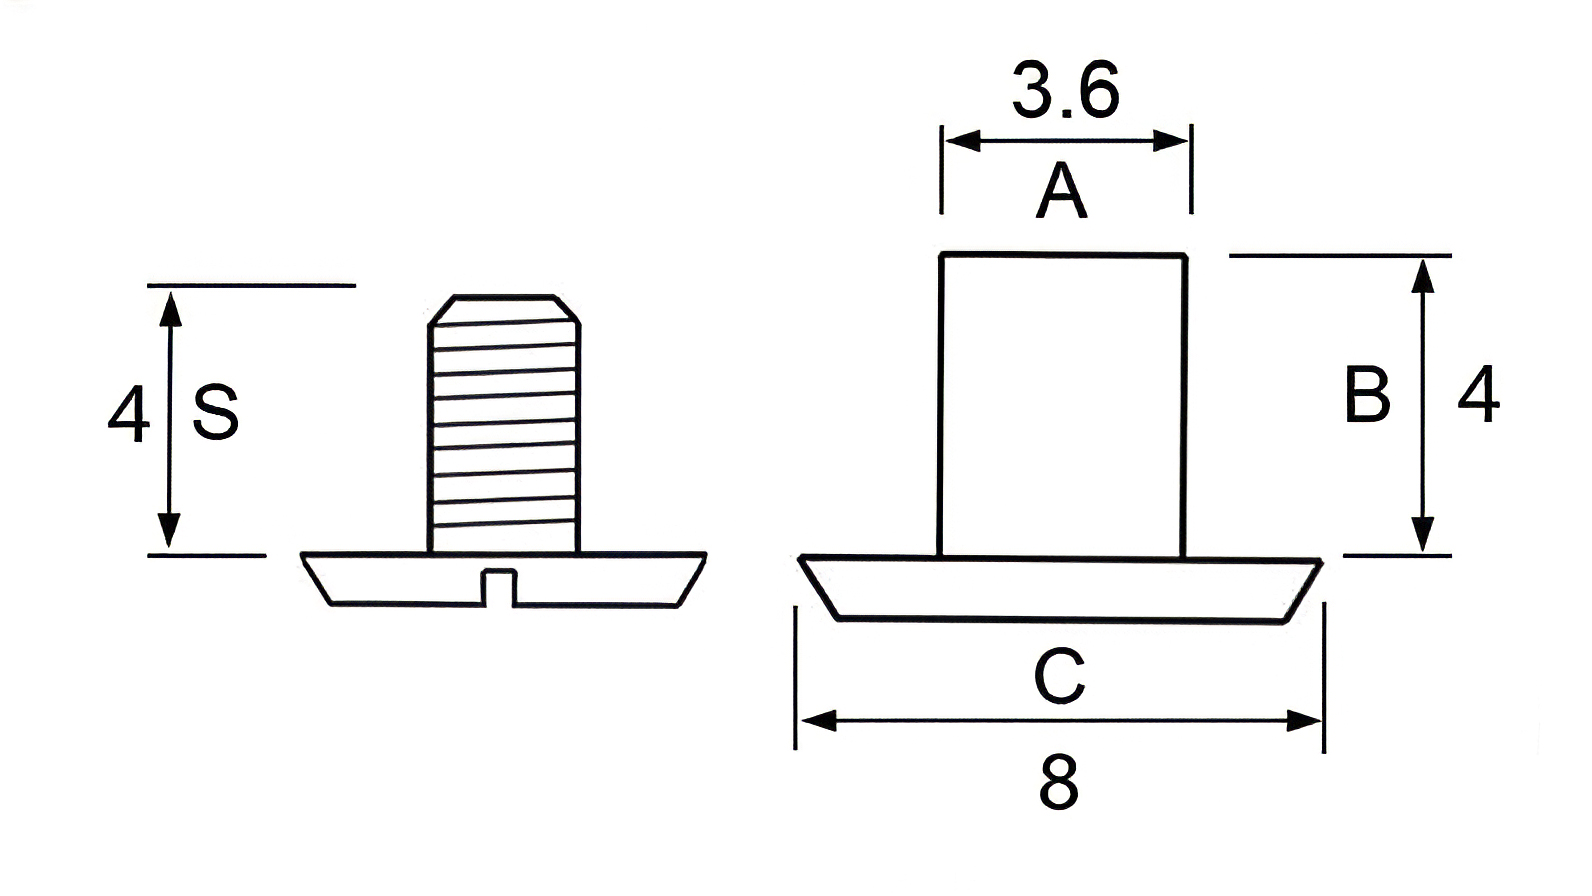
Example: You have two layers of leather, each 2.5 mm thick, for a total thickness of 5 mm. The right choice is a screw with a length of 4 mm (value “B”).
Tip: If you plan to replace the screw in the future, choose the same head diameter (value “C”) so that it fits exactly into the original impression and the product still looks clean.
Installation and practical tips
Installation is easy, but a few details decide whether the joint lasts or the screw comes loose within a week.
- Punching: The hole must be exactly the size of the post diameter (value “A”). The screw should fit snugly into the hole. If it drops in loosely, it will spin as you tighten it and the thread will not catch properly.
- Choosing a screwdriver: The screwdriver must fit the slot as tightly as possible (in width and thickness). A screwdriver that is too small may slip as you tighten and scratch the screw or the surrounding material.
- Tighten with care: Tighten firmly, but do not overdo it. Brass and zinc alloy screws are the most likely to strip their thread.
Securing the thread:
When installing, consider whether the joint should be permanent or whether you expect to make changes later:
- Permanent joint: If the screw should never come out, put a drop of Loctite threadlocker on the thread. It prevents the screw from loosening unintentionally, but if needed (for example, during a repair) you can still break it loose with a screwdriver.
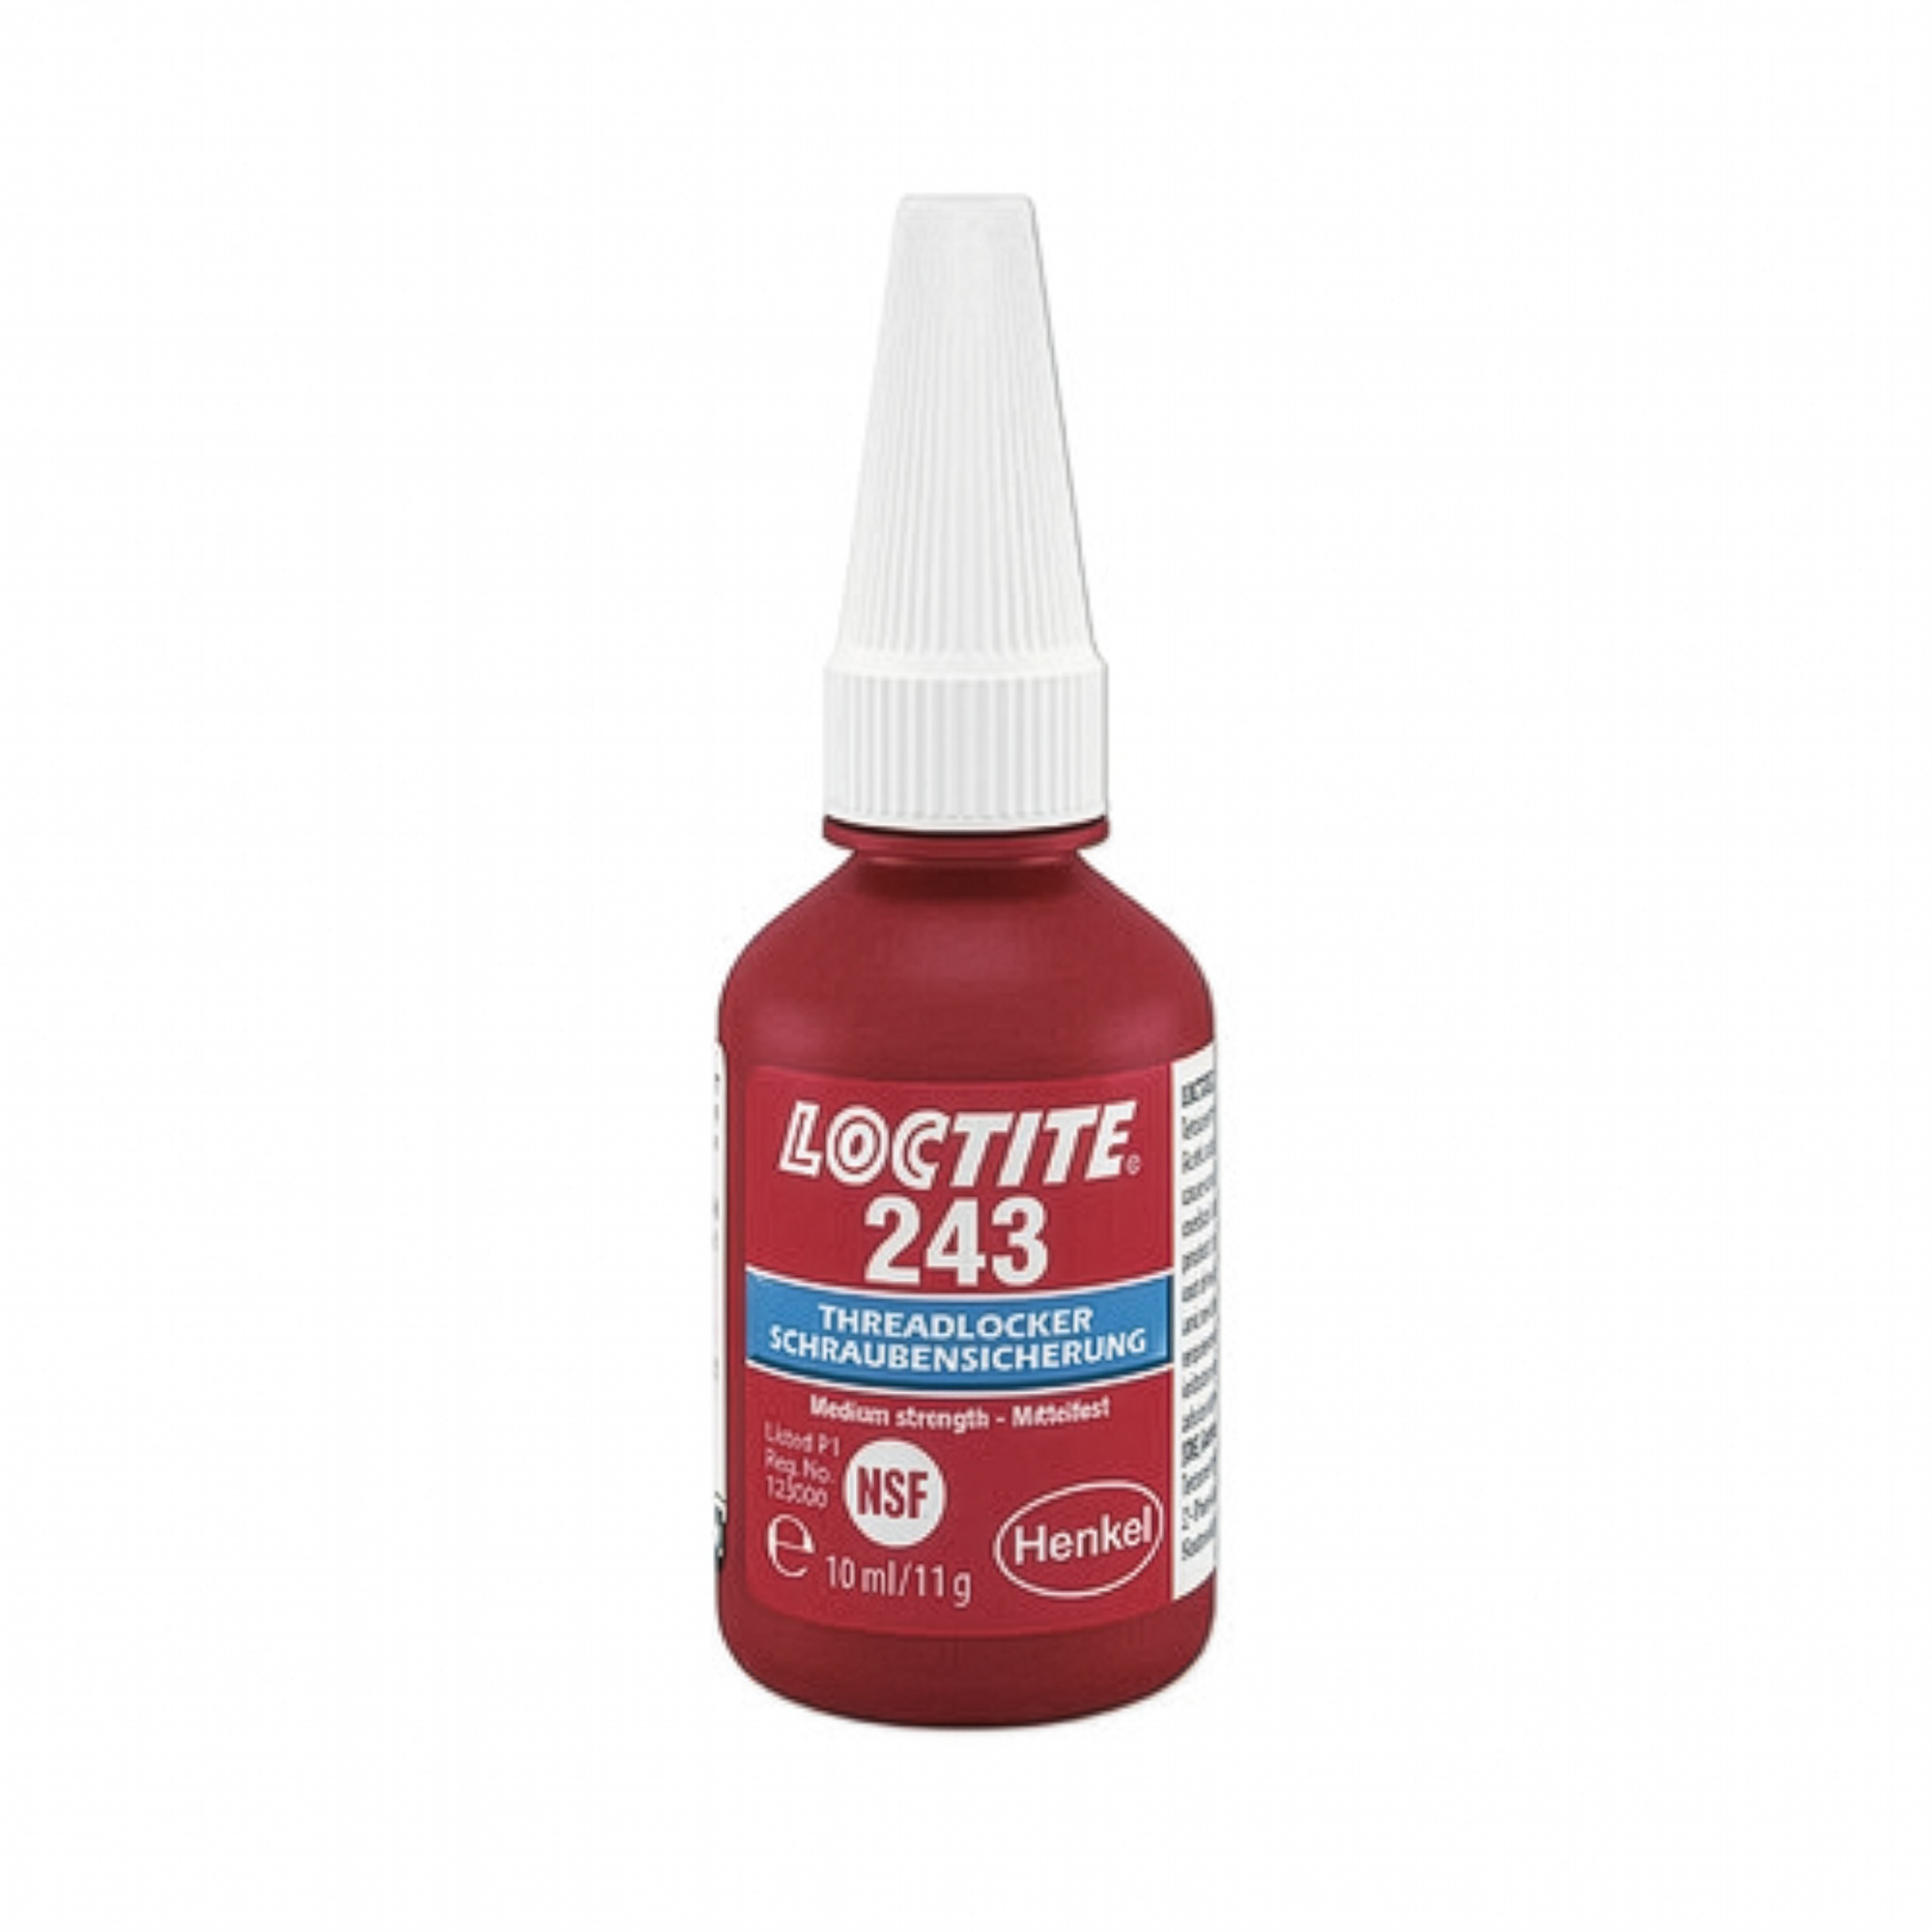
- Replaceable joint: If you plan to swap and change buckles, skip the threadlocker. Just tighten the screw firmly and you can take the joint apart easily at any time.
Conclusion
Chicago screws join layers so that you can take the joint apart at any time, replace a component or change the design.
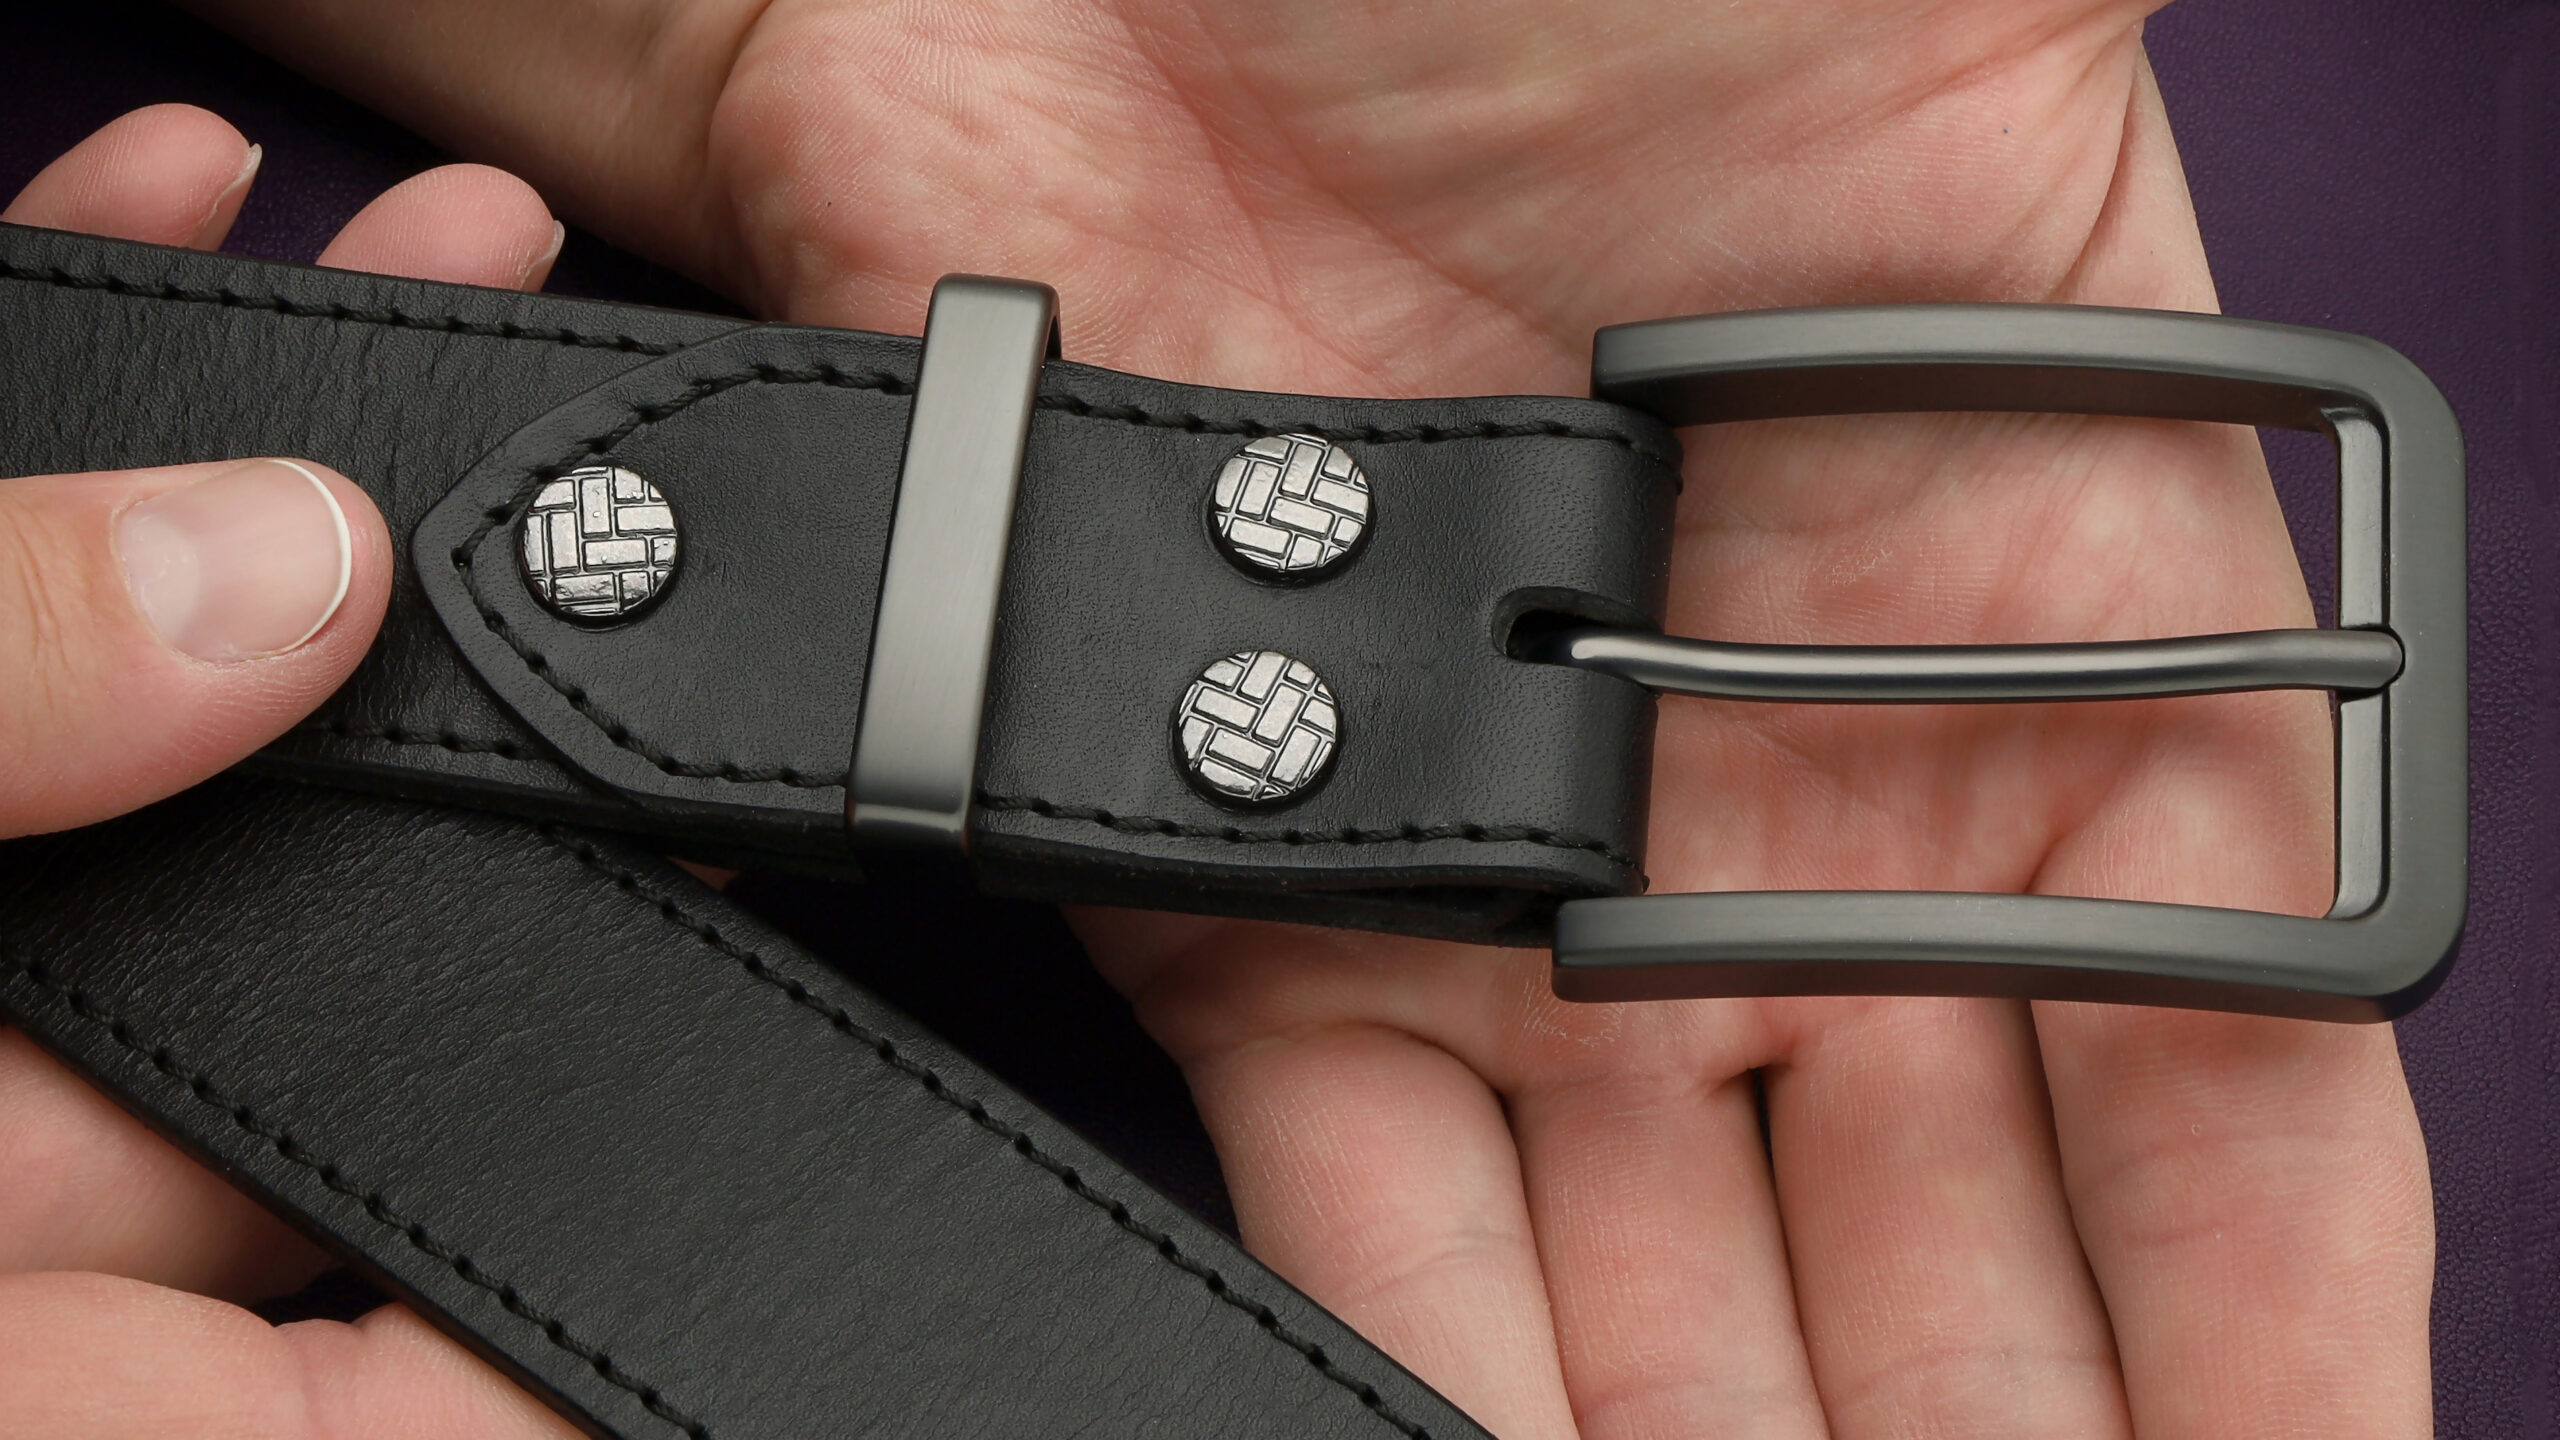
Whether you choose stainless steel, brass or zinc alloy, what makes the joint last is a correctly measured post length and a correctly sized hole.