You have finished dyeing a belt, stitched up a wallet, or you are about to restore an old saddle. On the shelf stand bottles with names like Resolene, Tan Kote, Neatsfoot Oil or Carnauba Crème, and it is not clear which one to use and in what order. You will find them all in the Leather Finishes category; the leather itself is covered in our guide to leather types.
Choosing the right product is critical. The wrong leather finish can ruin hours of your work: the leather can stay tacky after drying, look unnaturally shiny, or the dye can rub off onto clothing.
In this article, we will sort out the products. We will divide them into 4 logical steps, explain when to reach for which one, and finish with a bonus section on restoring older pieces.
1. Cleaning and preparation (so the dye holds)
Many beginners skip this step, and that is a mistake. If you do not degrease the leather, the dye will not soak in evenly and you will get blotches.
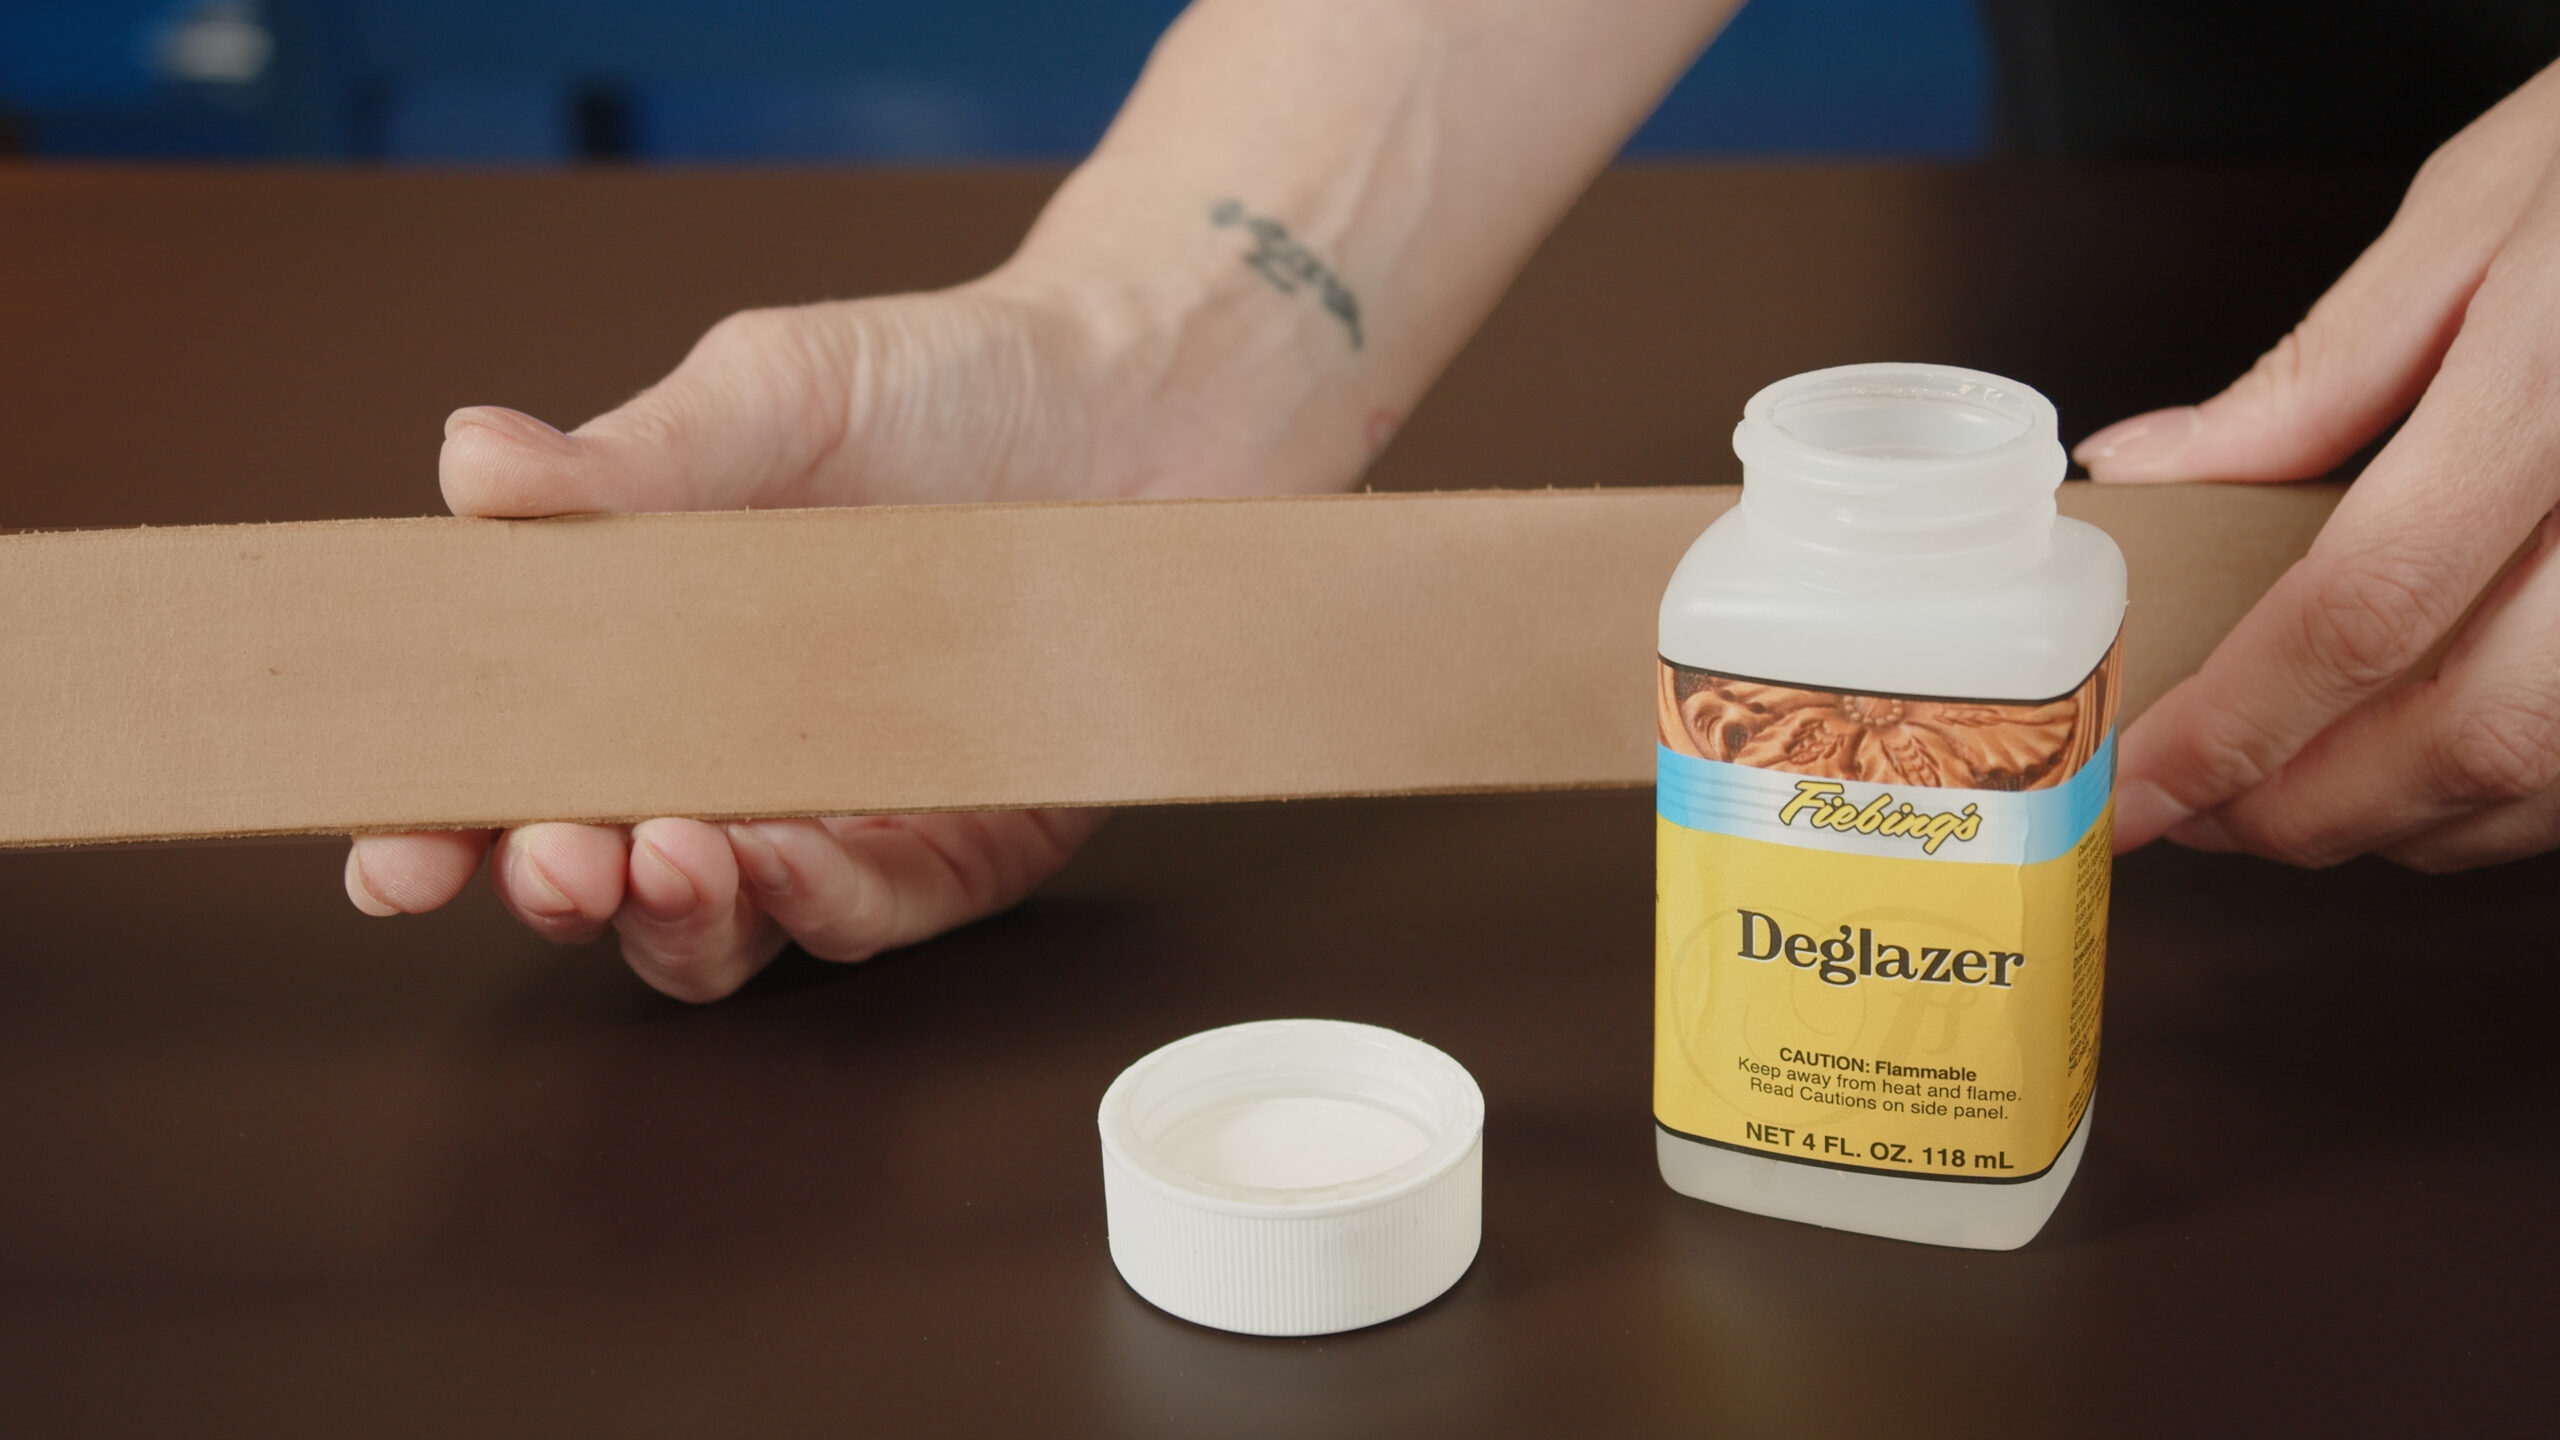
- Before dyeing: Fiebing’s Deglazer. It removes dirt, grease and residues of old waxes and finishes from the leather and prepares it for dyeing or refinishing. It does not affect the softness or flexibility of the leather. It is also useful for restoration, because it strips the original layer of finish.
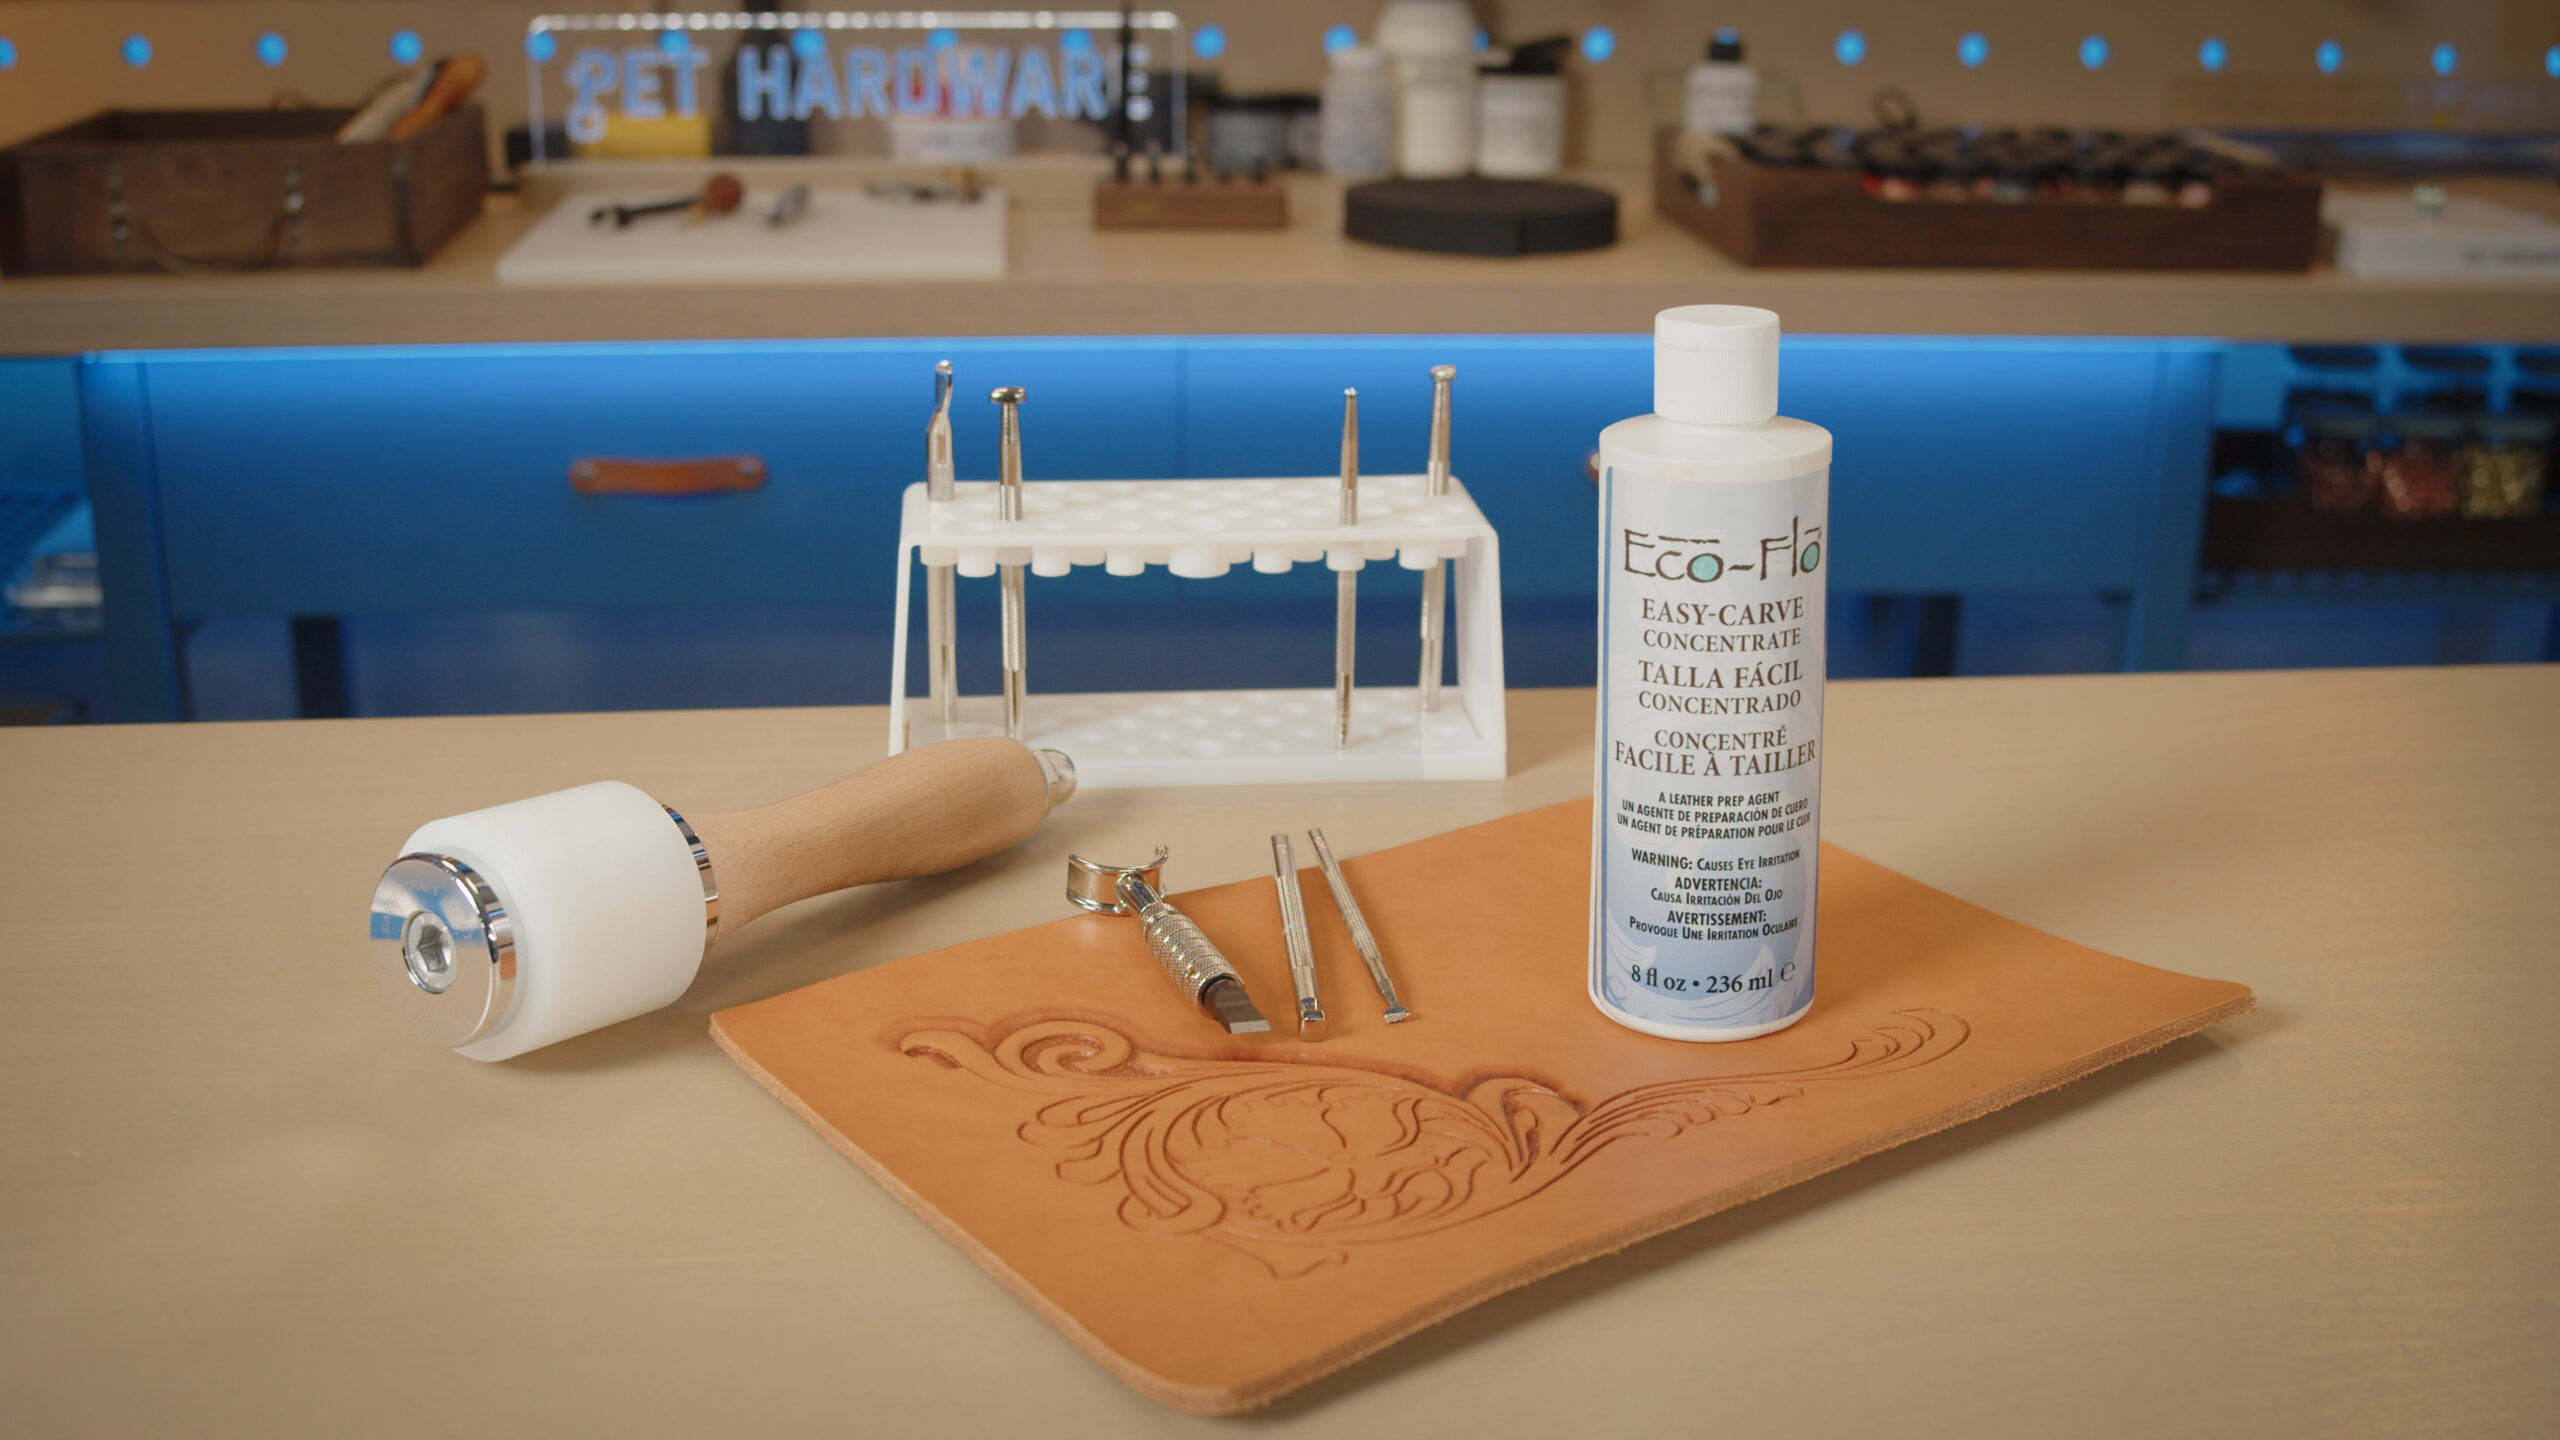
- For carving and tooling: If you are going to tool patterns into the leather, use Eco-Flo Easy Carve concentrate. Dilute it with water 1:10 and apply it with a sponge to the grain side of natural vegetable-tanned leather. It softens the leather better than water alone, so the swivel knife glides more easily and the stamps leave a deeper, sharper impression.
2. Deep conditioning: oils (so the leather does not crack)
Like human skin, leather needs moisture; otherwise, it dries out and cracks. Oils are not about surface shine but about health on the inside. Oil the leather before dyeing. Apply oil to clean leather and let it soak in completely; it does not belong on a finished topcoat, because the finish will not let it through.
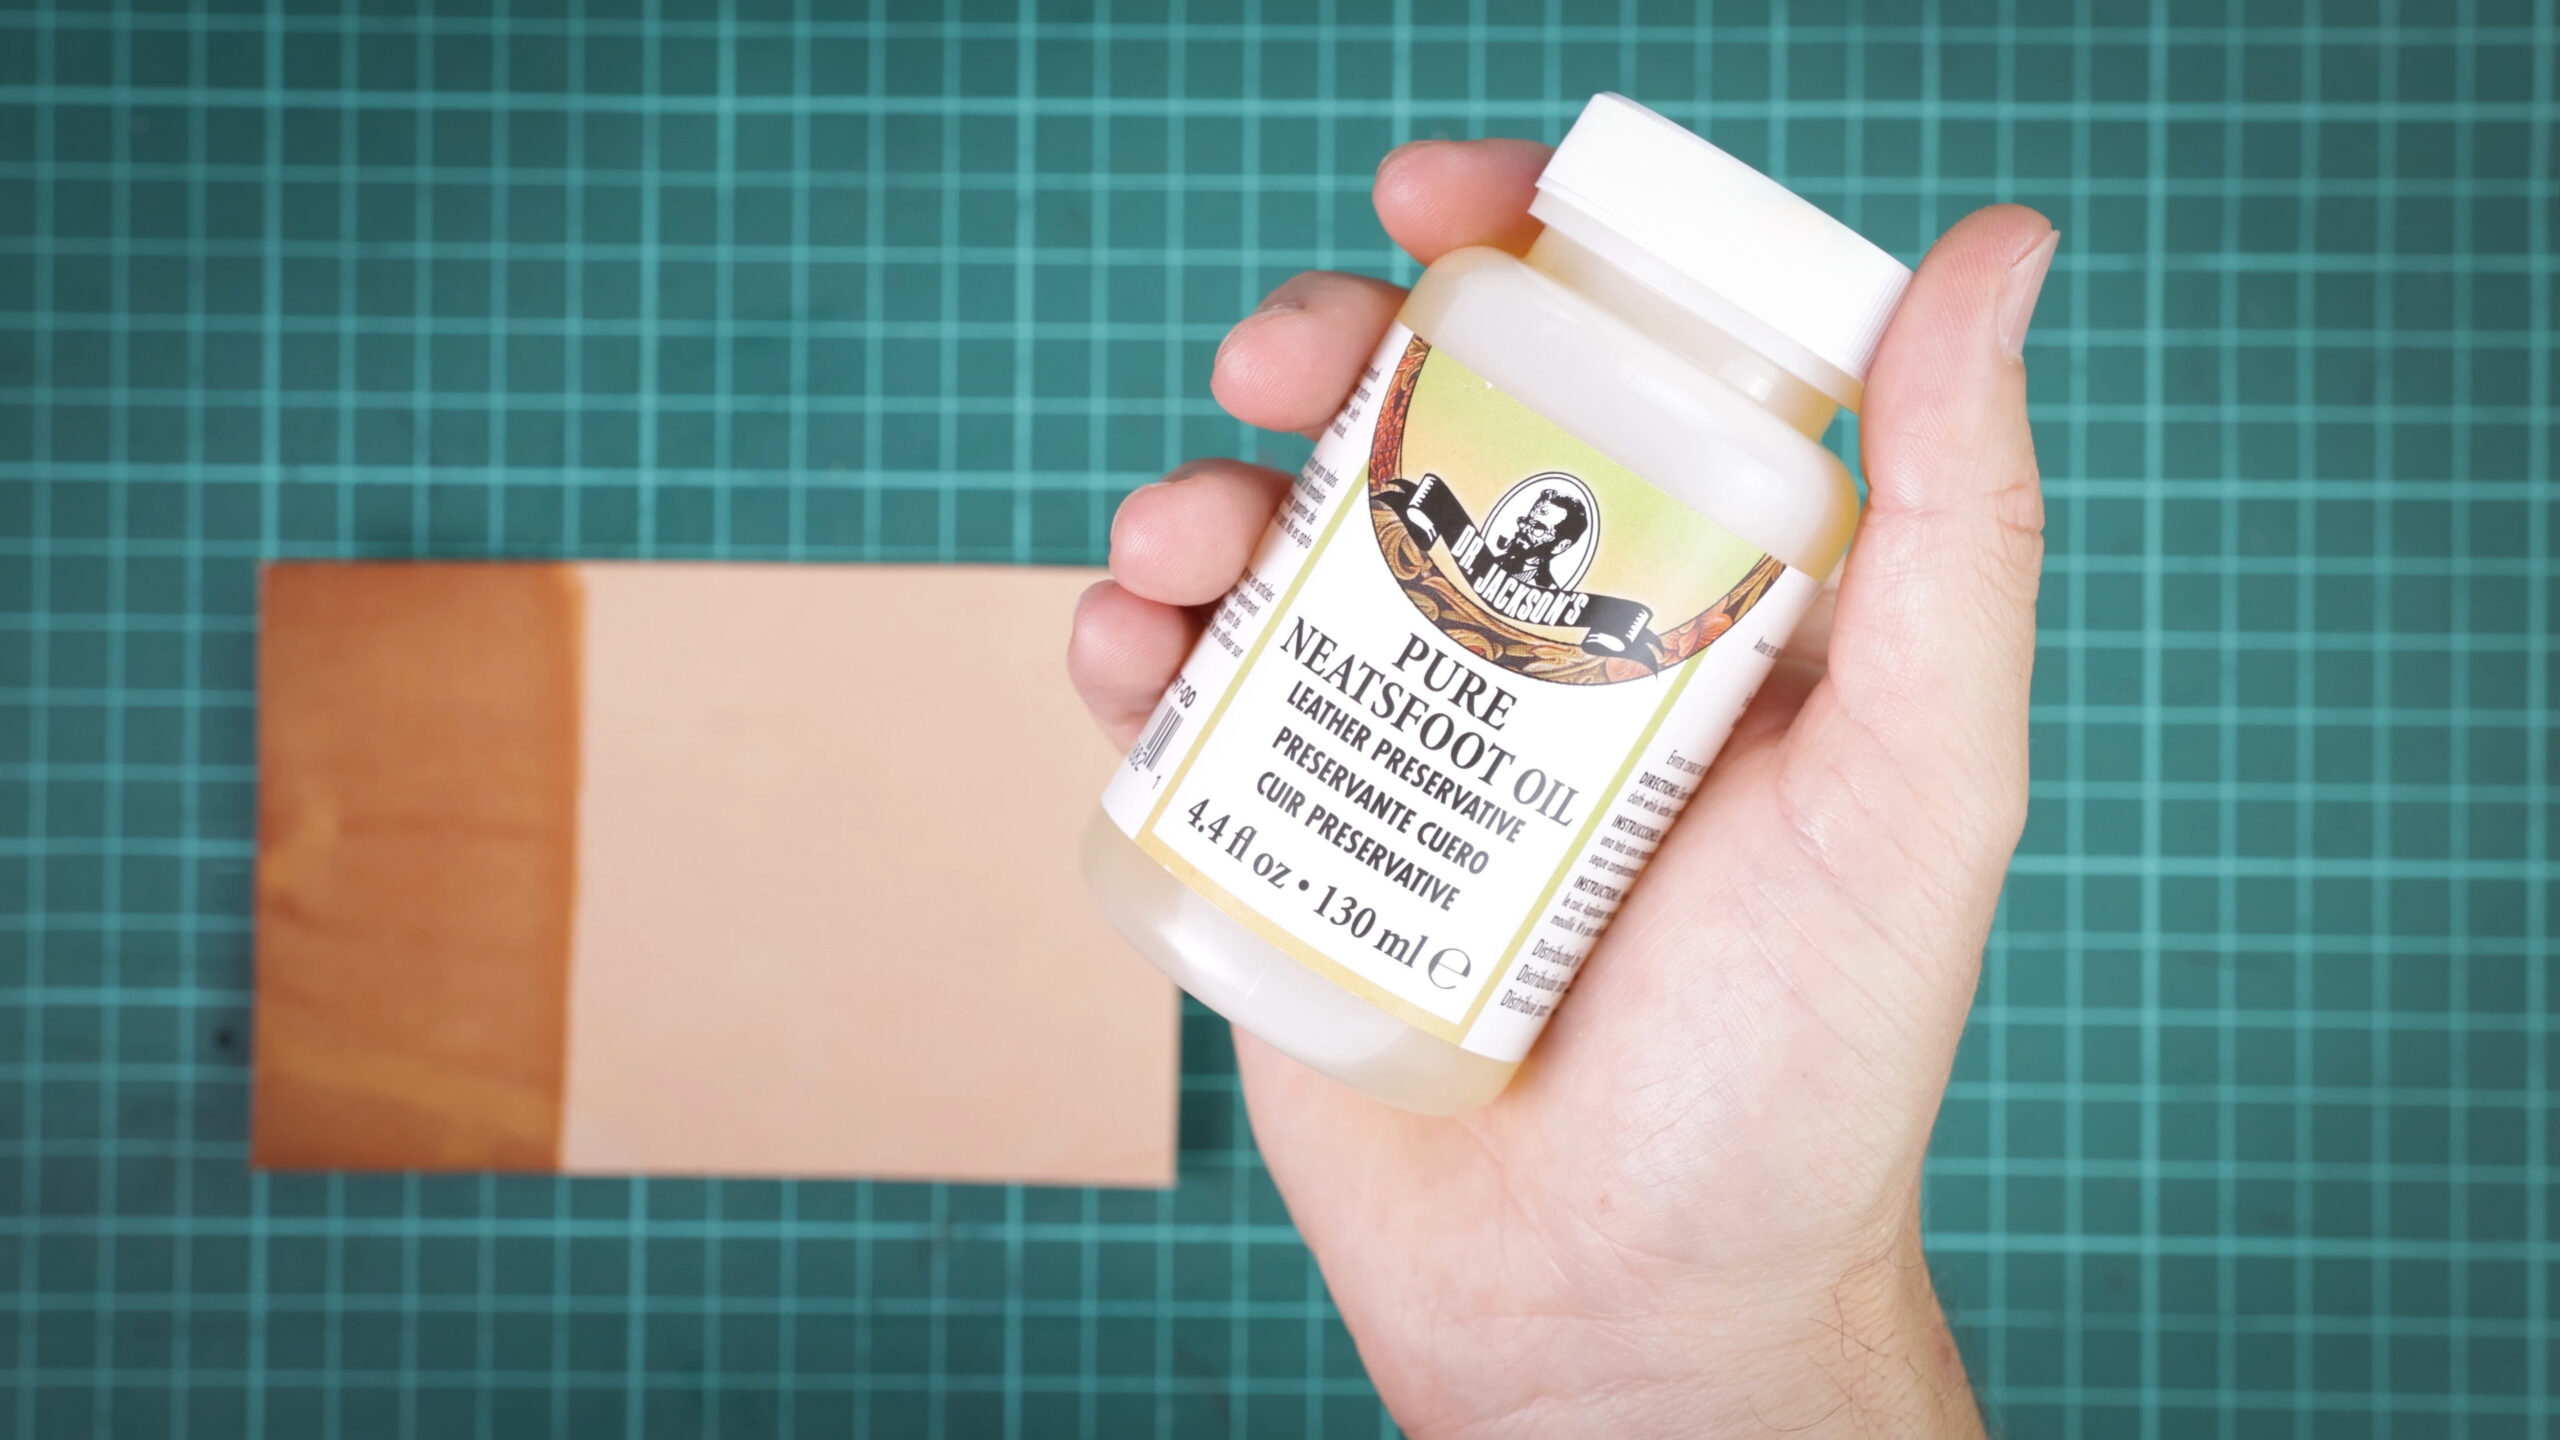
- Neatsfoot oil: Dr. Jackson’s Neatsfoot Oil. It penetrates deep and softens the fibers. It is well suited to new work, but it also works as a rescue for old, stiff leather you want to bring back to life. Note: It darkens the leather noticeably and permanently.
- The middle ground: Leather oil emulsion (extra resistant). For when you need to soften very stiff leather or you work in demanding outdoor conditions. It also contains waxes, so besides softening it partly protects the surface. It darkens a little less than pure oil.
3. Protective finishes: armor against water and wear
This is the most important part for sealing the dye. Finishes form a film on the surface that locks in the pigment (so it does not stain your pants) and repels water. Apply them in thin coats: two thin coats hold better than one thick coat, which could crack. Between coats, let the finish dry for at least 30–60 minutes (depending on the product and the temperature).
I want high durability and shine (acrylic finishes)
These products form a flexible protective film on the surface. They are impermeable and resist water best.
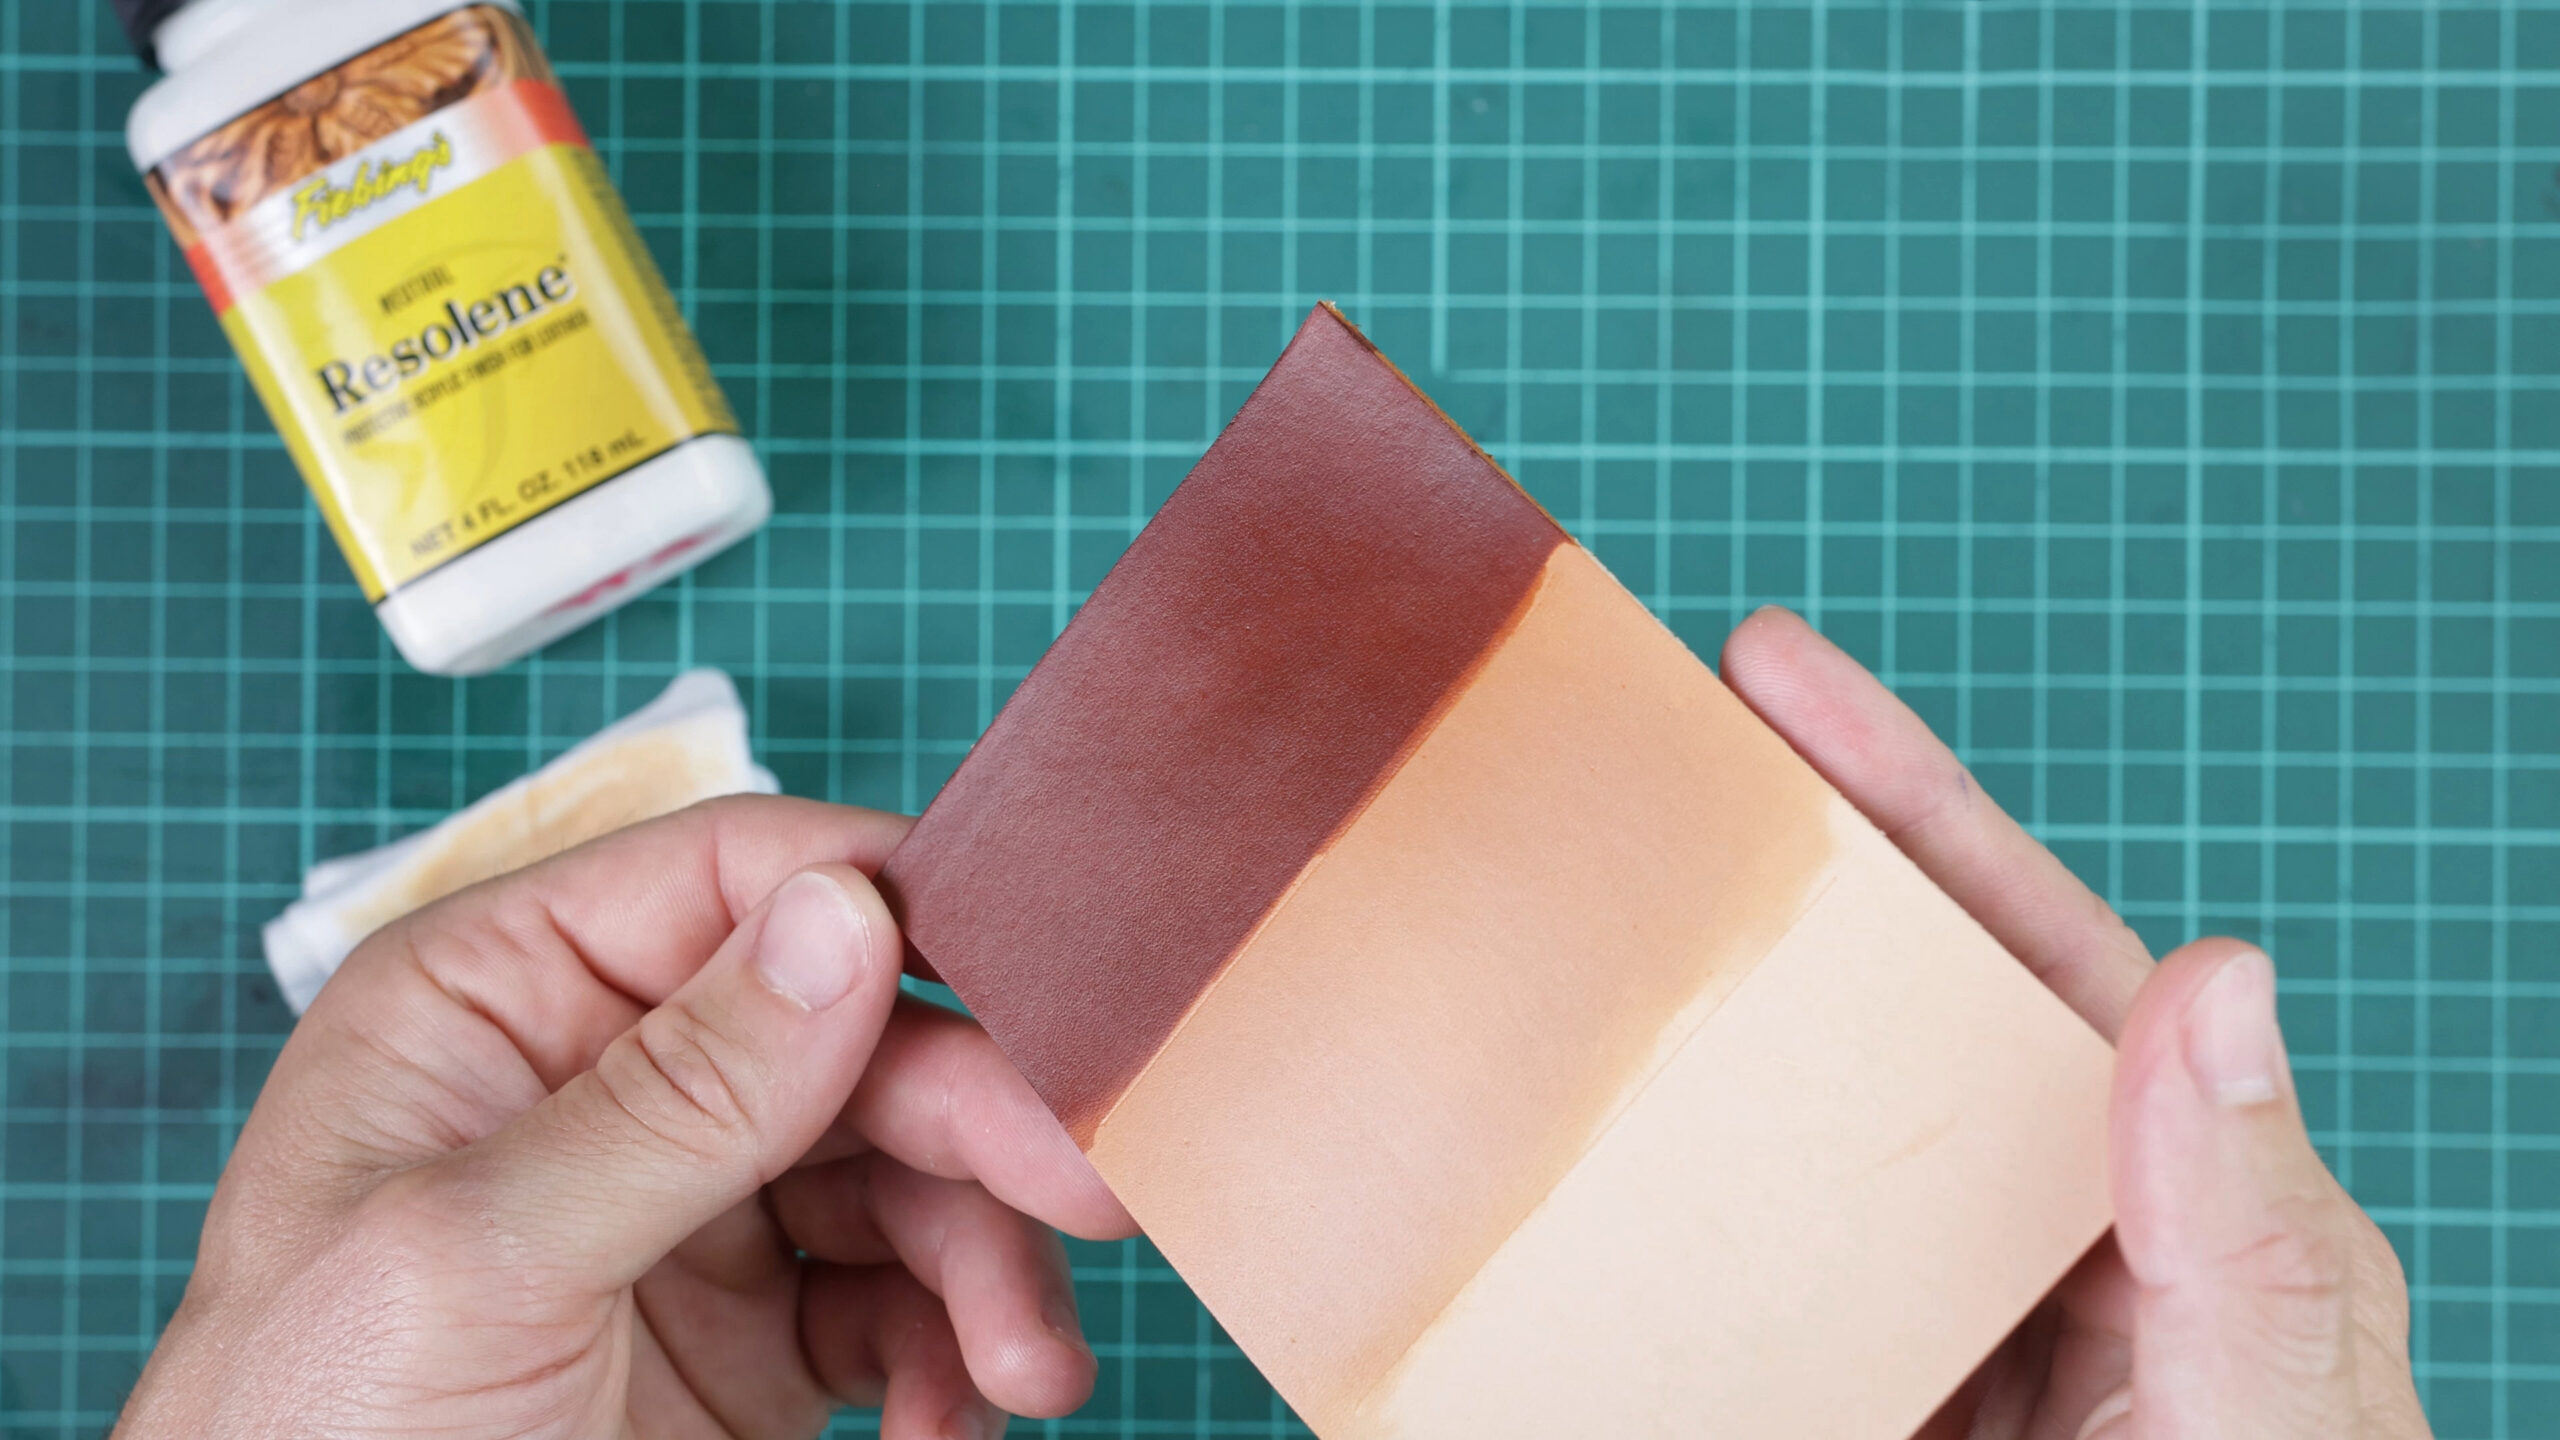
- Fiebing’s Resolene: A proven acrylic finish. Once dry, it has a medium to high gloss, stays flexible and is water-resistant.
- Angelus Acrylic Finisher (Normal) and (High Gloss): A flexible acrylic finish designed as a topcoat for Angelus paints. It does not crack even where the leather bends, so it suits sneakers and accessories painted with acrylics. Normal leaves a soft sheen, High Gloss a strong mirror shine. Let the finish cure for 24 hours before use.
I want a natural, matte look
Not everyone wants their belt to shine like a mirror.
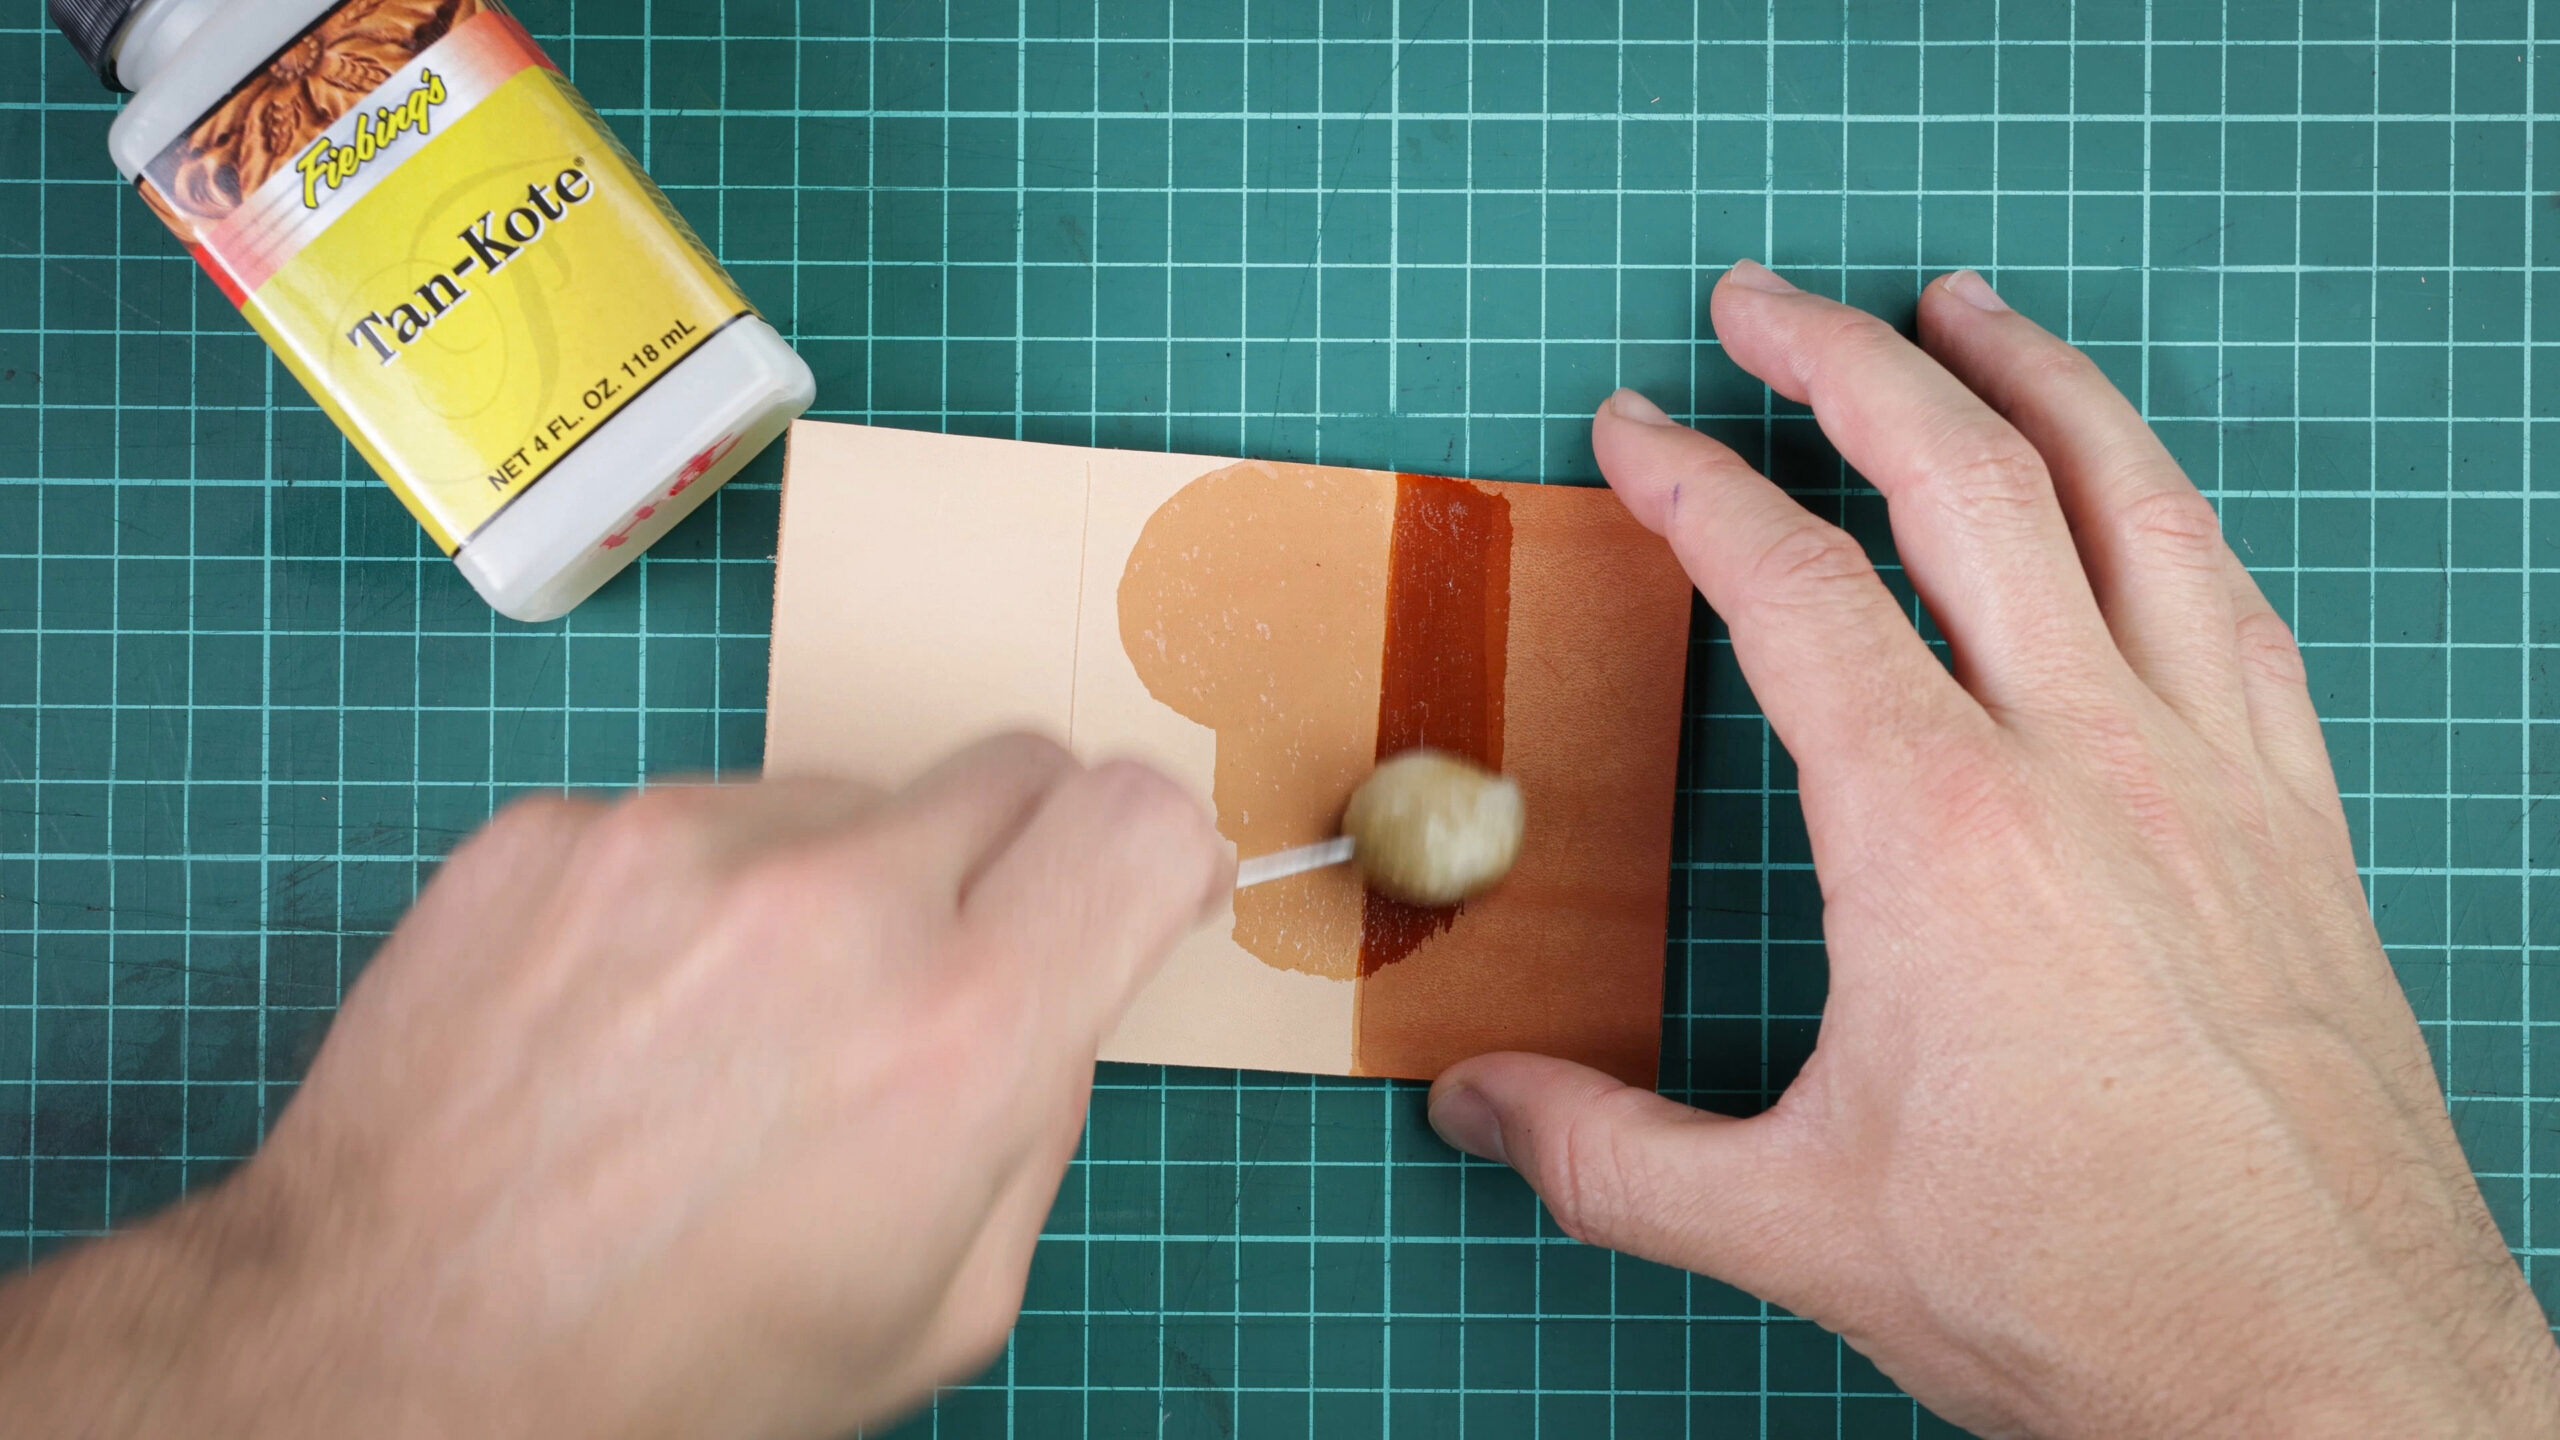
- Eco-Flo Satin Shene: Does exactly what its name says: a satin (semi-matte) surface.
- Eco-Flo Super Shene: An acrylic finish that is easy to apply and seals the dye well in two thin coats. Despite its name, it leaves an elegant semi-gloss, not a plastic shine.
- Fiebing’s Tan Kote: Not an acrylic, but a finish based on natural resins. It lets the leather breathe and gives it a natural satin semi-gloss. Drawback: it is not as water-resistant as Resolene.
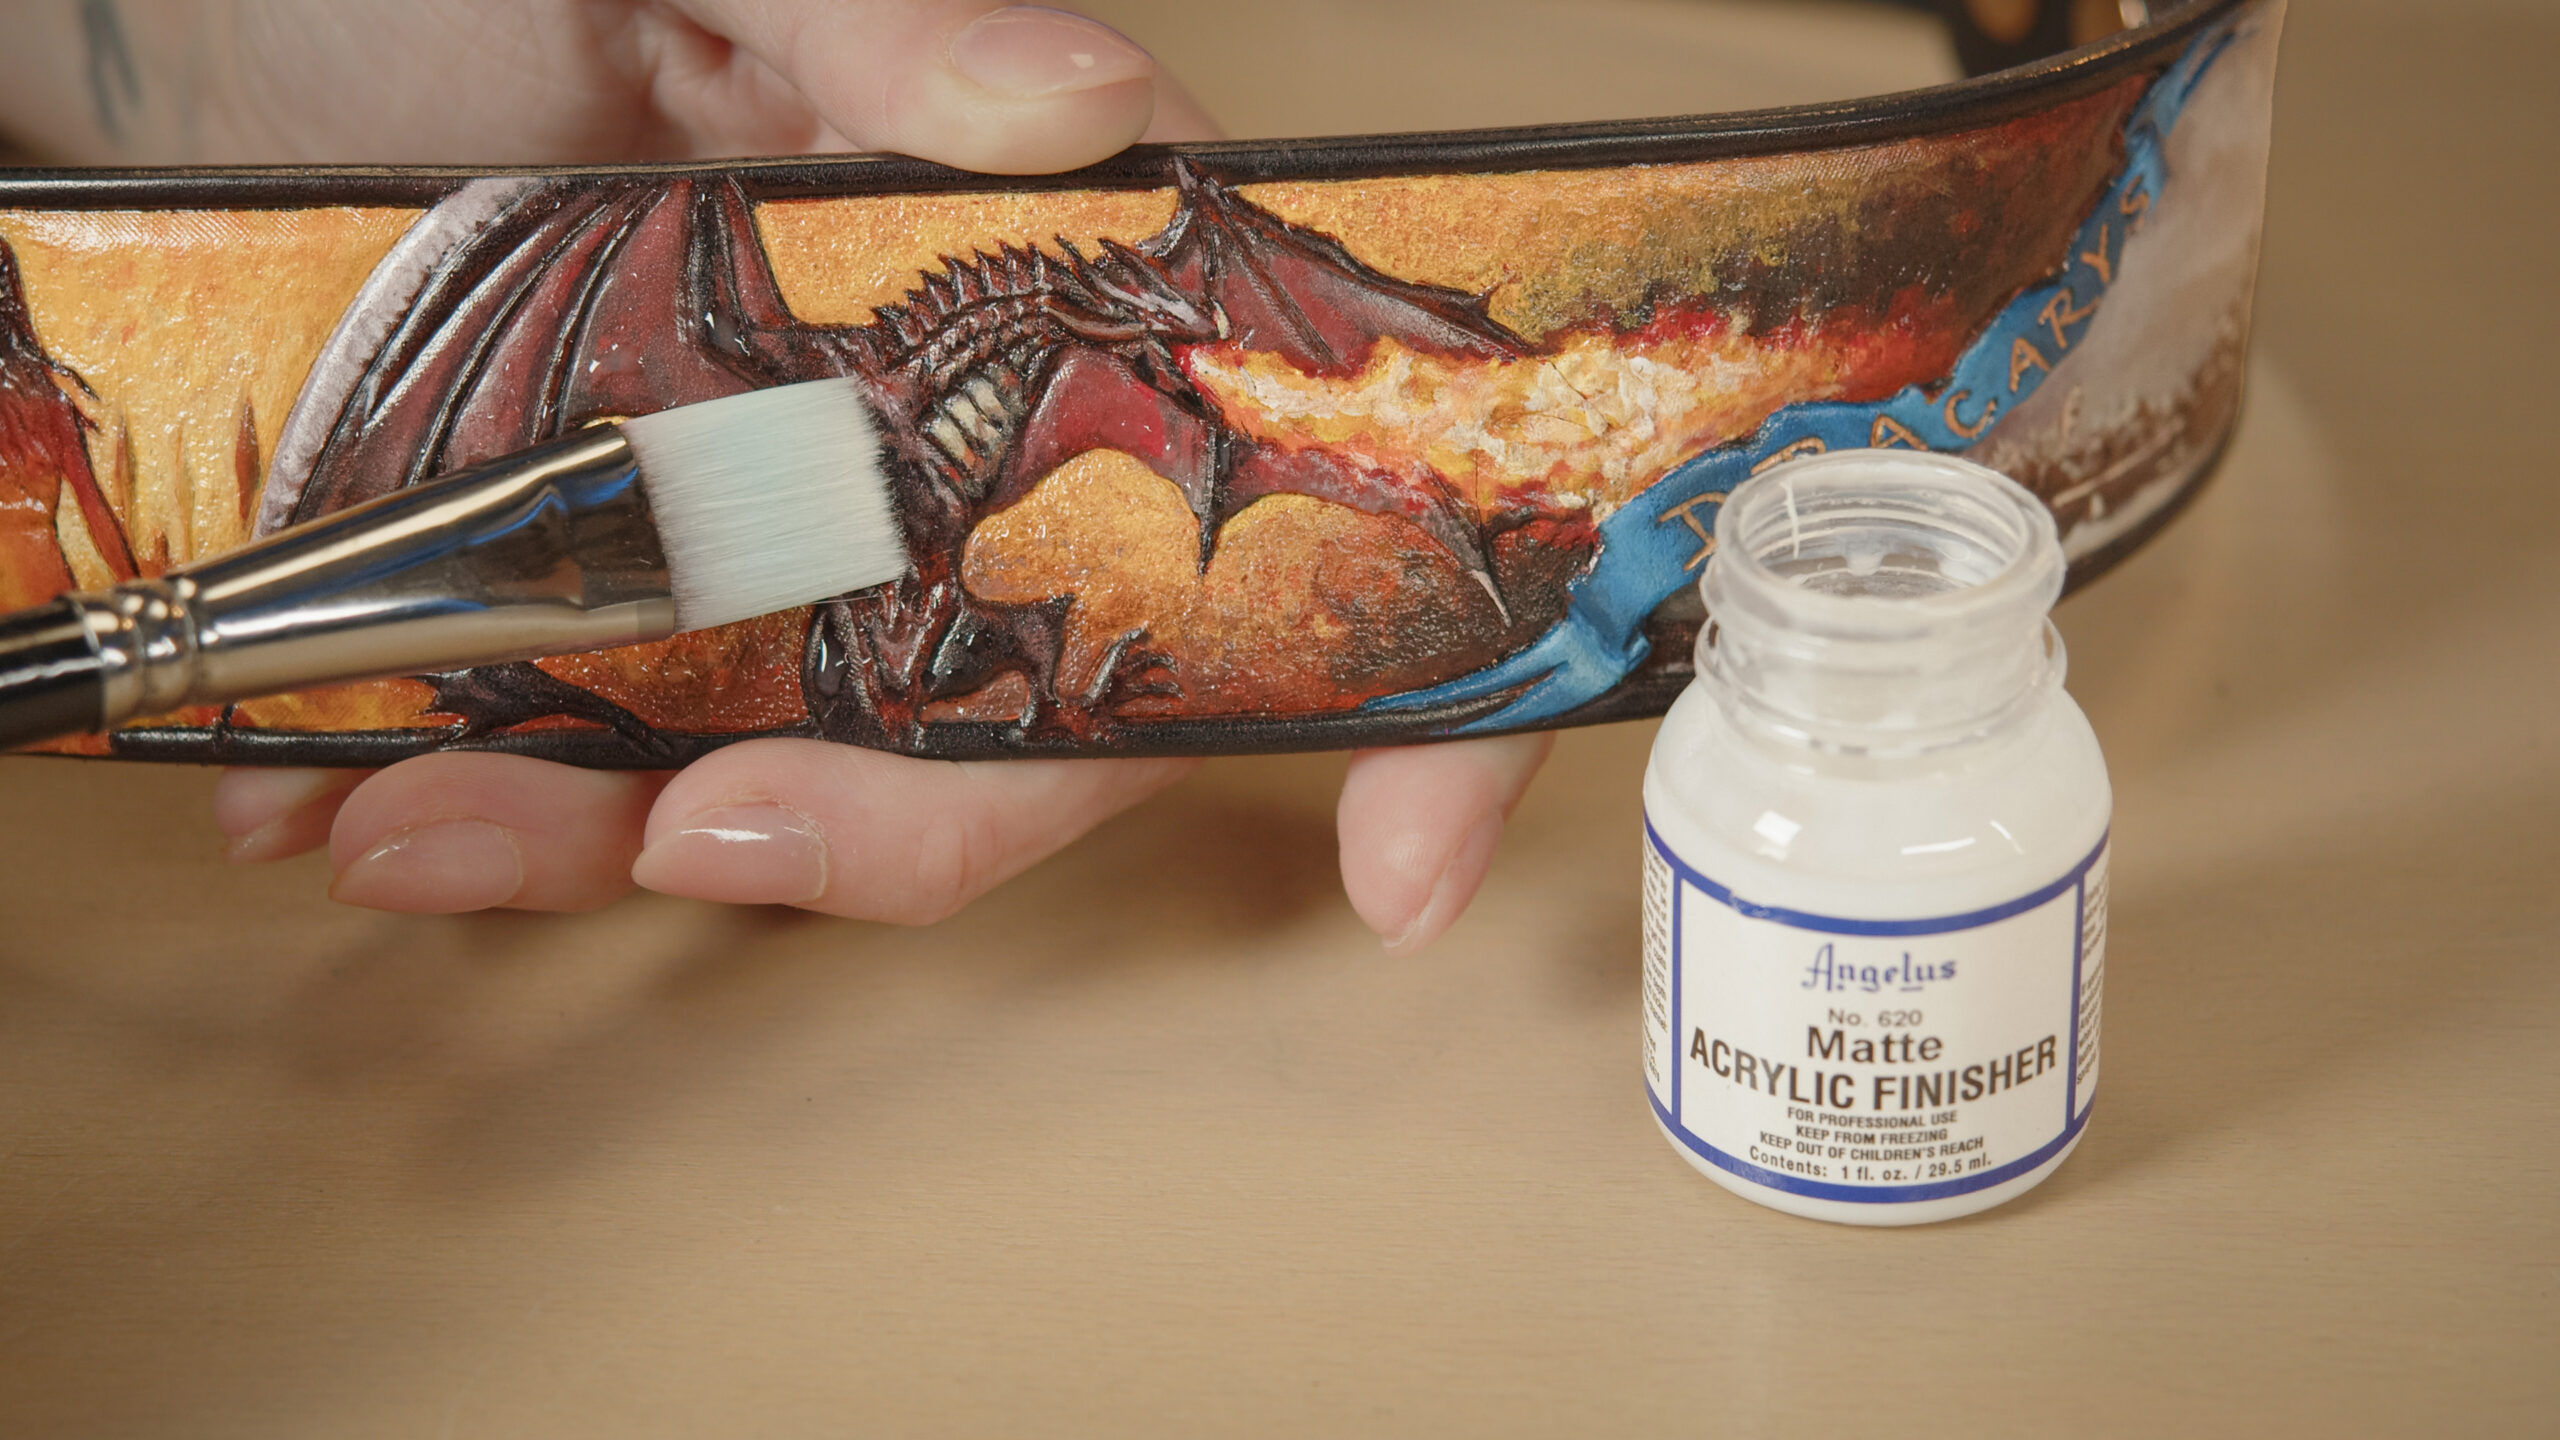
- Angelus Acrylic Finisher (Matte): A matte acrylic finish with no shine. It is mainly used to seal Angelus acrylic paints.
A special product for antiquing
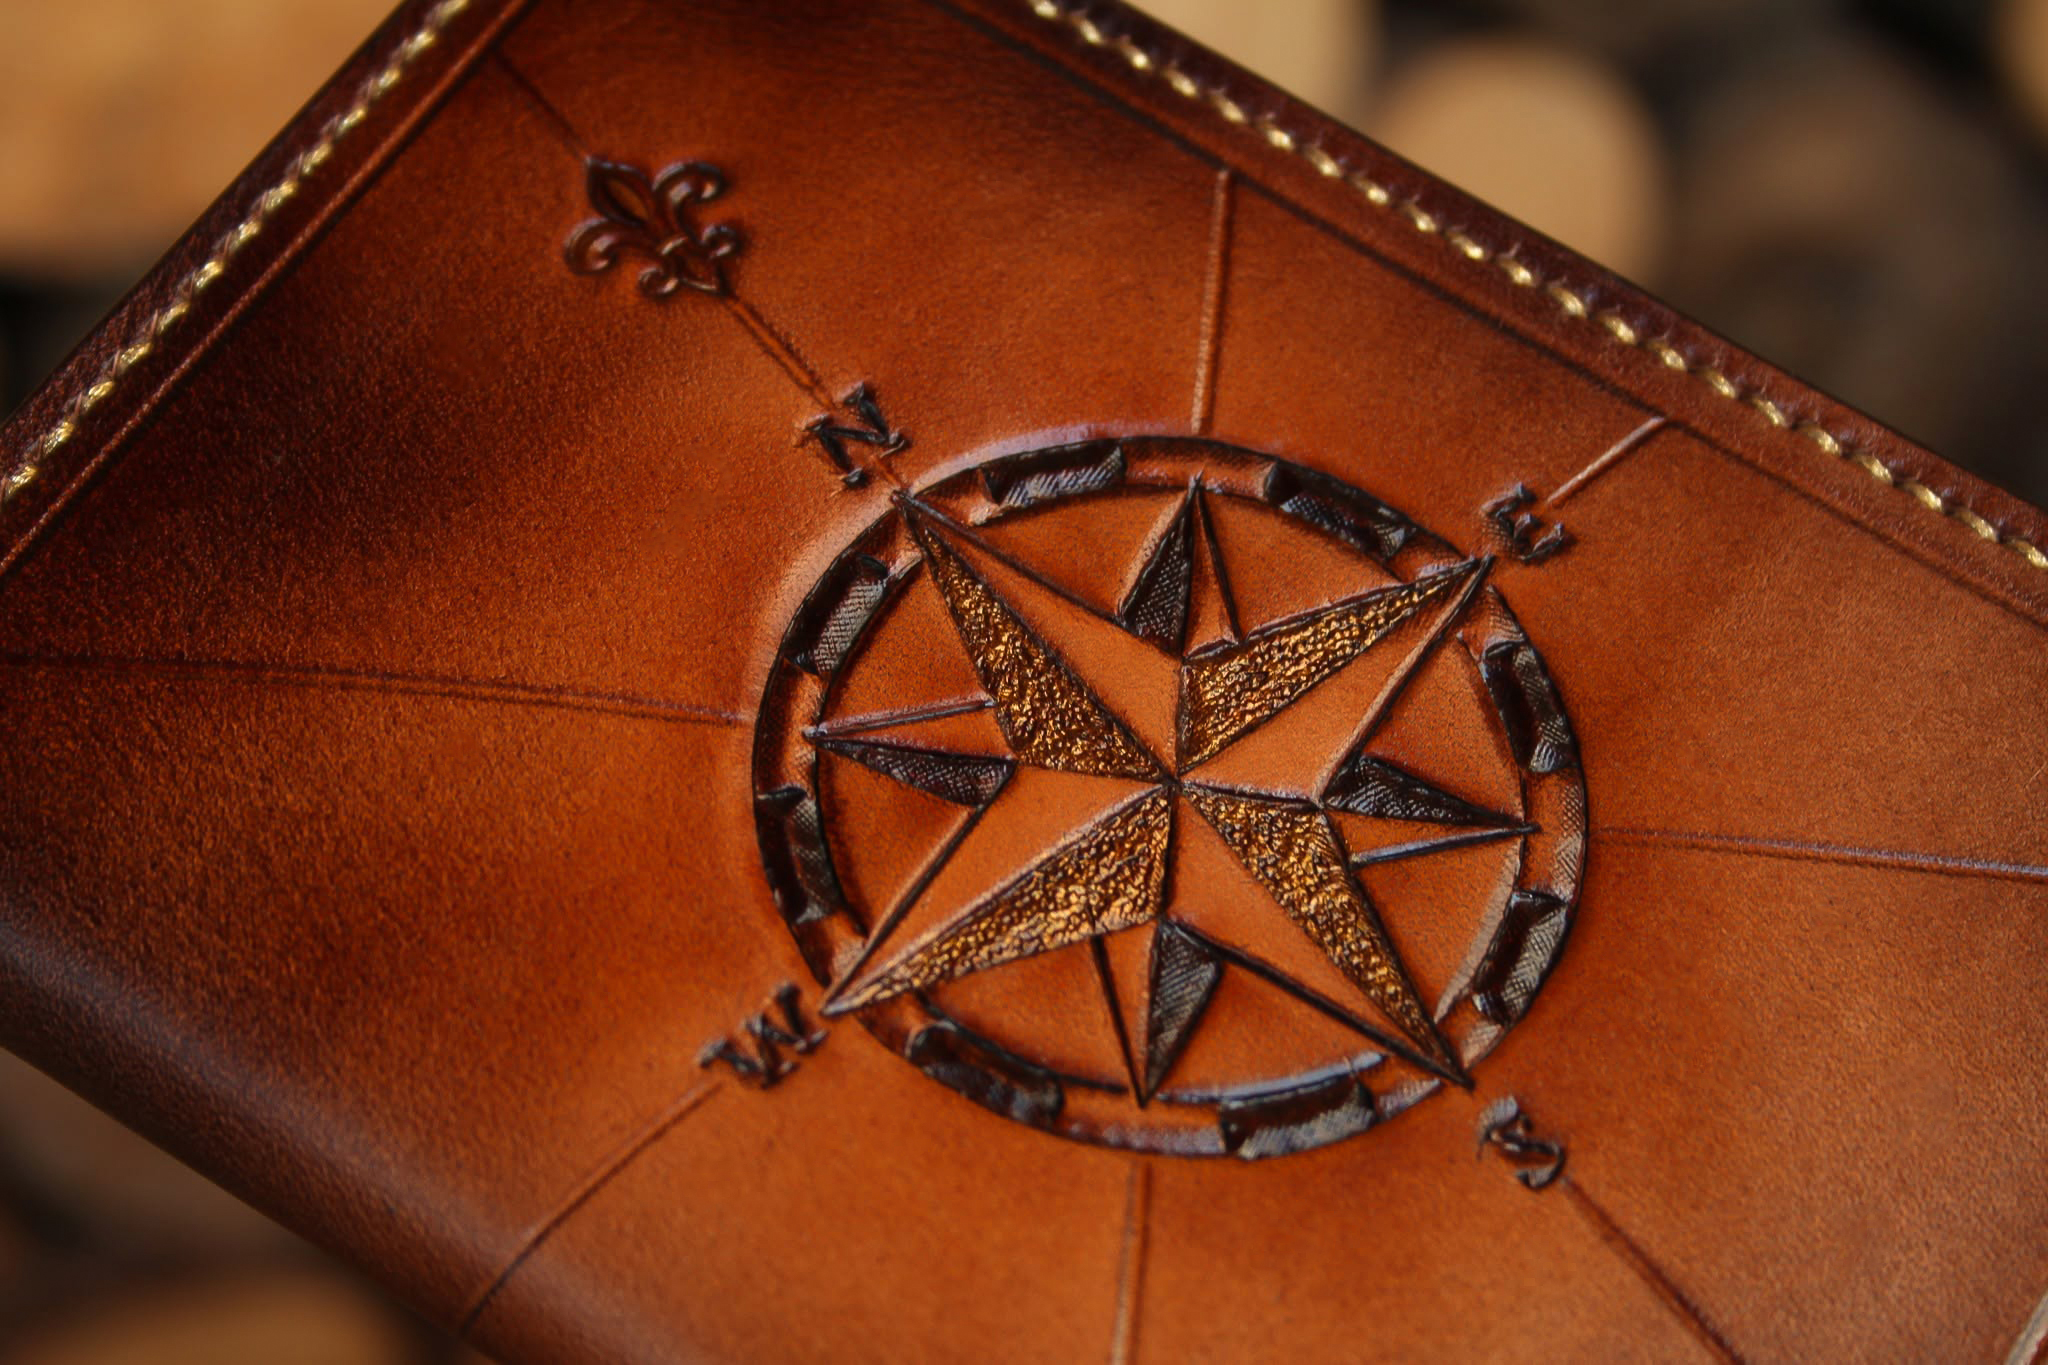
- Fiebing’s Pro Resist: A resist for antiquing. It seals the surface of the leather so that the antiquing stain (Antique Finish) does not soak into the flat areas but stays only in the tooled patterns. You can then easily wipe it off the raised areas, which creates a three-dimensional contrast.
4. Waxes and balms: natural protection and a refined look
When you want the product to feel soft, smell pleasant and keep its natural character, reach for wax. On new work made from natural, undyed leather, use waxes instead of finishes. Seal dyed leather with a finish first, because wax does not fix the dye. Keep in mind, however, that balms do not seal leather completely: to keep it water-repellent and supple, you need to reapply the balm regularly. Apply waxes and balms in a thin layer, let them soak in (from a short drying time to several hours, depending on the product) and then buff with a cloth. Finishes dry between coats in tens of minutes, but they fully cure only after several hours; for example, let Angelus cure for 24 hours before use.
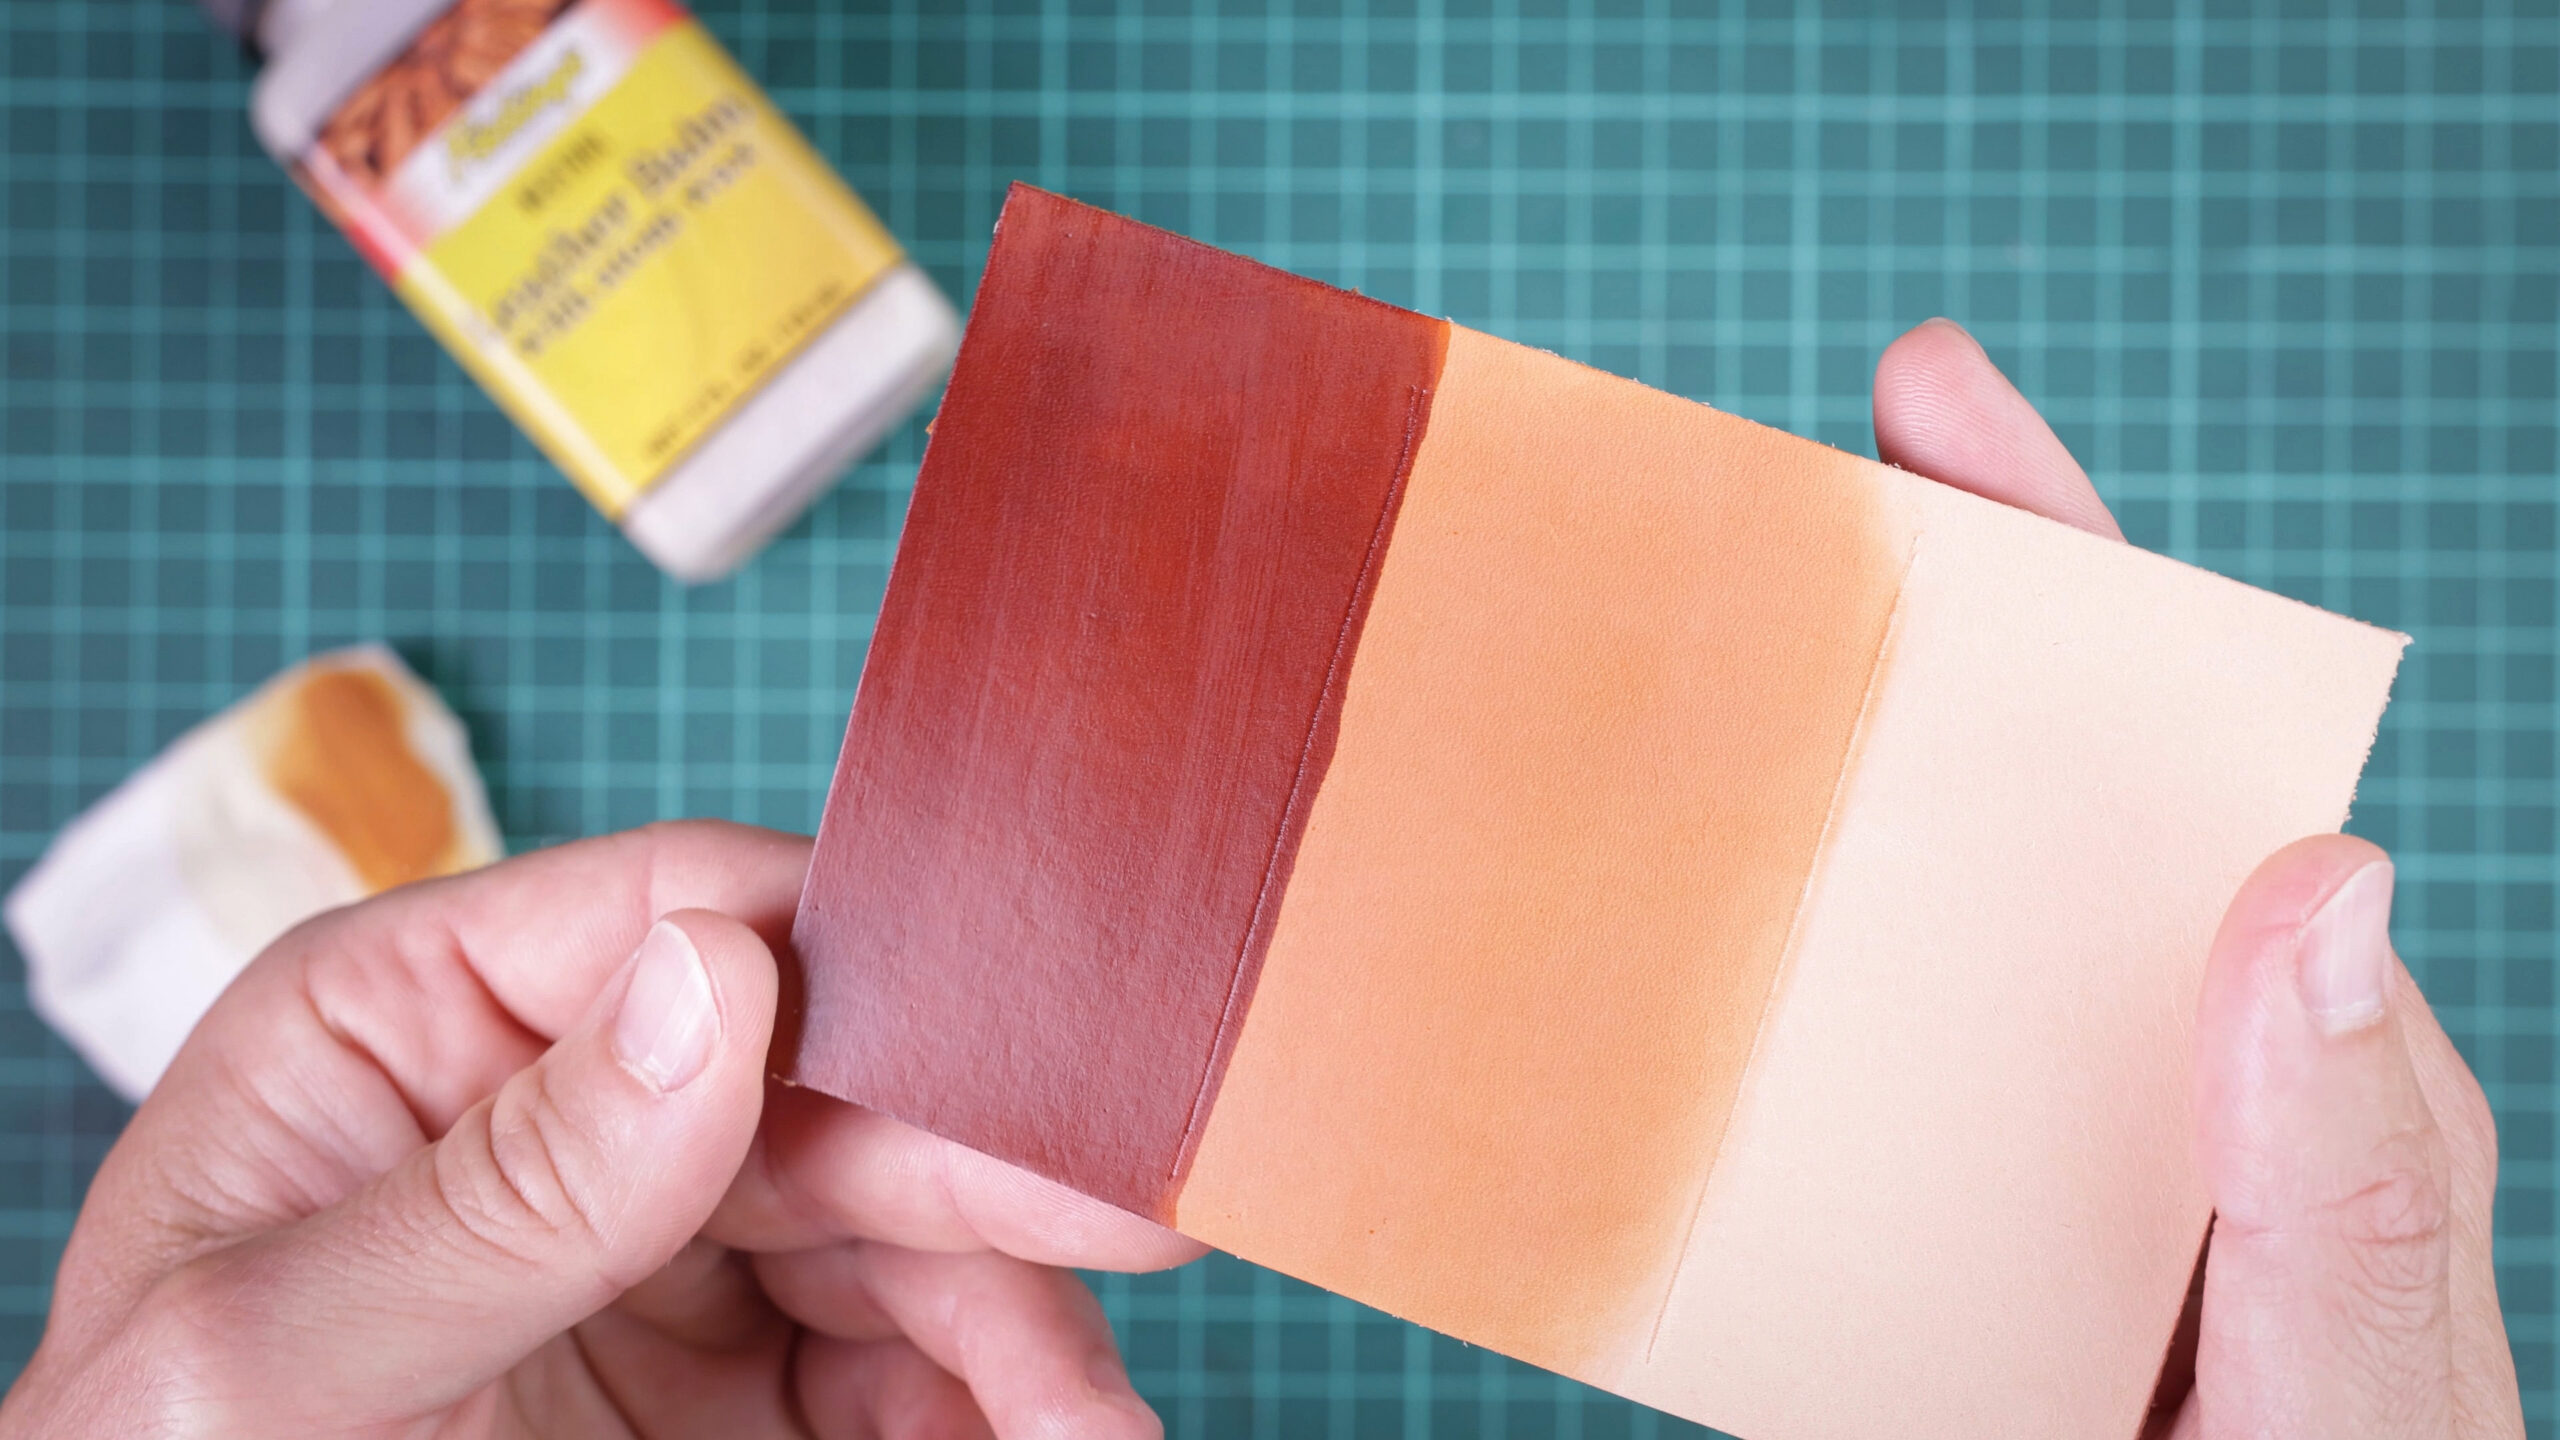
- Eco-Flo Carnauba Crème: A liquid wax made from carnauba wax. It is easy to apply and, once buffed, gives the surface a deep, natural shine and a smooth feel.
- Fiebing’s Leather Balm (with Atom Wax): Good for reviving older shoes or handbags. It cleans and polishes in one step.
- Leather Balm Universal: A dense balm with beeswax and lanolin. It waterproofs and repels water in the woods and in the rain.
- Leather Balm Extreme: A version of Universal with a higher share of lanolin for damp, mud, snow and frost.
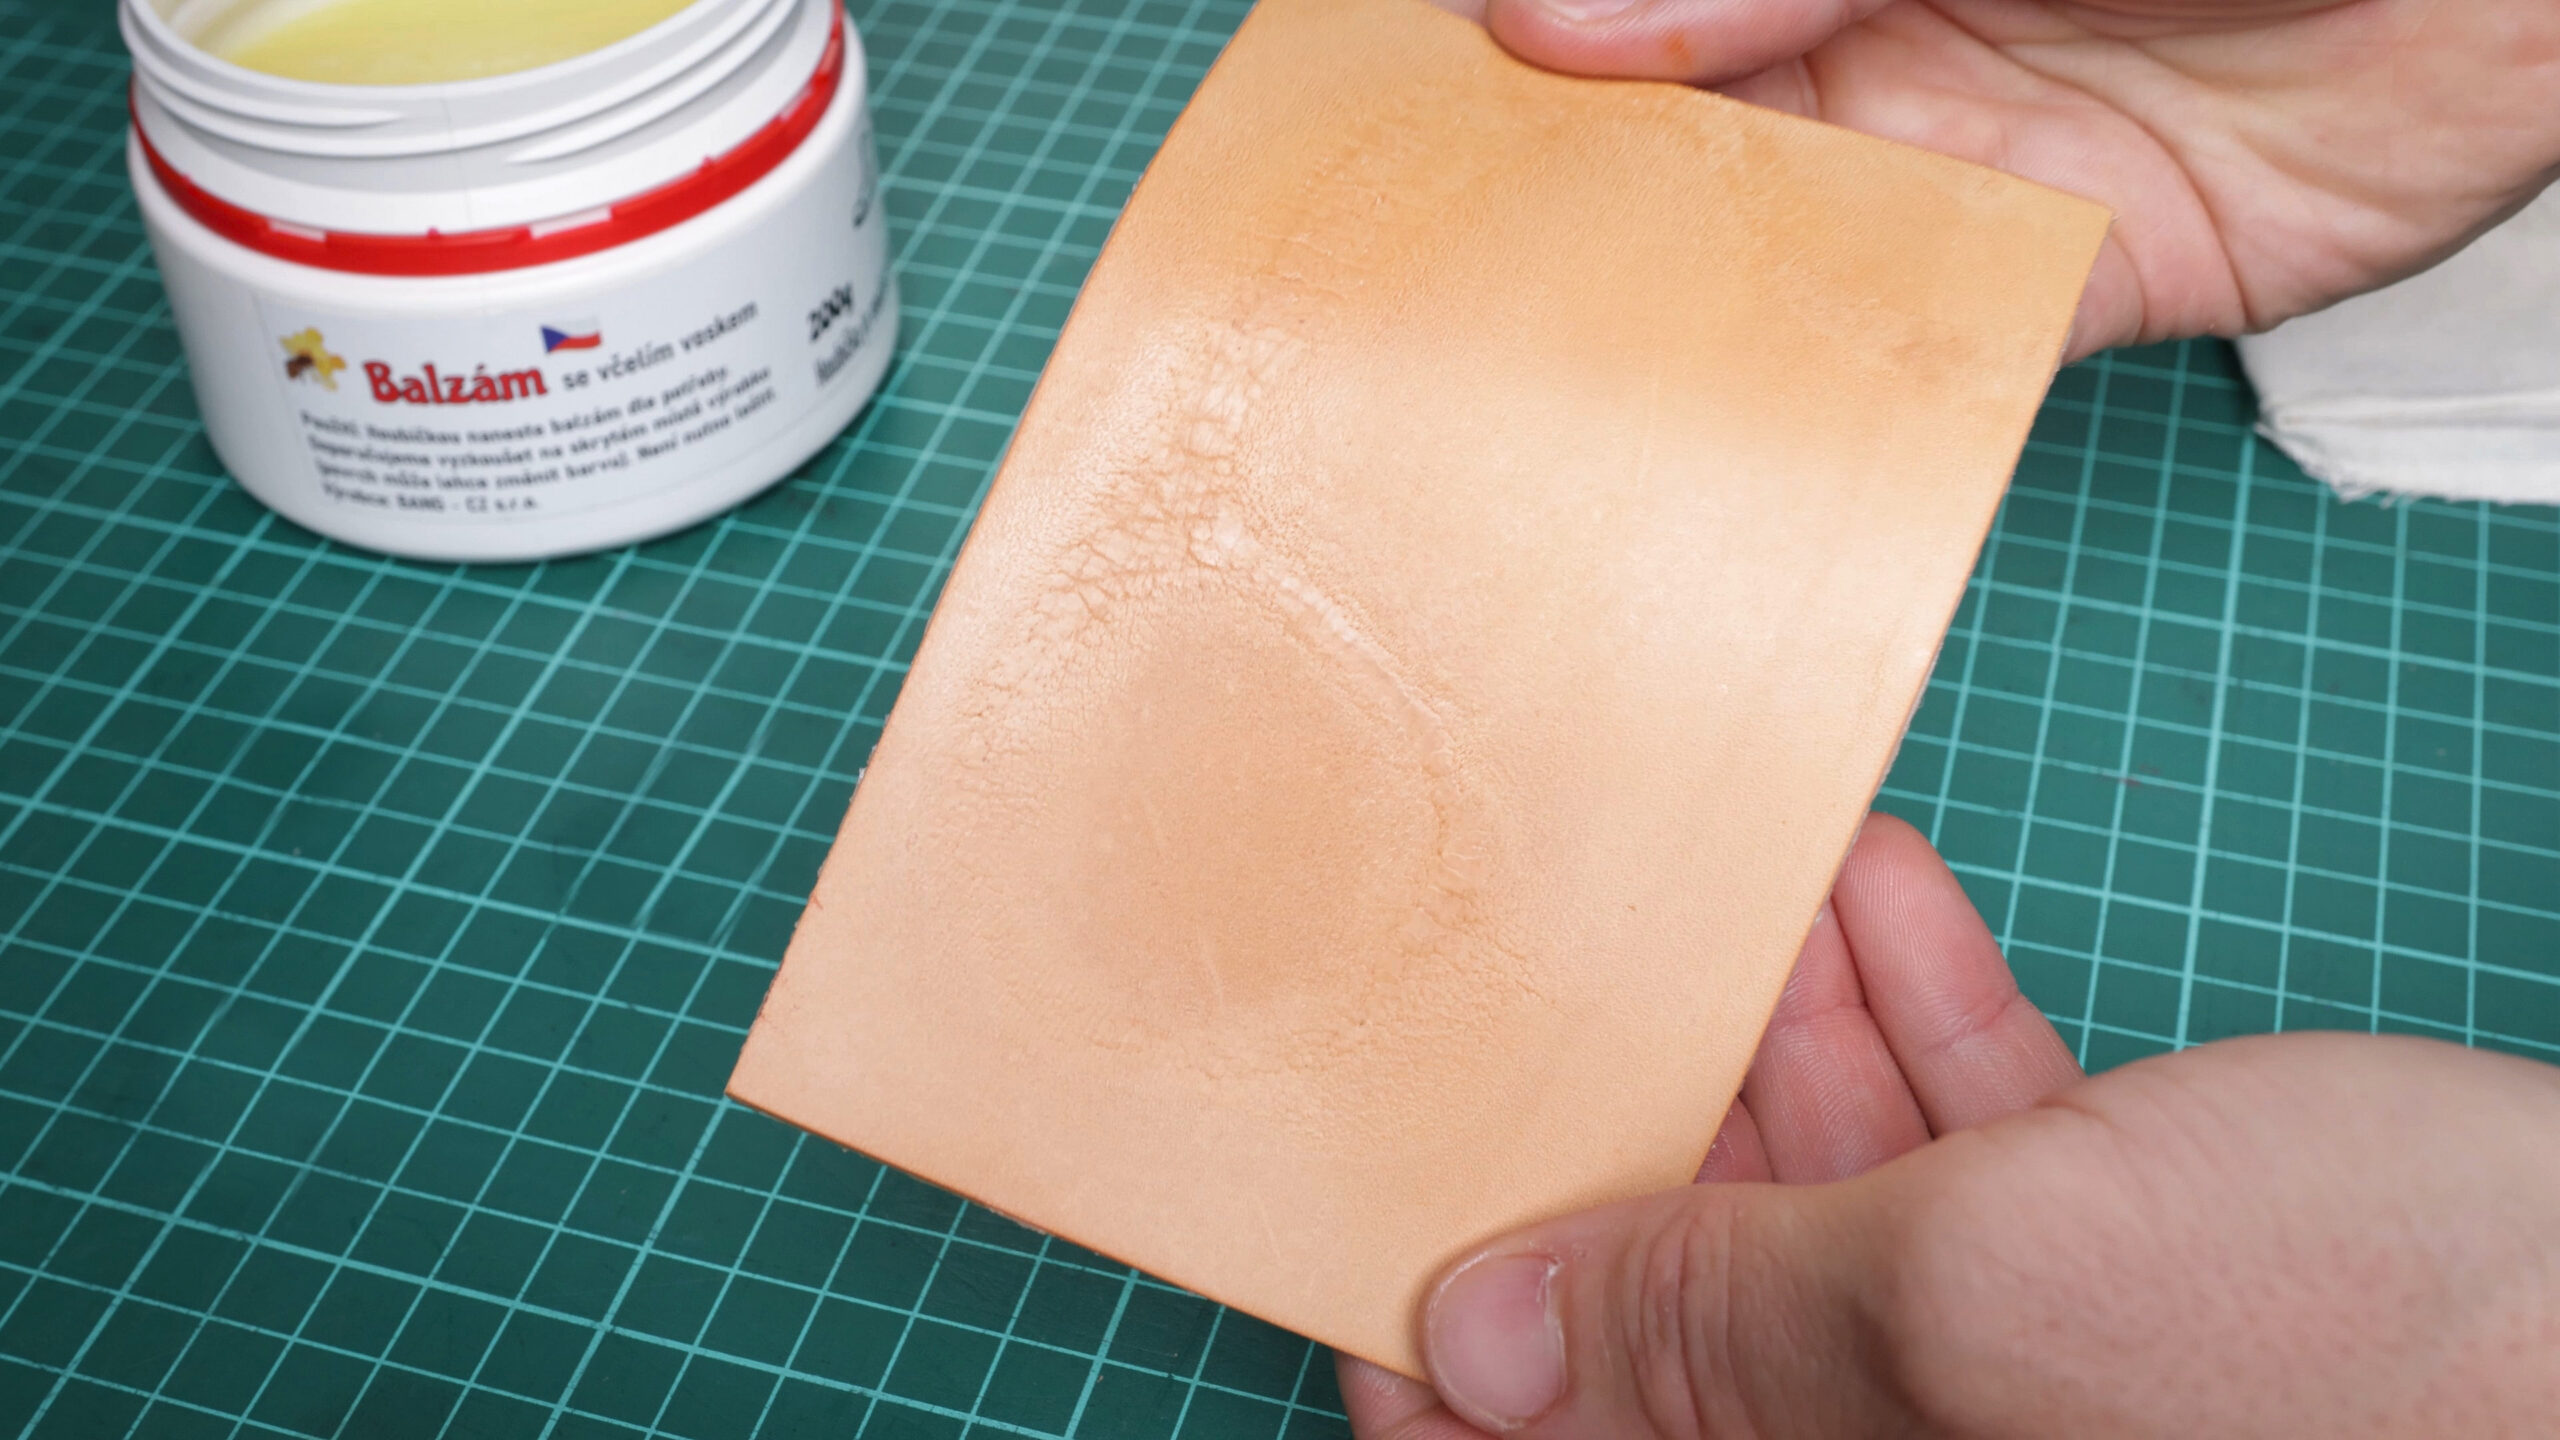
Bonus: restoration and care, or how to bring leather goods back to life
Leather can last a lifetime, but after a while it needs a little spa treatment. Whether it is an old saddle from the attic or your favorite belt that has stiffened over the years, the procedure is always the same:
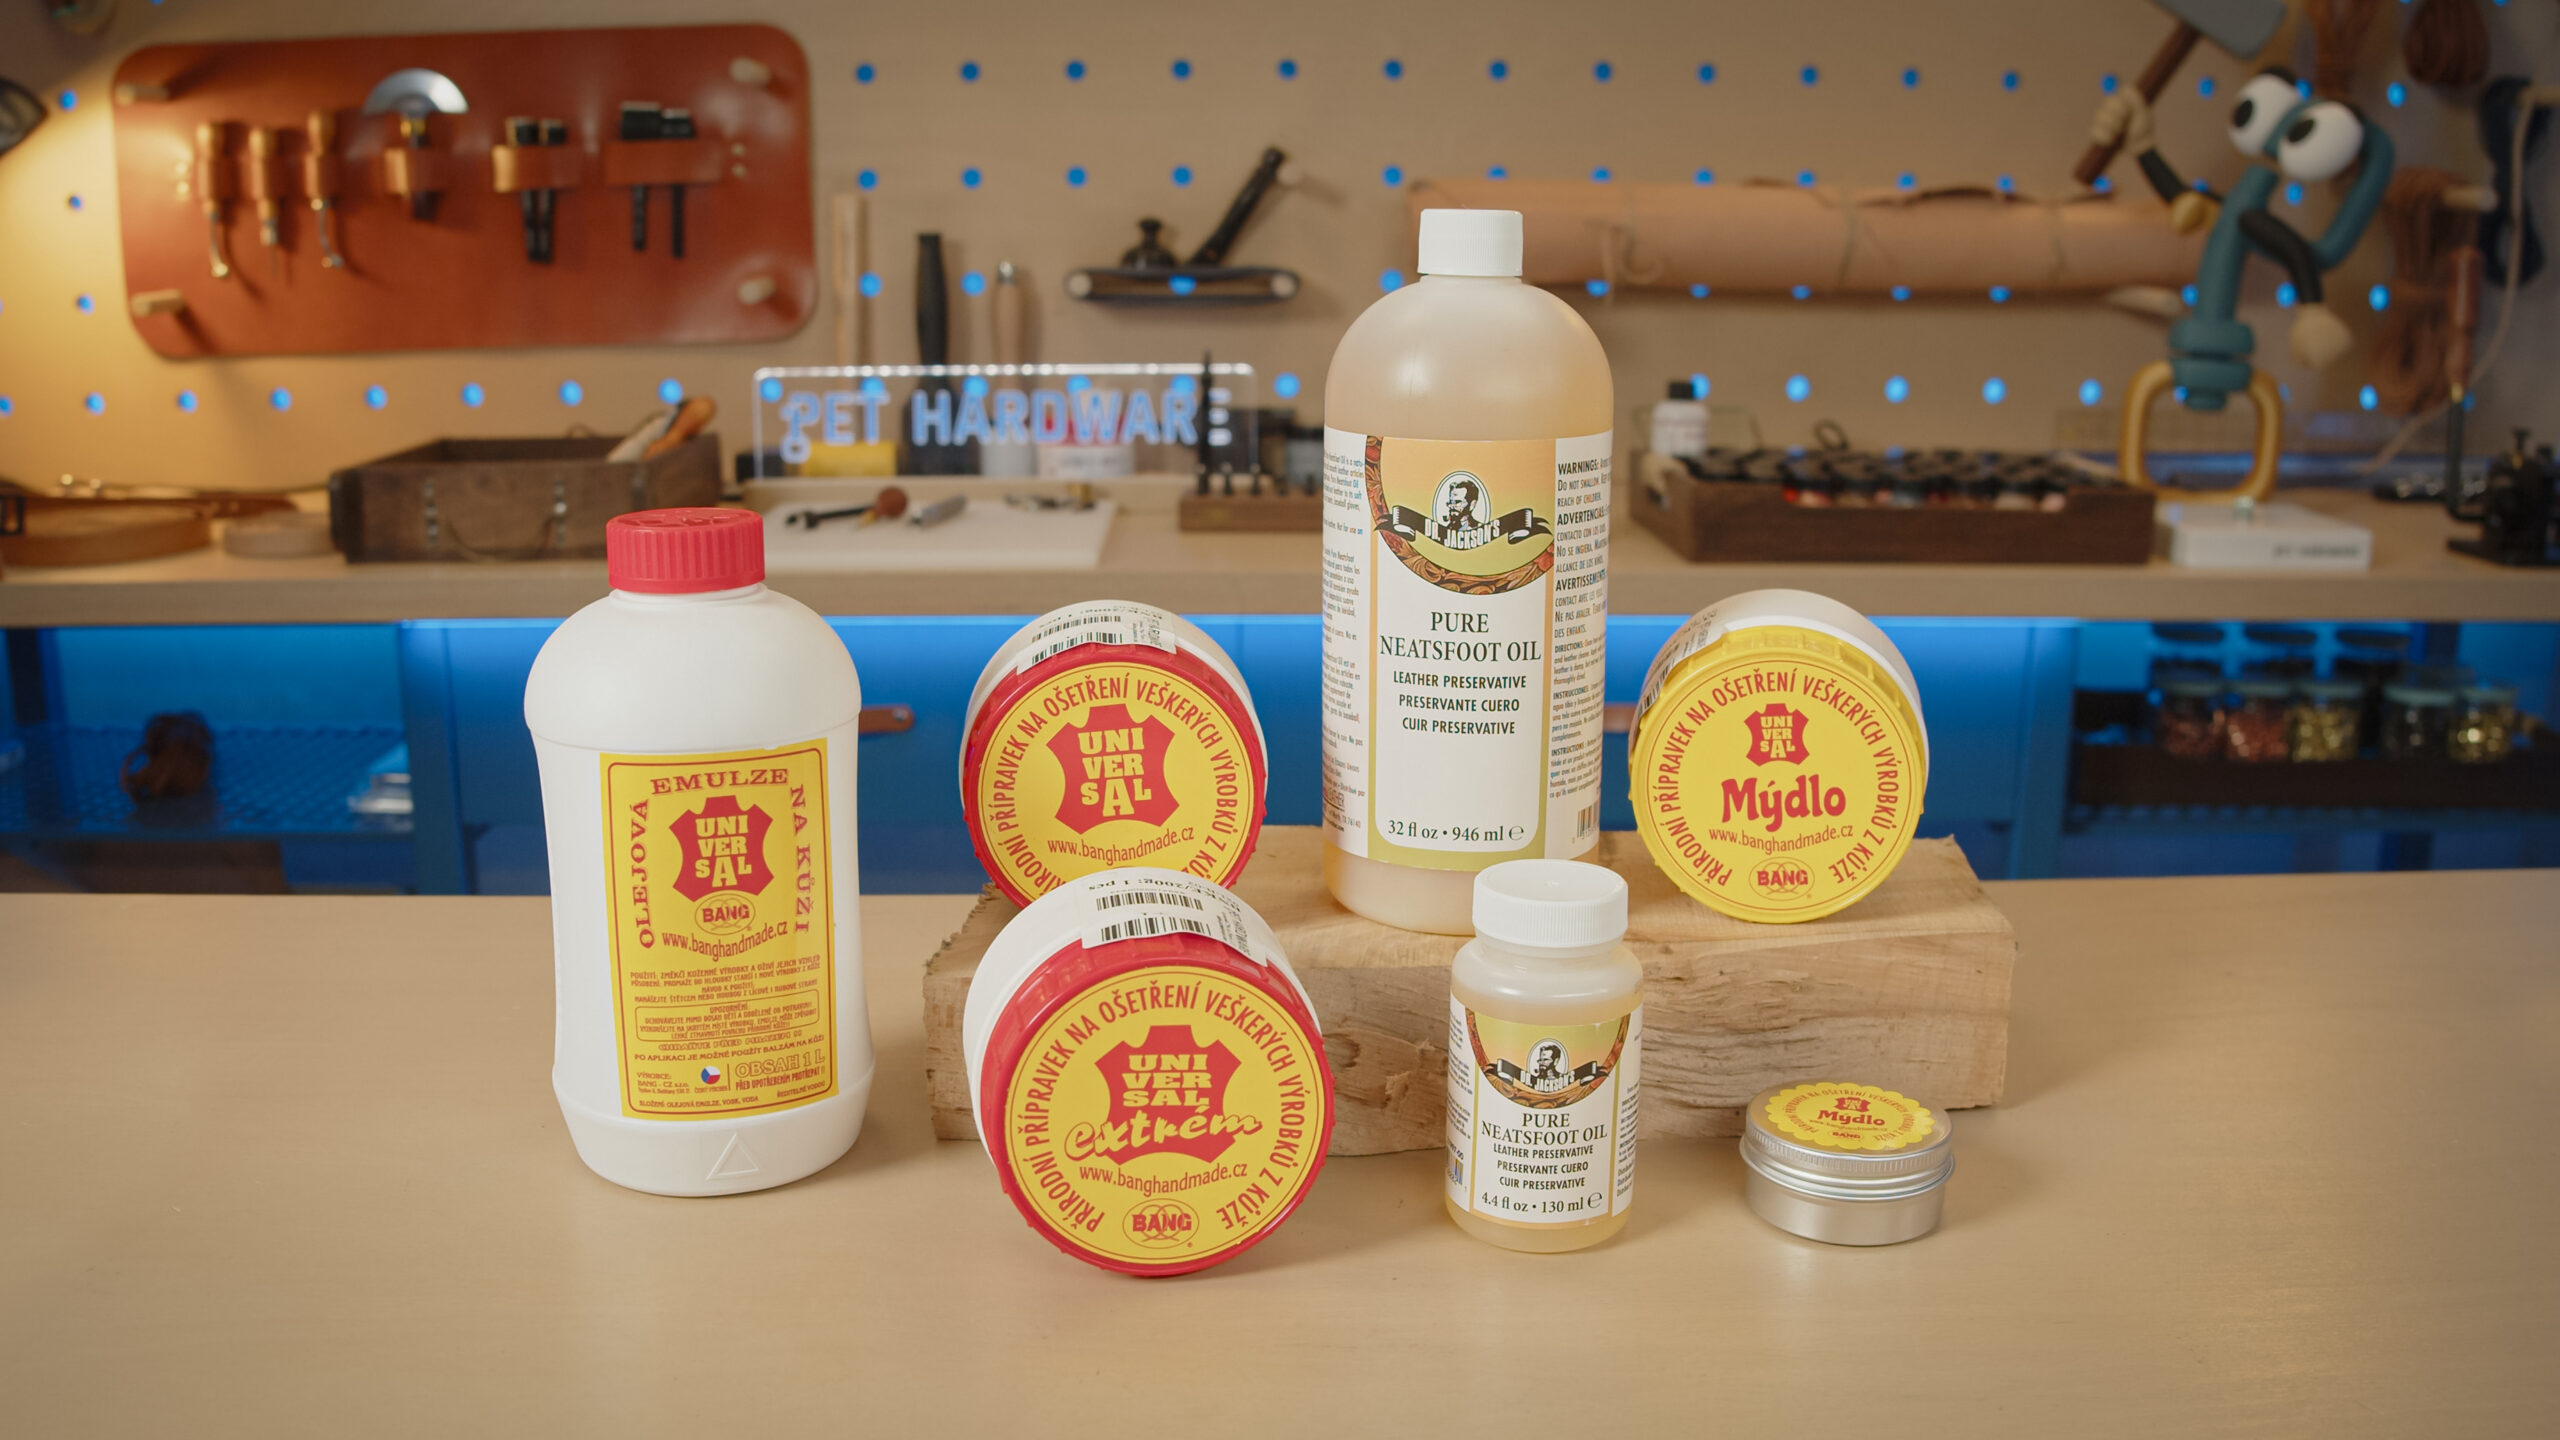
- Cleaning: Universal saddle soap. Forget ordinary dish soap or hand soap. Glycerin-based Universal saddle soap gently removes dirt and dust without drying out the leather. It is an essential first step in any restoration.
- Deep rescue: neatsfoot oil. If the leather is dry and “thirsty”, oil restores its flexibility. Apply it in thin coats for as long as the leather keeps absorbing it.
- Final care: balms. This is the moment for Leather Balm or Leather Balm Universal. Even if the product was once finished, microcracks appear in the finish over time. The balm soaks in through them, nourishes the leather and leaves the surface pleasantly soft and fragrant again.
Quick cheat sheet: which leather finish to use when
| What do I need? | Recommended product |
|---|---|
| Clean and degrease before dyeing | Fiebing’s Deglazer |
| Soften stiff leather | Dr. Jackson’s Neatsfoot Oil |
| Maximum water resistance and shine | Fiebing’s Resolene |
| Natural, matte look | Fiebing’s Tan Kote or Eco-Flo Satin Shene |
| Natural semi-gloss | Eco-Flo Super Shene |
| Painting sneakers (flexibility) | Angelus Acrylic Finisher (Normal, High Gloss, Matte) |
| Deep shine and a smooth feel | Eco-Flo Carnauba Crème |
| Wax on dyed leather | Finish first (for example, Fiebing’s Resolene), then wax |
| Protection for extreme weather | Leather Balm Extreme |
| Restoring an old piece | Universal saddle soap → Neatsfoot oil → Balm |
A final tip
The rule always applies: less is more. Apply all products in thin coats. And remember, every piece of leather is different. Before you apply any product to a finished item, always test it on a small offcut first.