
Dog collar making is rewarding work, but it is also a craft where millimeters matter. One crooked rivet, a badly punched hole or the wrong choice of hardware can spoil not only the look of the finished product but, above all, how well and how safely it works.
With collars in particular, keep in mind that they are not just a photo prop. A collar has to hold during everyday wear, when the dog pulls on the leash, when it moves and in daily use. That is why it pays to check every important part before you pack the product and ship it to your customer.
In this article we look at the most common mistakes in dog collar making, why they happen and how to avoid them.
1. A crooked rivet
A crooked rivet is not just a small cosmetic flaw. On a collar, such a joint can be outright risky, because it often holds the buckle, the D-ring or another part under load. If the rivet does not sit straight or bends to the side as you set it, the joint may not be strong enough and can gradually loosen or tear out in use.
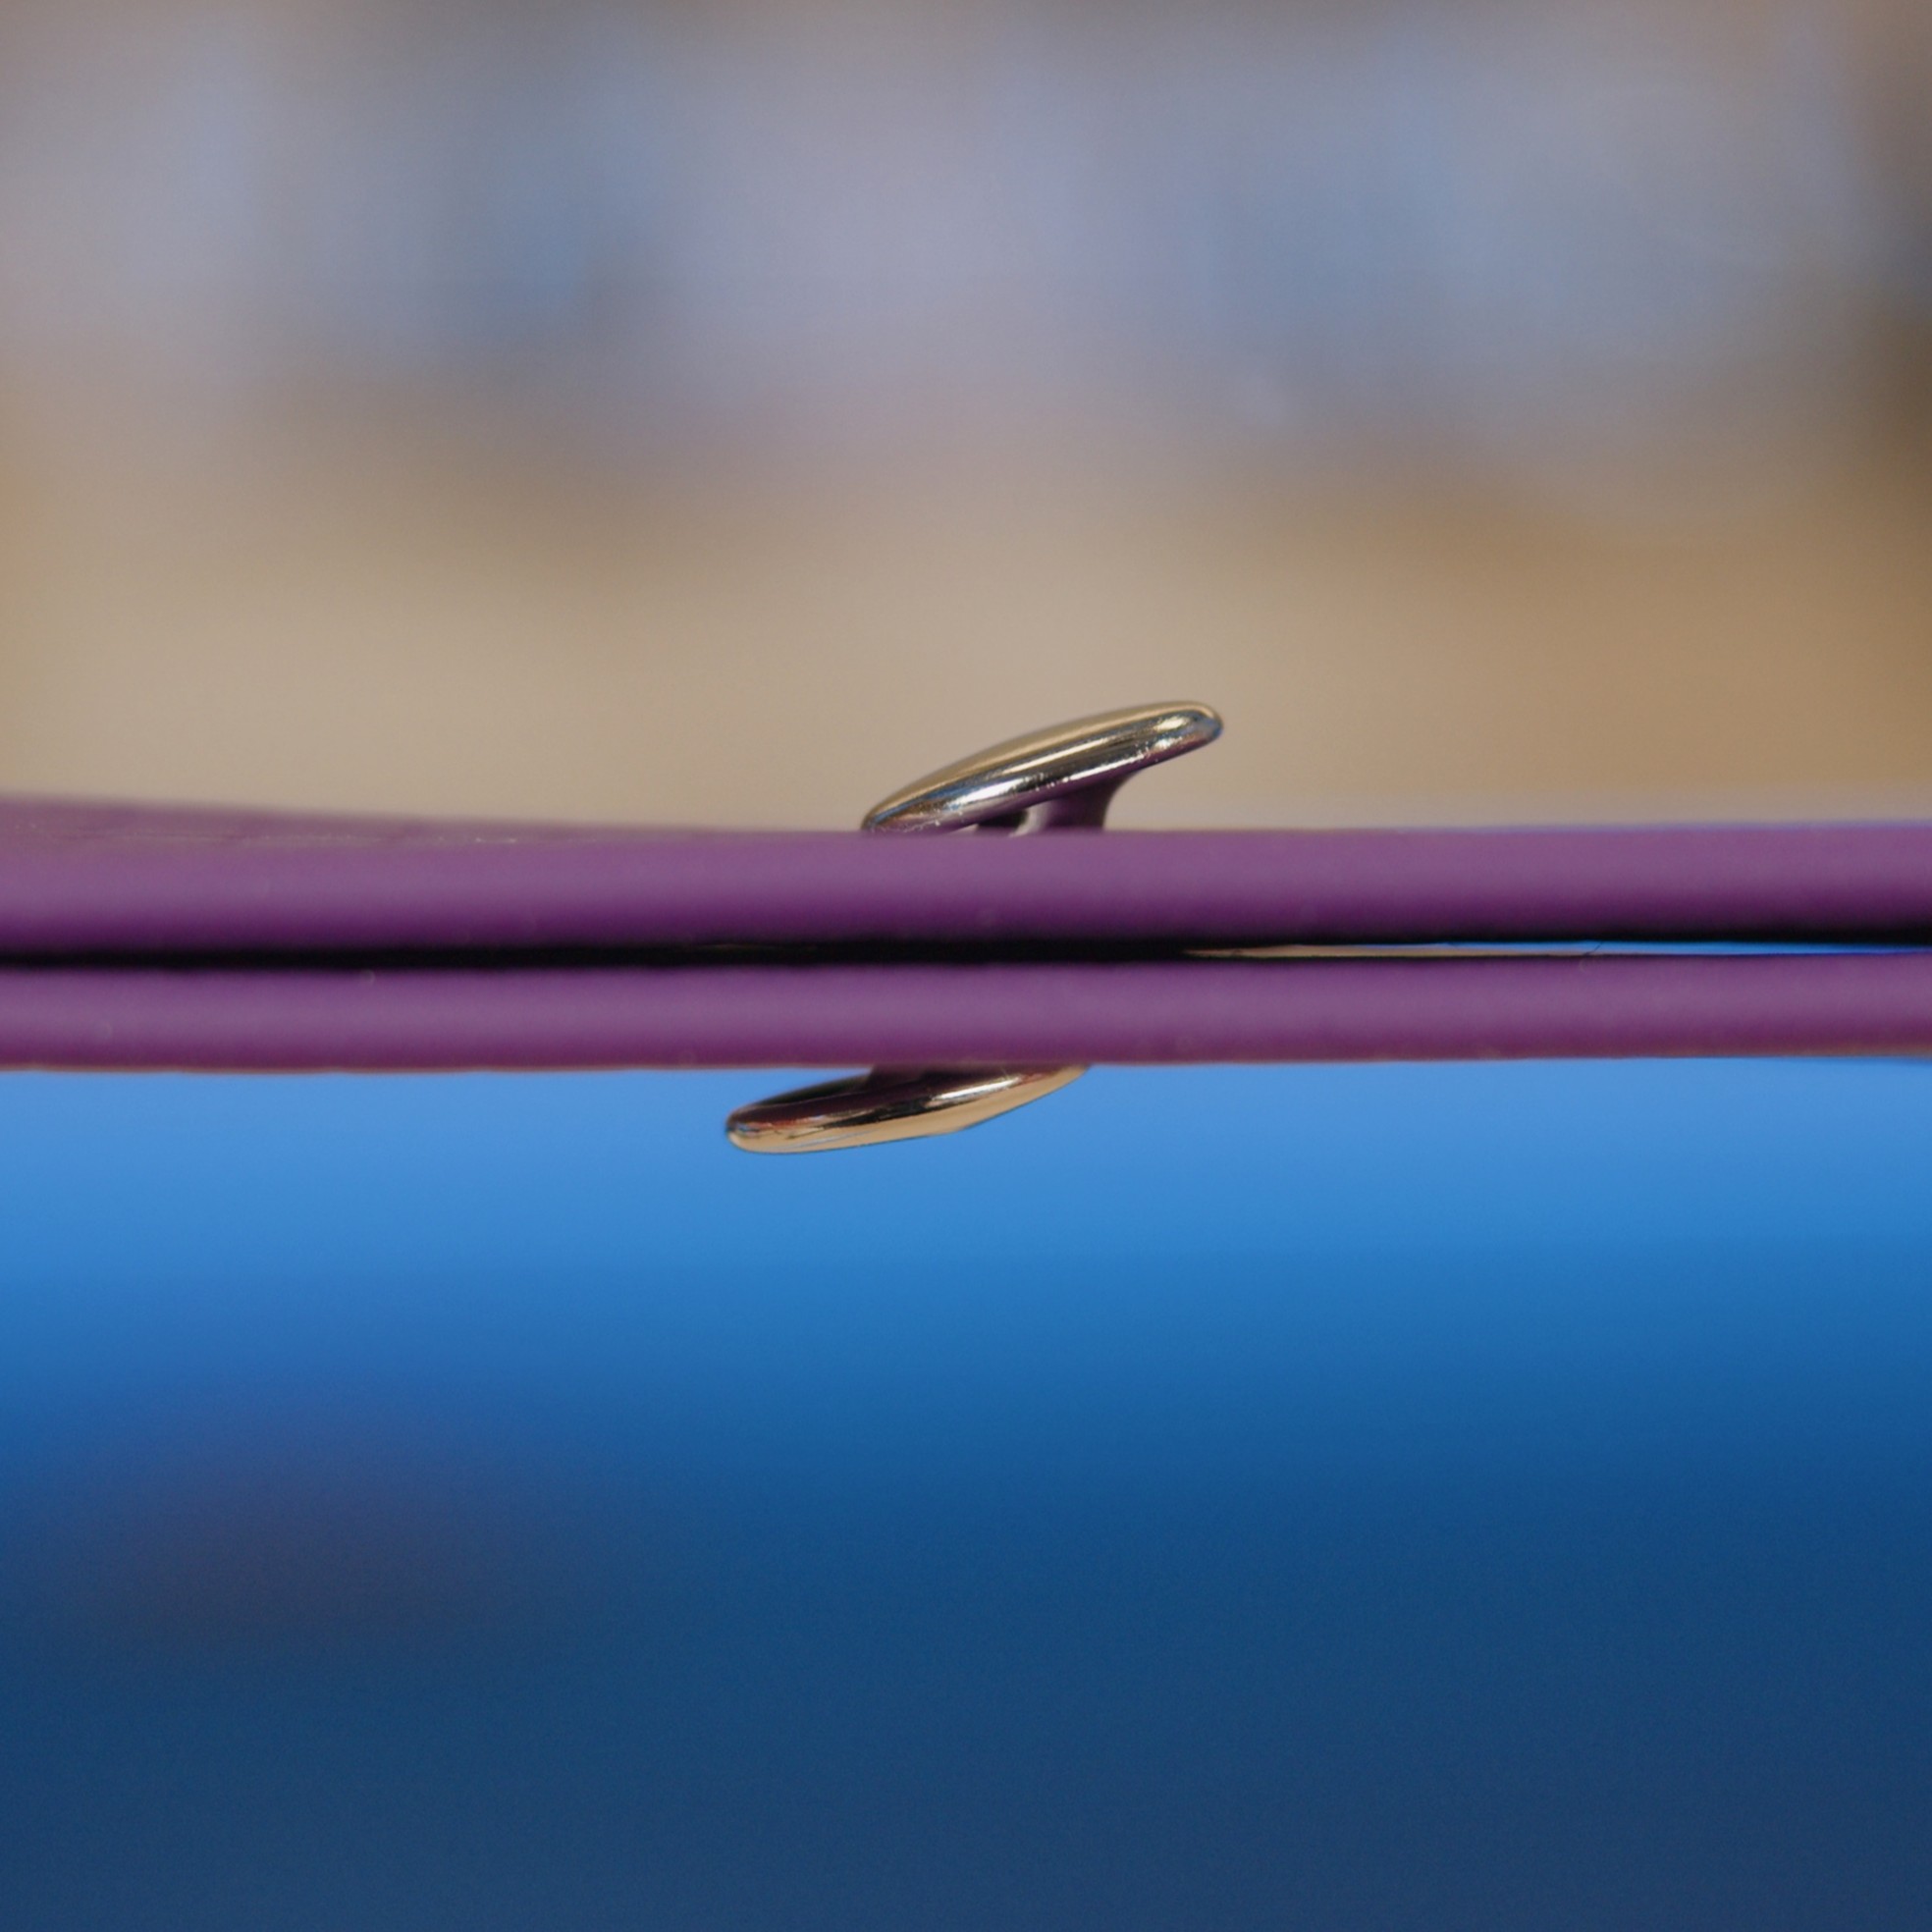
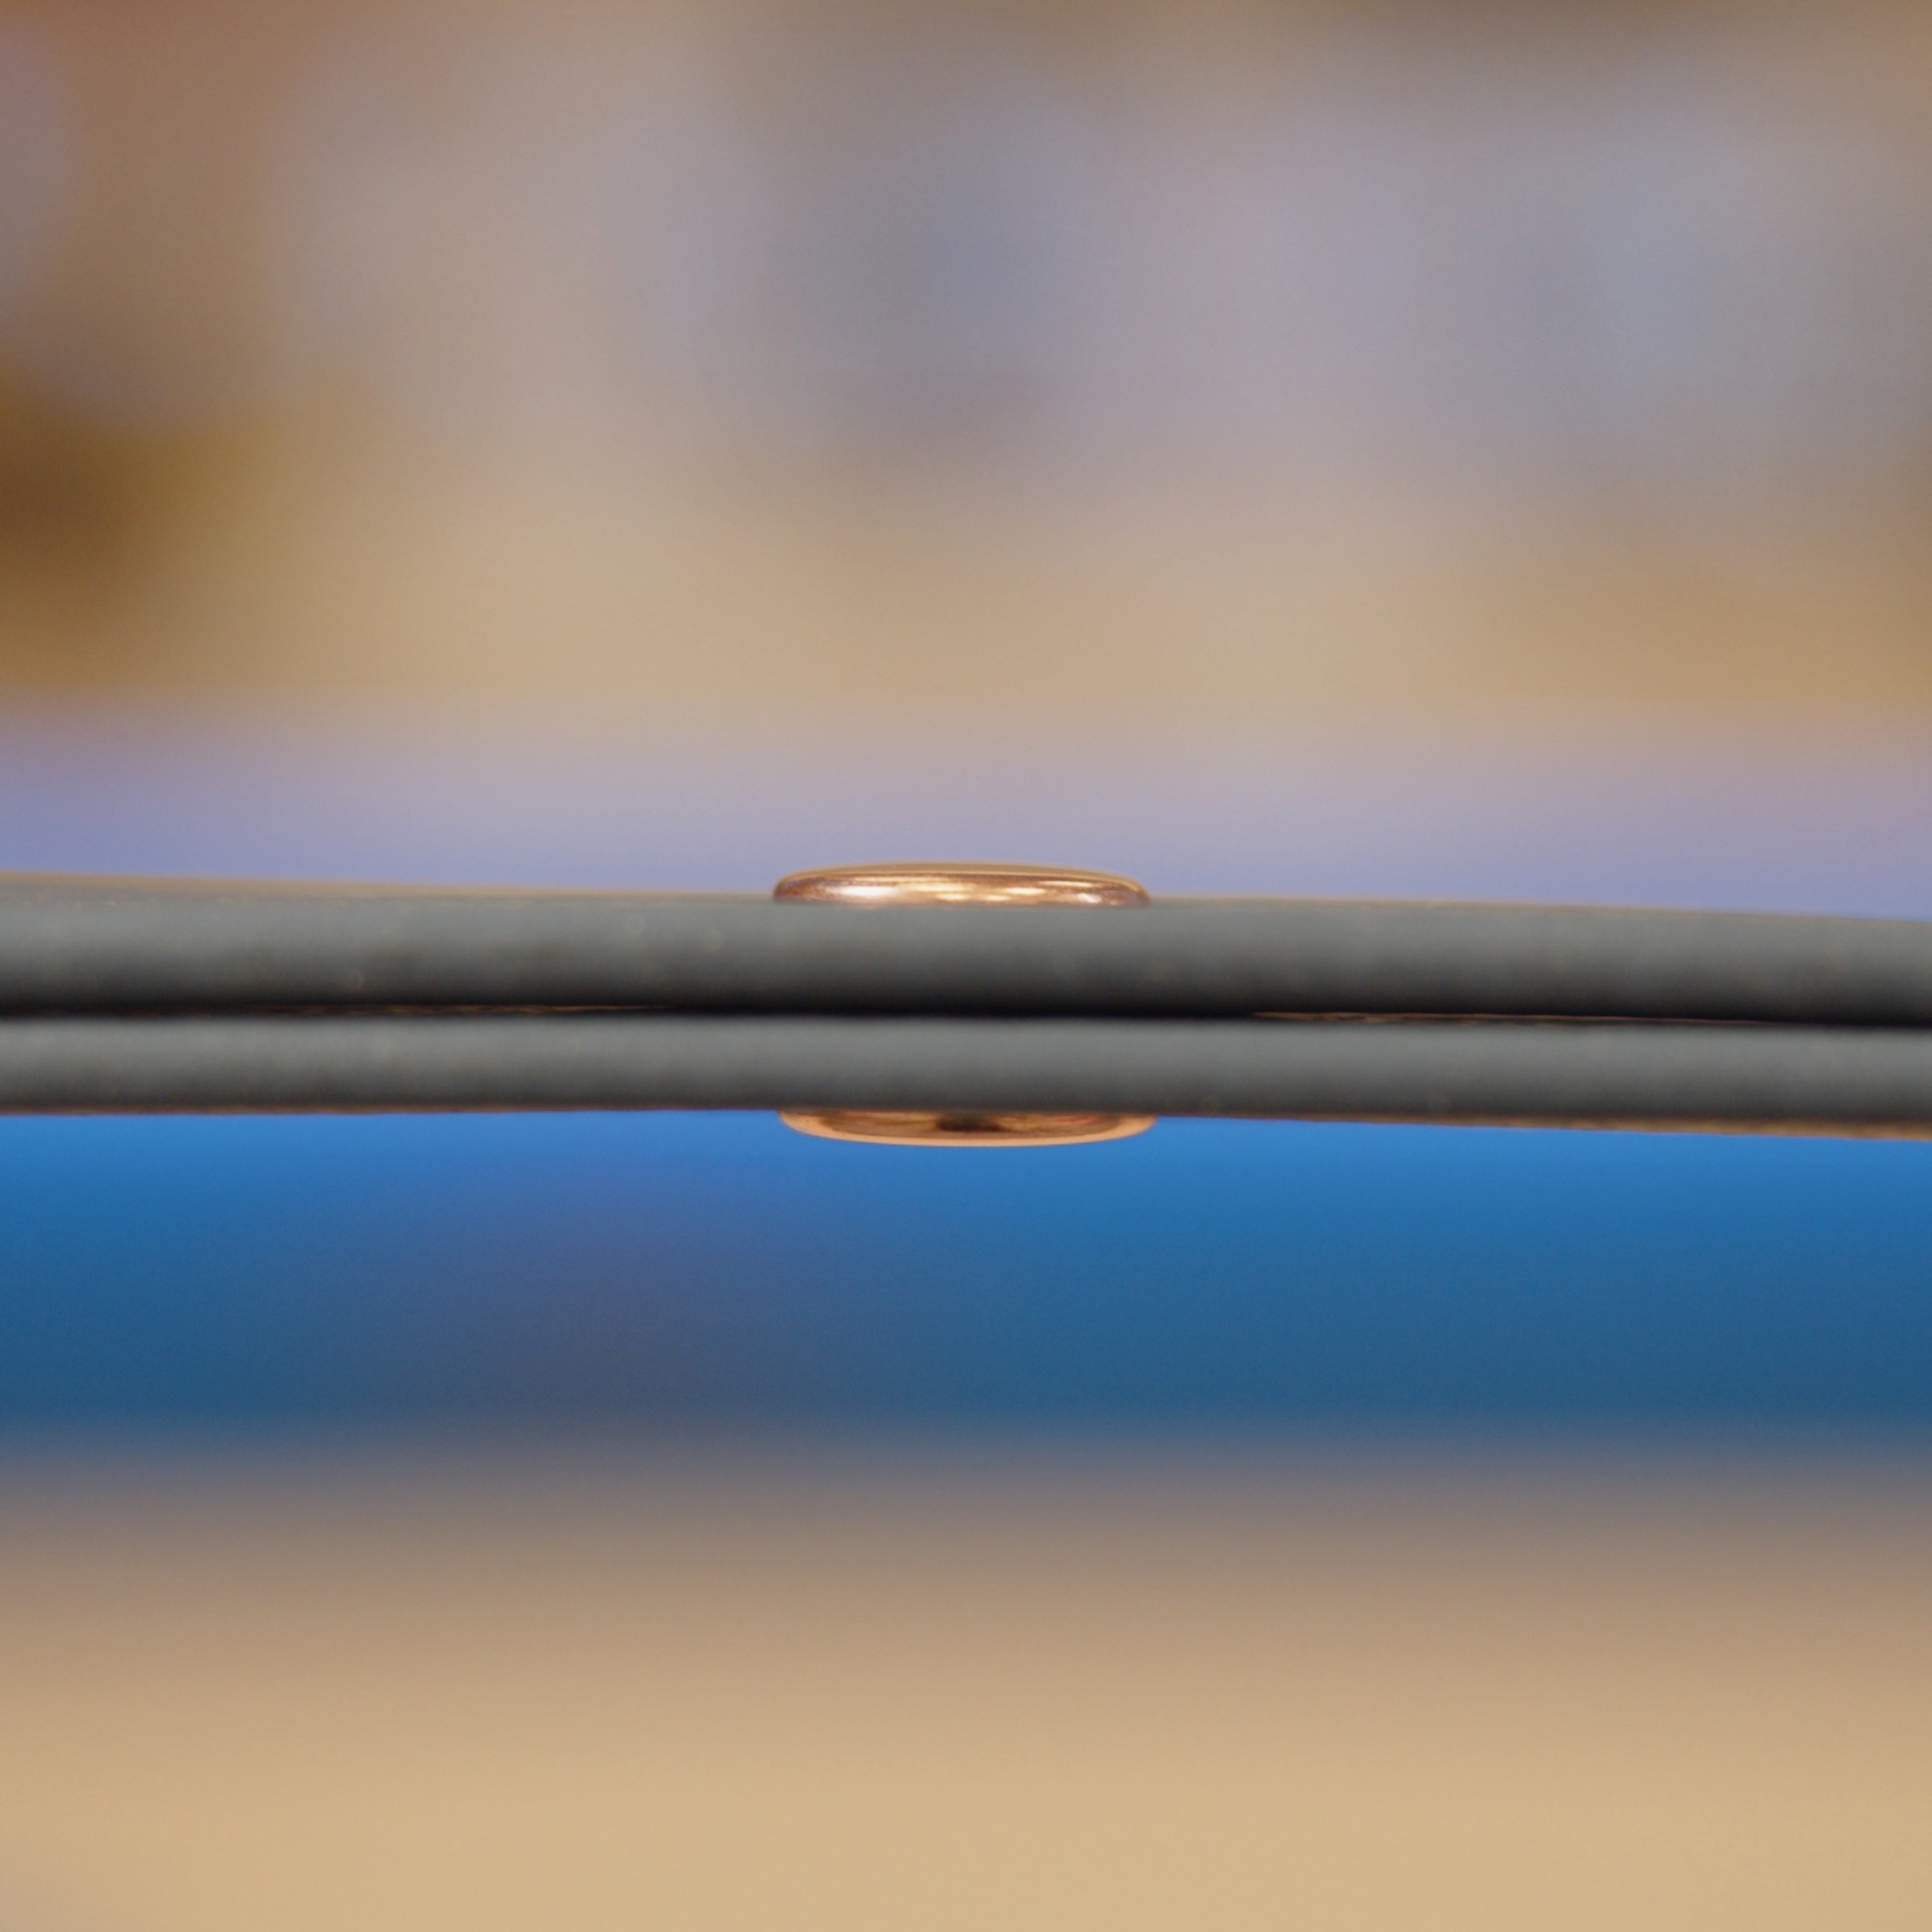
You can usually spot a badly set rivet at first glance or when you check it in your hand: the cap does not lie flat on the material, there is a visible gap between the rivet and the webbing, or the rivet moves slightly or spins under load. A correctly set rivet sits firmly and straight, with no gap between the metal and the material and no movement at all.
The most common causes are:
- the wrong rivet length,
- a hole that is too large or punched at an angle,
- setting the rivet at an angle,
- using an unsuitable tool or the wrong die.
Rivet length plays the biggest role. If the post is too short, it will not set properly and the joint will not hold. If it is too long, it can bend to the side when you press or hammer it. The result is a crooked rivet that does not look good and, above all, is not reliable.
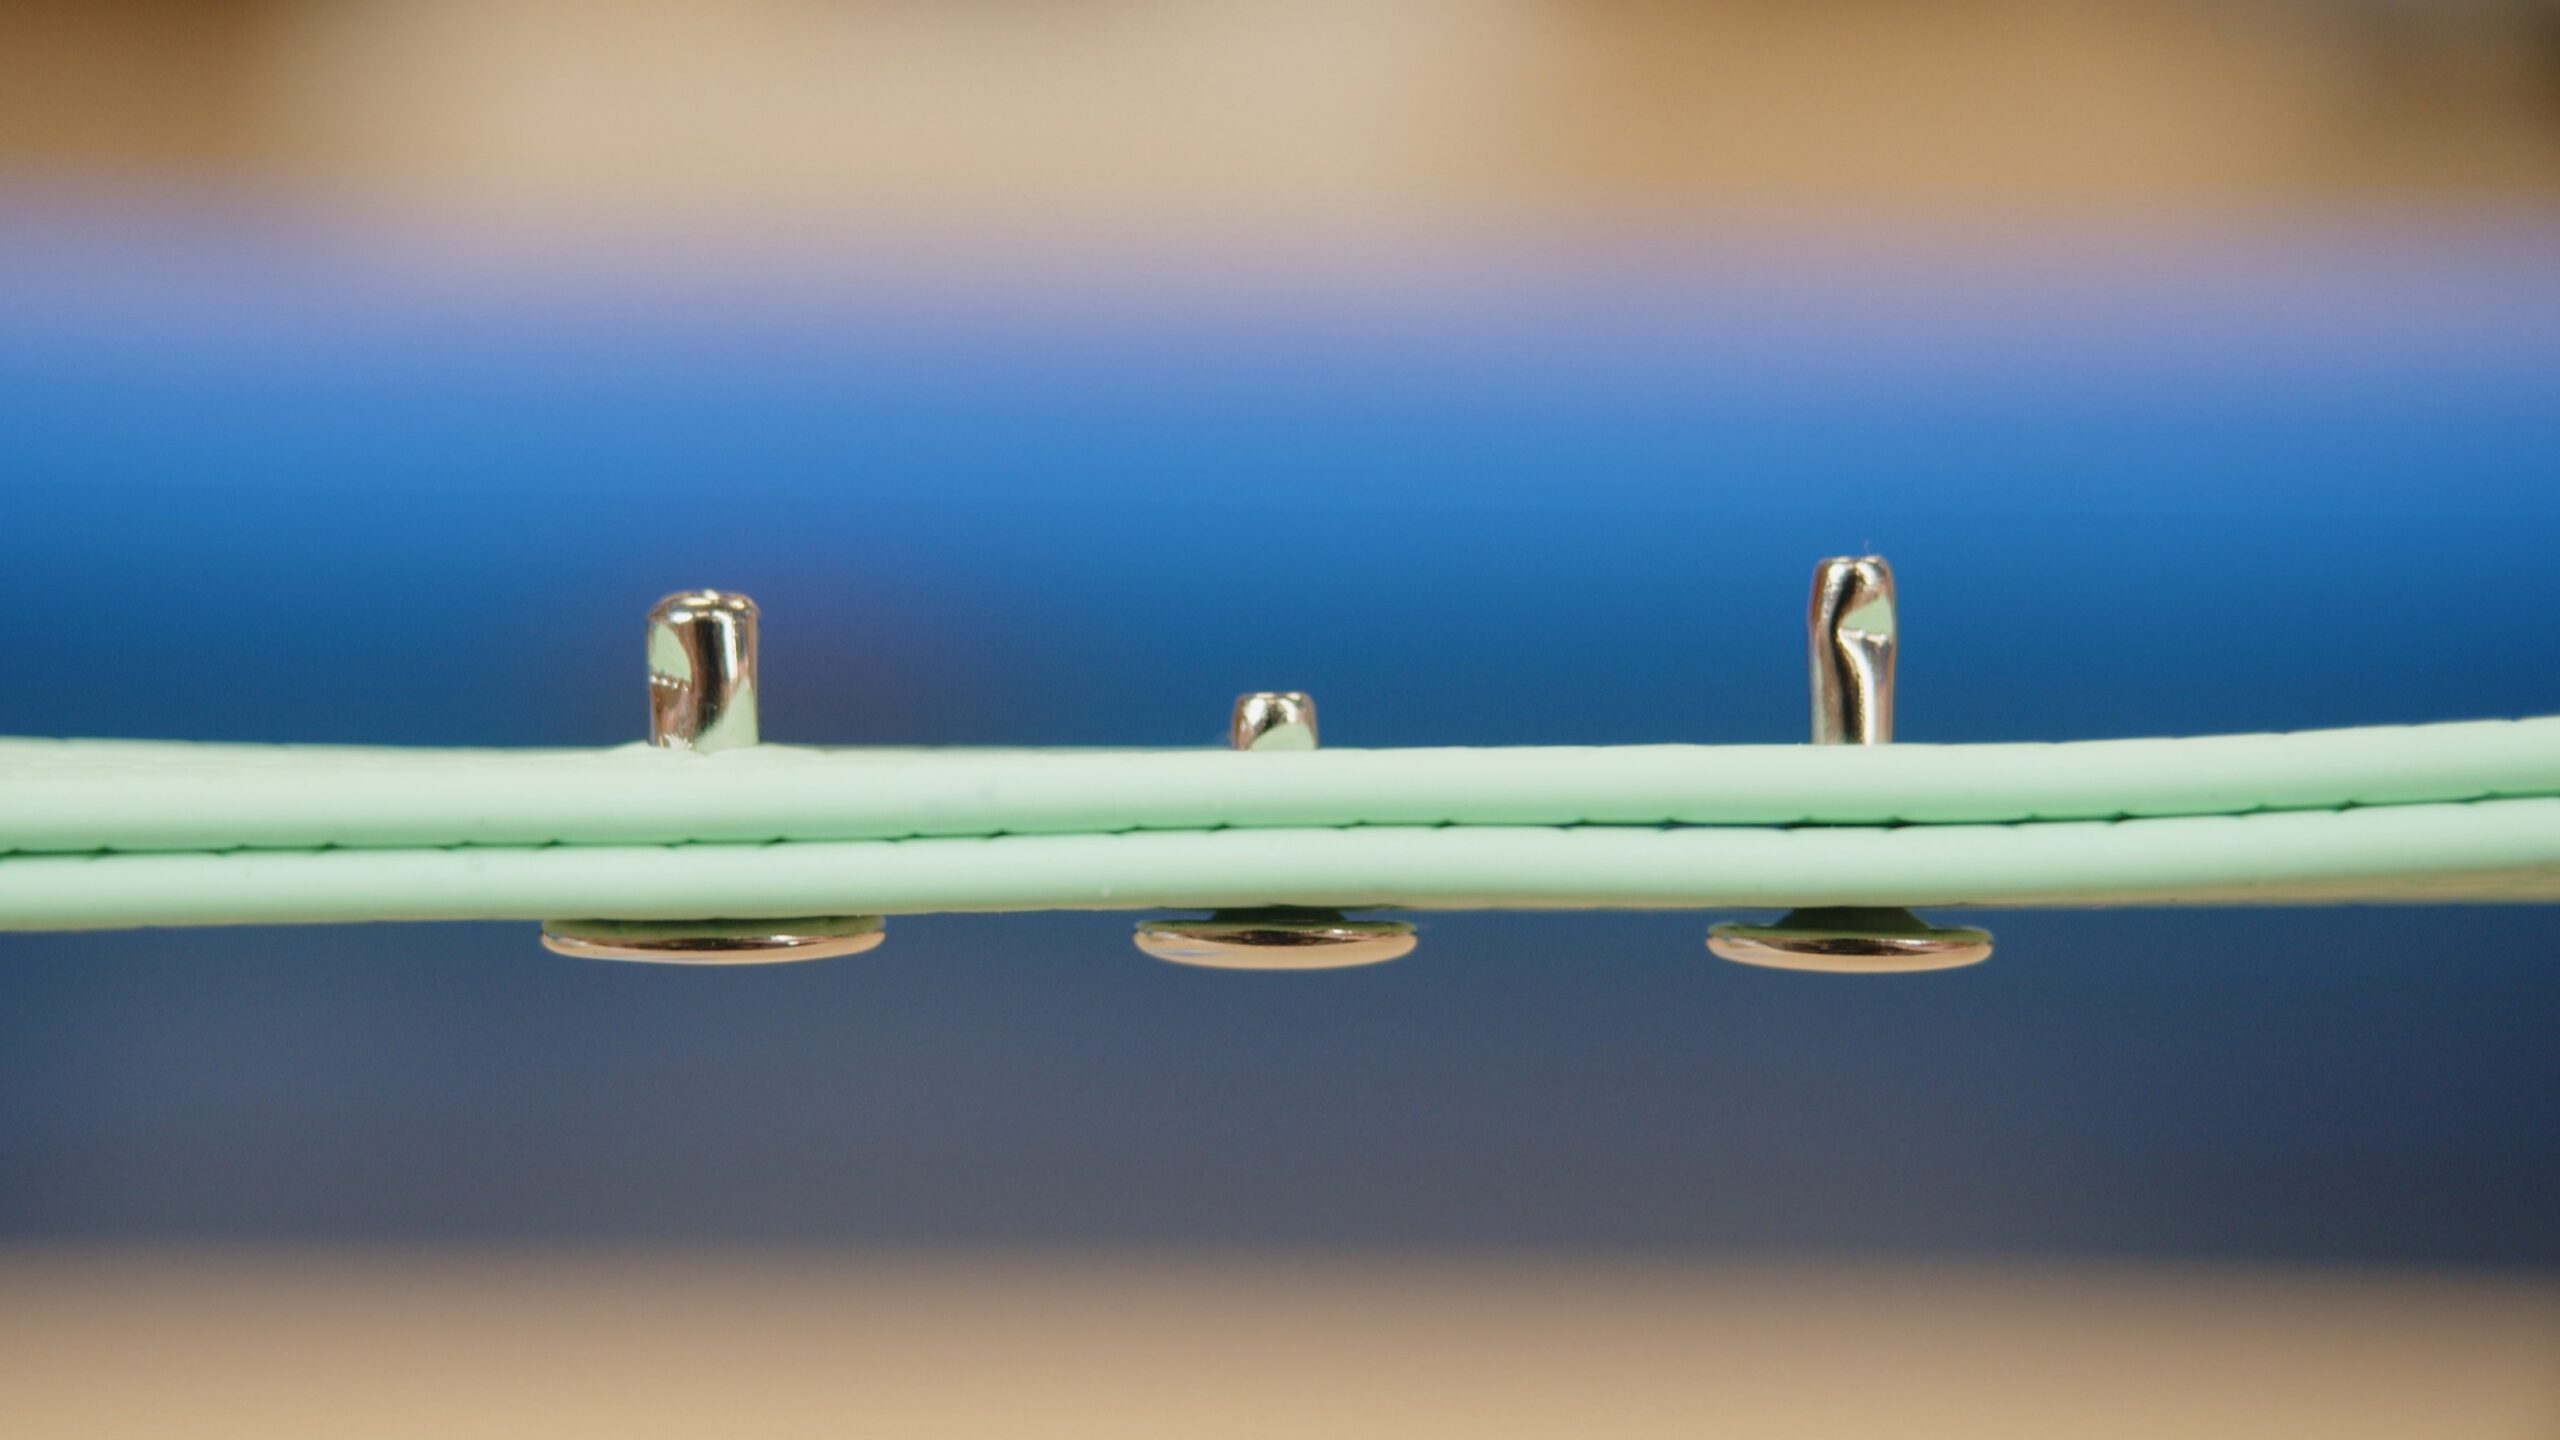
A practical workshop rule: the rivet post should be 2–3 mm longer than the total thickness of all layers, so after you push it through, about 2–3 mm should stick out. With any material, though, it is best to do a test on a scrap of the same thickness first.
If a rivet is already set badly, do not try to force it flat or pry it with a screwdriver. That usually just scratches the hardware, damages the webbing or deforms the area around the hole. It is safer to remove the bad rivet with rivet cutting pliers and make the joint again.
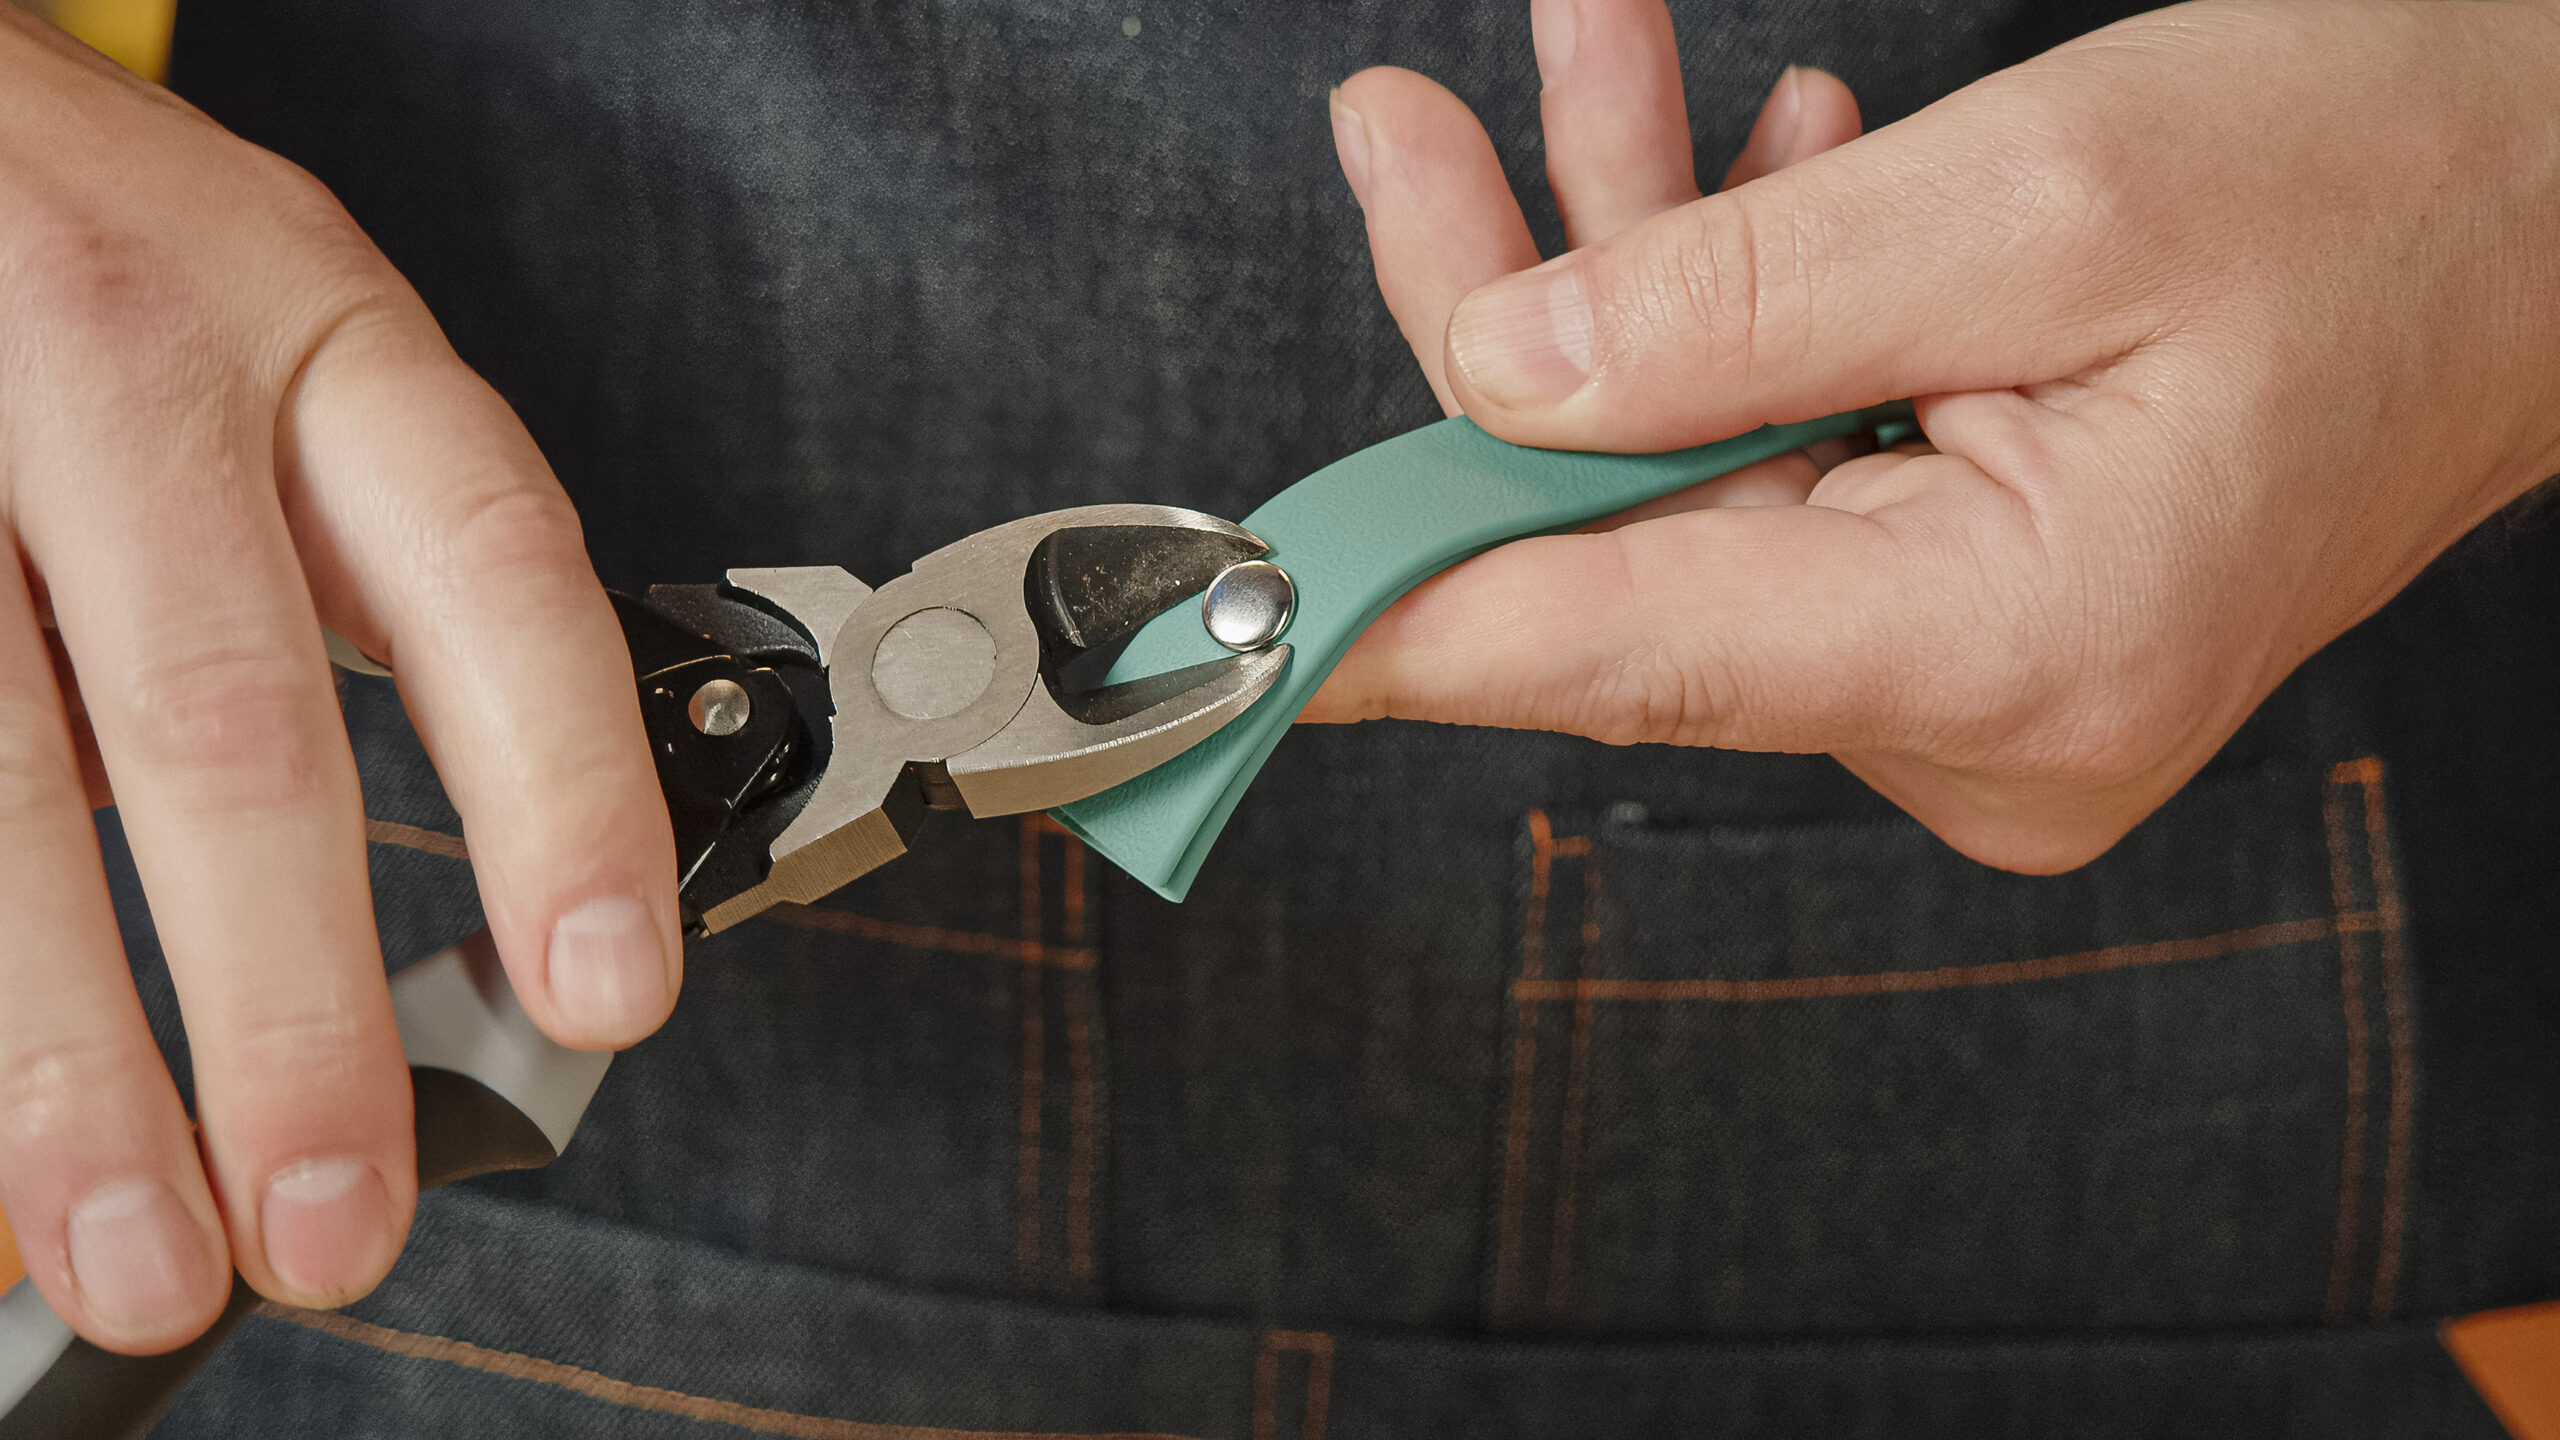
Before you set the next rivet, check that the hole is the right size, the layers of material lie exactly on top of each other and the rivet goes through the material straight. For collar parts under load, it pays to do a quick test on a scrap before you start riveting the finished product.
2. A cracked or badly seated grommet
A cracked grommet is not just a cosmetic flaw. If the edge cracks while you set it, or the grommet does not set properly, a sharp edge can form underneath. It can scratch the dog, catch fur, damage the lining or, over time, wear through the webbing itself. A badly seated grommet can also spin or shift in the hole, or gradually tear out of the material.
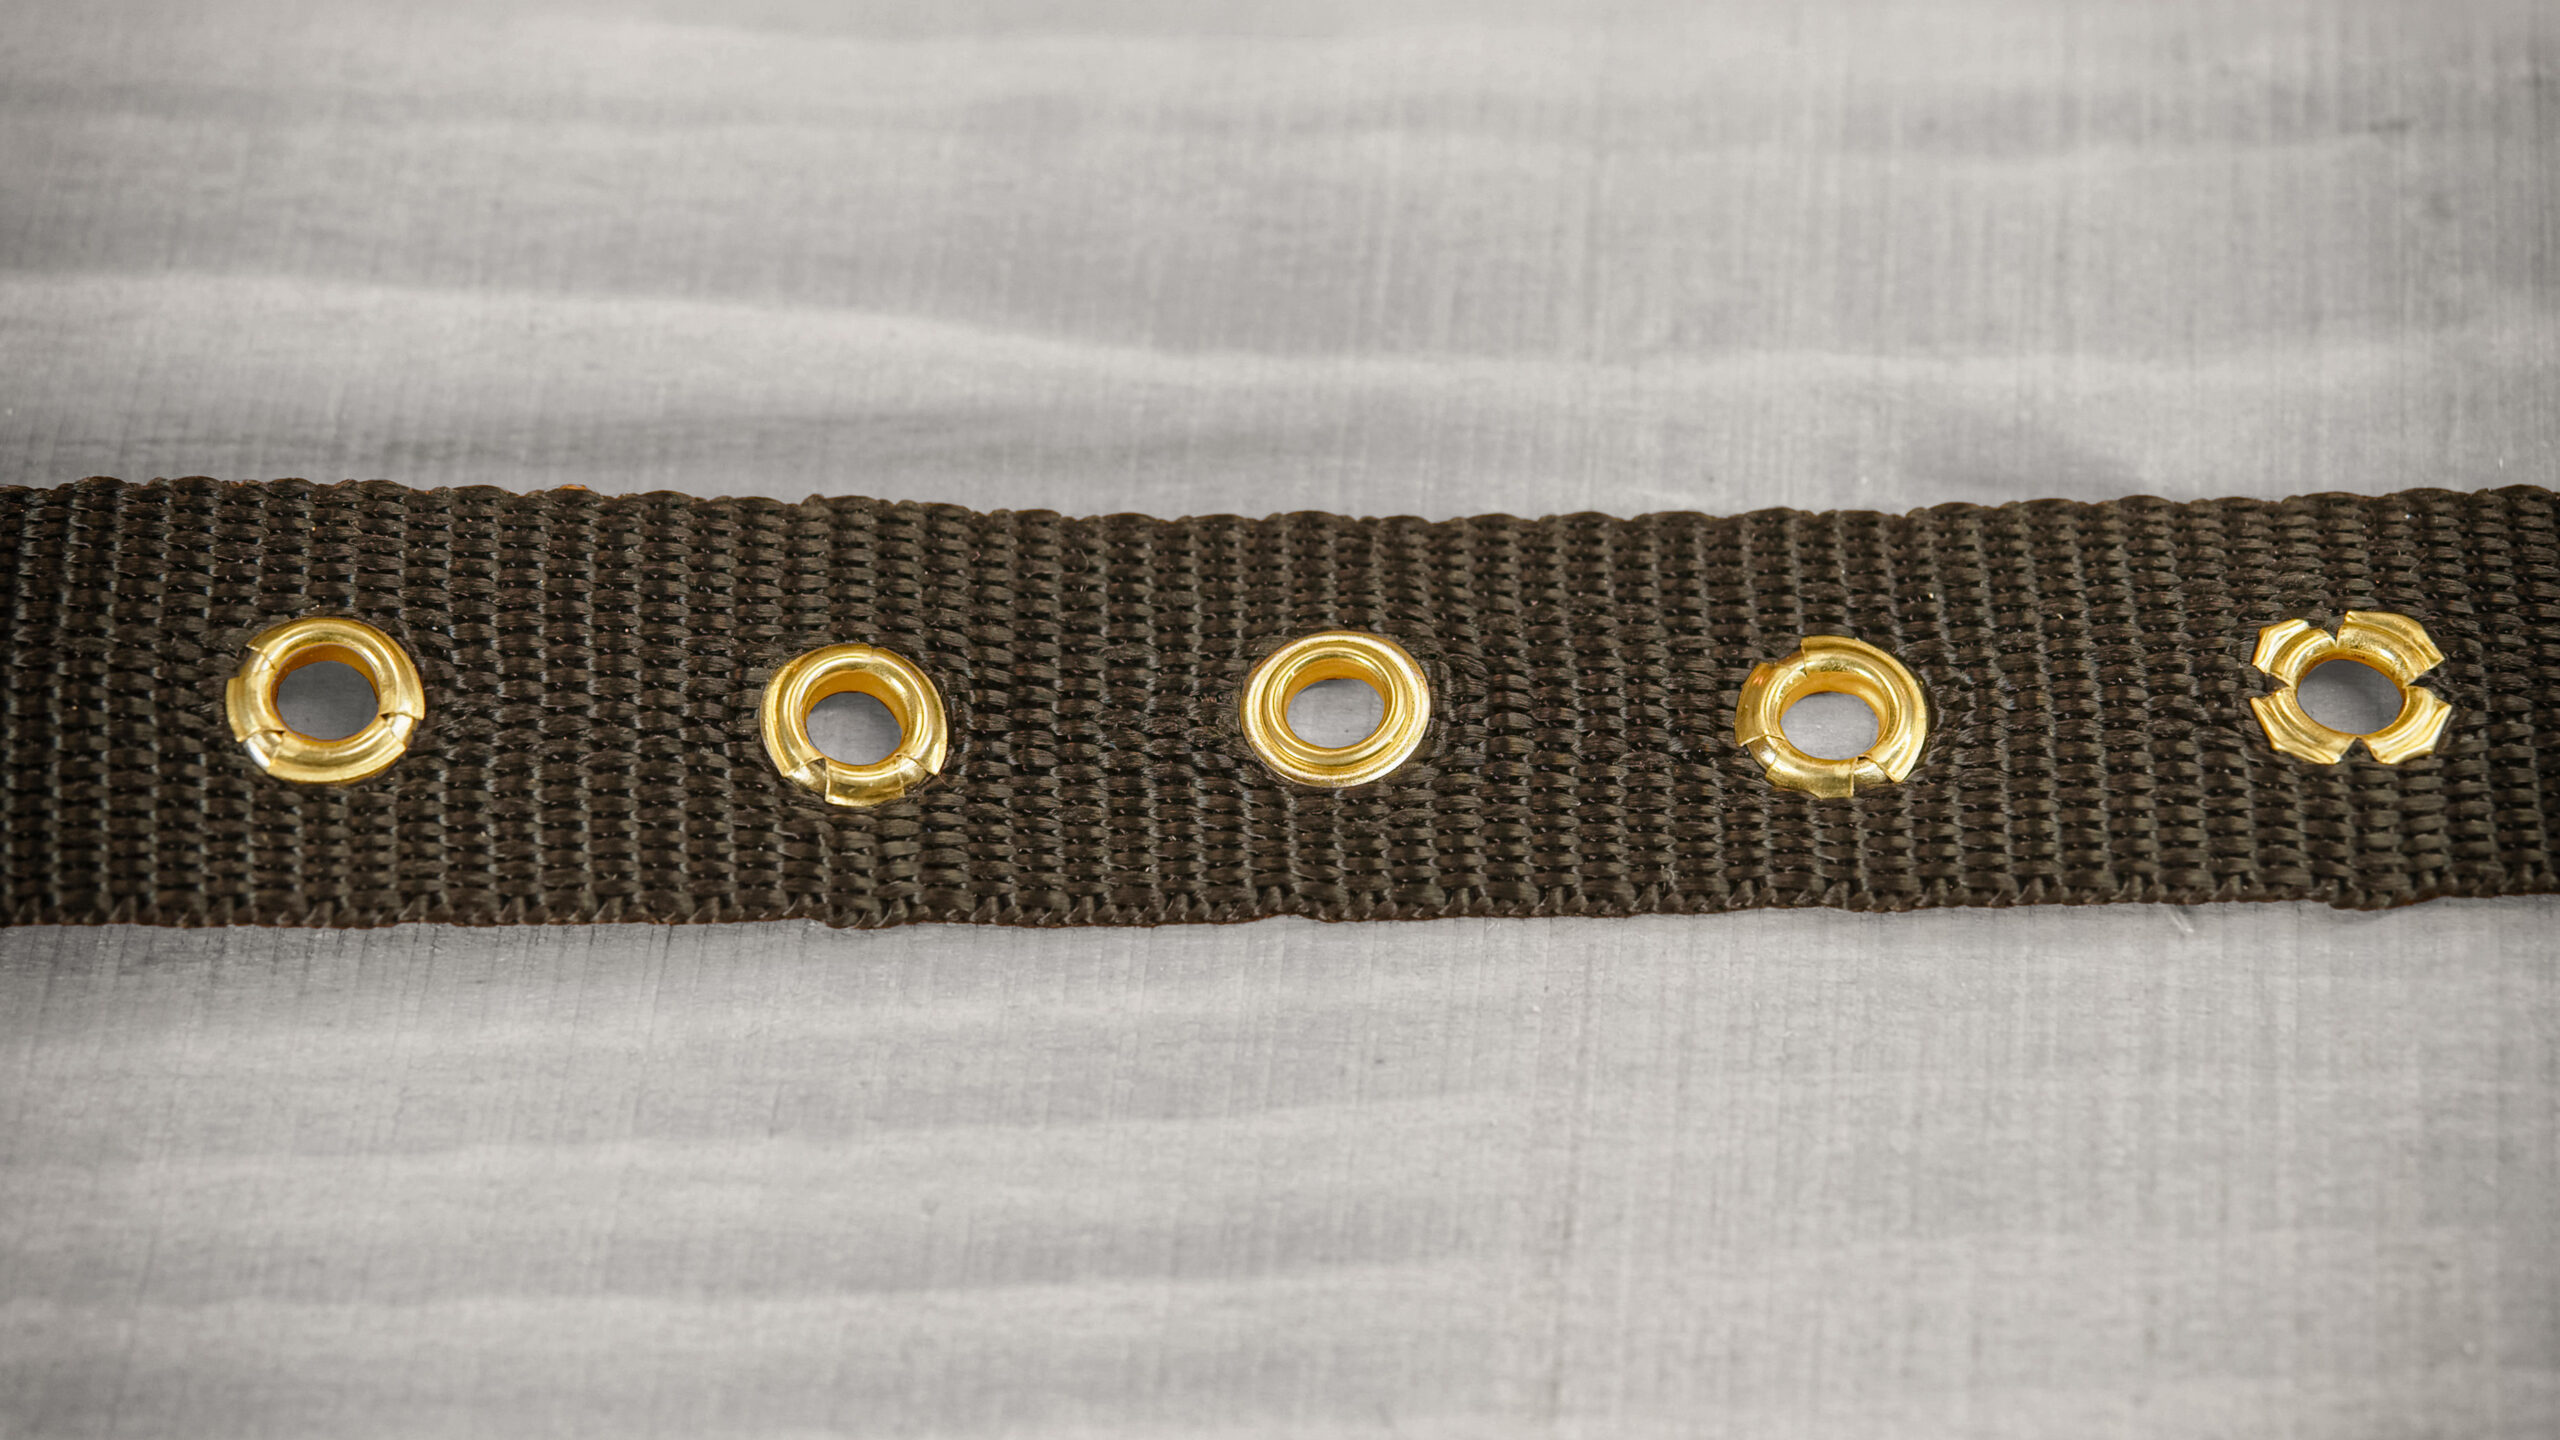
The most common causes are:
- a hole that is too large or uneven,
- the wrong grommet size,
- material that is too thin,
- an uneven surface under the grommet,
- too much pressure when pressing,
- a hard edge left after melting the hole in PP webbing.
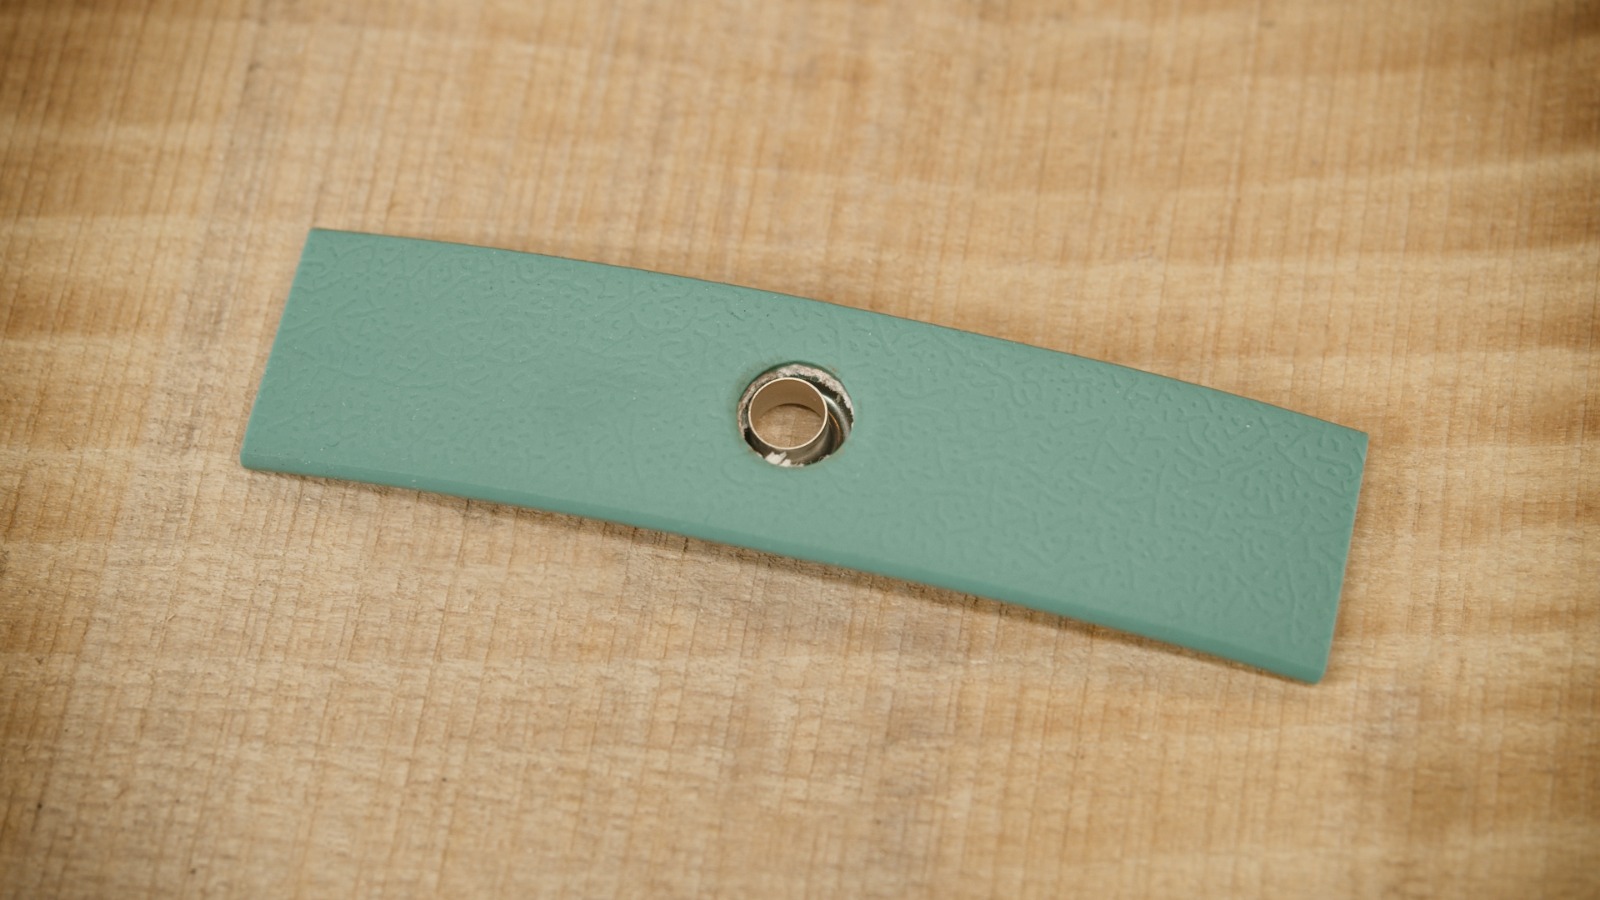
With polypropylene webbing, the problem often starts when you burn the hole. For how to work with this webbing, see the article Working with waterproof webbing, and for which tools to punch it with, our comparison of hole punching tools. A hot tool seals the hole, but a hard, raised rim of melted plastic can form around it. If you do not flatten it, the grommet does not sit on a flat surface and can crack or seat badly when you set it.
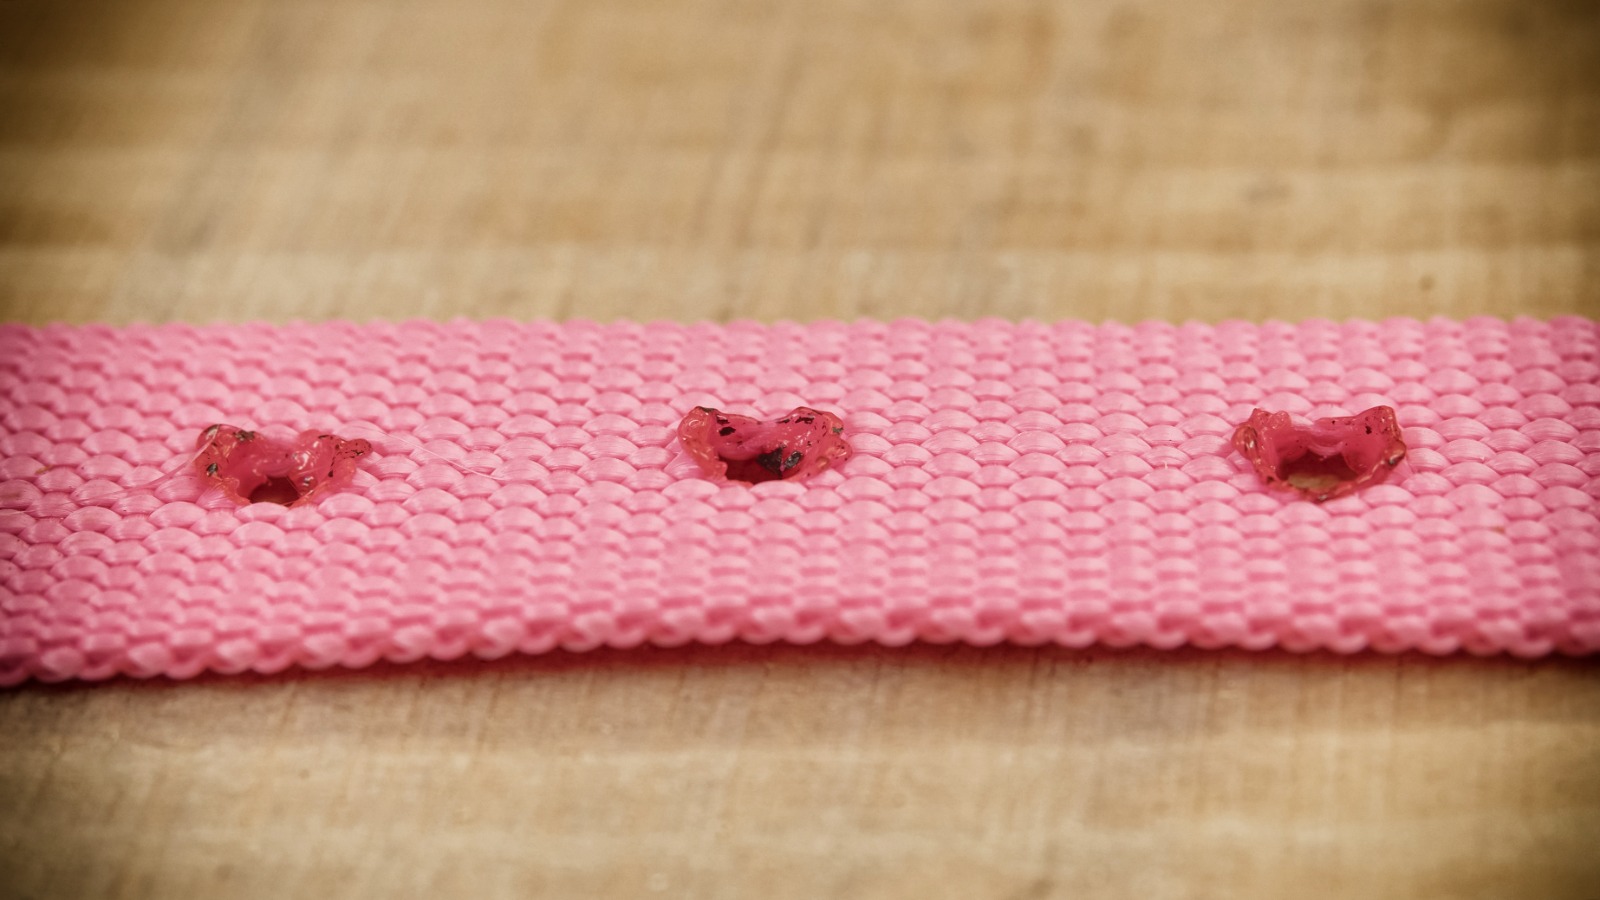
It helps to flatten the melted plastic while it is still warm against smooth, cold metal or another firm, flat surface. The goal is for the grommet to sit on flat material, not on a hard ridge.
If the material is too thin, the grommet has nothing to seat into properly. In that case it can help to back the reverse side with another piece of material, or to use a different grommet size to suit the thickness of your material.
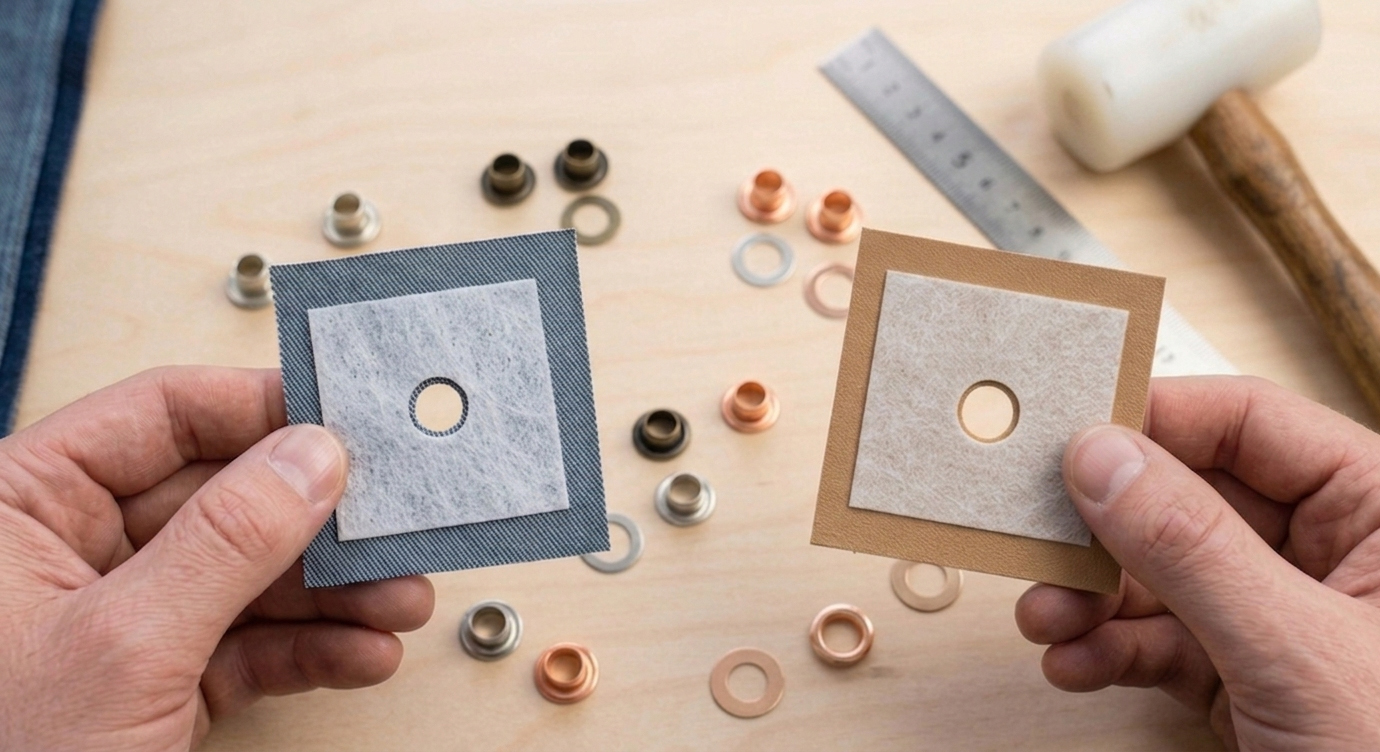
Remove a badly pressed or cracked grommet with care. The method can vary with the material, so we recommend trying the removal on a scrap of the same webbing or leather first. With some materials you can carefully split or pull the grommet out; with others you risk damaging the area around the hole.
For a detailed guide on how to set grommets correctly, see our article:
3. A badly punched hole for the buckle tongue
To attach a collar buckle or belt buckle properly, you need to punch a hole in the strap for the buckle tongue. Most often the buckle sits in a fold of the material and is attached with stitching, Chicago screws or rivets. The buckle tongue then passes out through the punched hole and, when you fasten the collar, goes into the holes at the other end.
This hole should not be round but oblong. The buckle tongue needs to move freely in it and the buckle has to sit well in the fold. The bigger or heavier the buckle, the longer the oblong hole usually needs to be.
It is very important that the oblong hole is exactly in the center of the strap. If you punch it off-center, the buckle tongue will not be centered either. And when you then punch the fastening holes correctly in the center at the other end of the collar, the tongue may not go into them neatly. The result is a crooked fastening, a buckle that does not line up and a collar that looks imprecise.
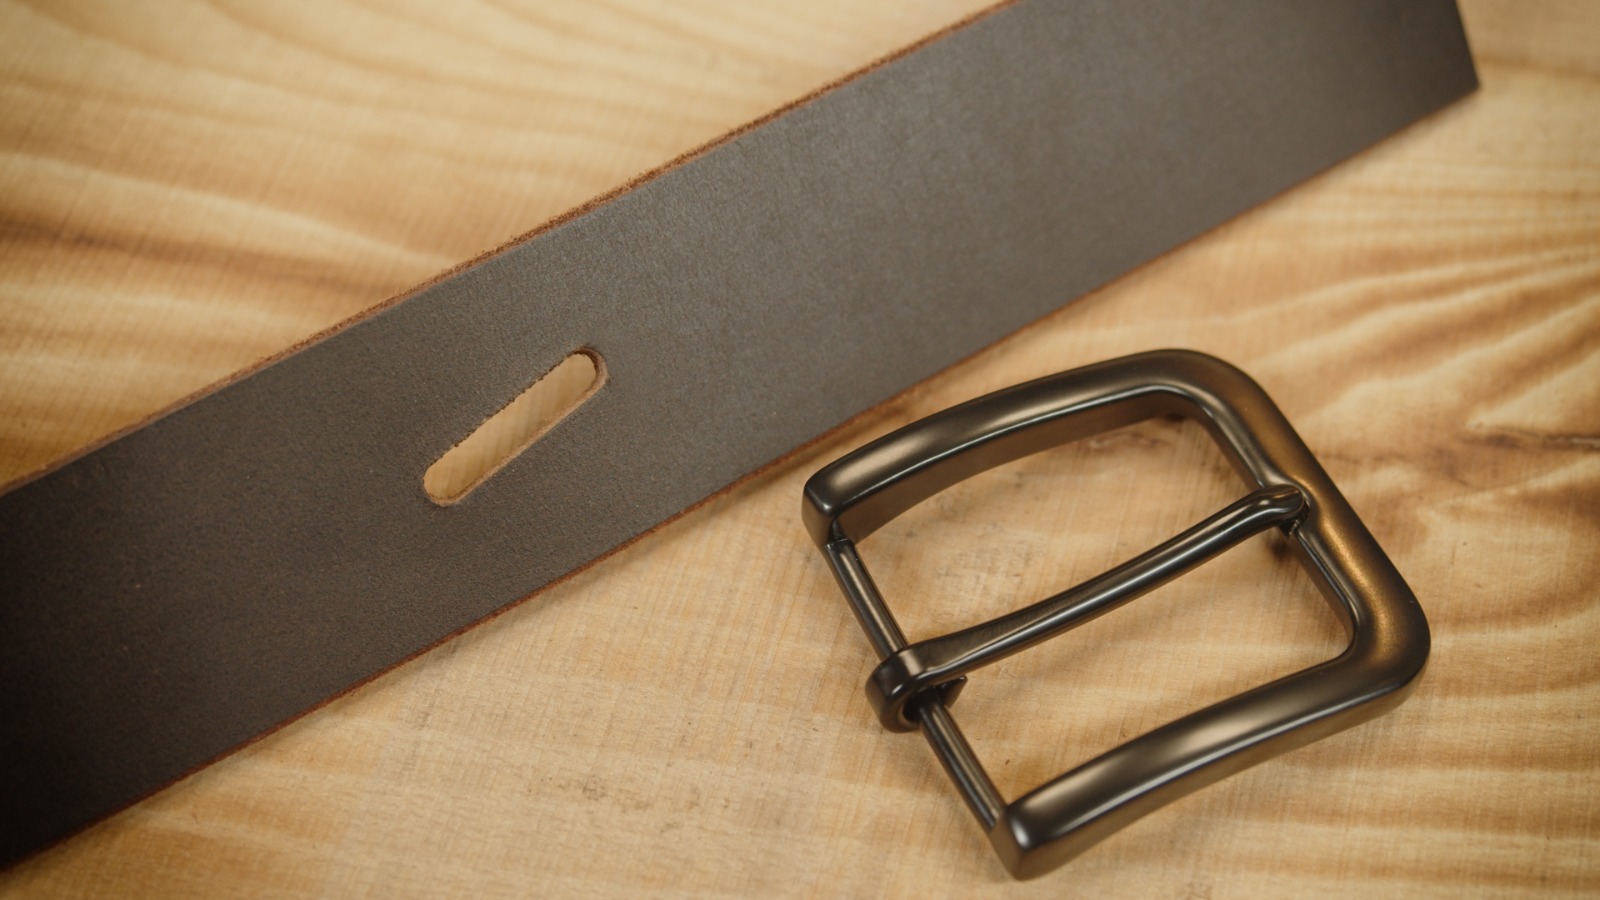
So before you punch, always check:
- the exact center of the strap,
- the right length of the oblong hole for the buckle size,
- the distance of the hole from the end of the material and from the fold,
- whether the tongue will really come out in the center of the strap after folding.
To find the exact center, the Kemovan template comes in handy. It guides webbing or straps 15 to 48 mm wide along the center, so the oblong hole for the tongue and the fastening holes end up on the same line. The hole spacing is fixed; for different spacing, measure out the holes by hand.
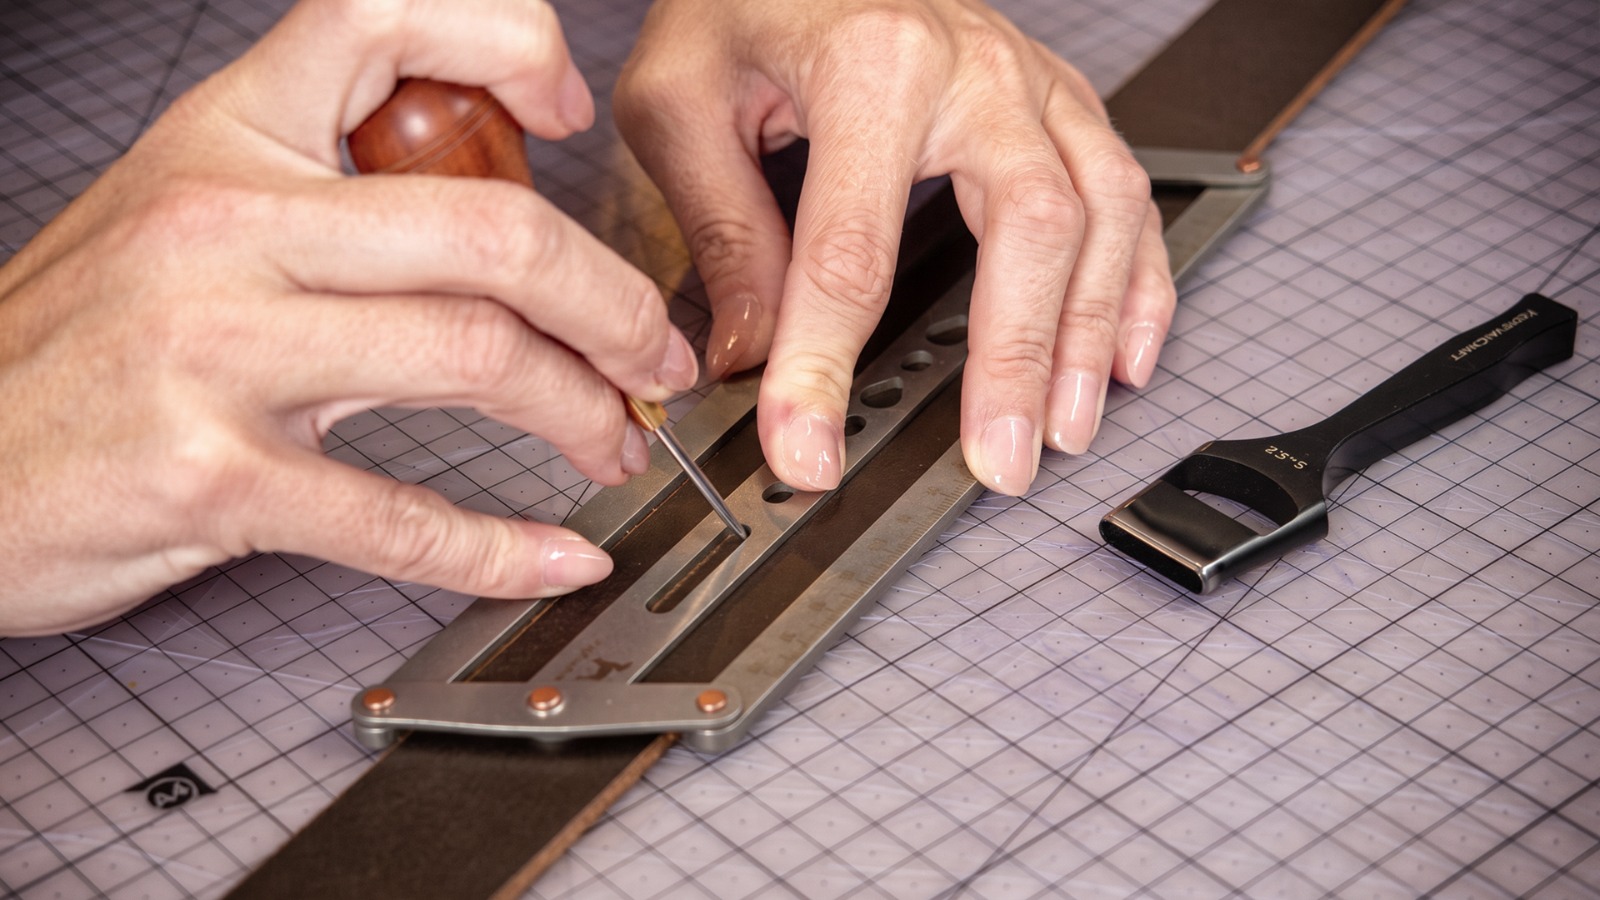
Before you punch the hole in a finished collar, check the mark visually one more time. A badly placed dot is easy to fix, but a badly punched oblong hole cannot be fixed.
4. Uneven or poorly chosen fastening holes
The fastening holes are clearly visible on a finished collar, and they also affect how the strap sits when fastened. So hitting the center is not enough. Even spacing, the number of holes and their shape matter too.
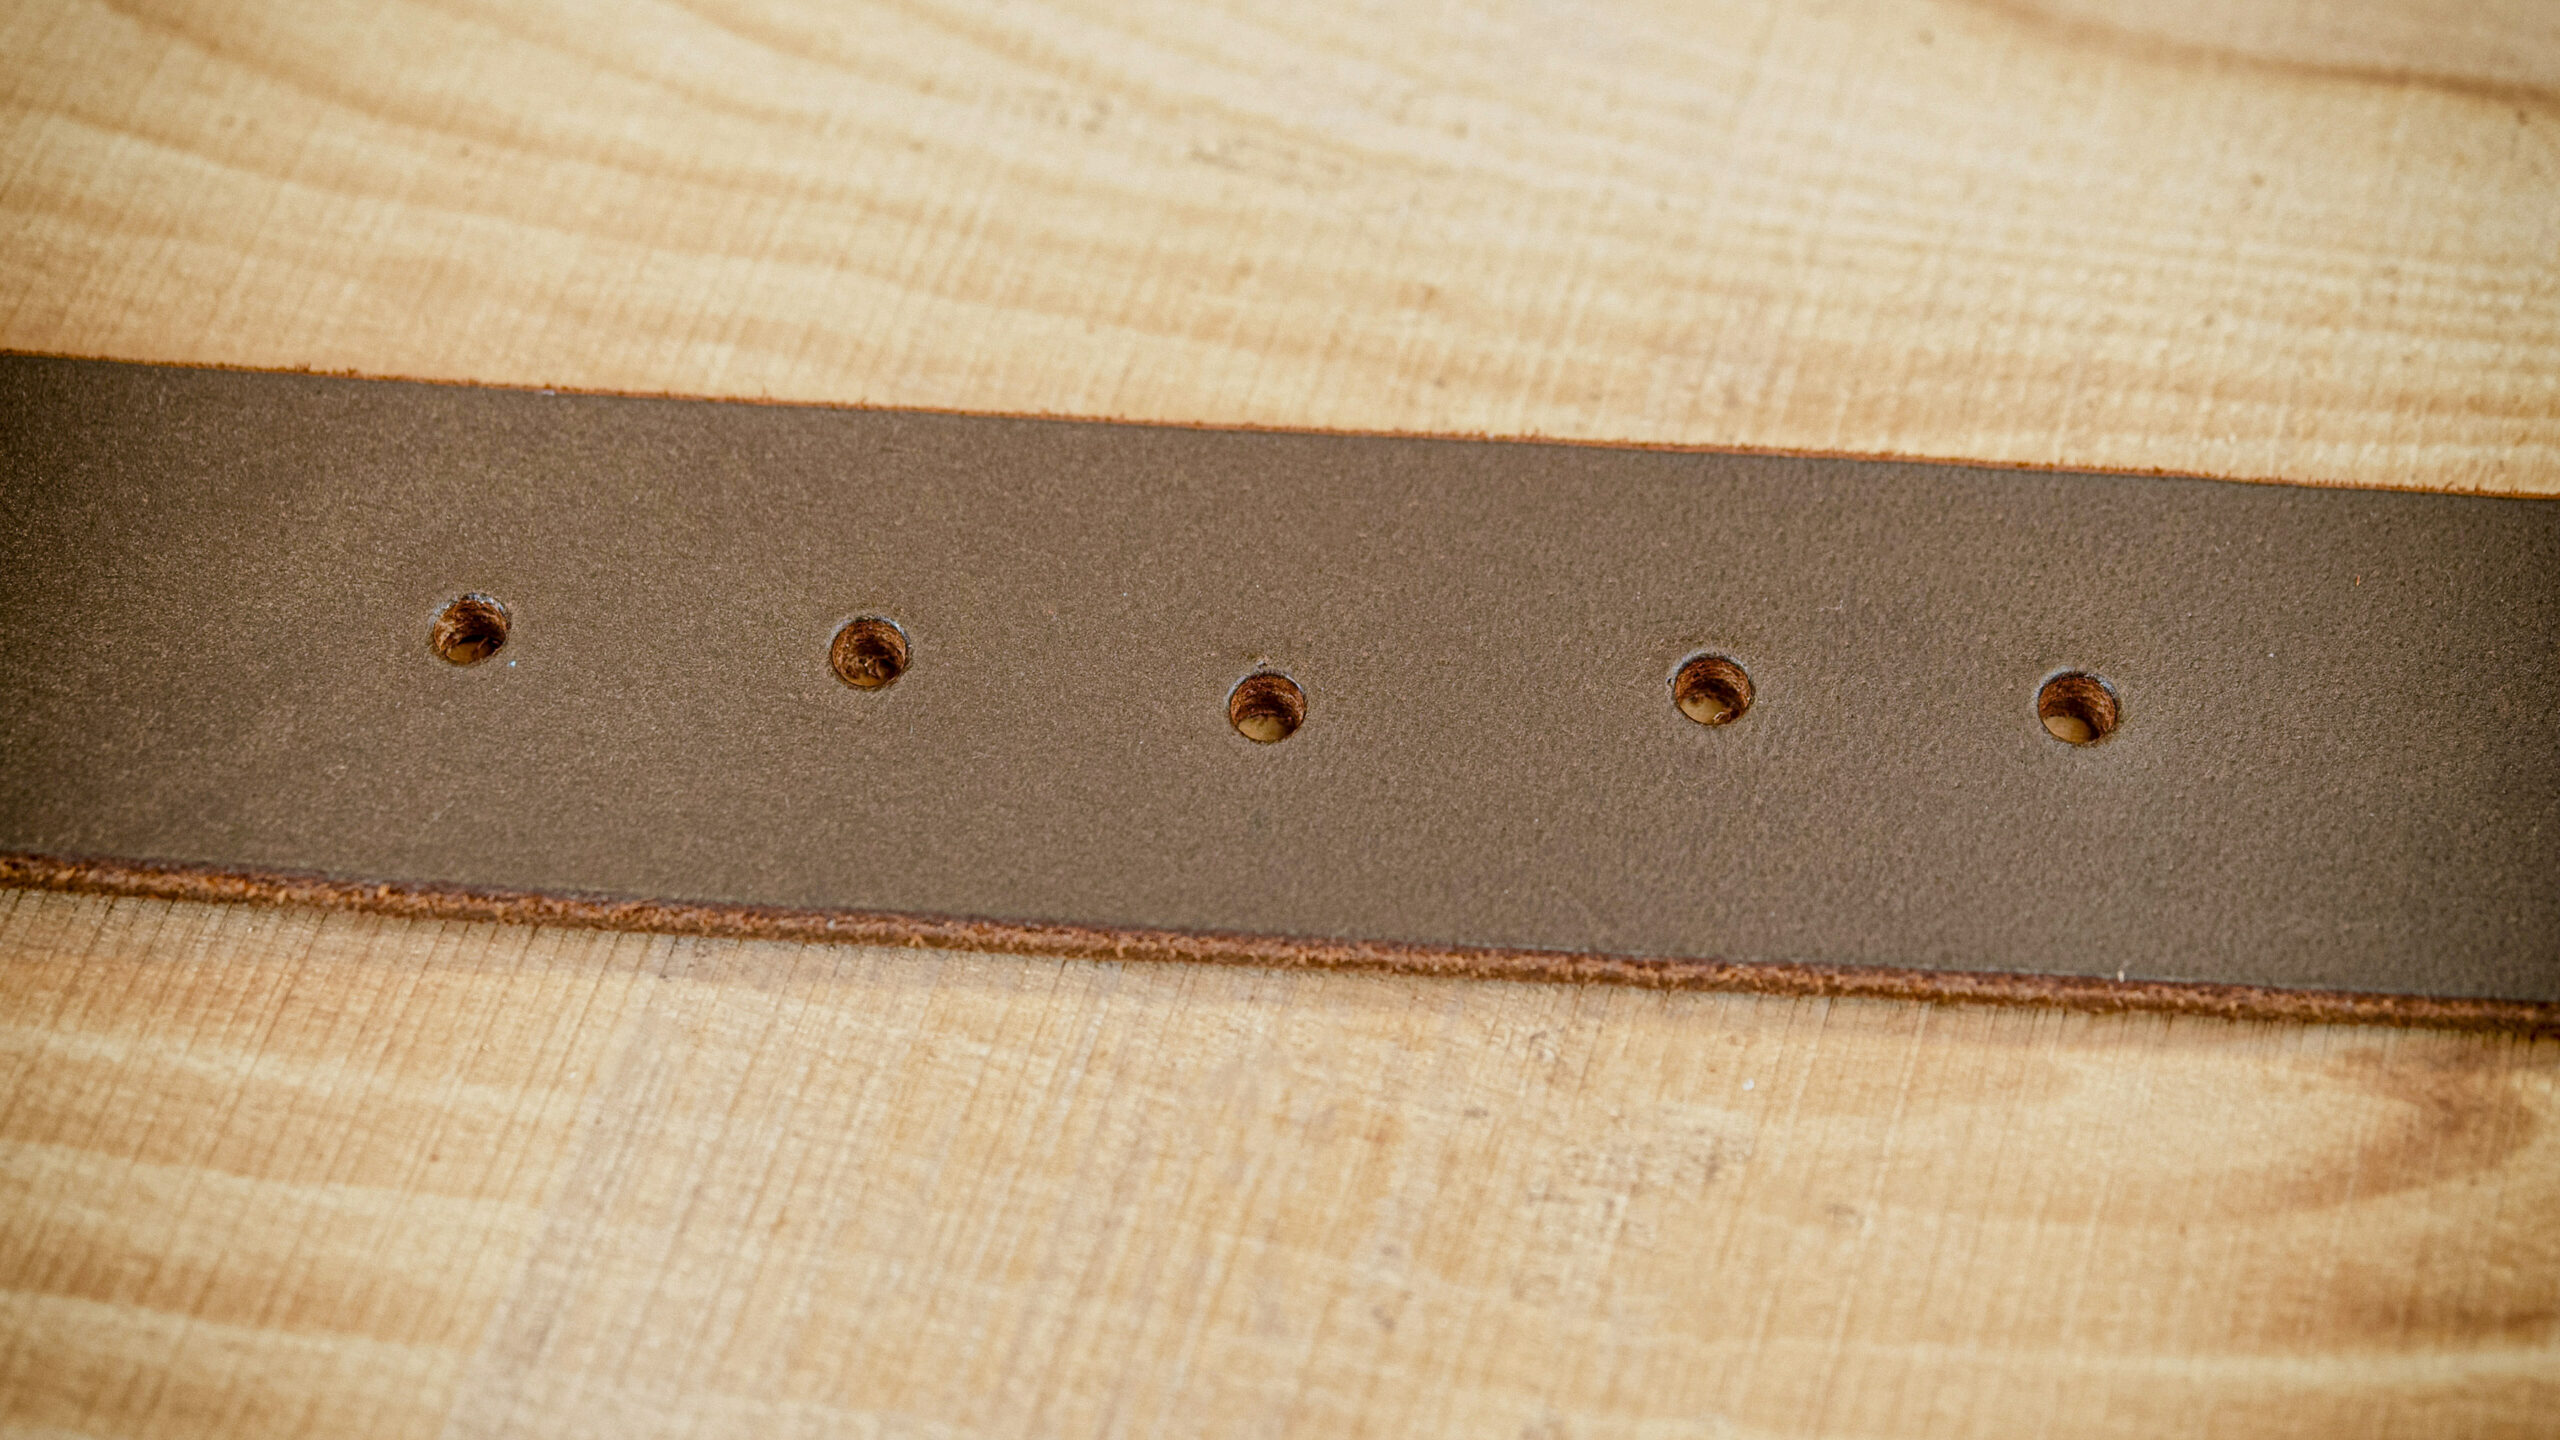
A typical mistake comes from marking by eye. One hole is a little higher, the next has different spacing, and the whole row looks imprecise. So first mark the middle hole based on the measured neck size of the dog, and from there measure out more holes on both sides at equal spacing. Your customer will then have room to tighten or loosen the collar.
When marking, it pays to follow the same center line you set for the buckle tongue hole. The Kemovan template helps you mark the holes straight, centered and evenly spaced, so you do not have to measure each hole separately by eye.
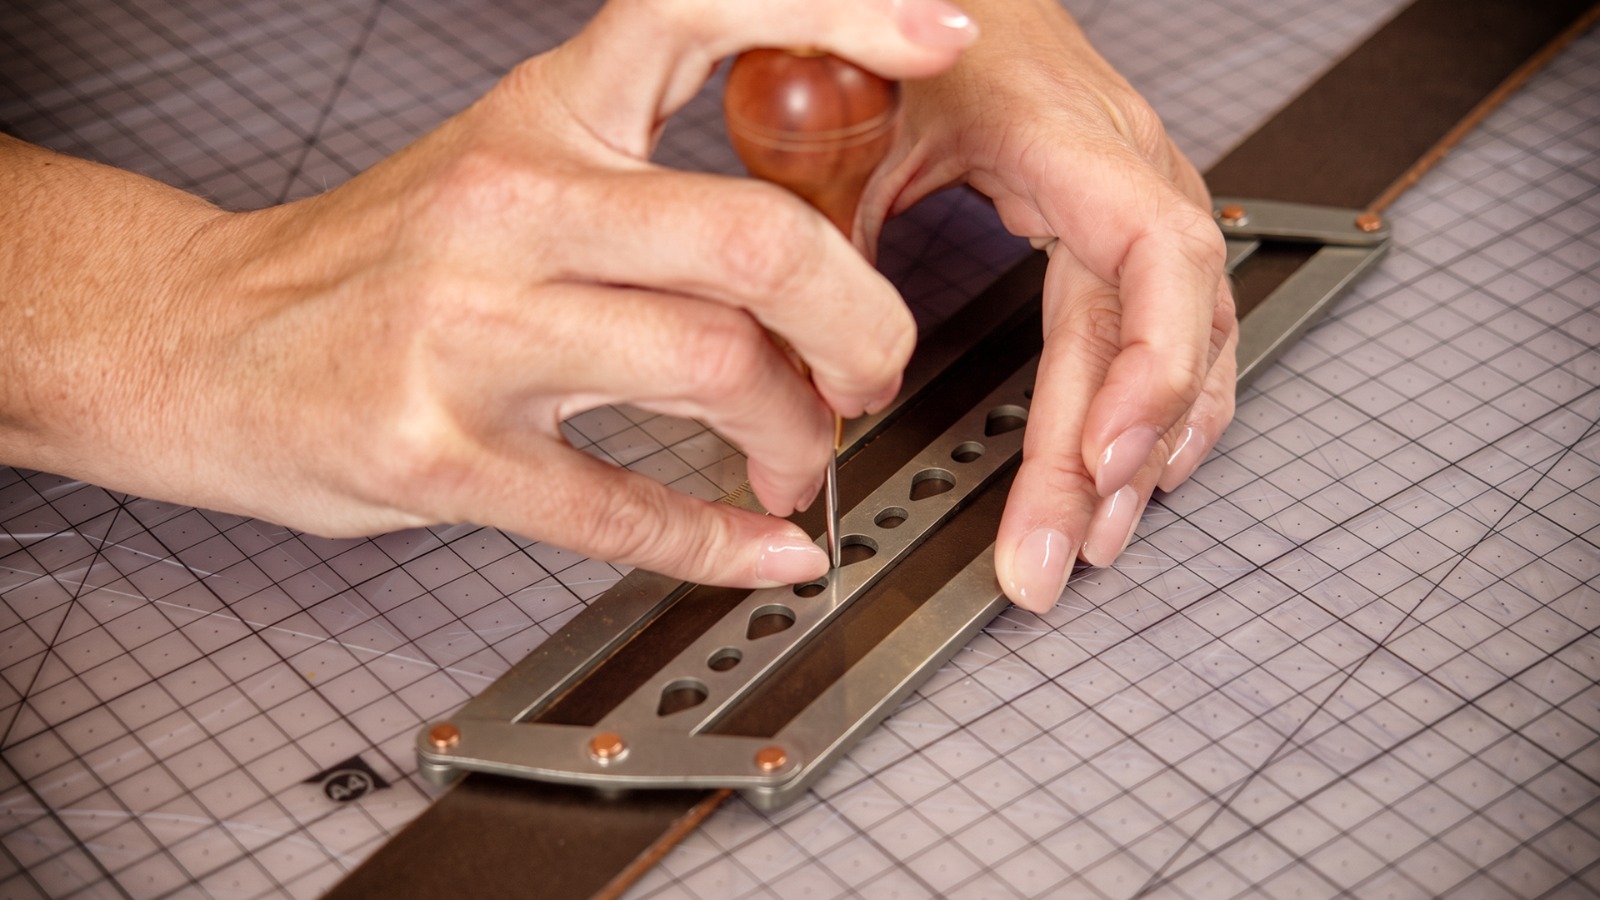
Fastening holes can be round, but on some collars or belts oblong holes make sense too. The oval drive punch is made for leather and is not suitable for waterproof webbing. The buckle tongue sits better in an oblong hole and the strap can lie more naturally when fastened. A round hole is more common and fully adequate for many products, but for thicker straps, heavier buckles or wherever you want a cleaner fit, an oblong hole can be the better choice.
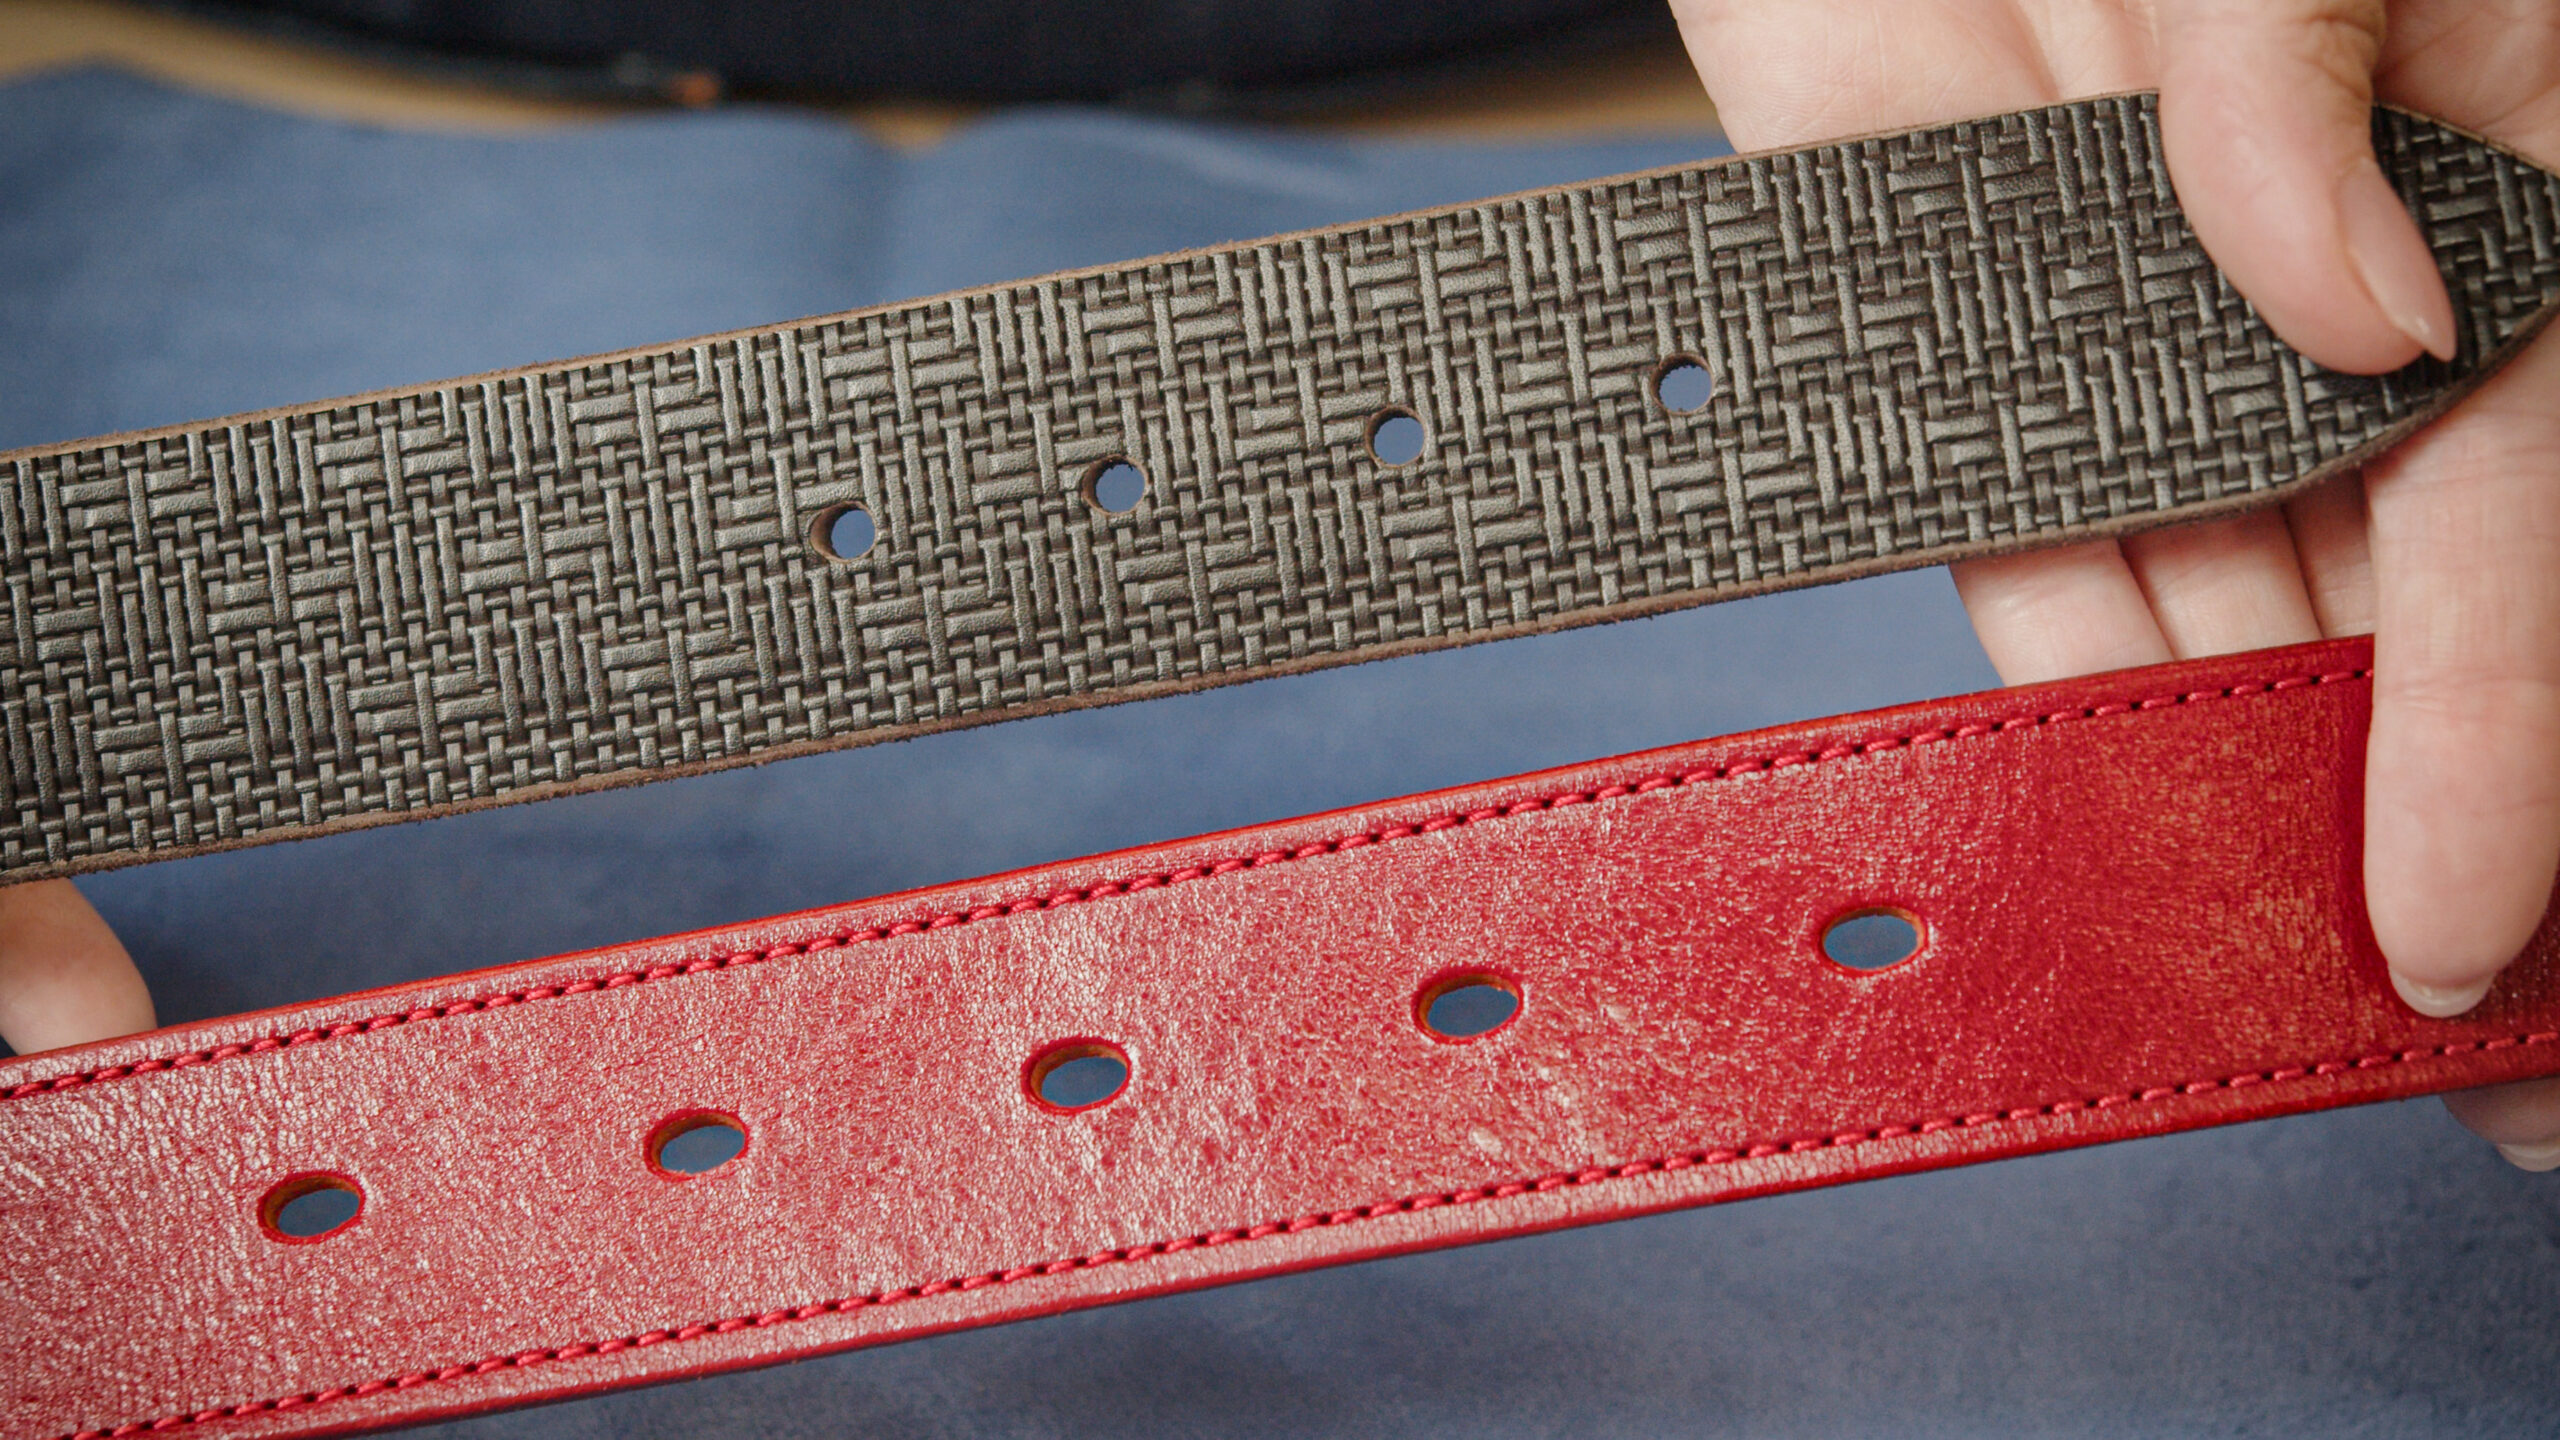
In practice, it helps to only mark all the holes first, check the whole row by eye and only then start punching. You can still fix a badly placed mark. A badly punched hole you cannot.
5. The wrong collar length
The wrong collar length is a mistake that often only shows up when the customer tries the collar on the dog. You may have followed your customer’s measurement exactly, but the problem is often what they actually measured.
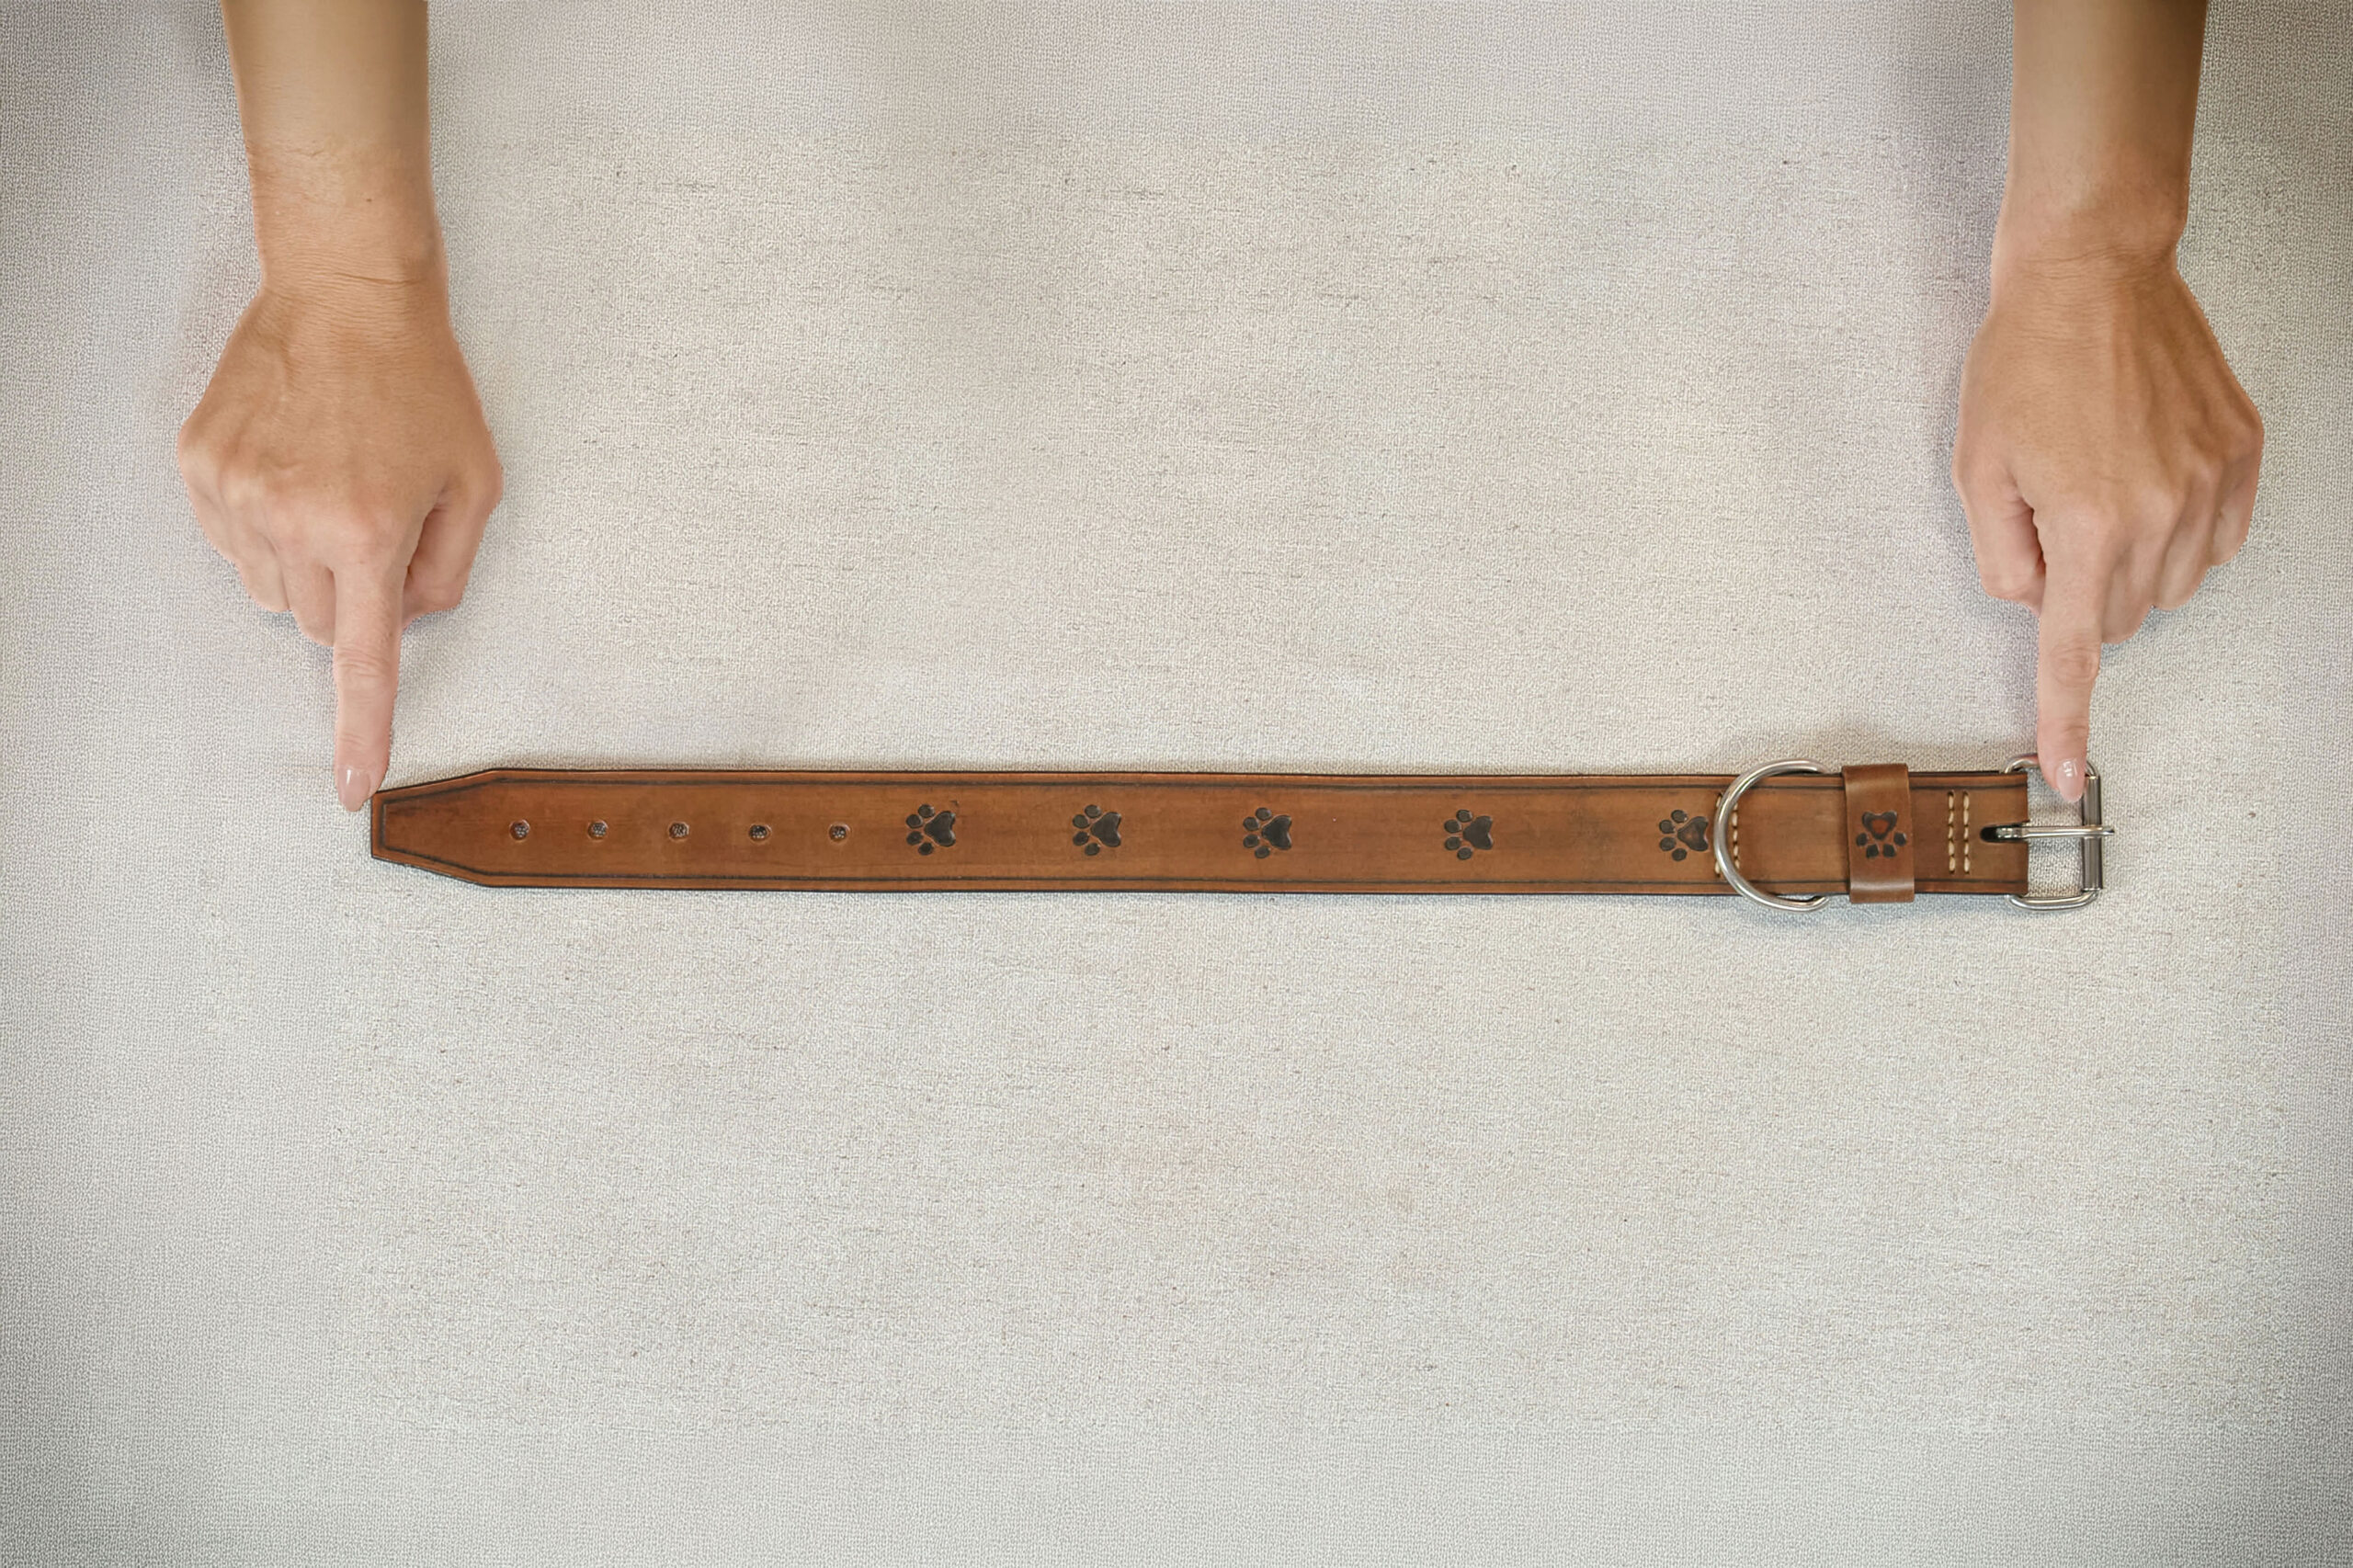
Writing “measure the old collar” is not enough. Everyone can picture something different. Some people measure the collar correctly, from where the buckle tongue rests to the most-used hole. Others measure the whole collar from the buckle to the end of the free strap. That measurement does not match the dog’s neck size, and the finished collar can end up several centimeters longer than it should be.
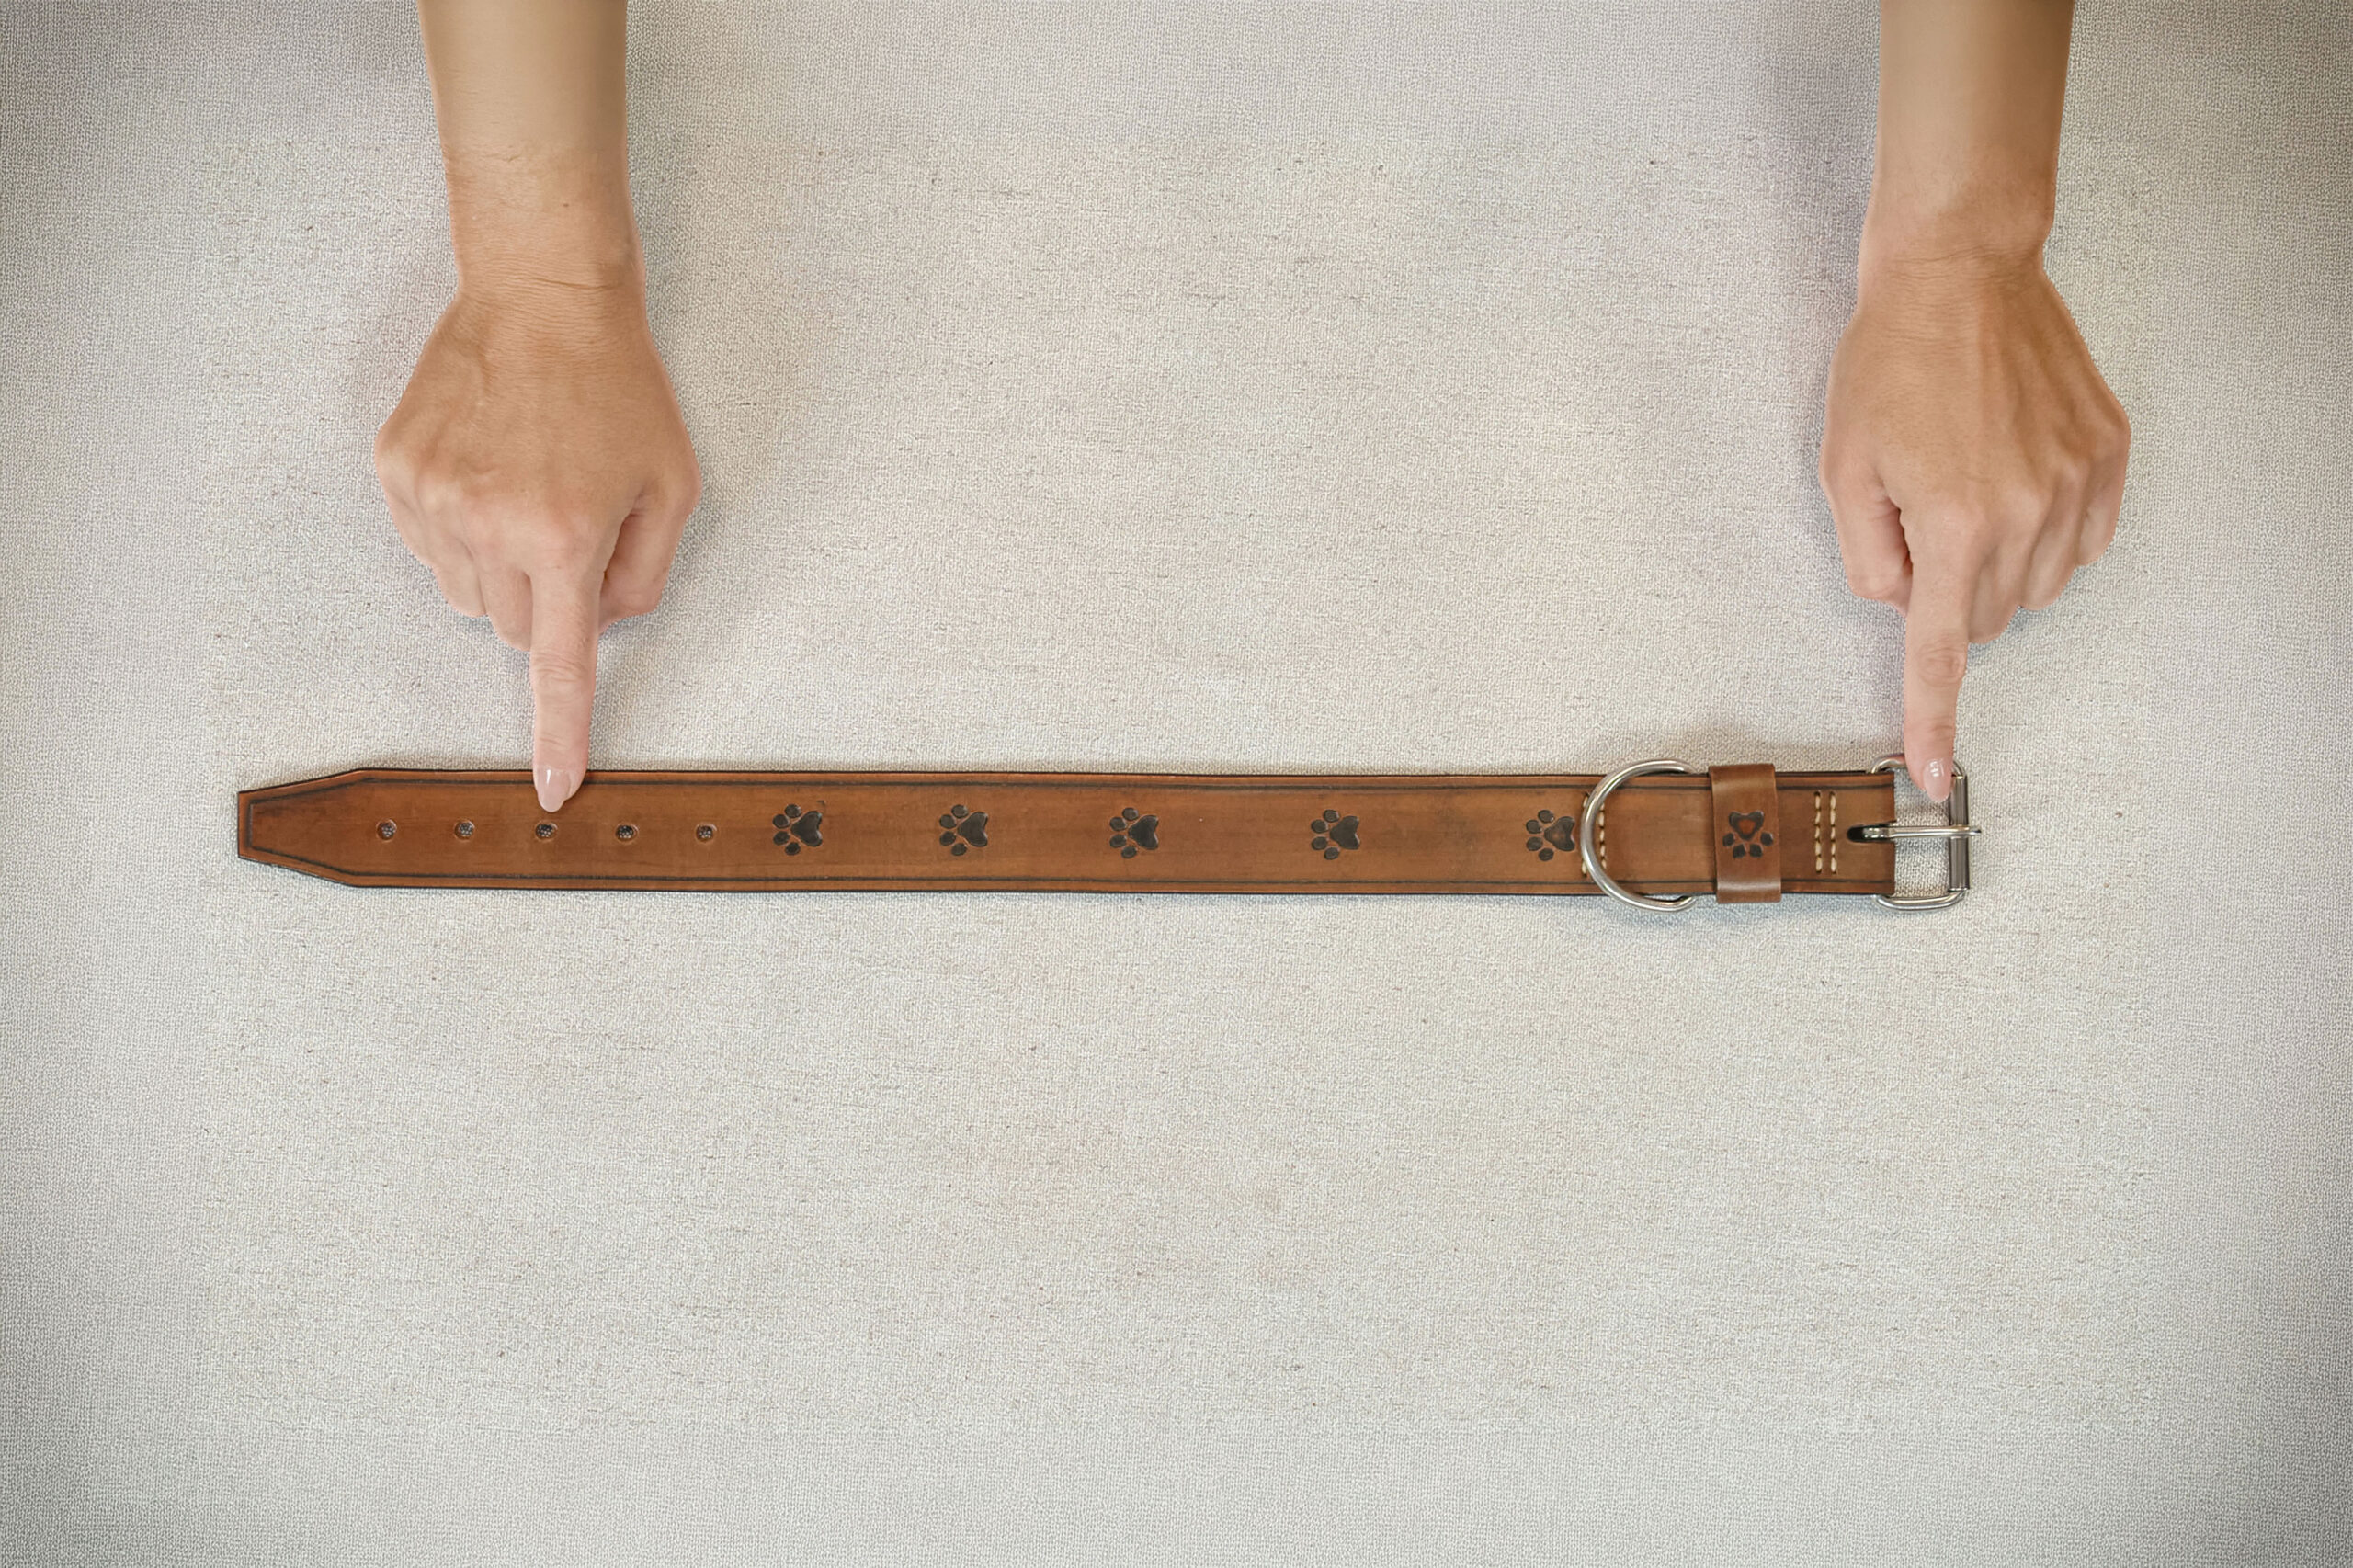
So always tell your customer clearly what you need them to measure:
- the dog’s actual neck size,
- or the old collar from where the buckle tongue rests to the hole the dog usually wears it on,
- and preferably ask for a photo of the old collar with a tape measure next to it.
A second problem comes up with thicker, lined or padded collars. On the table the length may look right, but once you fasten the collar, its inside circumference gets smaller. The material has its own thickness, and if the collar is padded with foam, neoprene or another layer of leather, for example, it takes up part of the space inside the collar.
With thicker collars it is therefore good to check not only the length of the flat strap but also the actual inside circumference of the fastened collar. That is what decides whether the collar will sit comfortably on the dog.
It is best when the dog wears the collar on the middle hole. That leaves room to tighten or loosen it, for example when the dog loses or gains weight, gets a haircut or grows a winter coat.
6. Hardware that does not match the webbing width
Hardware has to truly fit the webbing or strap. It is not enough for the size to be “almost the same”. If the webbing is wider than the inside width of the buckle, loop or D-ring, it will drag in the hardware, twist or not move properly.
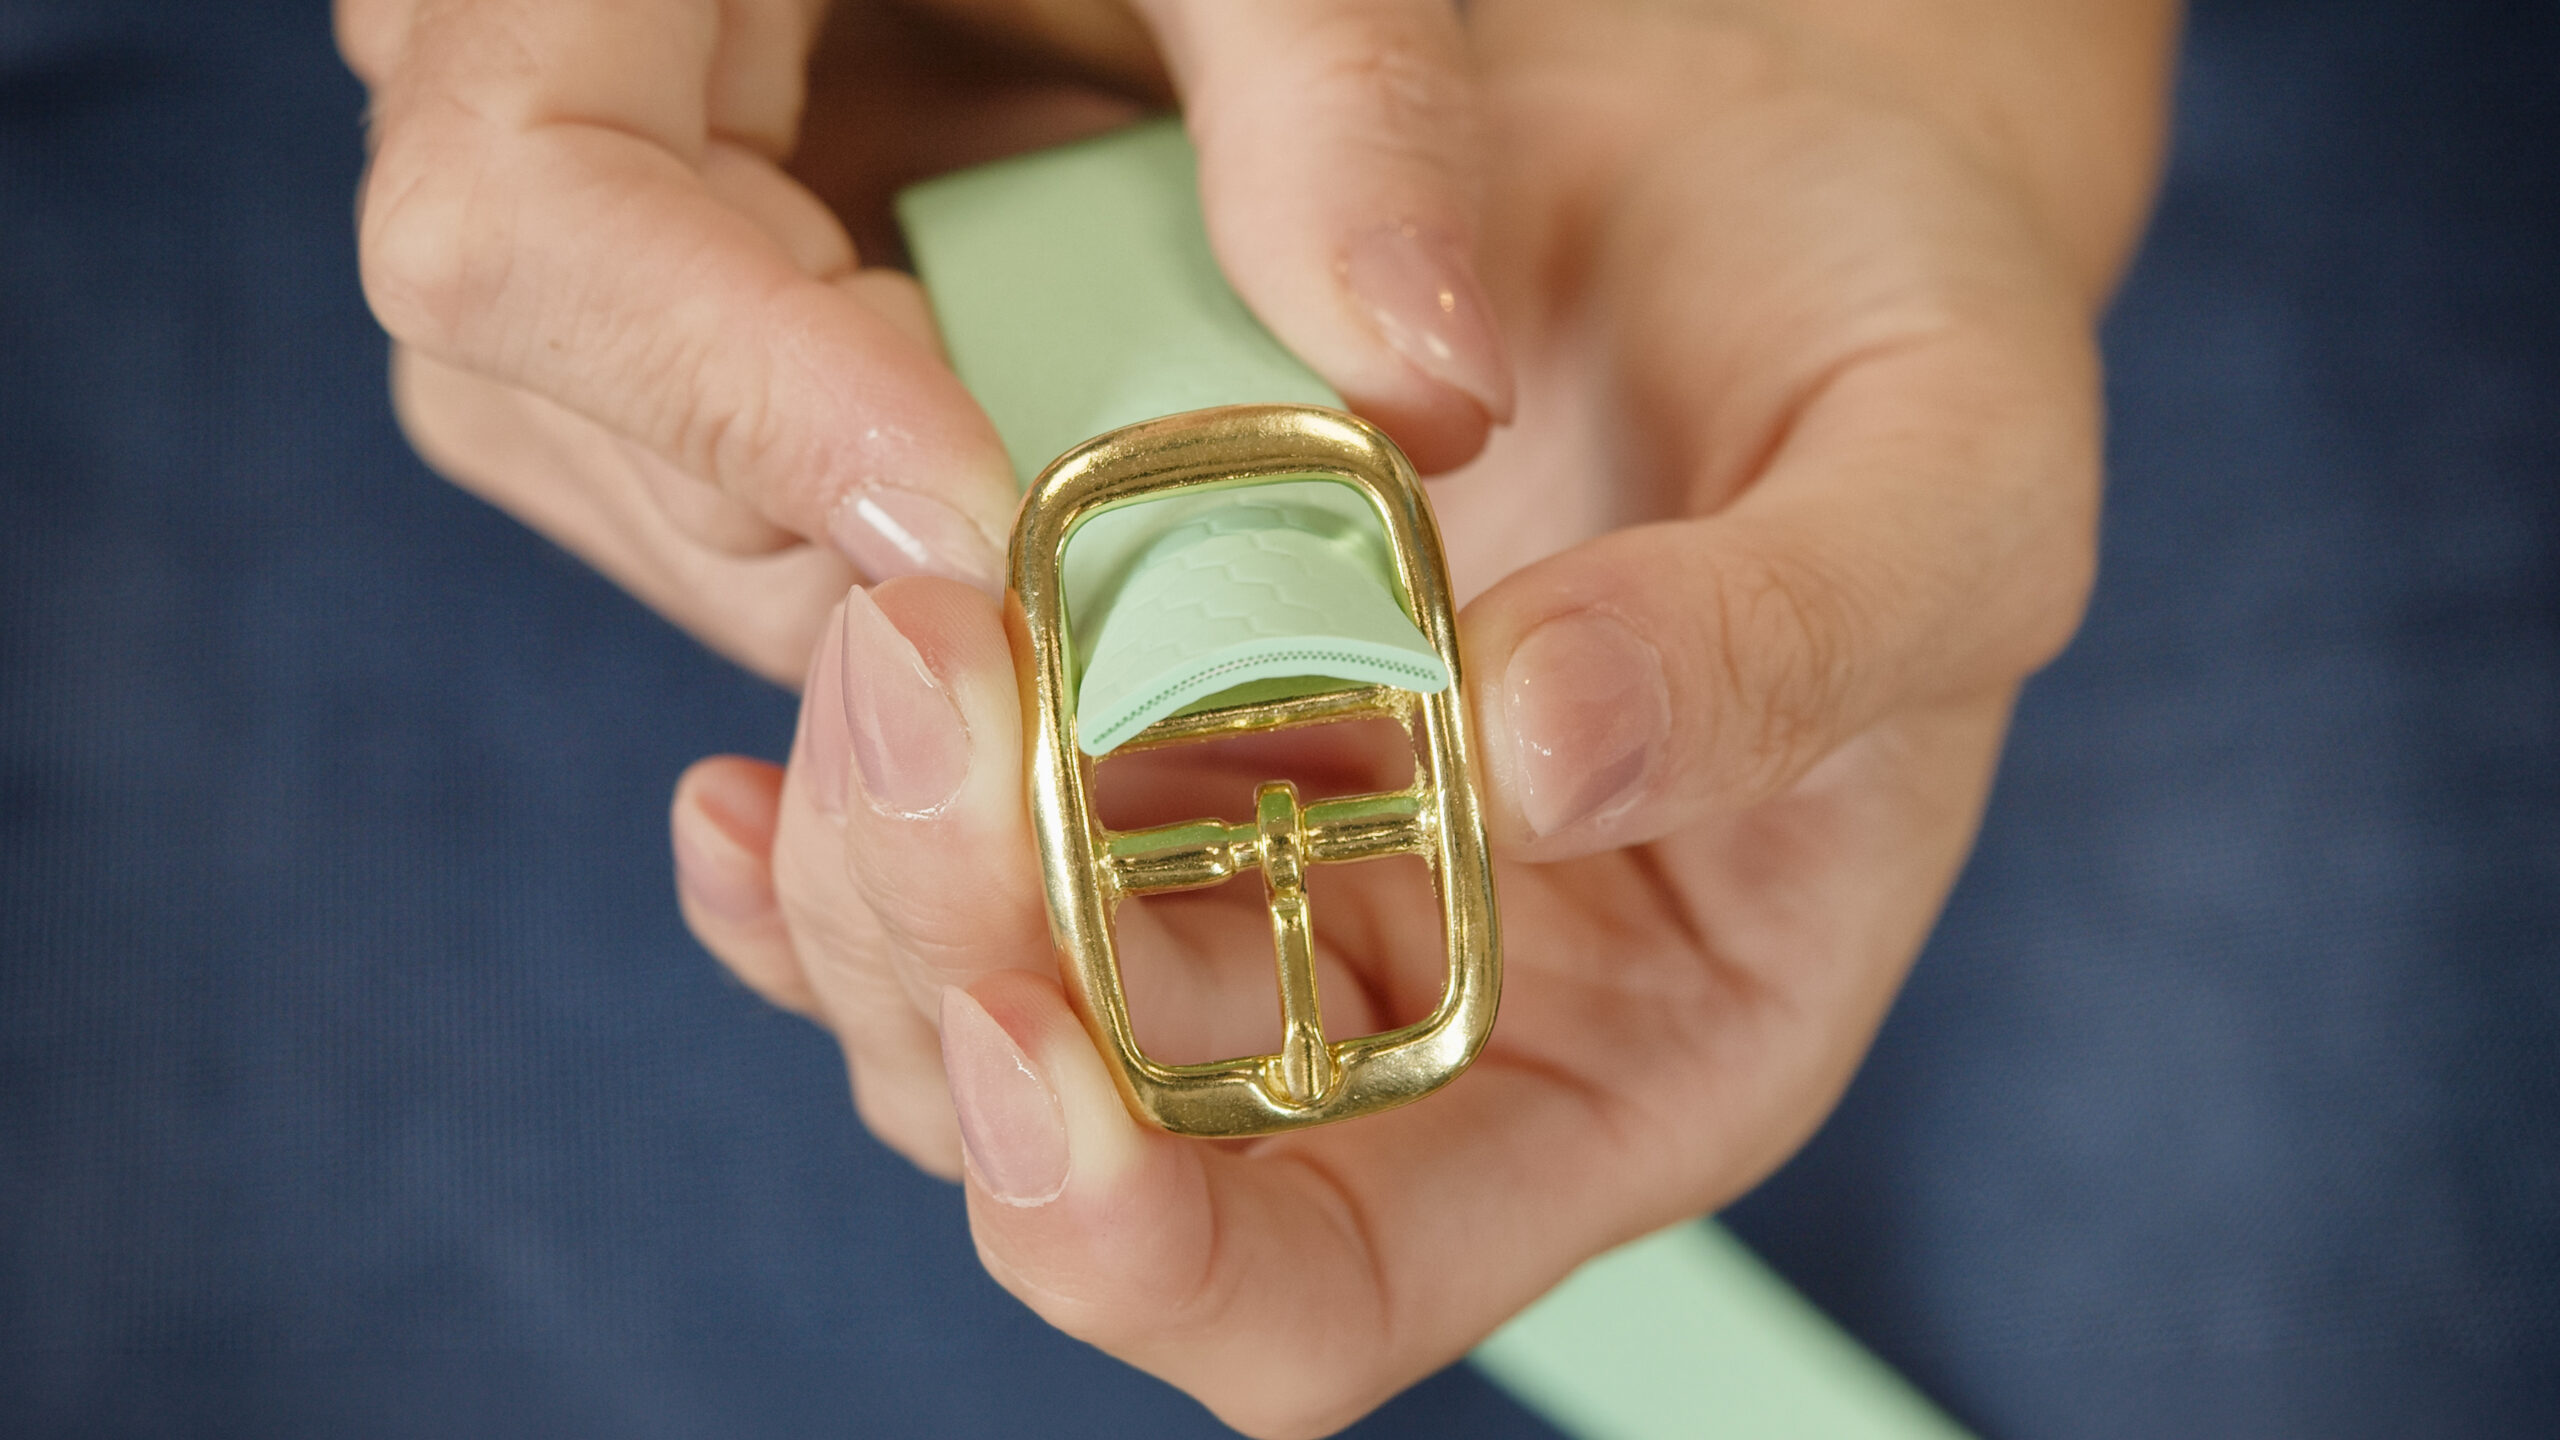
A typical problem comes up with sizes that look similar but are not the same. For example, 40 mm webbing and hardware with an inside width of 38 mm. A two-millimeter difference may seem negligible on paper, but in practice it can mean the webbing runs badly through the buckle or deforms in it.
So when choosing, always check not only the webbing width but also the inside dimension of the hardware. Look at the technical drawings and dimensions listed with the product, not just the variant name. If you have switched our website to show dimensions in inches, the tables and technical measurements will also be shown in inches.
Watch the thickness of the material too. If the webbing passes through the hardware in several layers, the width is not the only thing to consider. Material that is too thick or stiff may bend poorly in the buckle, pull through badly or stick out unnecessarily.
It is best to try the exact combination before you start making the collar. You will avoid a situation where the collar is almost finished, but the webbing does not fit the buckle, drags or twists unnaturally.
7. Placing the D-ring without thinking about how the collar is used
There is no single universal answer to where exactly a D-ring belongs on a collar. You will come across different designs, and each can have its reasons.
What matters is to think about how the particular collar will be used. Once you fasten the collar, the D-ring should be easy to reach for clipping on the leash, should not get in the way when fastening, and its position should not make the collar twist uncomfortably.
Also watch the distance from other hardware. If the D-ring is too close to the buckle or another metal part, they can knock against each other and jingle as the dog moves. For everyday walks this may not be a big problem, but when moving through the woods, for example, every unnecessary sound can be unwelcome.
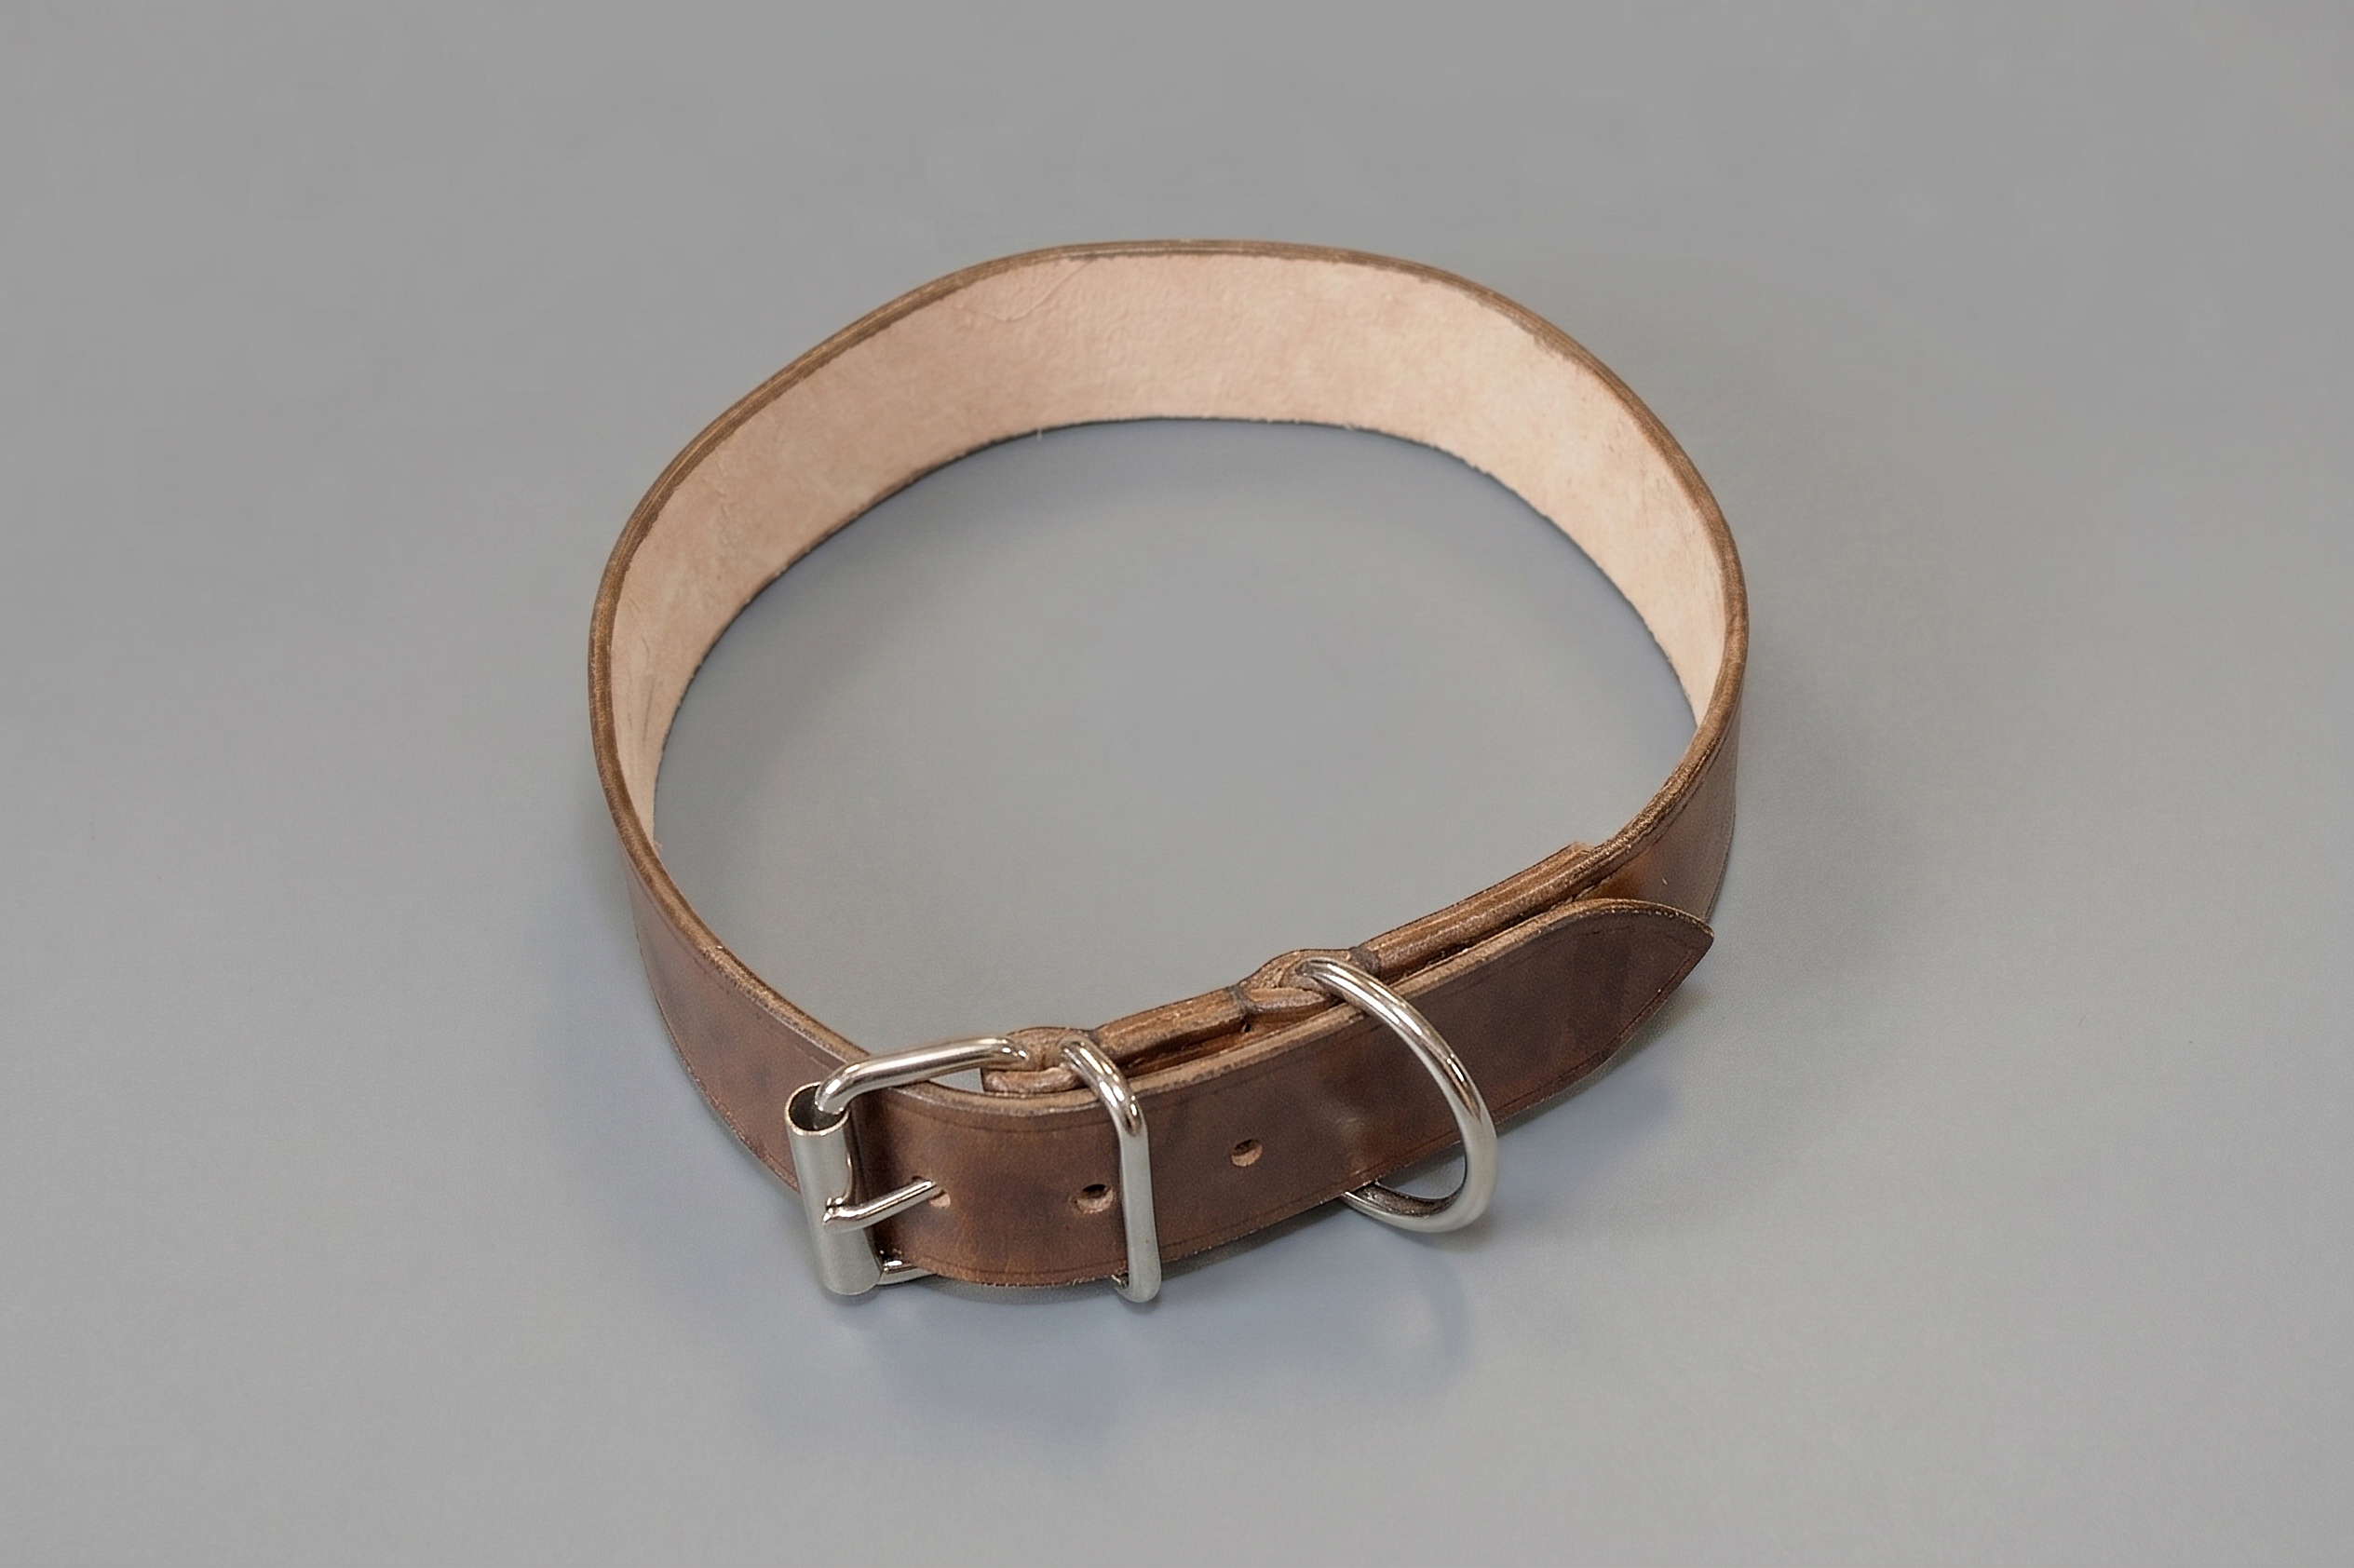
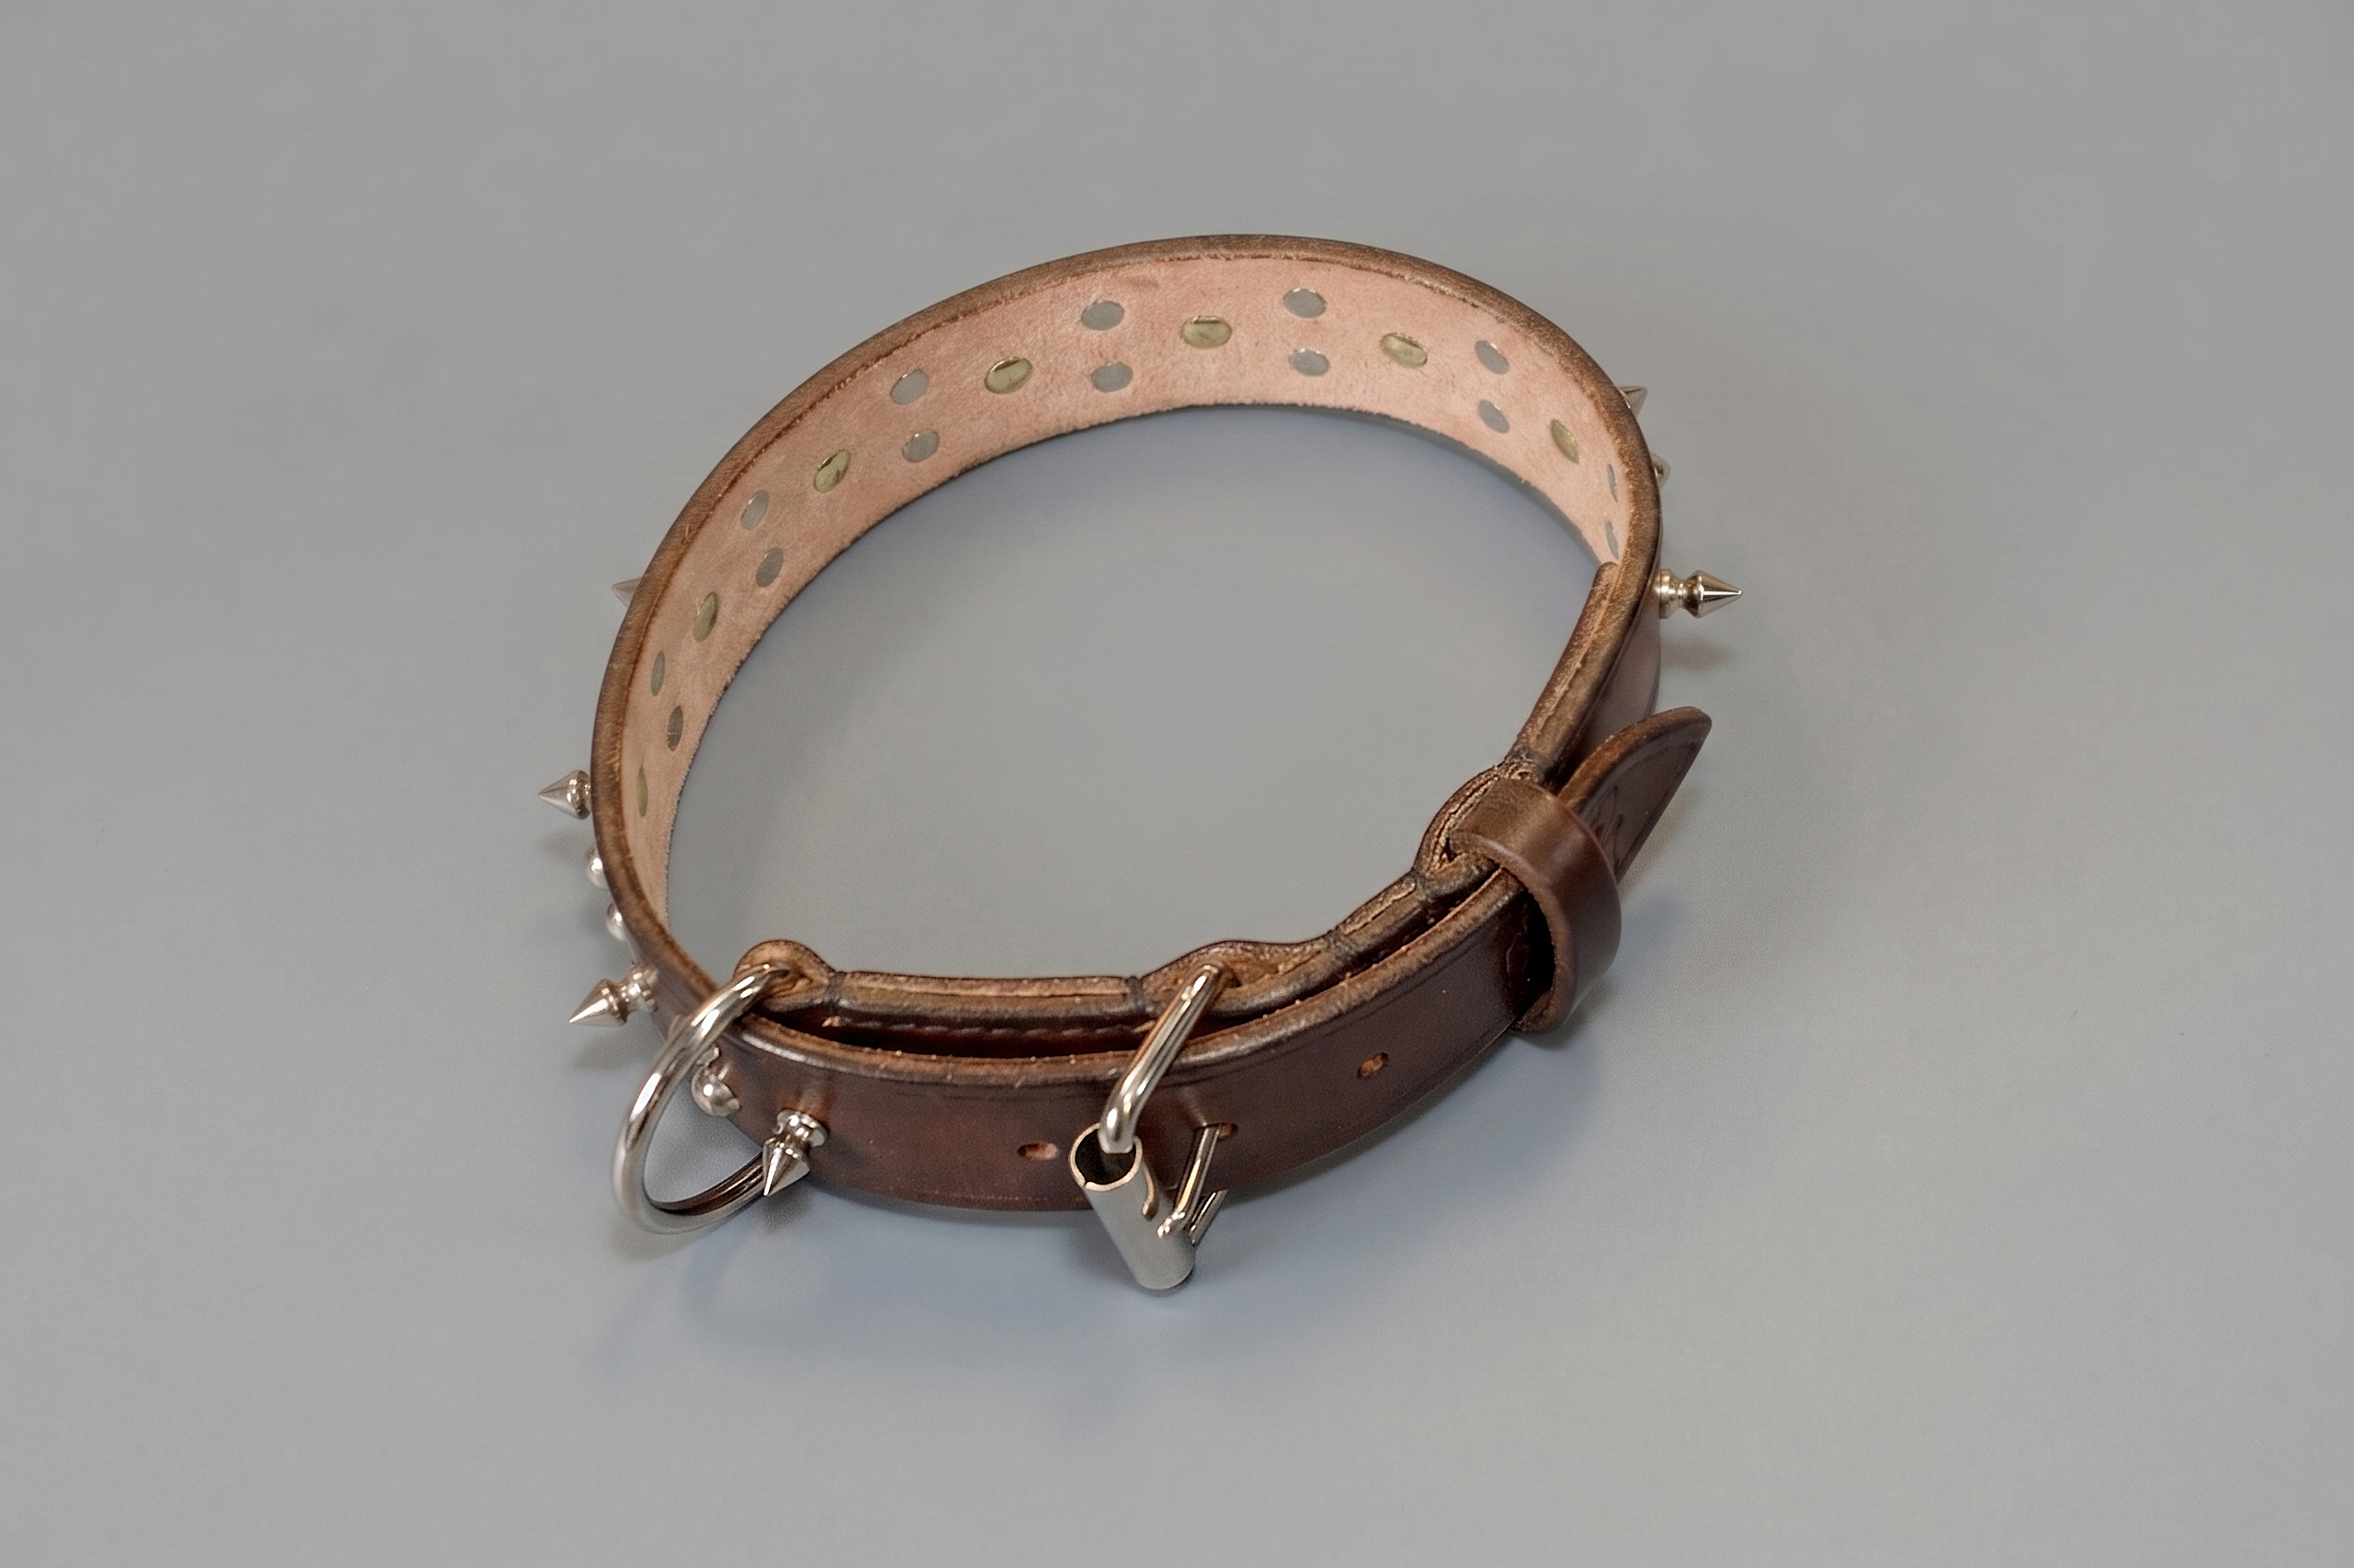
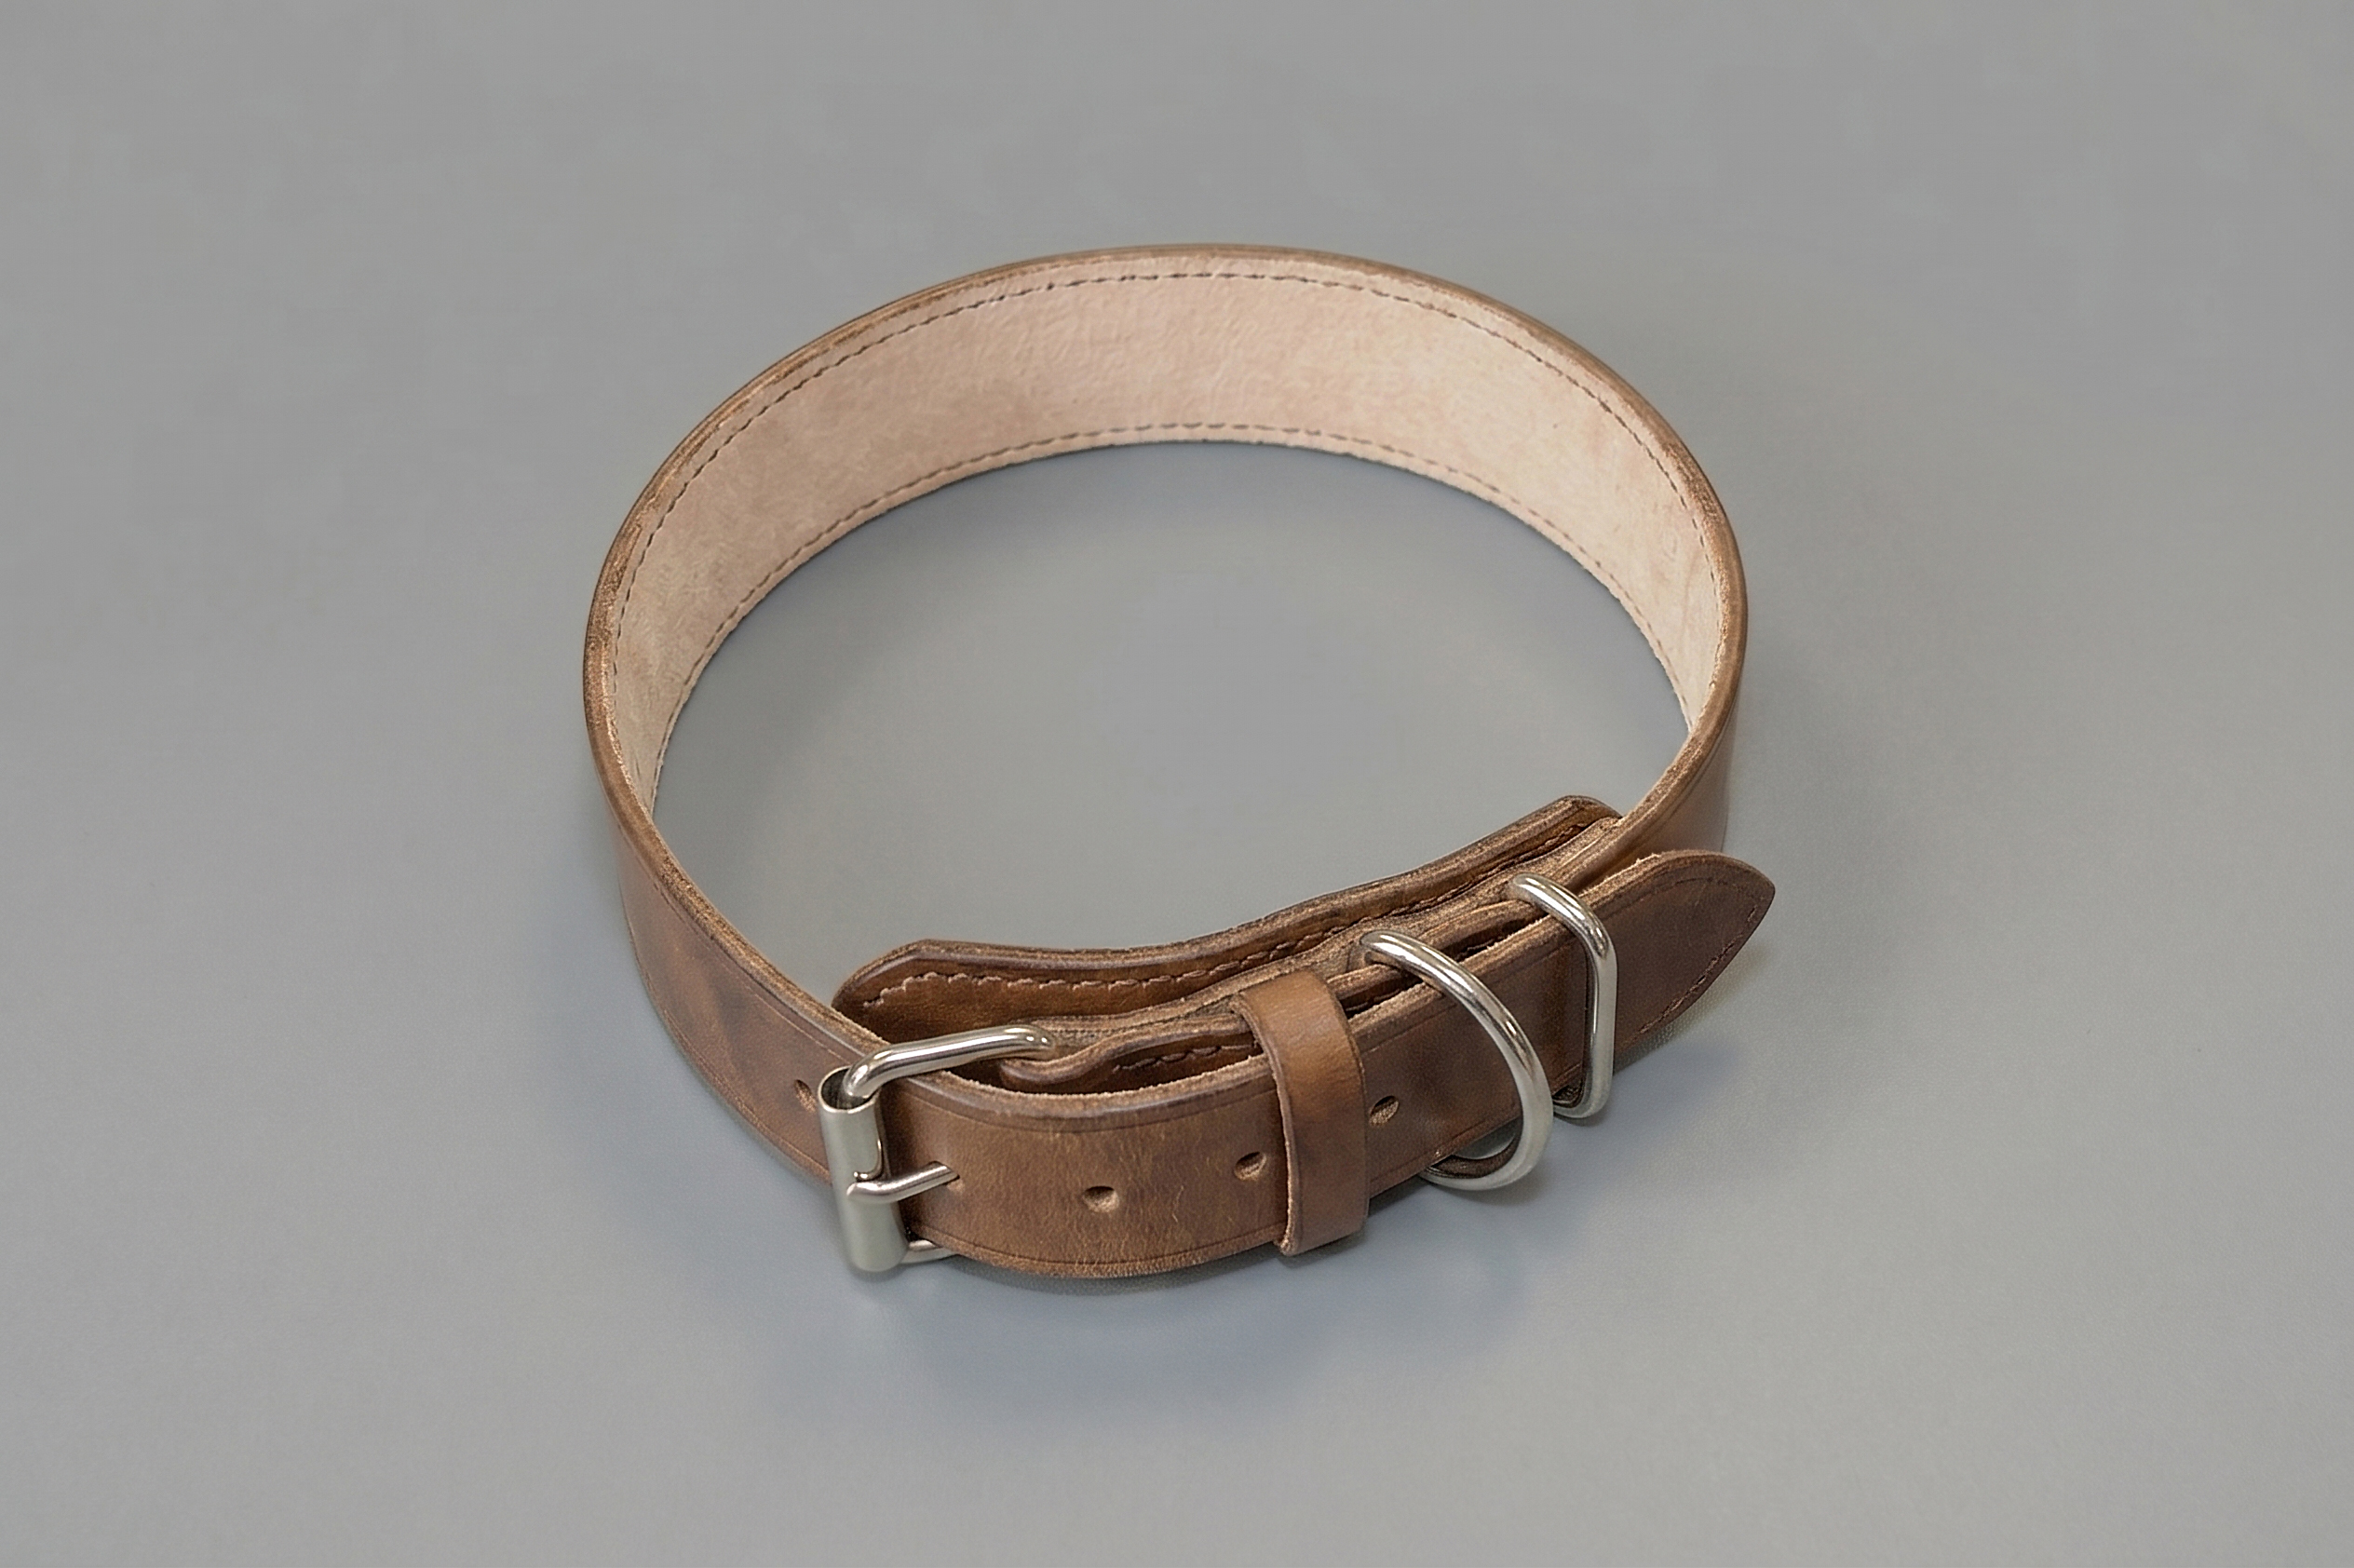
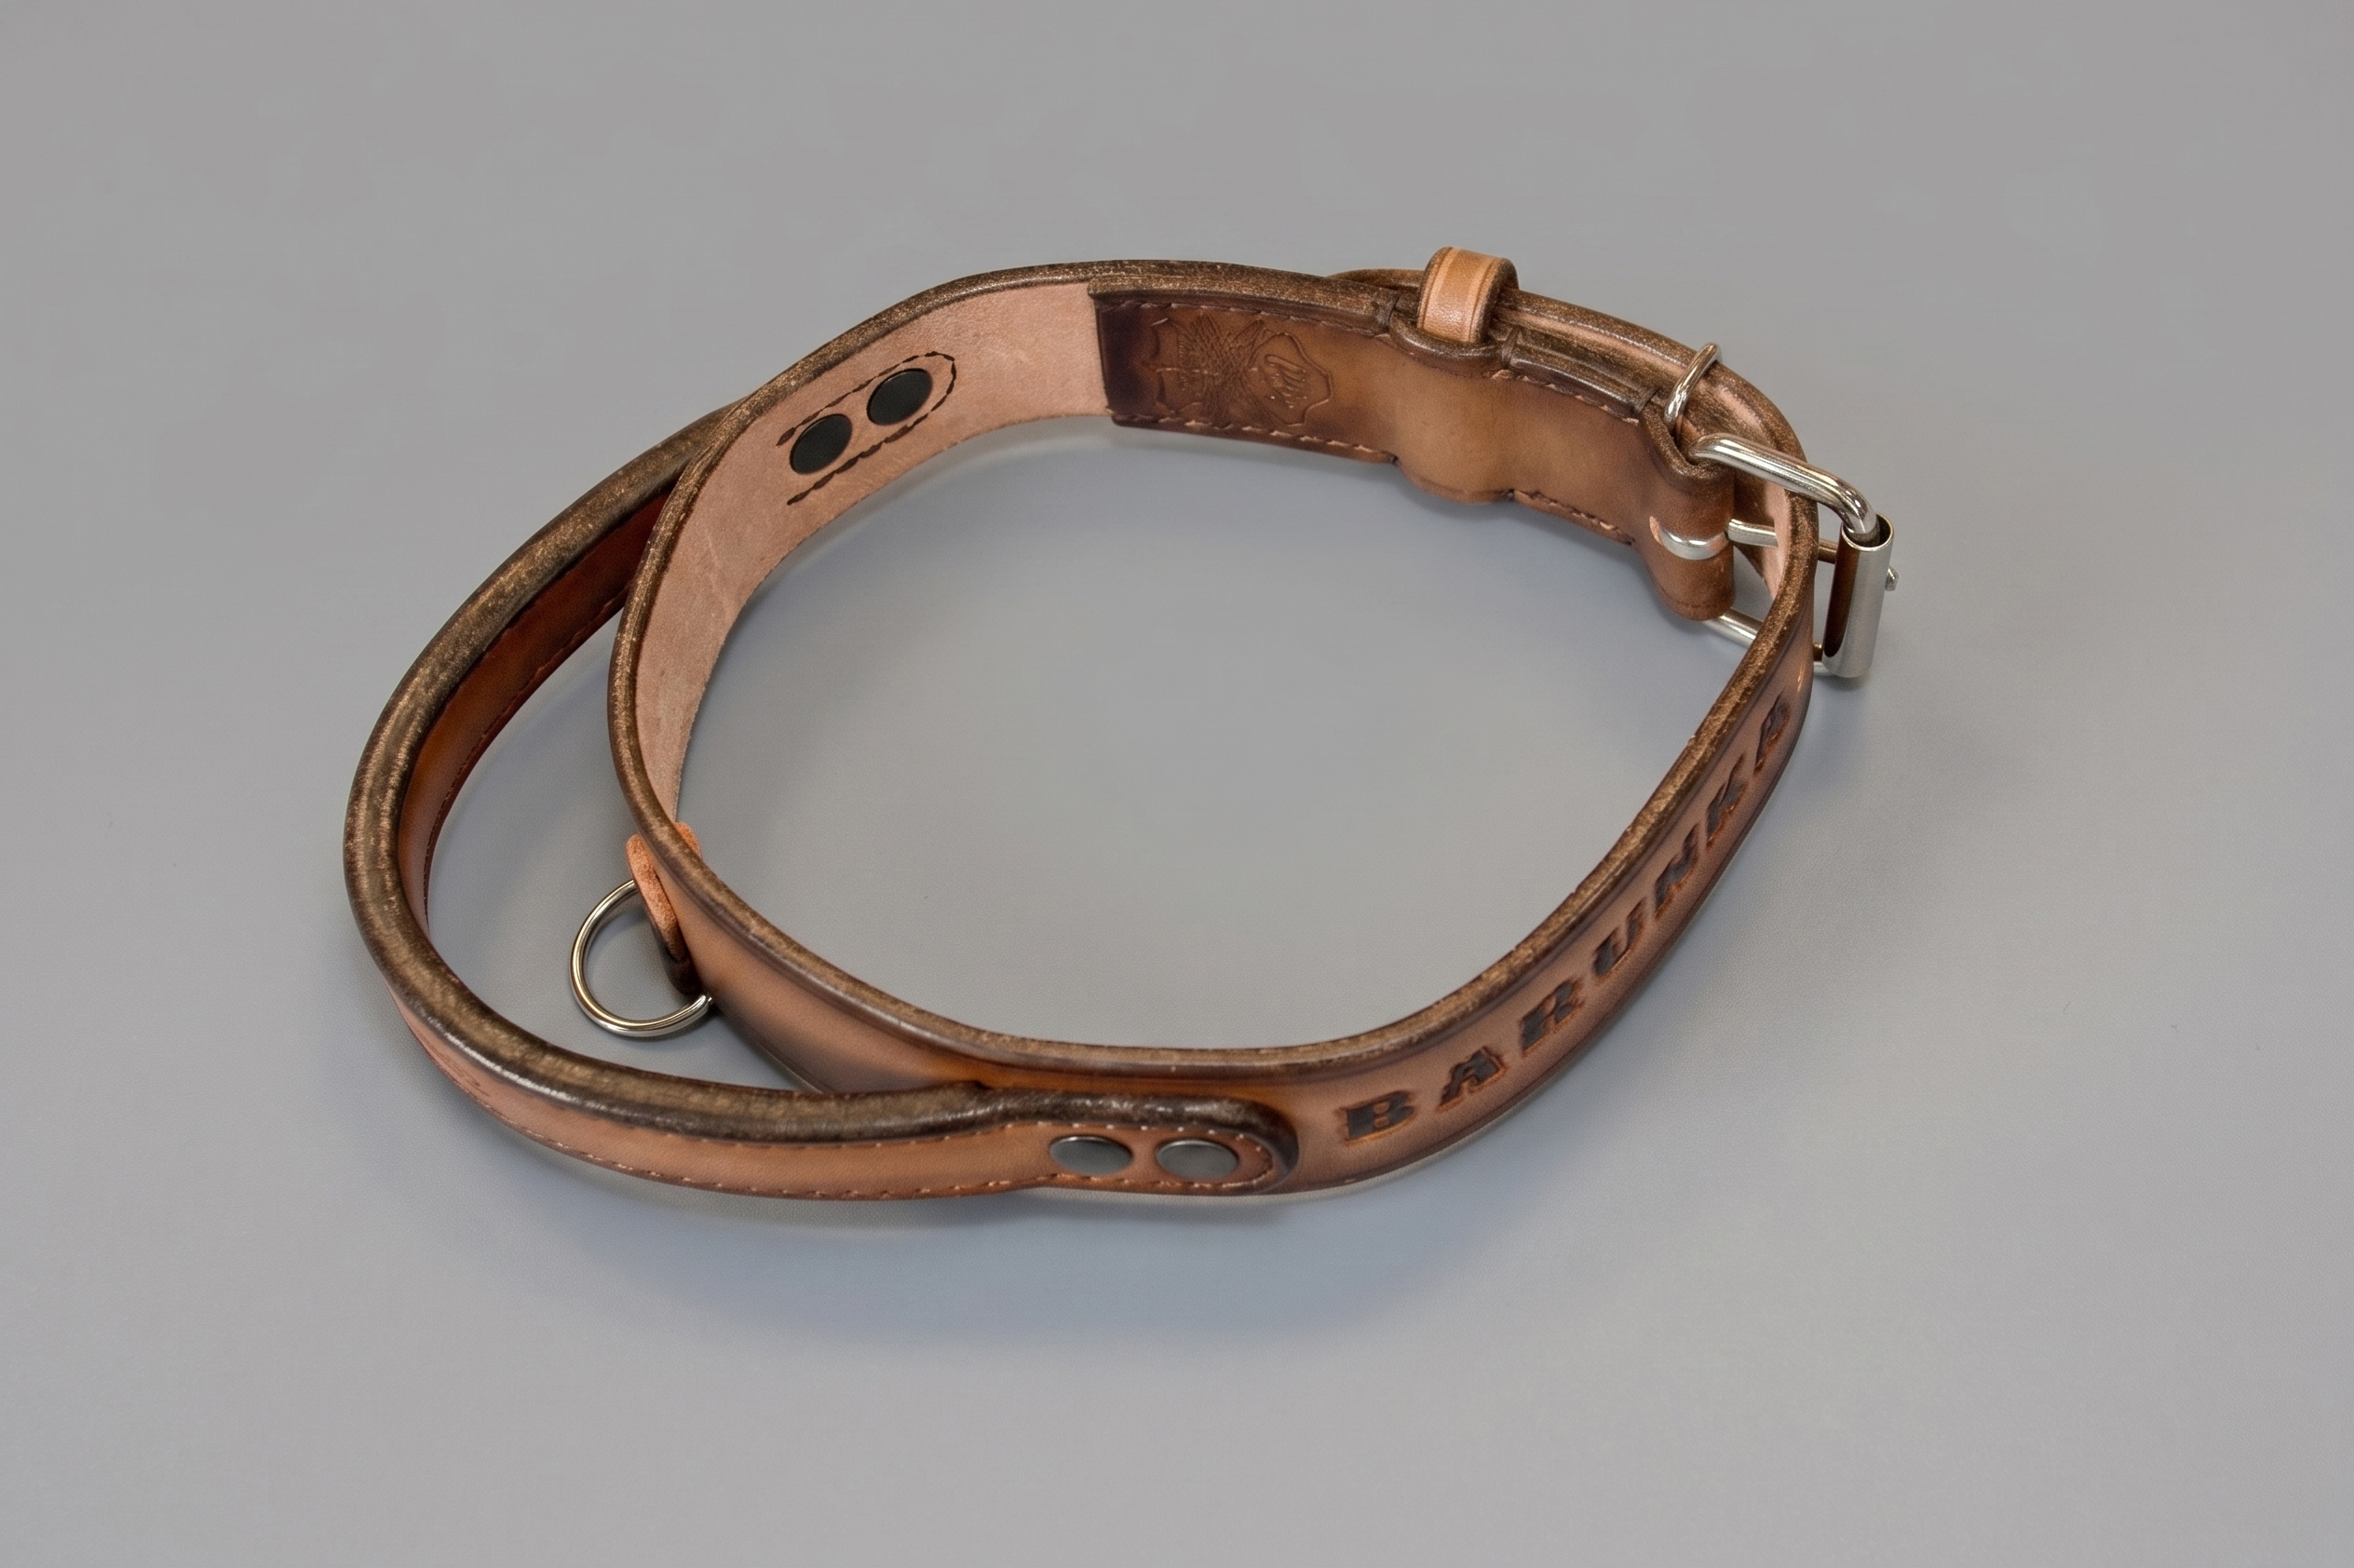
When designing a collar, consider above all:
- the collar design and how it fastens,
- the size and weight of the hardware you use,
- the distance between the individual metal parts,
- where the D-ring will actually lie once the collar is fastened,
- and your customer’s preferences if you make the collar to order.
The right position is the one that makes sense for the particular collar, dog and use. There is no single solution that is best for everyone.
8. Hardware that does not match the dog’s size and use
Choose hardware to suit the dog, not just what you like. A small dog does not need hardware as heavy as a large, strong breed. A heavy buckle or a big cast ring can pull a small dog’s collar down, make it twist around the neck and make it less comfortable to wear overall.
A Chihuahua, a Yorkshire Terrier or a small companion dog does not need hardware that would hold a strong dog such as a pit bull terrier. For a small dog, such hardware is unnecessarily heavy-duty.
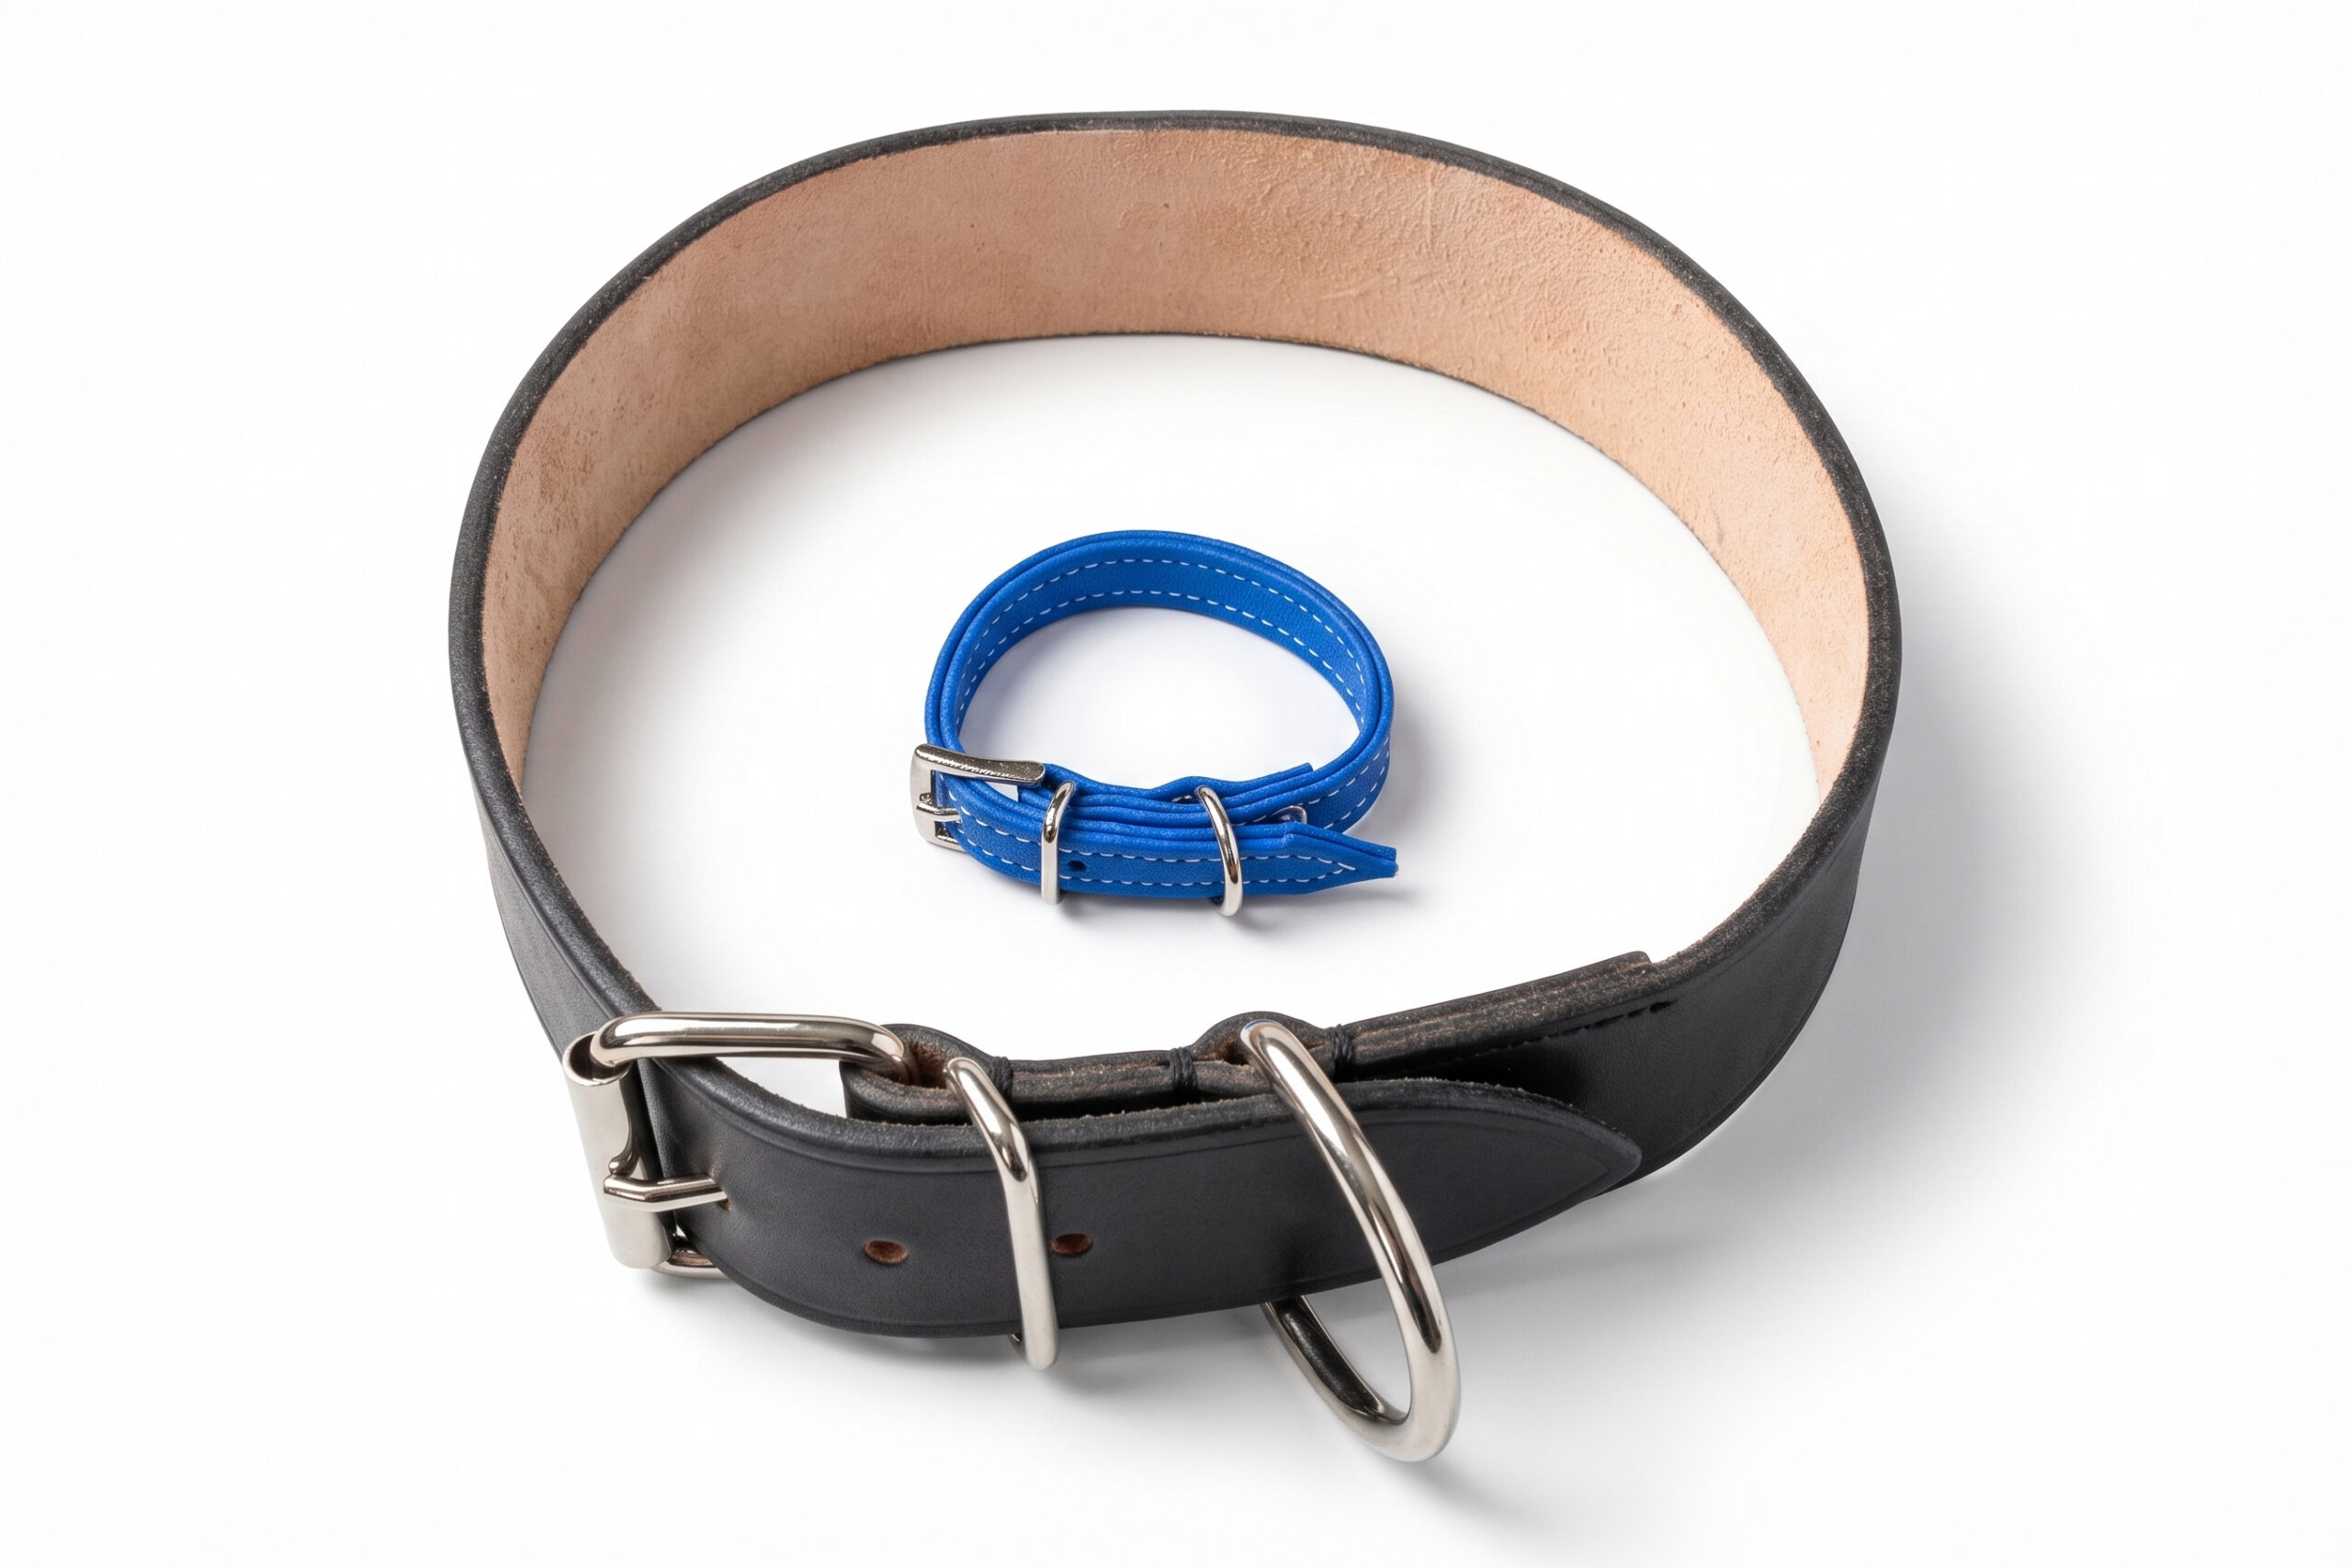
For small dogs it often makes sense to use:
- lighter plastic hardware,
- smaller buckles,
- lightweight metal components,
- smaller D-rings,
- a lighter collar design overall.
For strong dogs that pull a lot, or for sports use, on the other hand, you need strong, durable hardware.
Dogs that often swim or go into water are a category of their own. For them it pays to think about resistance to moisture. Stainless steel hardware can be a good fit where the collar will often be in water or in wet conditions.
The goal is not to put the strongest possible hardware on every collar. The goal is to choose hardware that matches the dog’s size, strength and activity and the conditions the collar will be used in.
9. Unchecked or cracking leather at stress points
With leather collars, checking only the grain side of the strap is not enough. Damage can also appear on the flesh side and may not be visible from the top at all.
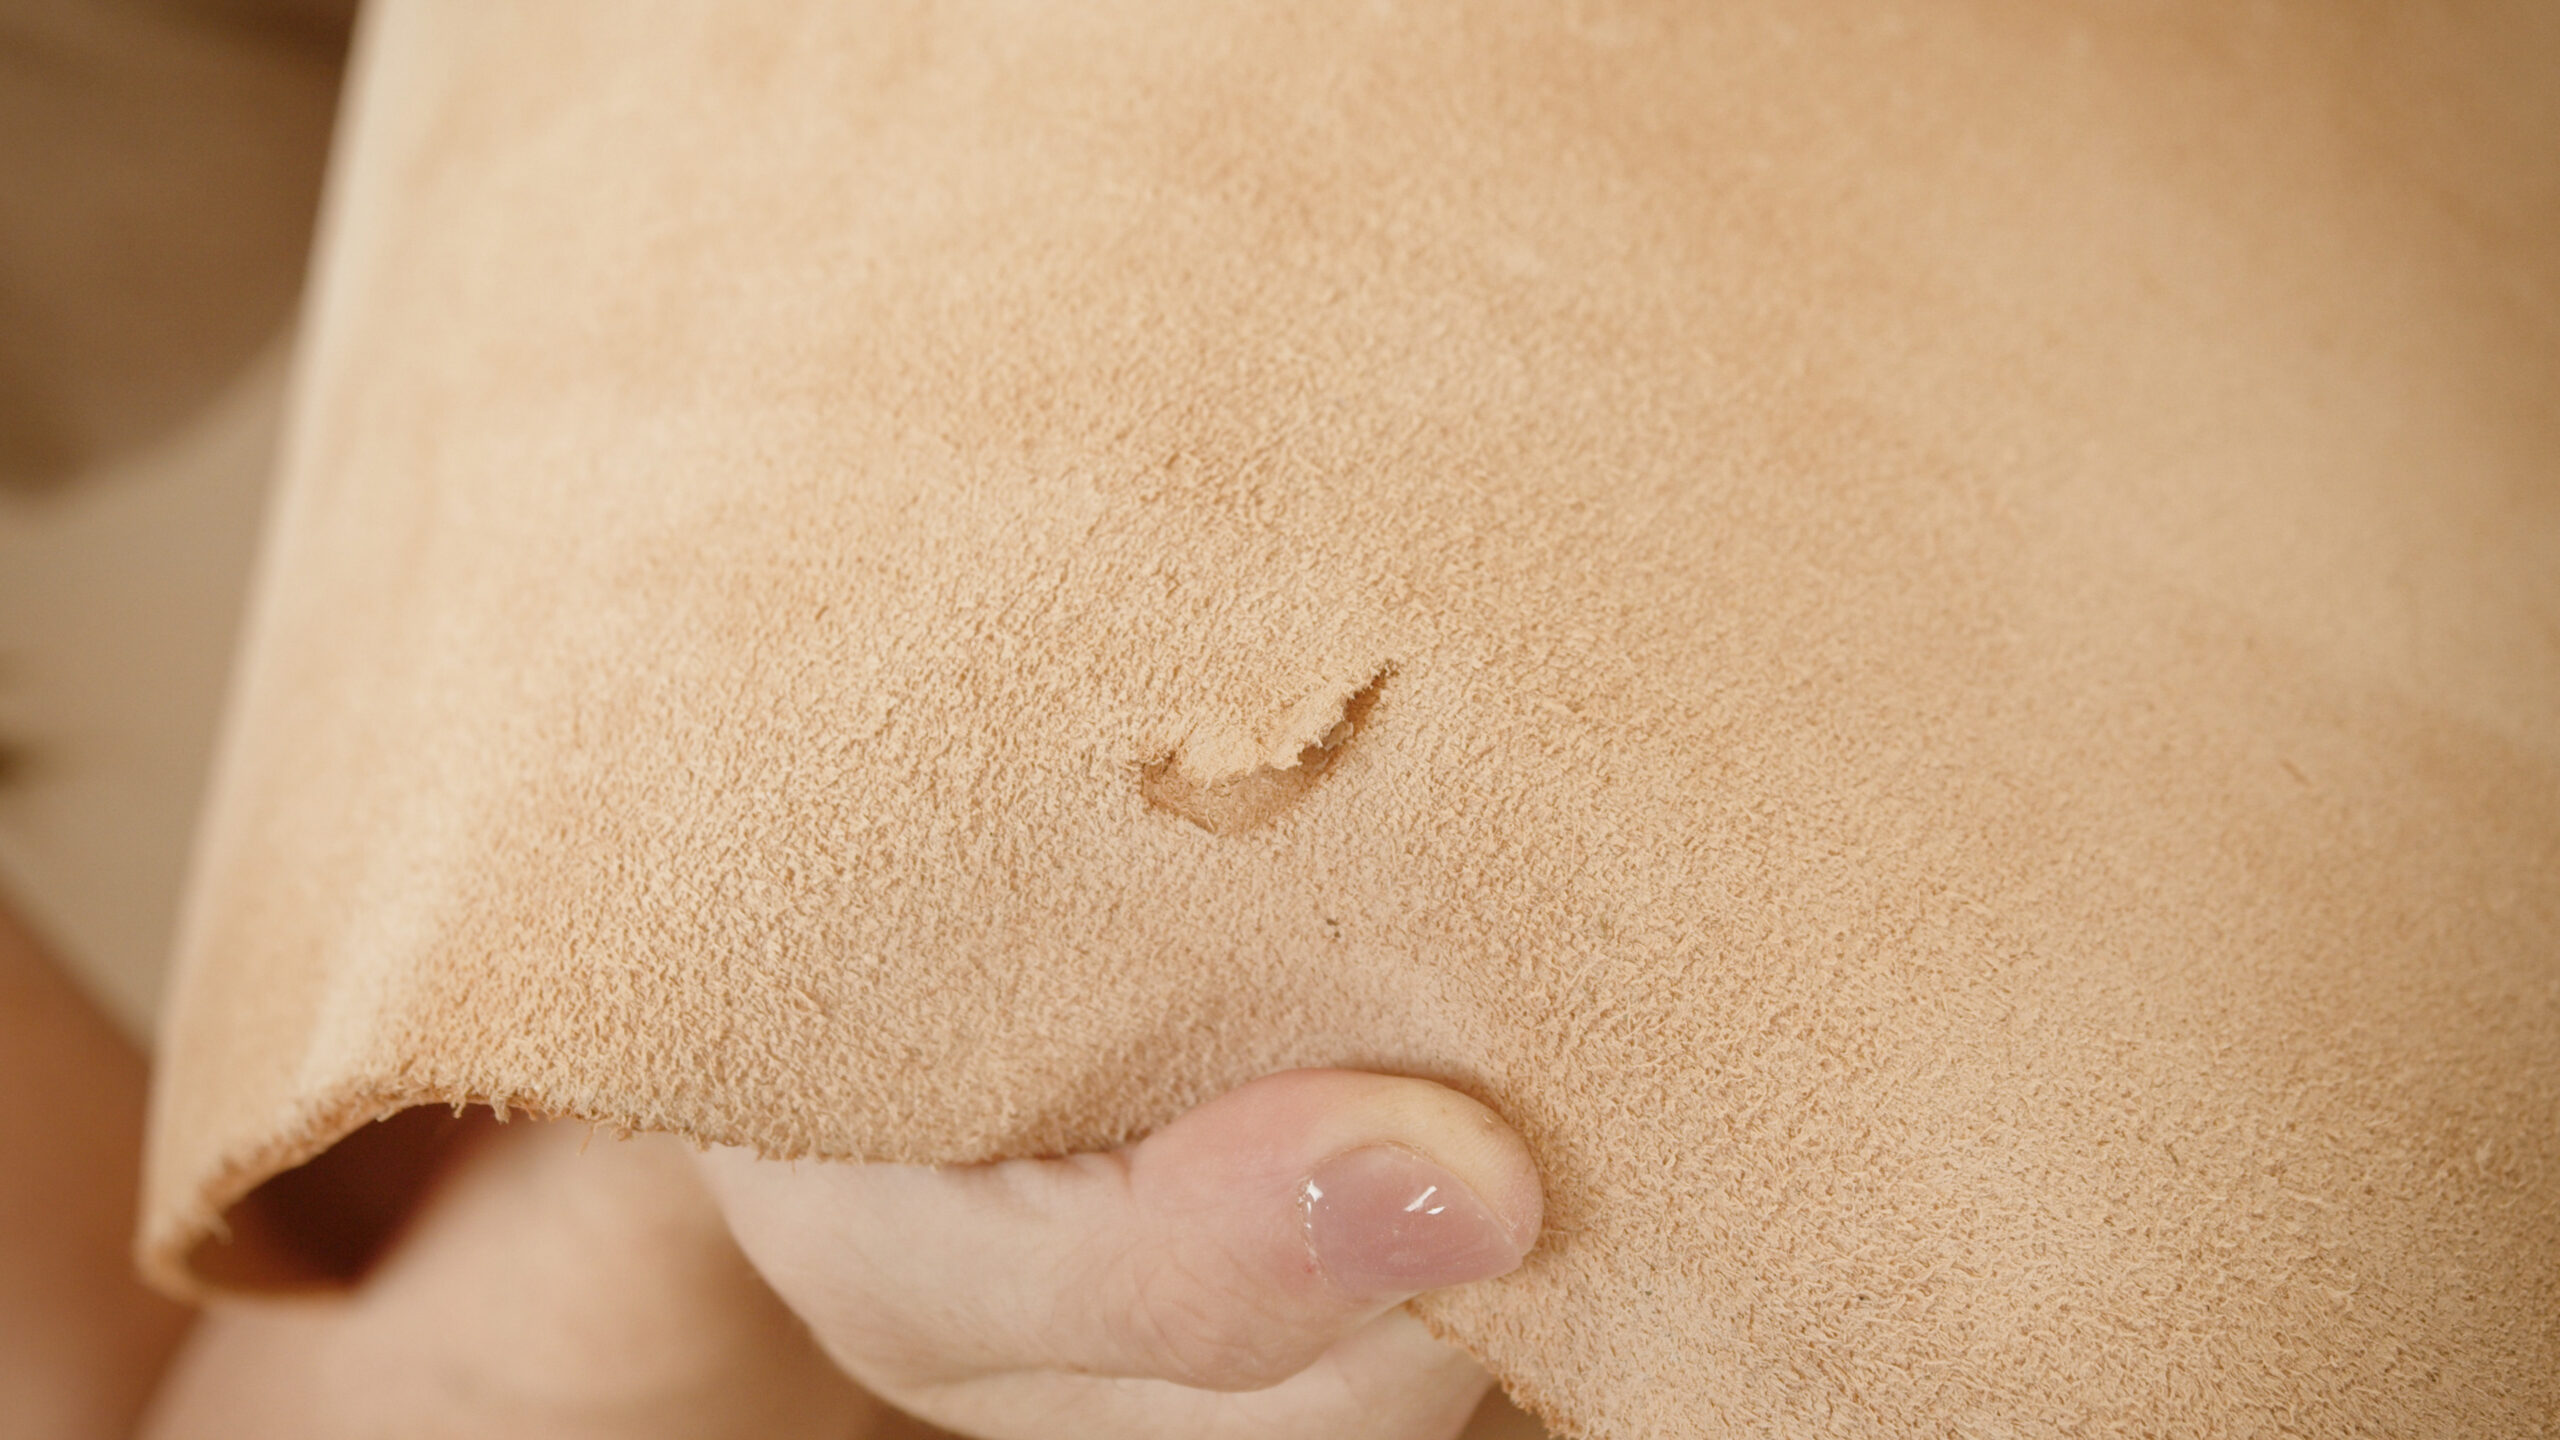
When you cut straps, it pays to inspect the whole strip from both sides before further work. On the flesh side there may be nicks, cracks or partly weakened spots that are not cut through but can open up under further stress. It is much better to find such a spot right away than when the strap is already dyed and almost finished.
Also pay attention to places where the leather bends sharply, such as around the buckle. A sharp bend puts a lot of tension on the grain side of the leather, and the material can start to crack.
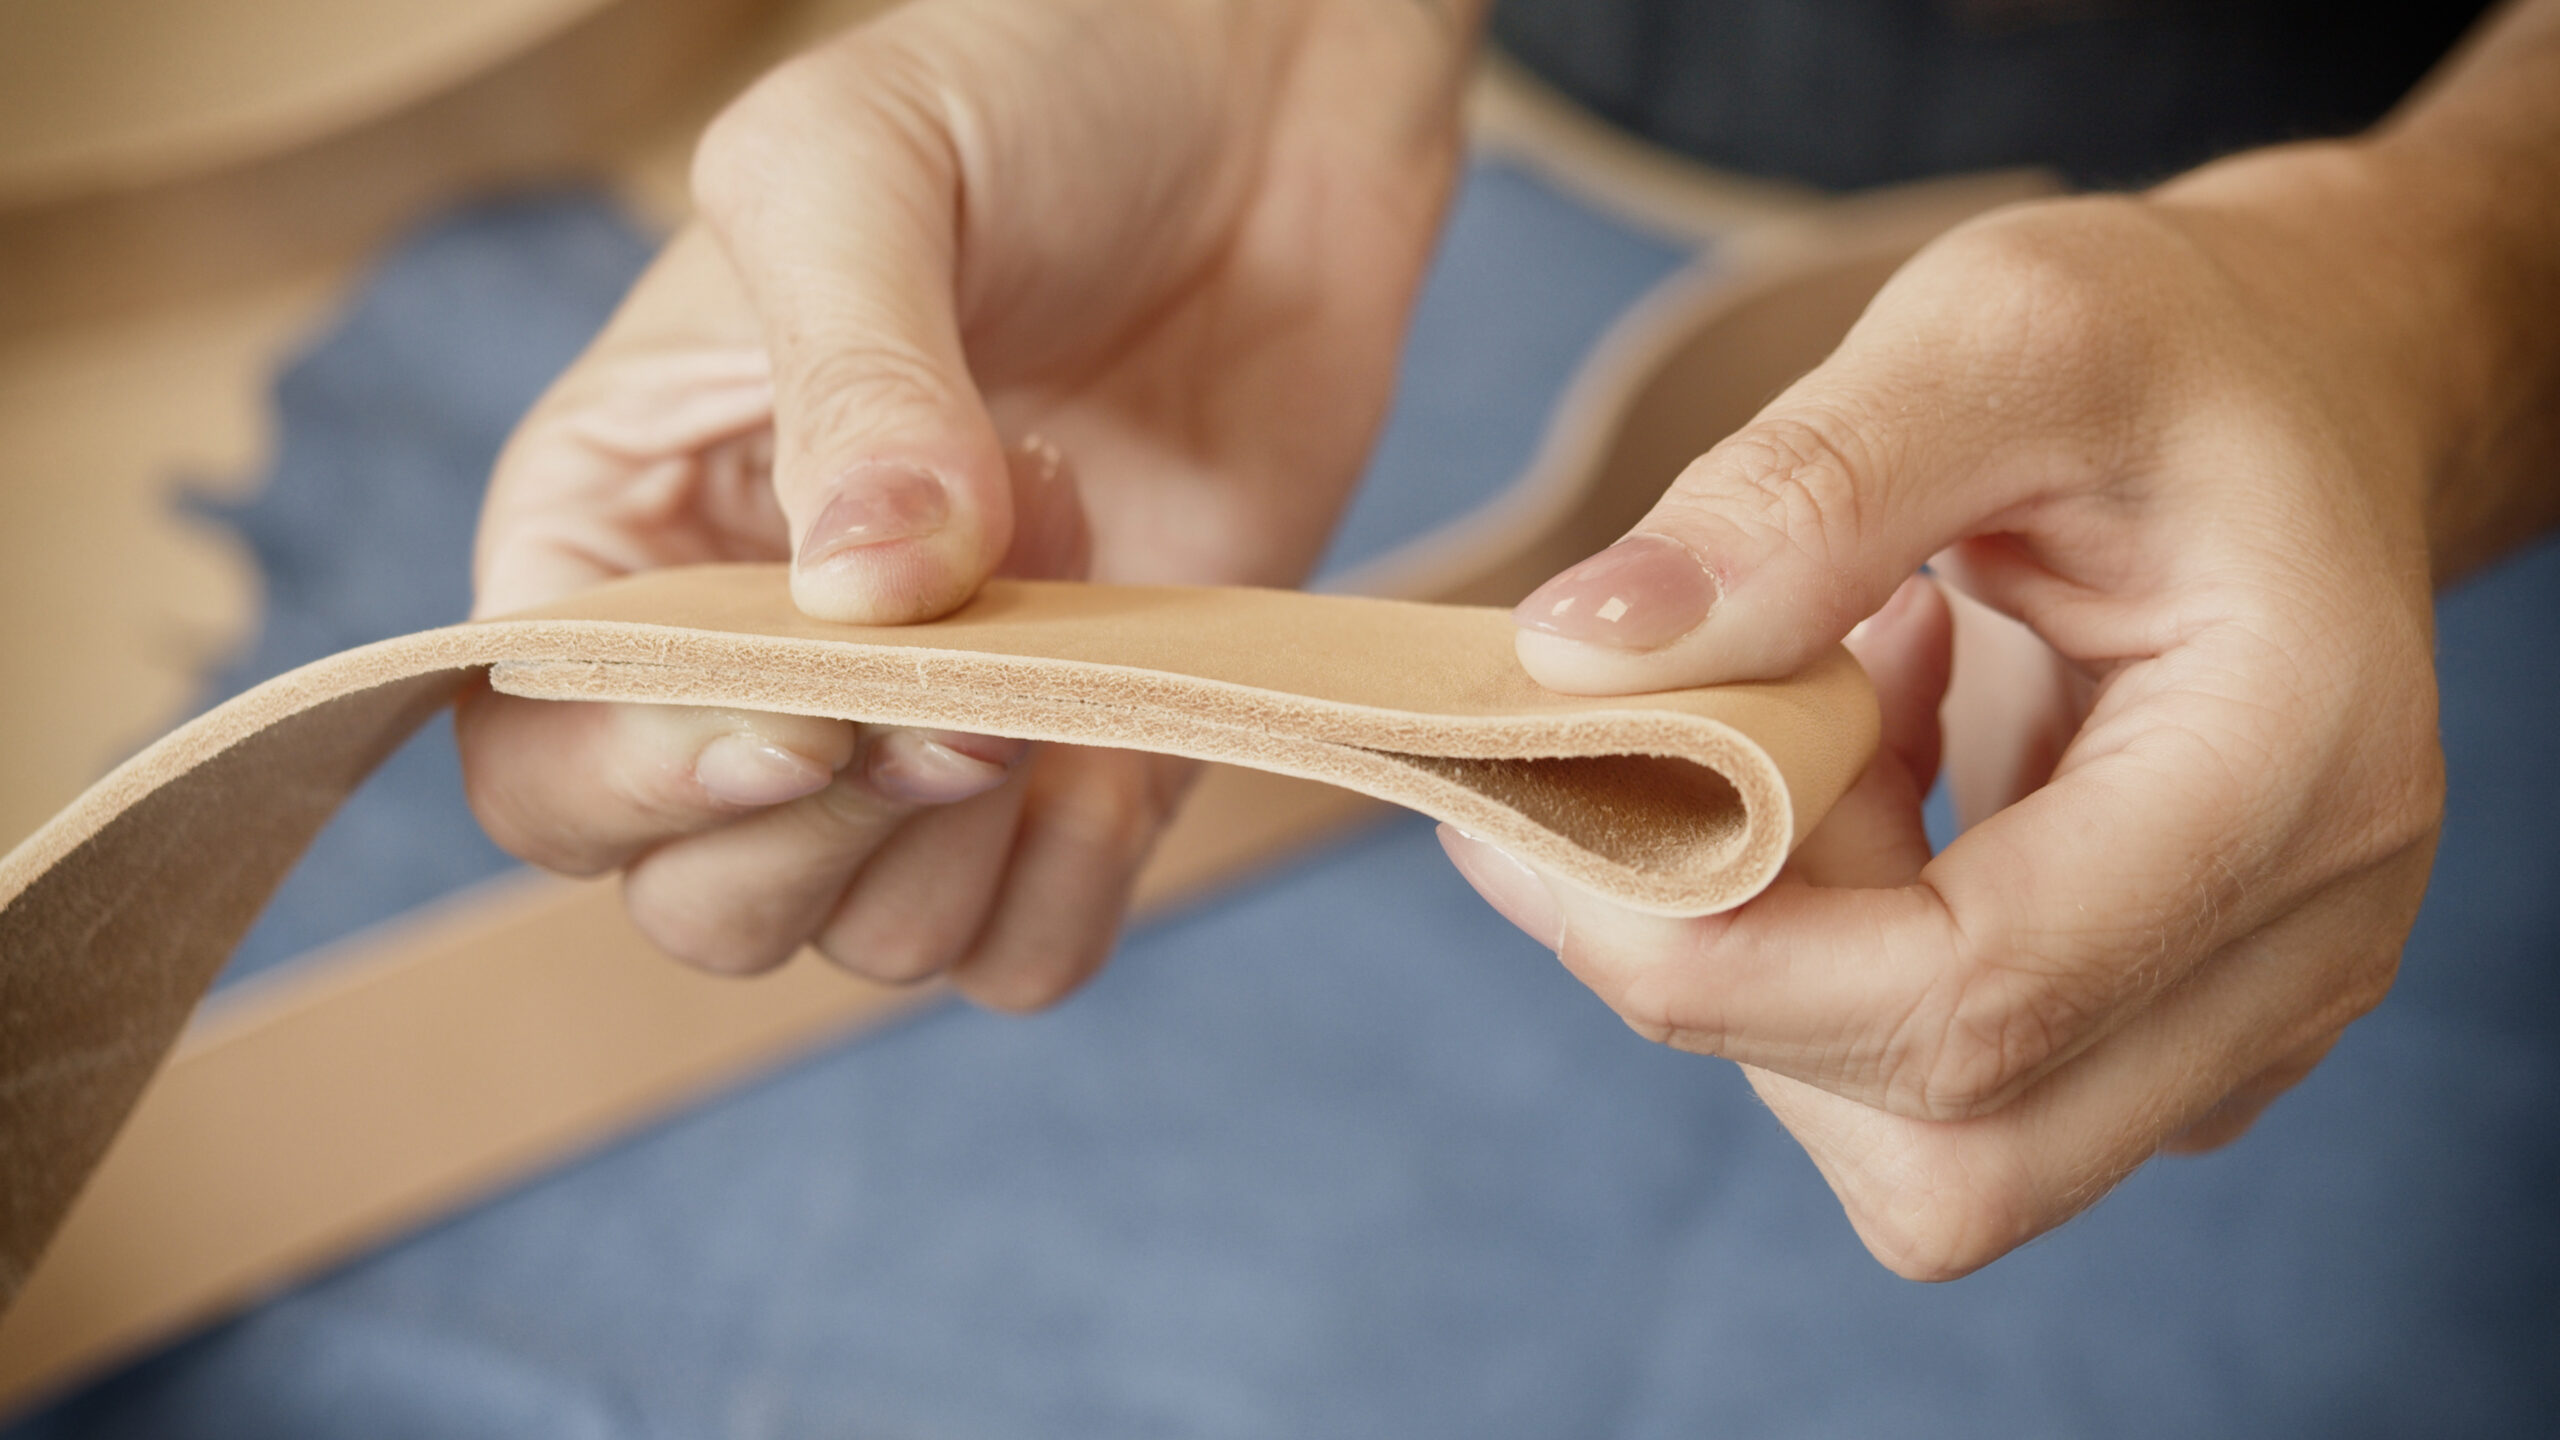
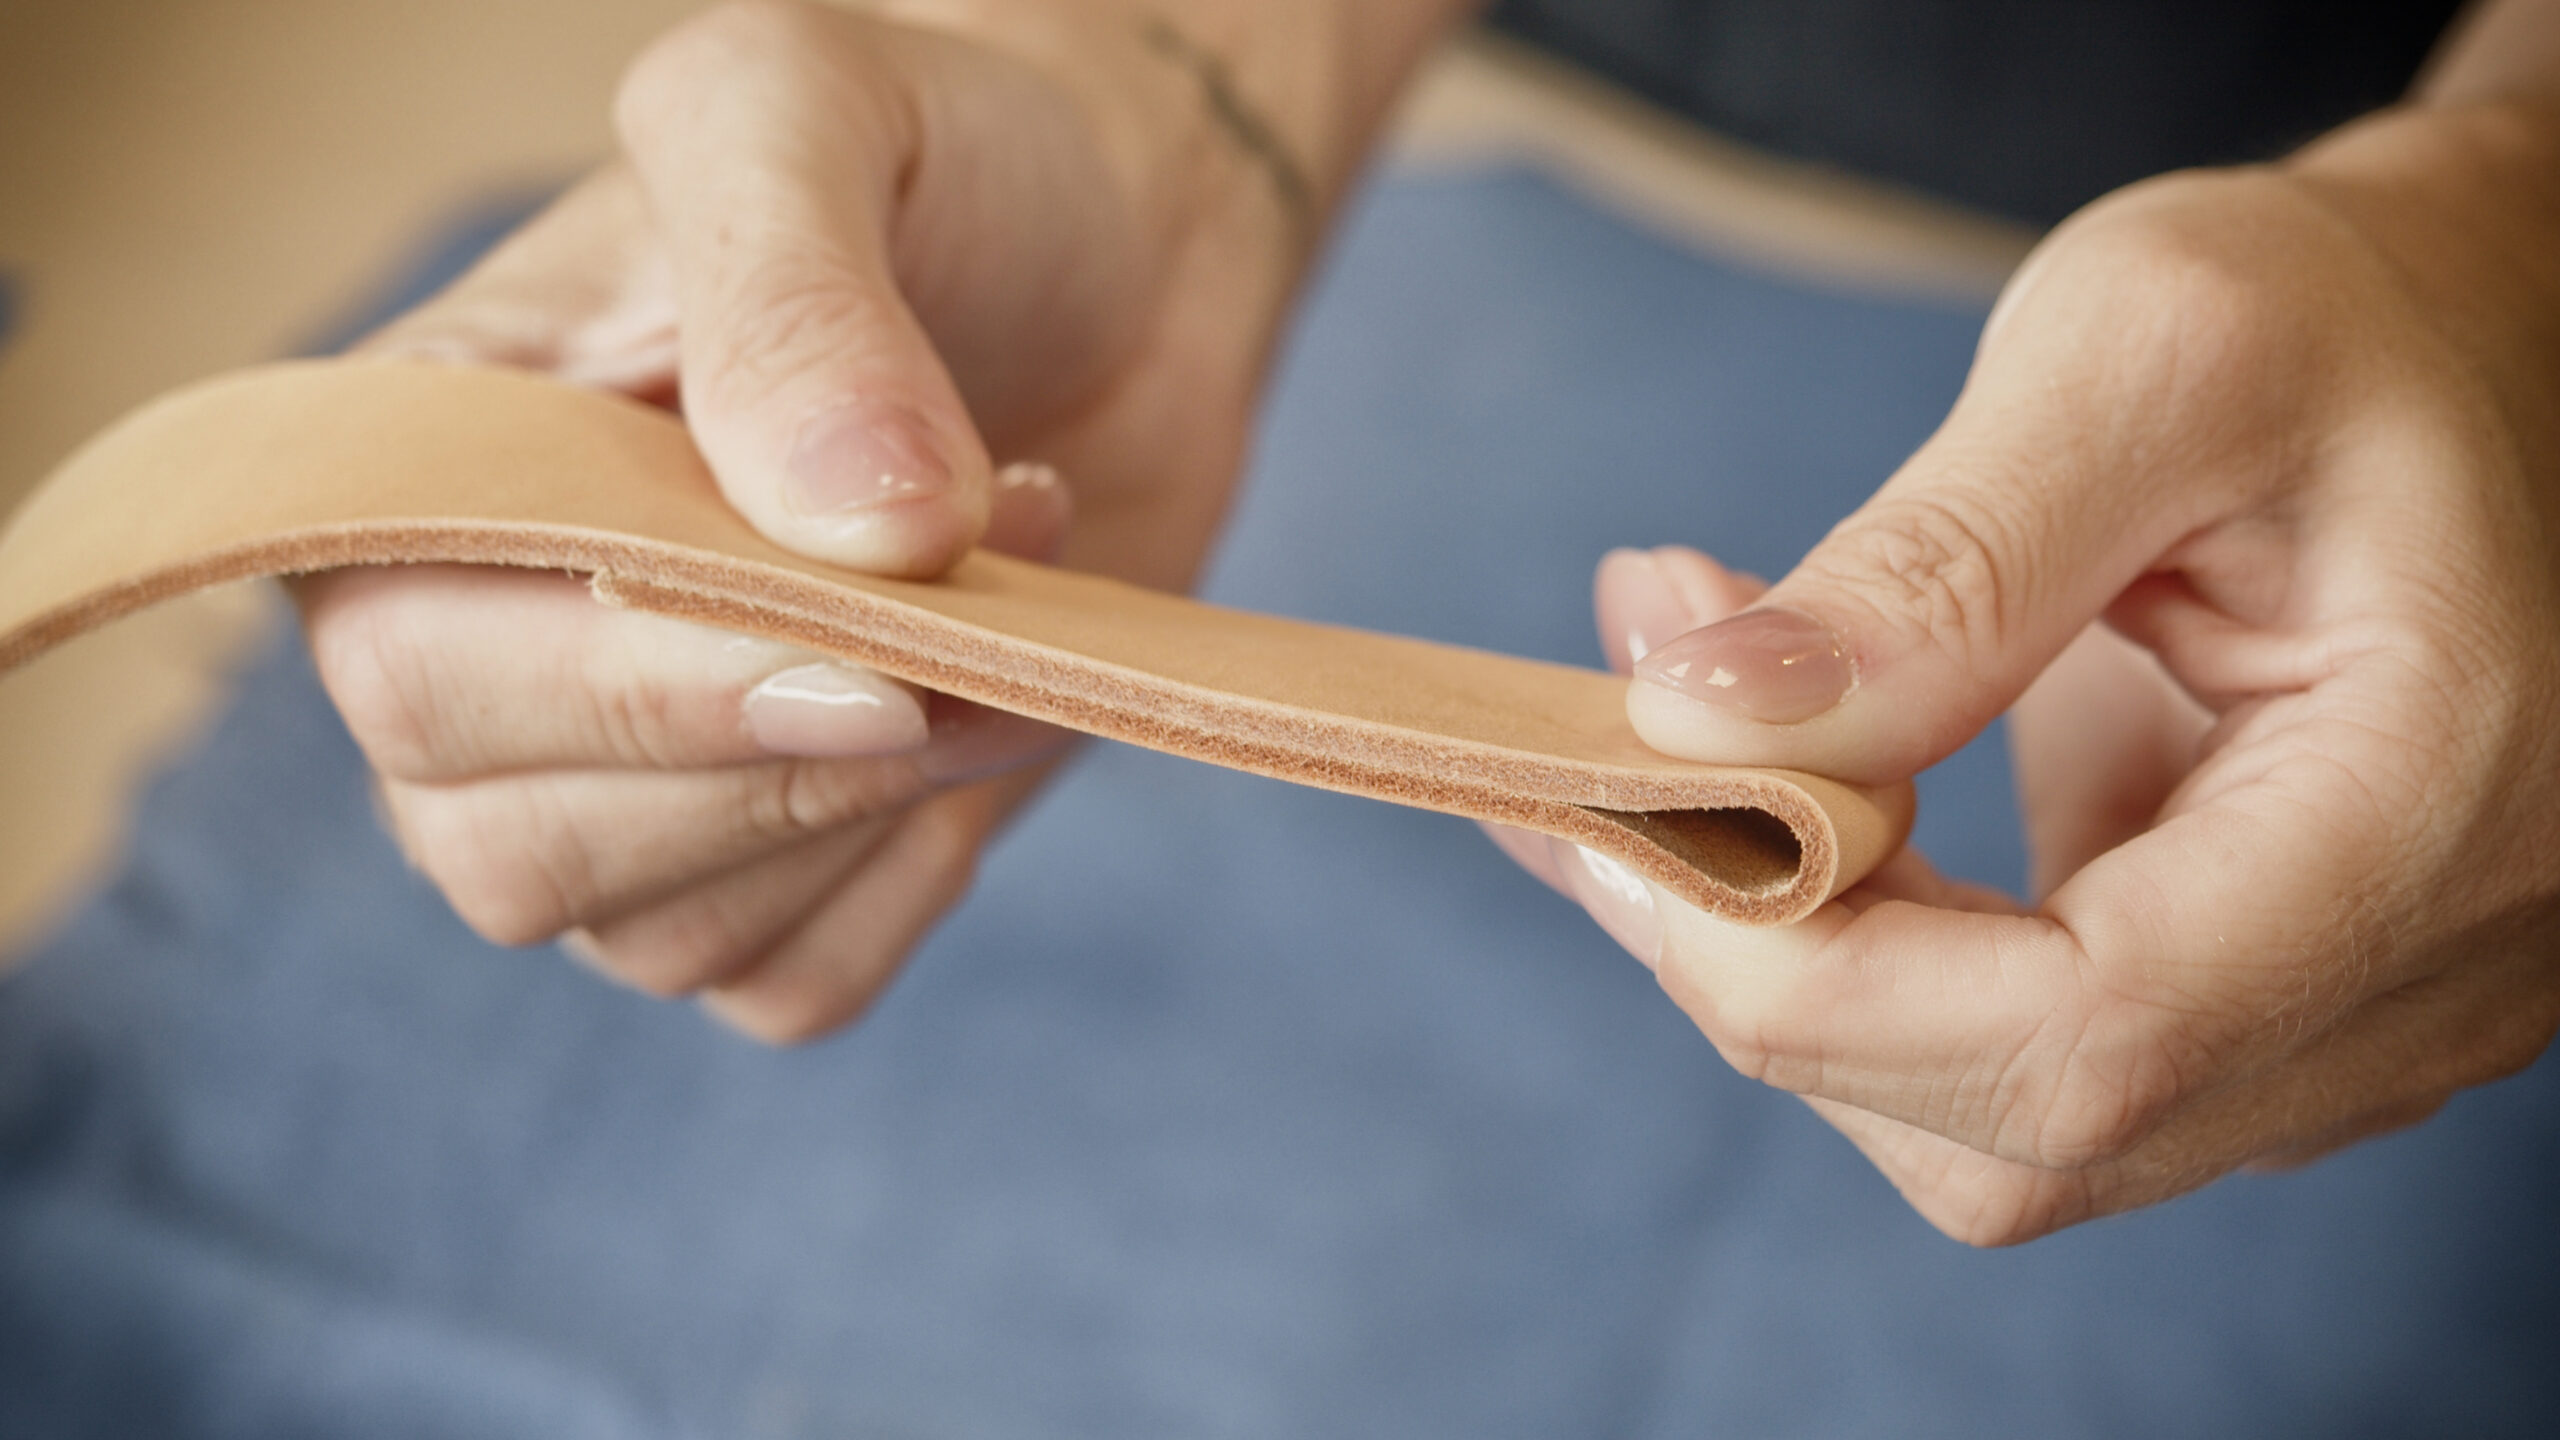
That is why, with thicker leather, the area of the bend is usually skived thinner from the flesh side. The strap then bends more smoothly, no unnecessary bulge forms in the fold and the grain layer is under less stress. A common recommendation is to skive the material at the bend to about half its original thickness, but it always depends on the specific leather and the design of the product.
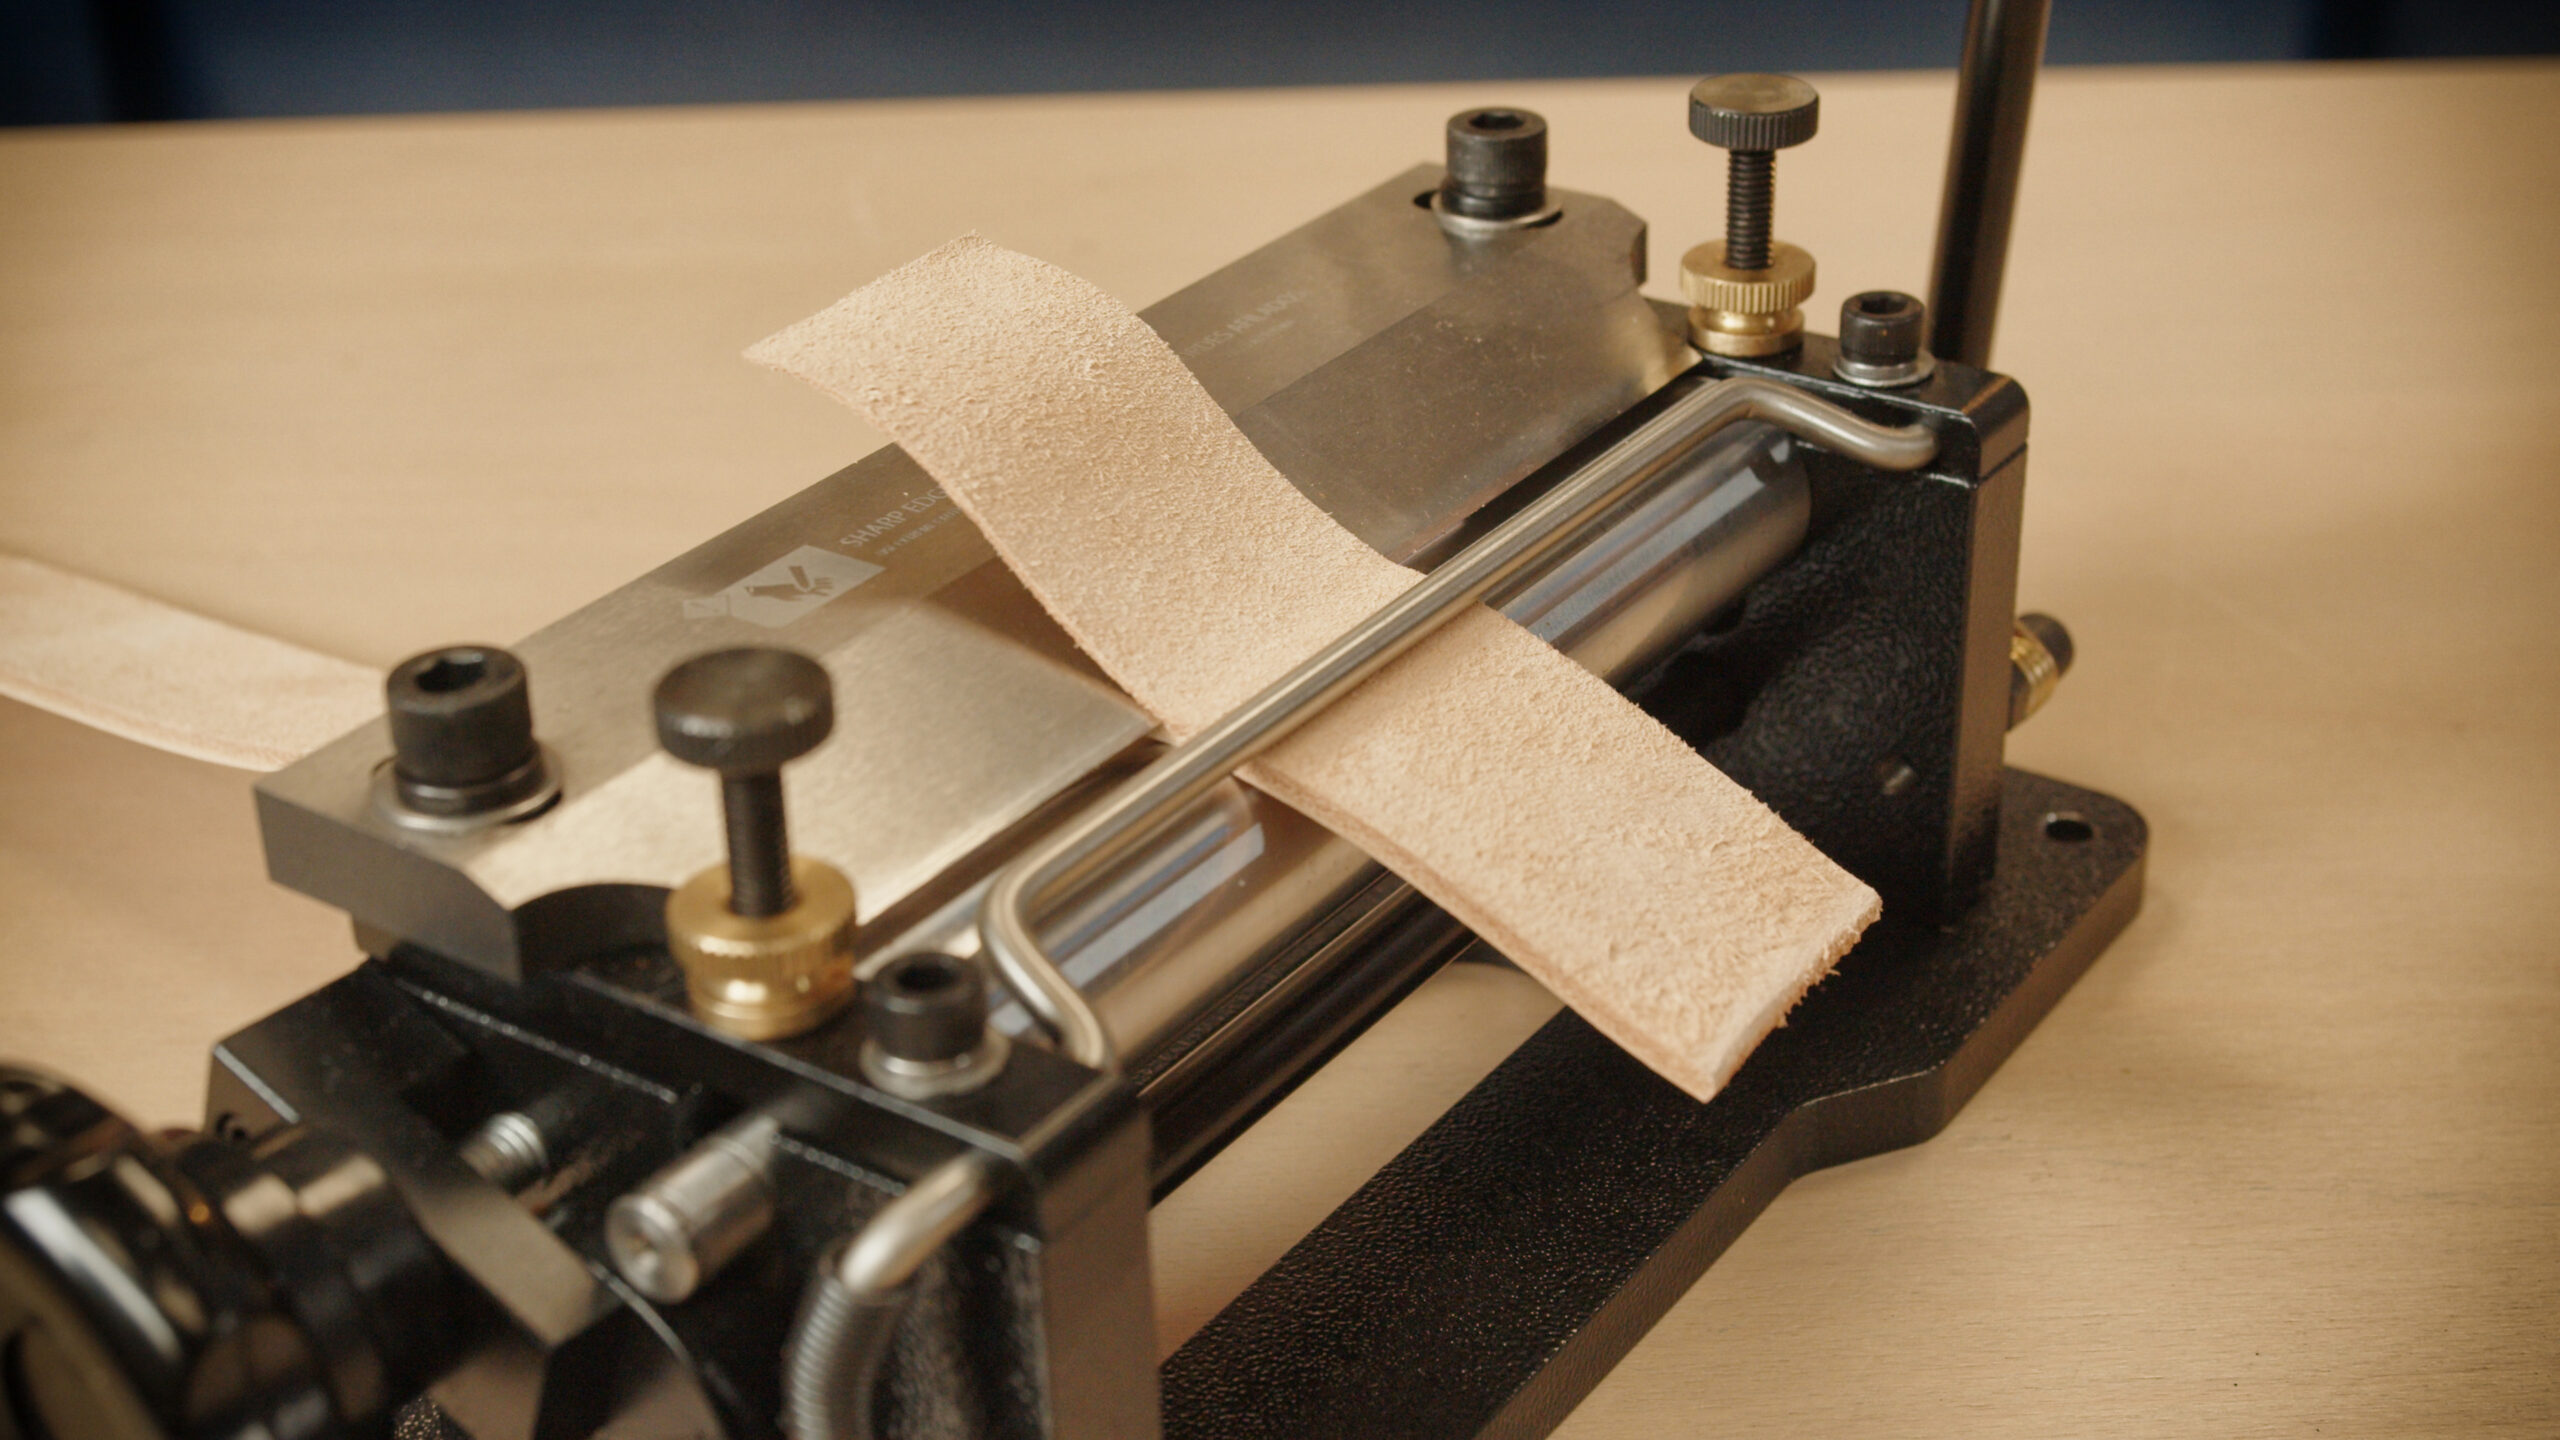
So before you finish a leather collar, check:
- the whole strap on the grain side and the flesh side,
- whether there are any cracks or nicks,
- the condition of the leather where it will bend,
- and whether the leather bends smoothly around the buckle without the grain layer cracking.
Finishing or burnishing the edges is then mainly a matter of looks and of the chosen finishing method. On its own, it is not a sign of whether a collar is well made or badly made.
10. Loose screws
If you use Chicago screws or screw-on decorations (for how to choose them, see Chicago screws), keep in mind that they can work loose over time. The collar bends as the dog moves, the hardware shifts, and the joint is exposed to vibration and repeated stress.
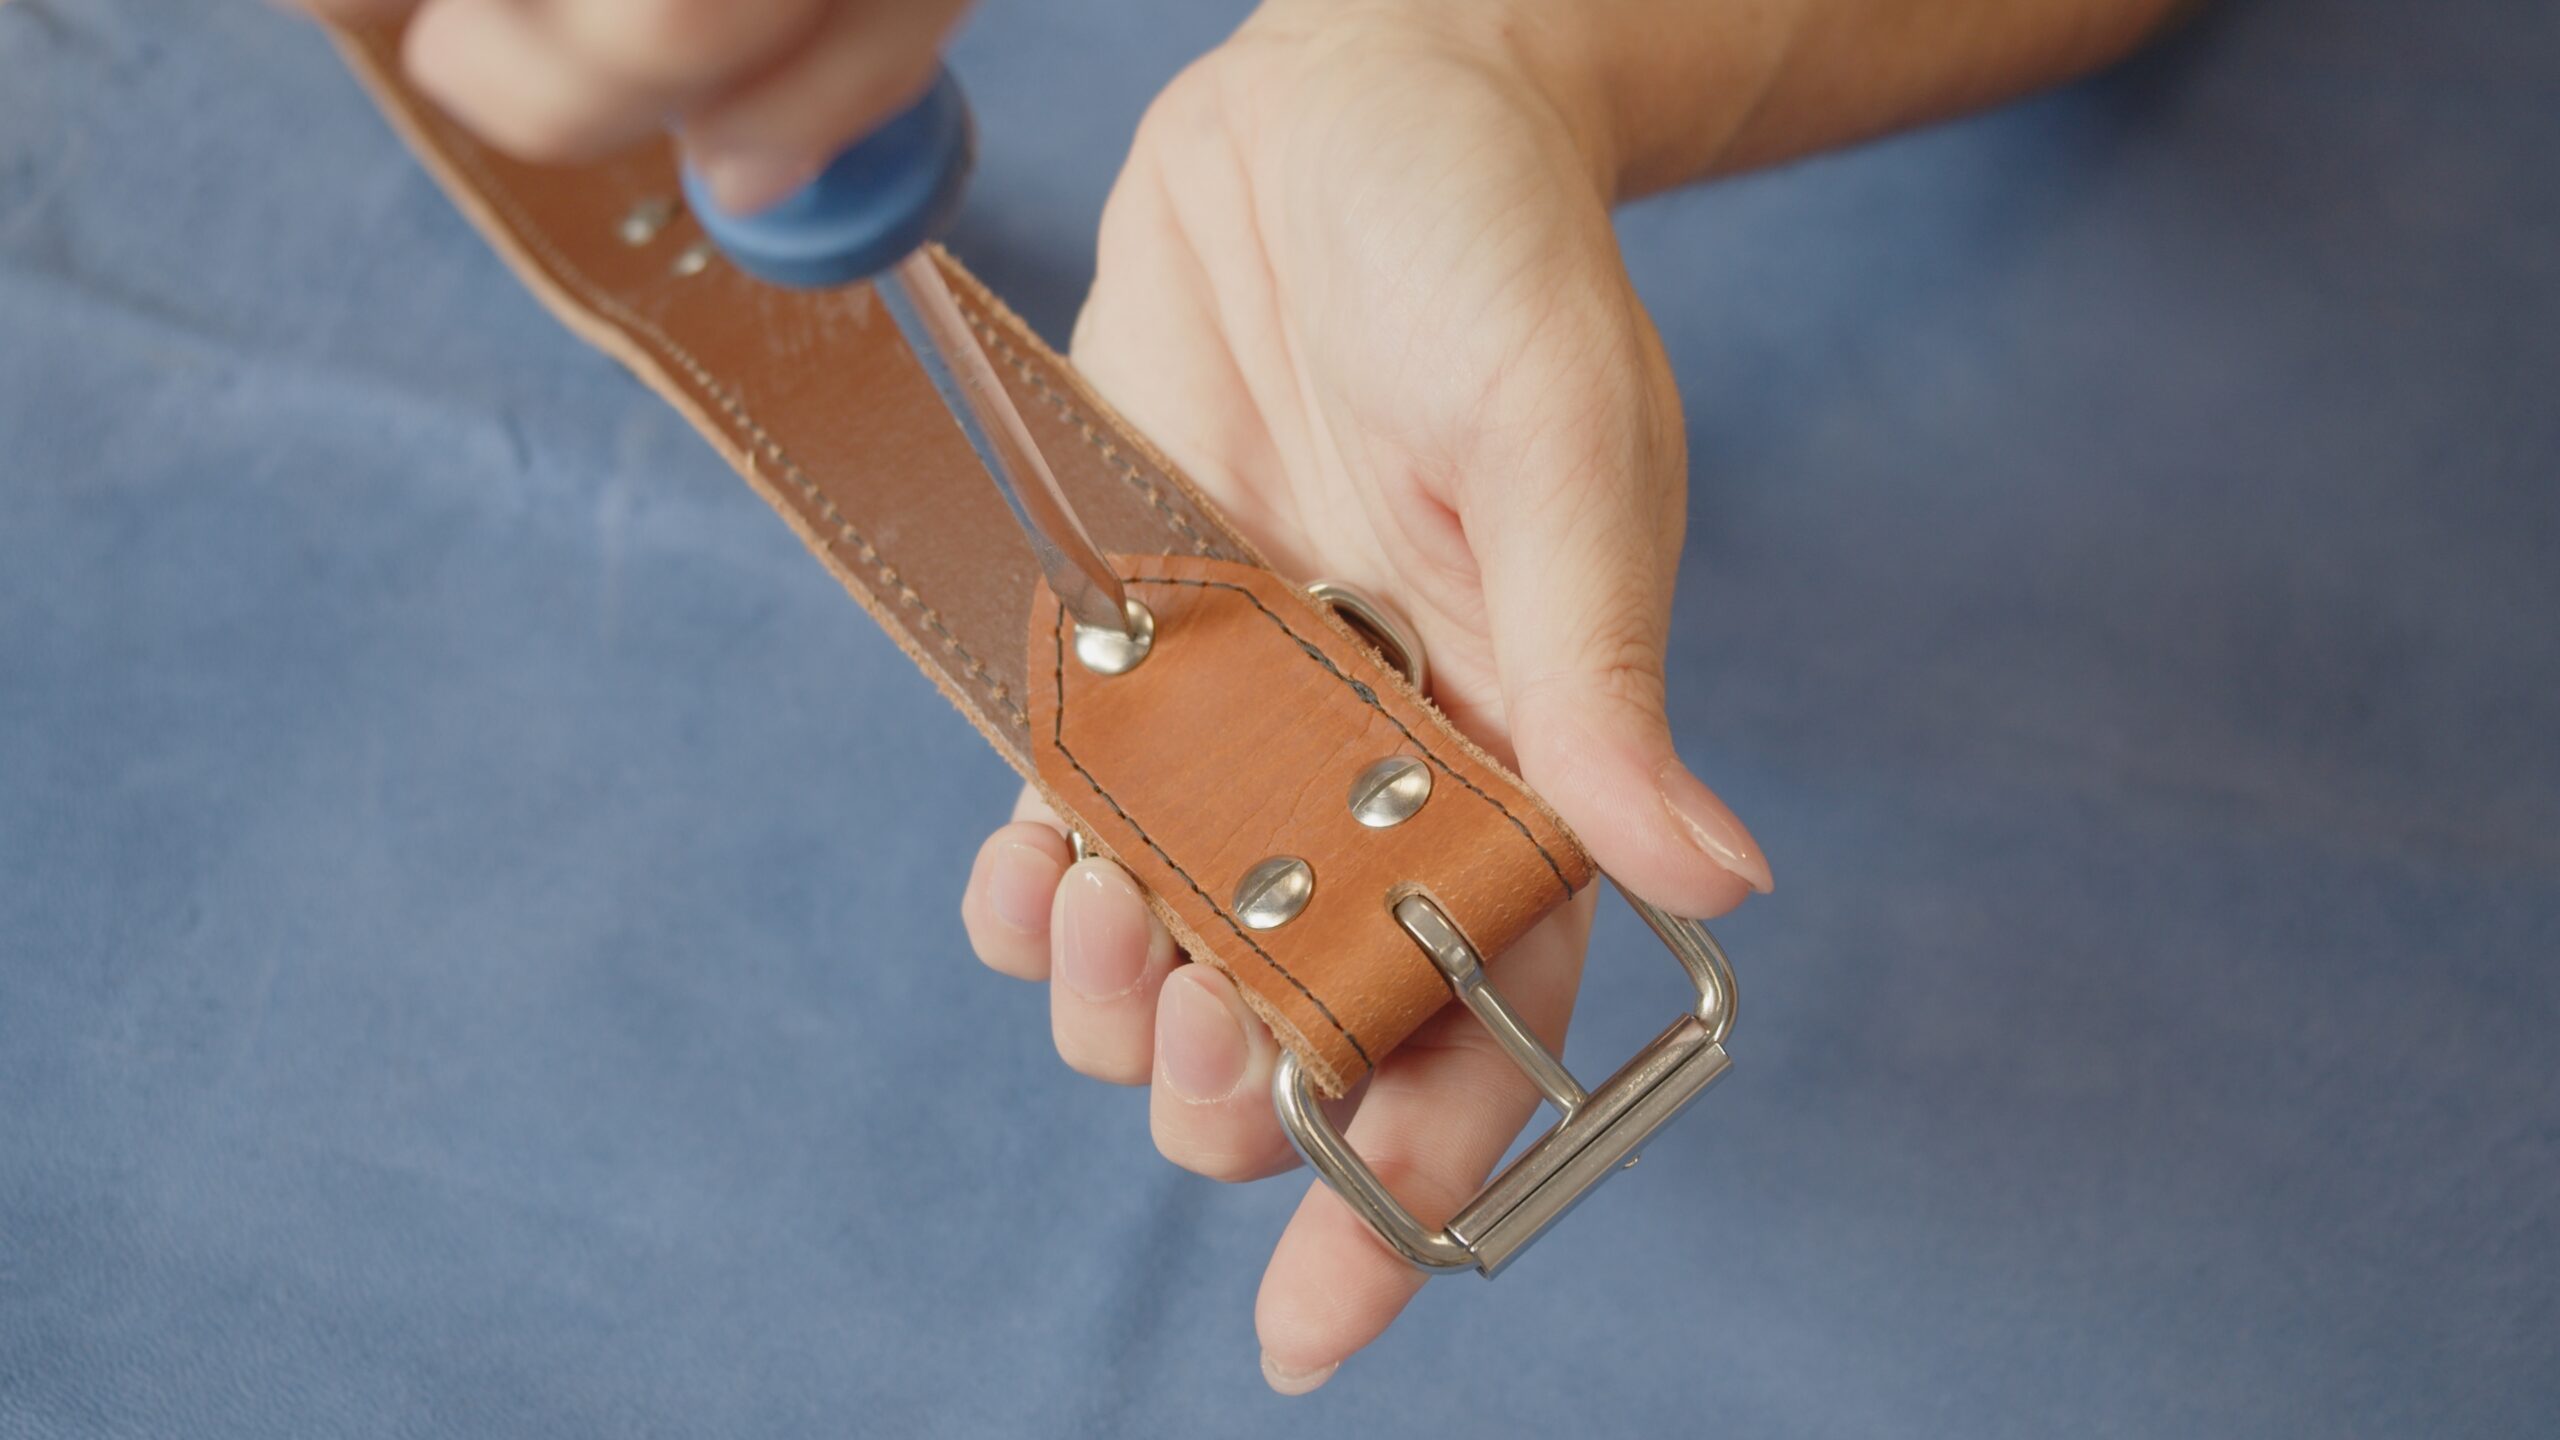
So before shipping, always check:
- that all screws are properly tightened,
- that they sit straight,
- that no sharp edge sticks out anywhere,
- that the joint does not loosen when pulled or moved.
If you want to secure the threaded joint against loosening on its own, use a suitable threadlocker, such as Loctite 243. It is designed for metal threaded joints and works where the screw thread meets the thread of the mating part. Once cured, it helps prevent loosening from movement, vibration or impact.
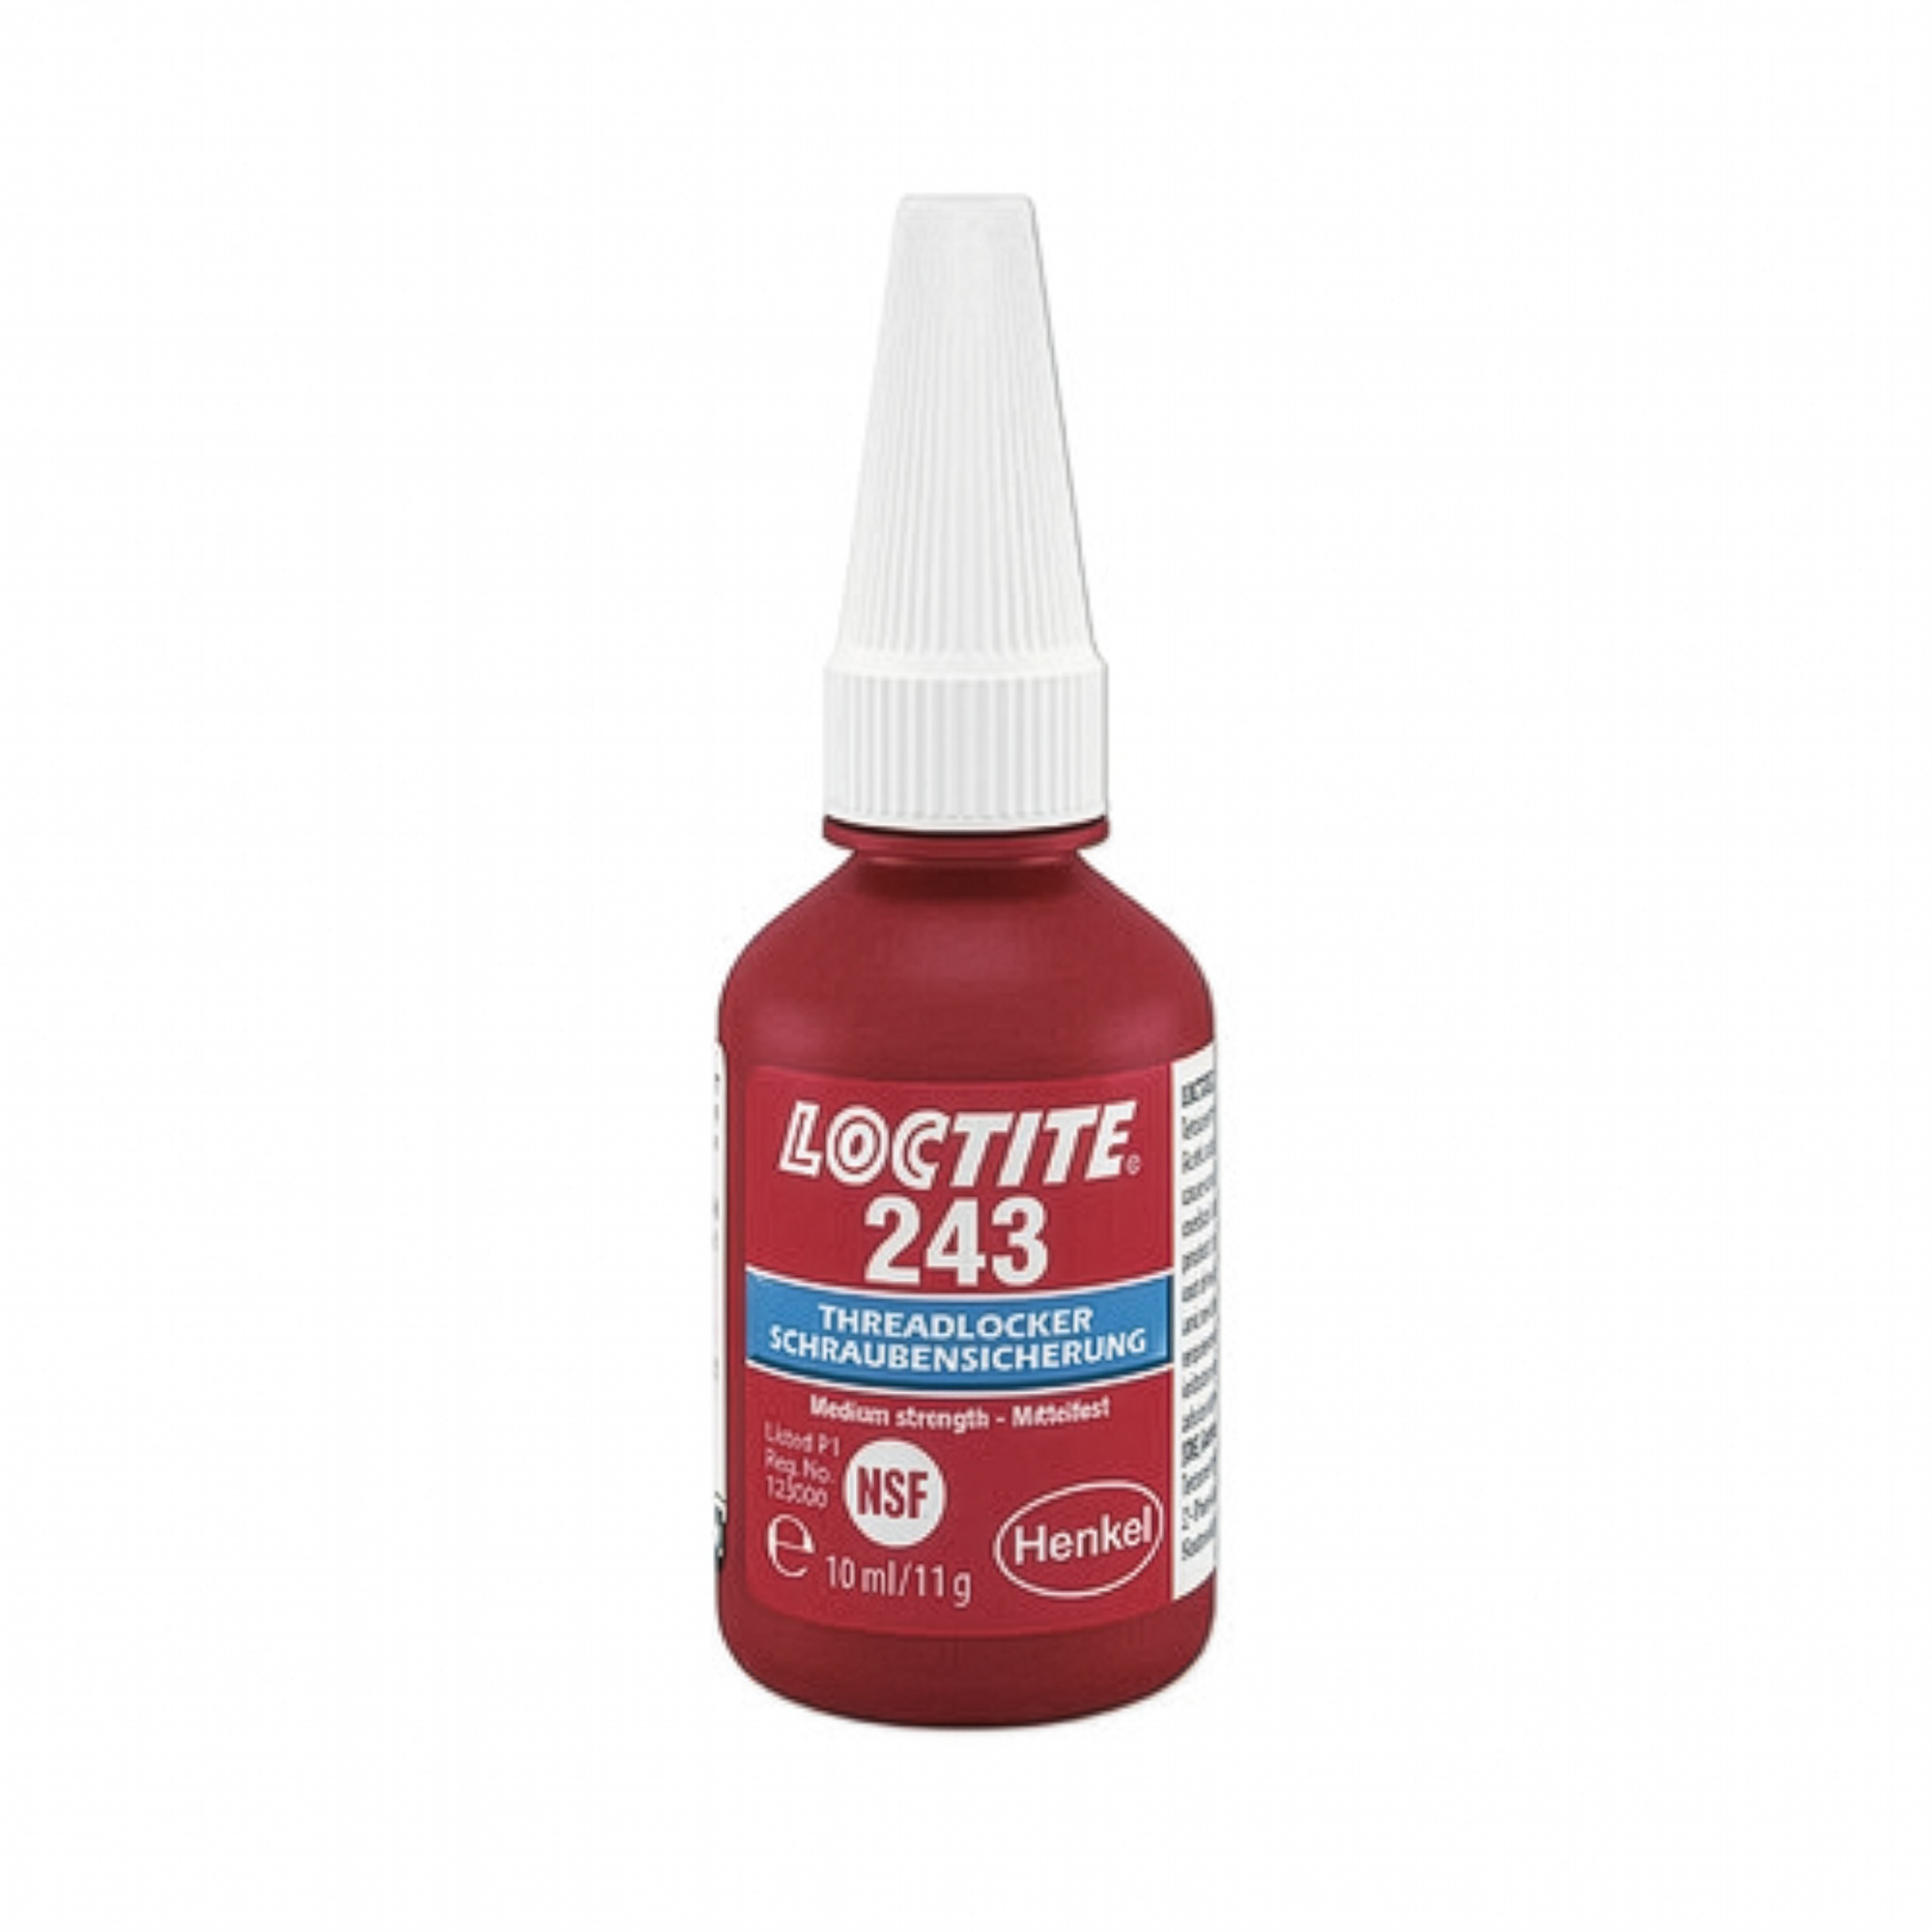
The advantage is that it does not glue the joint permanently. If you later need to loosen the screw, for example to repair or replace the hardware, you can take the joint apart again with ordinary hand tools.
Super glue is not a good substitute for securing a thread. It can also glue the surrounding material and make it harder to take the joint apart later. For joints you want to be able to take apart, it is better to use a product made specifically for securing threads.
11. Washing the finished collar in a washing machine for no reason
There is no need to machine-wash a finished collar before selling it. Even so, we have seen cases where a maker washed newly sewn collars before putting them up for sale and then had to deal with damaged or chipped hardware.
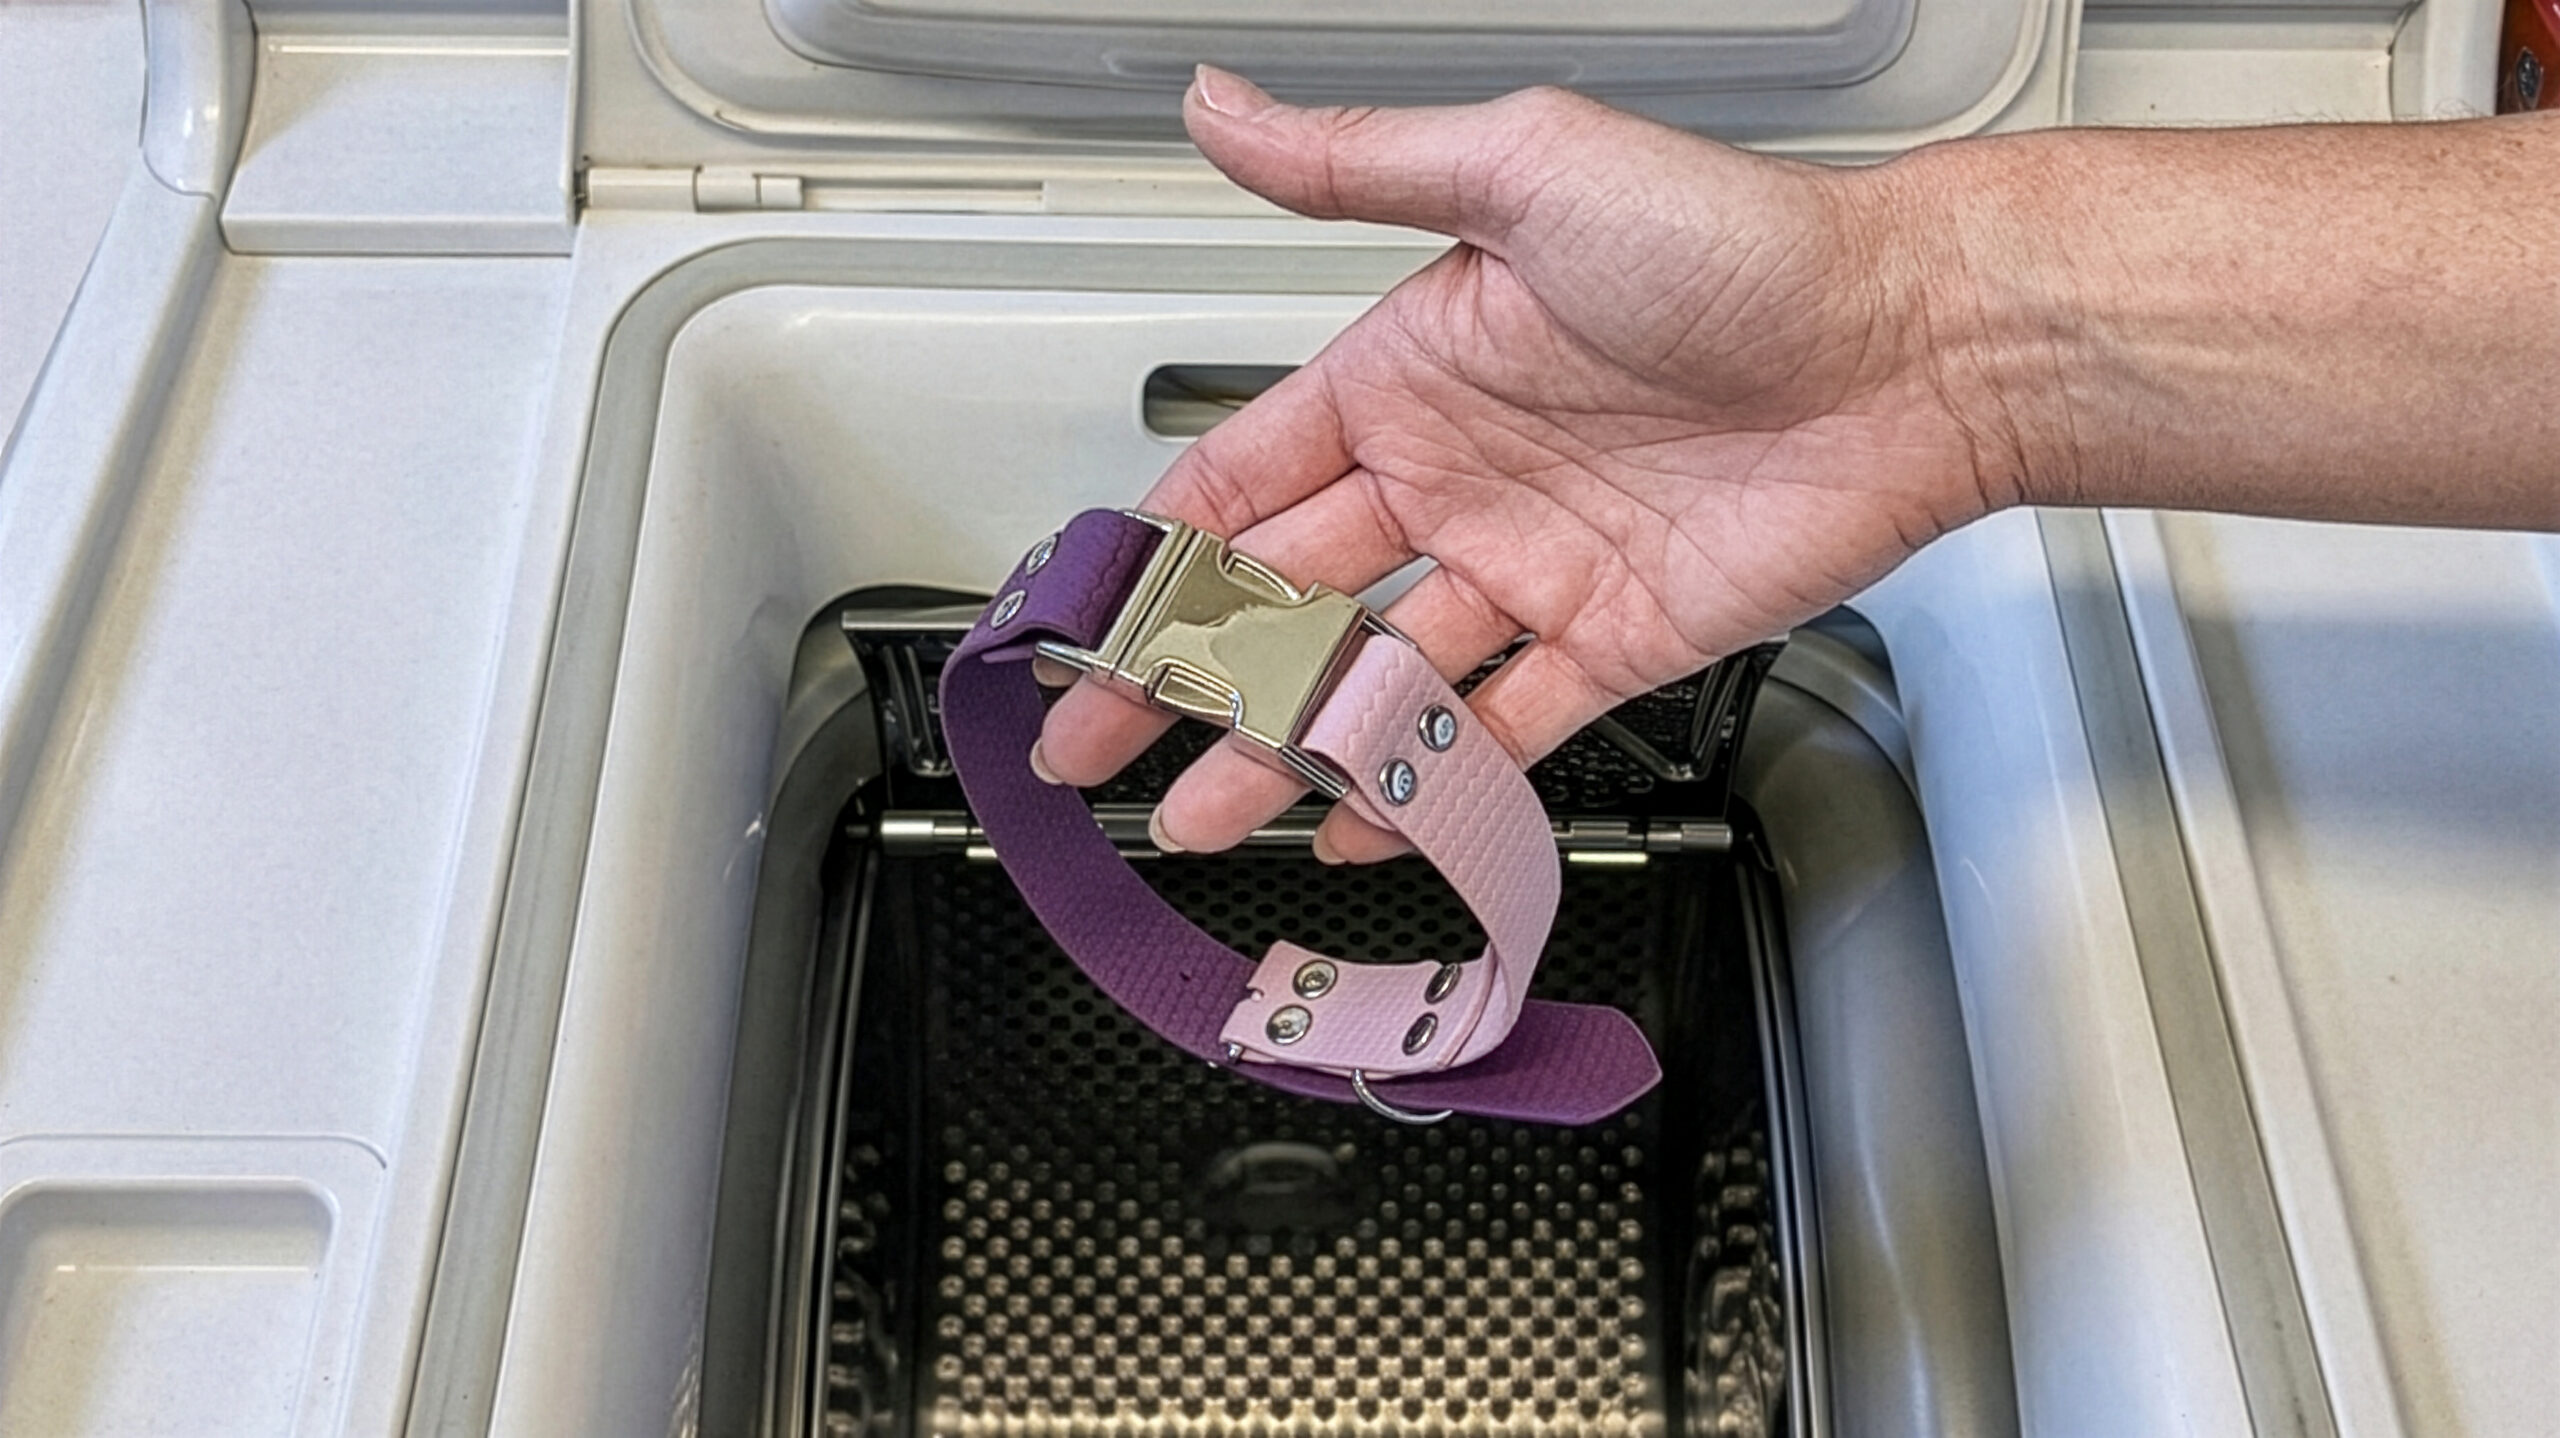
The problem is that a collar is not a piece of fabric without other components. In the wash it turns and twists in the drum over and over, and the metal parts hit the drum and each other. On metal side release buckles, buckles, rings and other hardware with a surface finish, the finish can get scratched or chipped before the product even reaches the customer.
A washing machine can also put unnecessary stress on rivets, stitching, plastic components and other joints. With some materials, the temperature or the detergent itself can be a problem too.
If you need to remove dust, marker residue or workshop dirt after making a new collar, spot cleaning by hand with a method suited to the material is usually enough. There is no reason to expose the whole new product to mechanical stress in a washing machine.
It is good to pass the same advice on to your customer. If a fabric or waterproof collar gets dirty in use, we recommend cleaning it by hand:
- with lukewarm water,
- mild soap,
- a cloth or a soft brush,
- then rinsing with clean water,
- and letting it air-dry away from radiators and direct heat.
With waterproof webbing, wiping the surface with a damp cloth is often enough. For heavier dirt, mild soap and a brush will help.
Do not soak a leather collar in water. Clean it with a damp cloth and Universal leather soap, then condition it with balm. You will find the procedure and other products in our leather finish guide.
A washing machine is not a way to “finish” a new collar or get it ready for the customer before sale. On the contrary, you may damage a product that was fine when you finished it.
12. No final check before shipping the collar
Before you pack a finished collar, always check it thoroughly once more on the front and the back. While you are making a collar, it is easy to miss a small detail that suddenly stands out on the finished product: a loose screw, a sharp edge, leftover marker or crooked hardware.
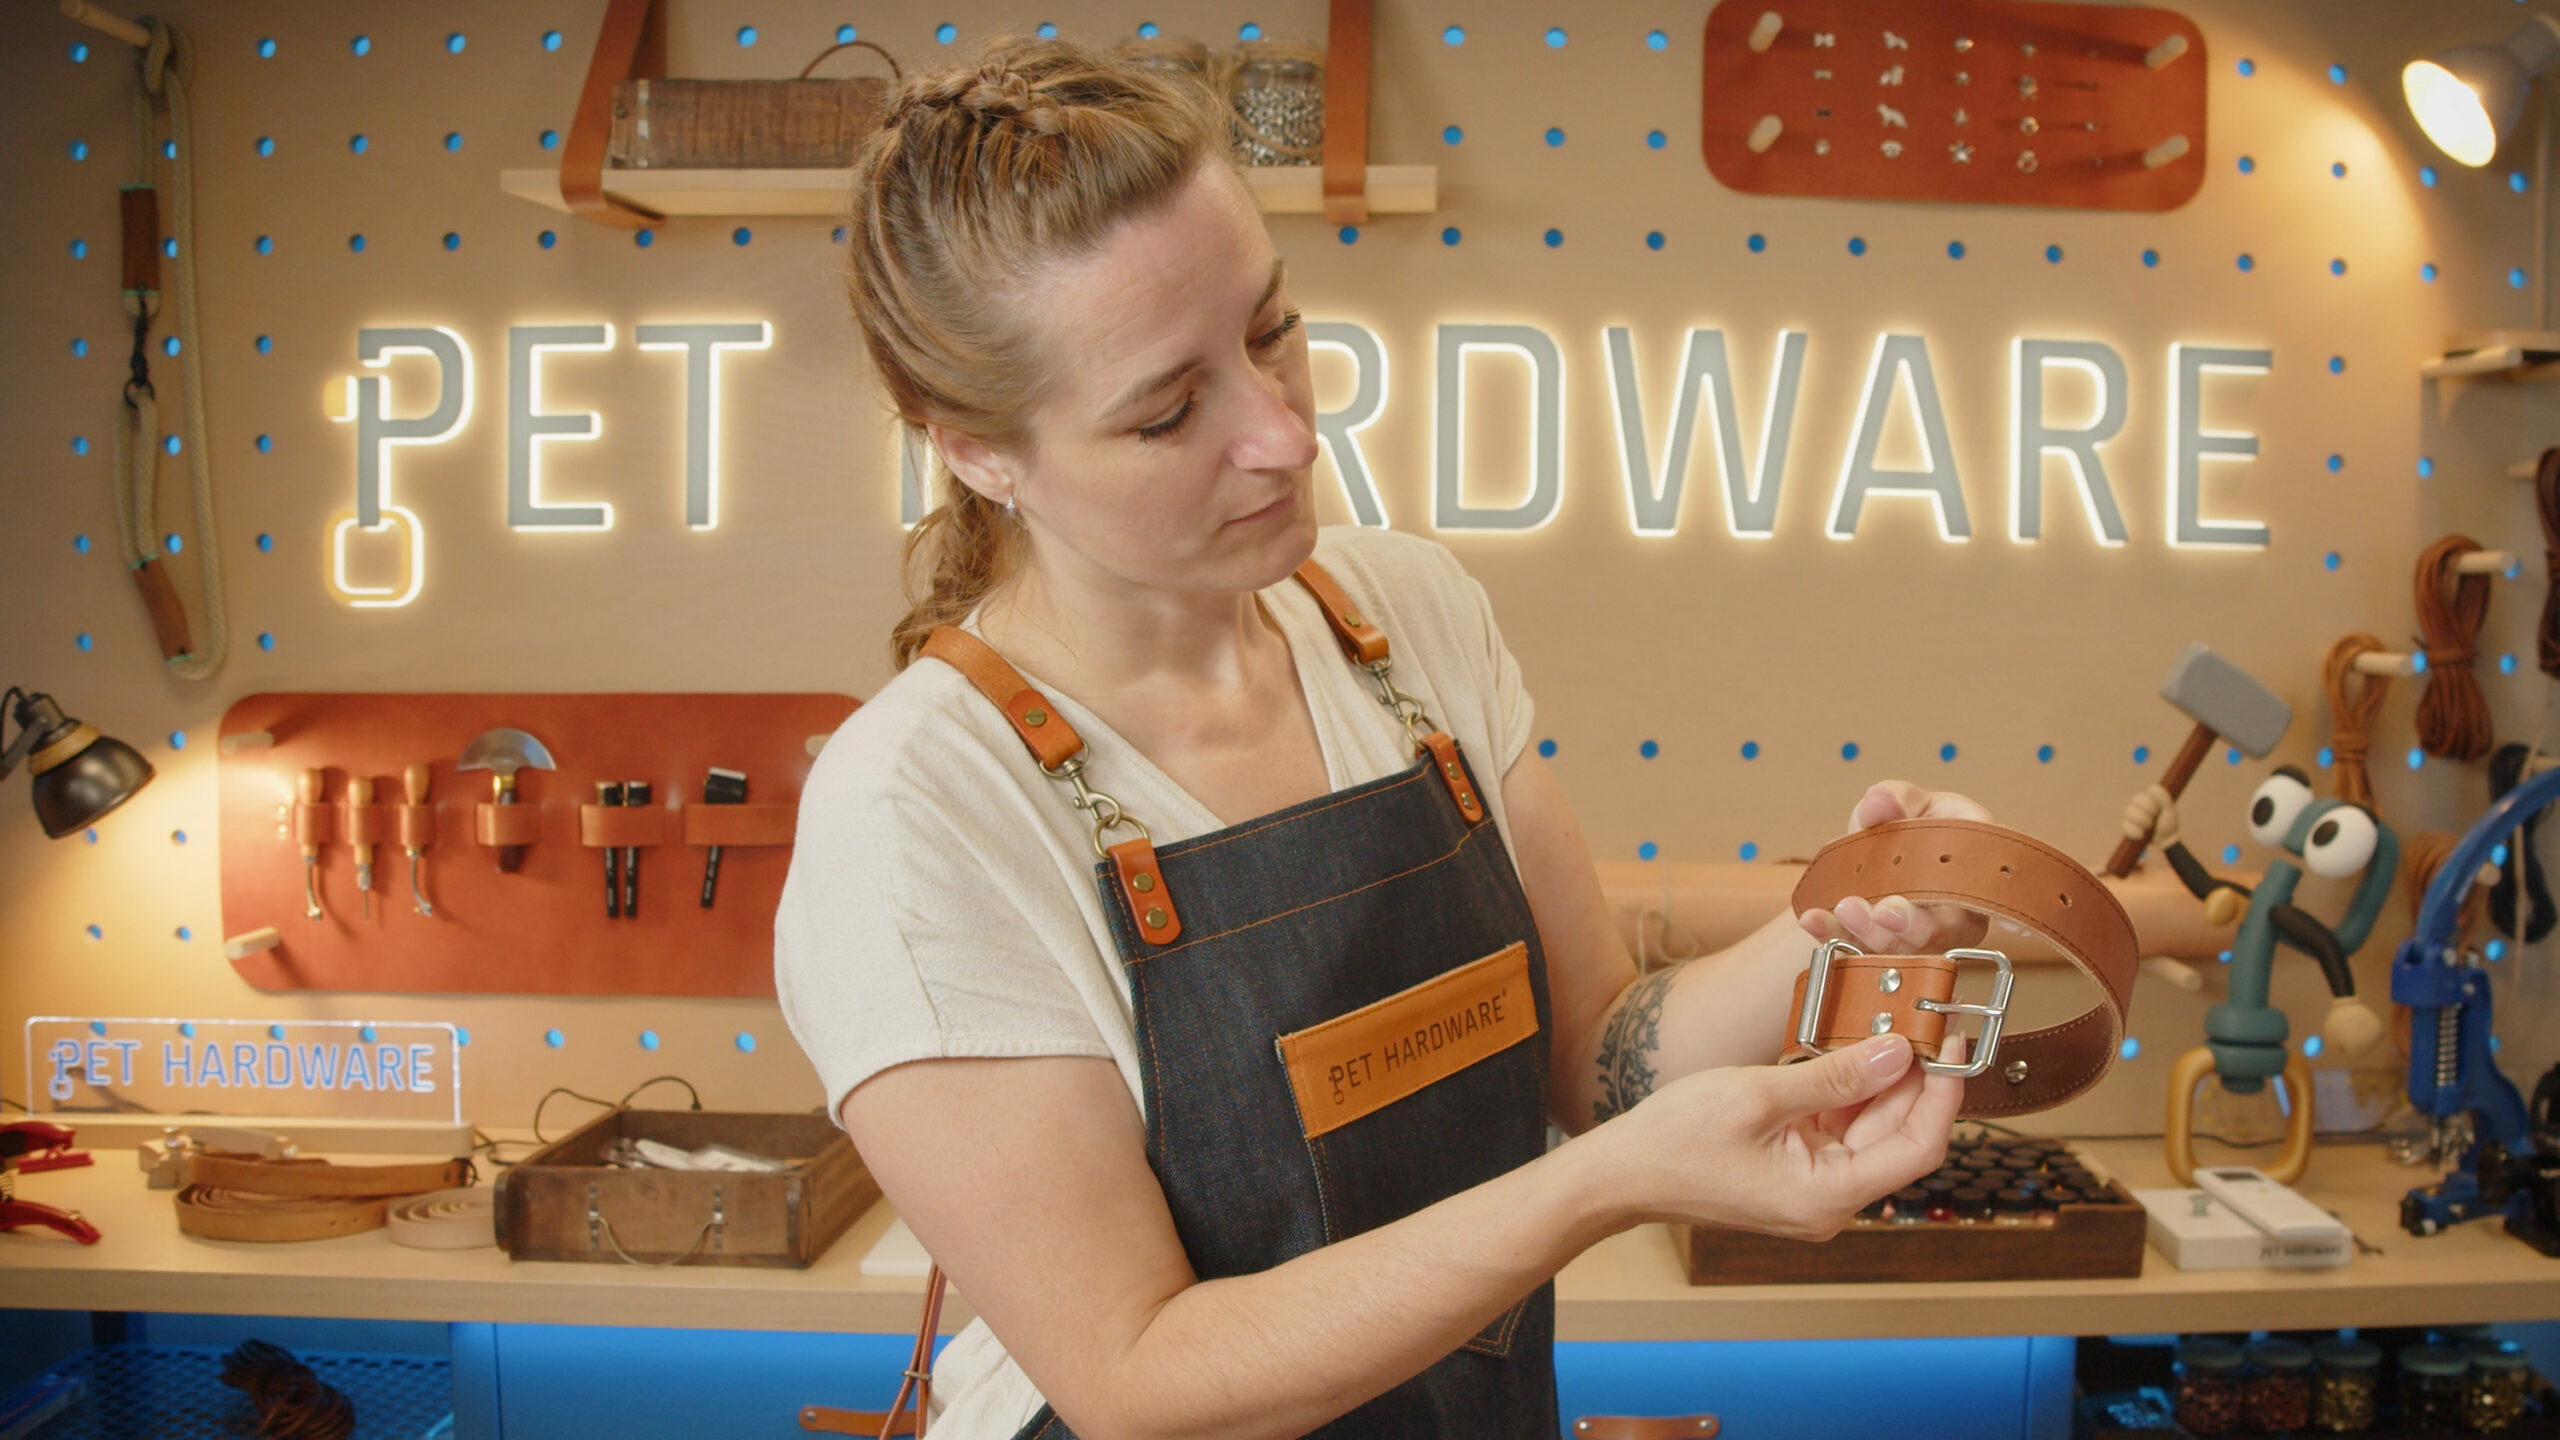
Before shipping, check that:
- the rivets sit straight and have no play,
- the grommets are not cracked or sharp underneath,
- the buckle is centered and the tongue moves freely,
- the fastening holes are straight and evenly spaced,
- the D-ring and other hardware are properly seated,
- the screws are tight and, if needed, secured,
- the material is not cracked, cut or otherwise damaged anywhere,
- there are no traces of marker, glue or other dirt left,
- the hardware is not scratched or damaged,
- the threads are trimmed,
- the collar fastens and unfastens easily.
For parts under load, also do a simple pull test. Pull on the D-ring, check the buckle and bend the collar into the shape it will really have on the dog’s neck. Some mistakes only show up under load or when you bend the collar, not when it lies flat on the table.
Conclusion
In dog collar making, details often decide the outcome. Some mistakes are visible right away, others only show up when the product is fastened, bent or under load. That is why it pays to go over the finished collar once more before shipping and check not only how it looks but also how each joint and piece of hardware works.
Anyone can make a mistake in production. What matters is to catch it before the product reaches the customer, and next time to know which spot needs more attention.
And if you have run into a problem in your work that you cannot solve, write to us. We will be glad to take a look, and it may even turn into another practical article or video.

Pethardware.com
The only shop you’ll ever need for crafting collars and leashes.
Visit Pethardware.com