
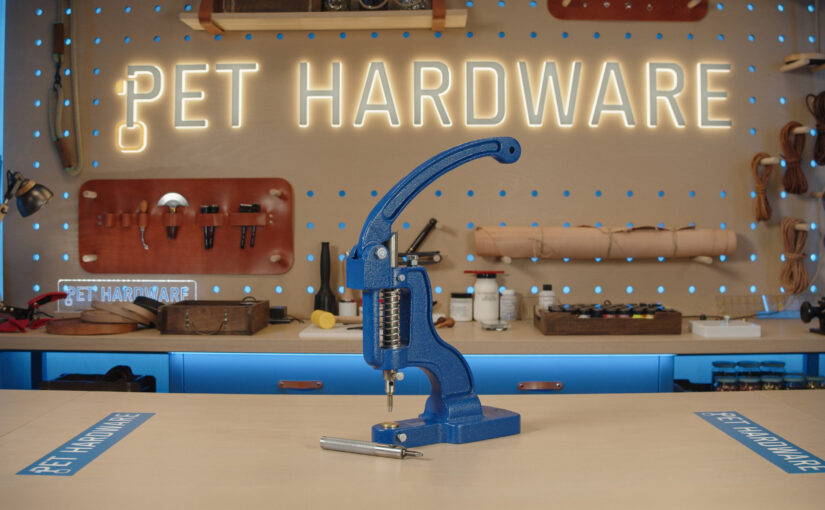
You can set rivets by hand with the right tools, as we describe in the article How to Set Rivets by Hand, or with a hand press. In this article, we look at the advantages of a hand press for rivets, the types of presses available and how to use one correctly when riveting.
A hand press consists of a base, an arm and a ram. You will come across two types of hand presses: lever presses and spindle presses. Our Hand Press is a lever press. The difference between them:
- Lever presses: working on a lever hand press is faster than on a spindle press. The press has a reinforced frame, a long lever, high accuracy and a long working stroke. The long handle makes the press run smoothly and easily.
- Spindle presses: they deliver the same pressing force as lever presses, but working with them is a little slower. You move the lever from the top to the bottom position in a circular motion.
Advantages of a hand lever press
Compared with setting rivets by hand, the press compresses the rivet straight down without tilting it to one side.

Riveting takes less physical effort, and you always have one hand free to hold and adjust the material.

You can add dies (setting tools) to the press for setting:
- grommets (eyelets),
- snap fasteners,
- rhinestone rivets,
- magnetic snaps, or for
- punching holes in leather or
- in waterproof webbing.

The press works for right-handed and left-handed users alike, and when punching holes it easily punches through several layers of material at once.
Foot pedal linkage as a hand press accessory
You can also add a special foot pedal linkage to the press, which makes riveting harder materials easier. With the linkage you can apply more force, so riveting is more controlled and smoother. When you use it, though, the press must be firmly bolted to the workbench so that it does not tip over under heavier pressure and cause an injury.

Another big advantage of the linkage is that you operate the press with your foot, which leaves both hands free to handle the material. This is especially useful when you set many rivets in a row, as the work is faster and more accurate.


The linkage is most useful with stainless steel rivets, which are much harder and resist setting more than standard rivets. In exactly these cases the linkage is a very useful helper and makes working with the hand press much easier.
How to set up the press before you start
Place the press on a sturdy workbench, preferably bolted to the bench top. Choose the right dies for what you want to set with the press.

Seat the dies correctly in the press and secure both with the locking screw.


Punching holes before riveting
Punching leather and softer materials
Before riveting, you first need to punch a hole of the right size in the material. For leather and other softer materials, use punch adapters for the hand press, which screw into it on a thread.
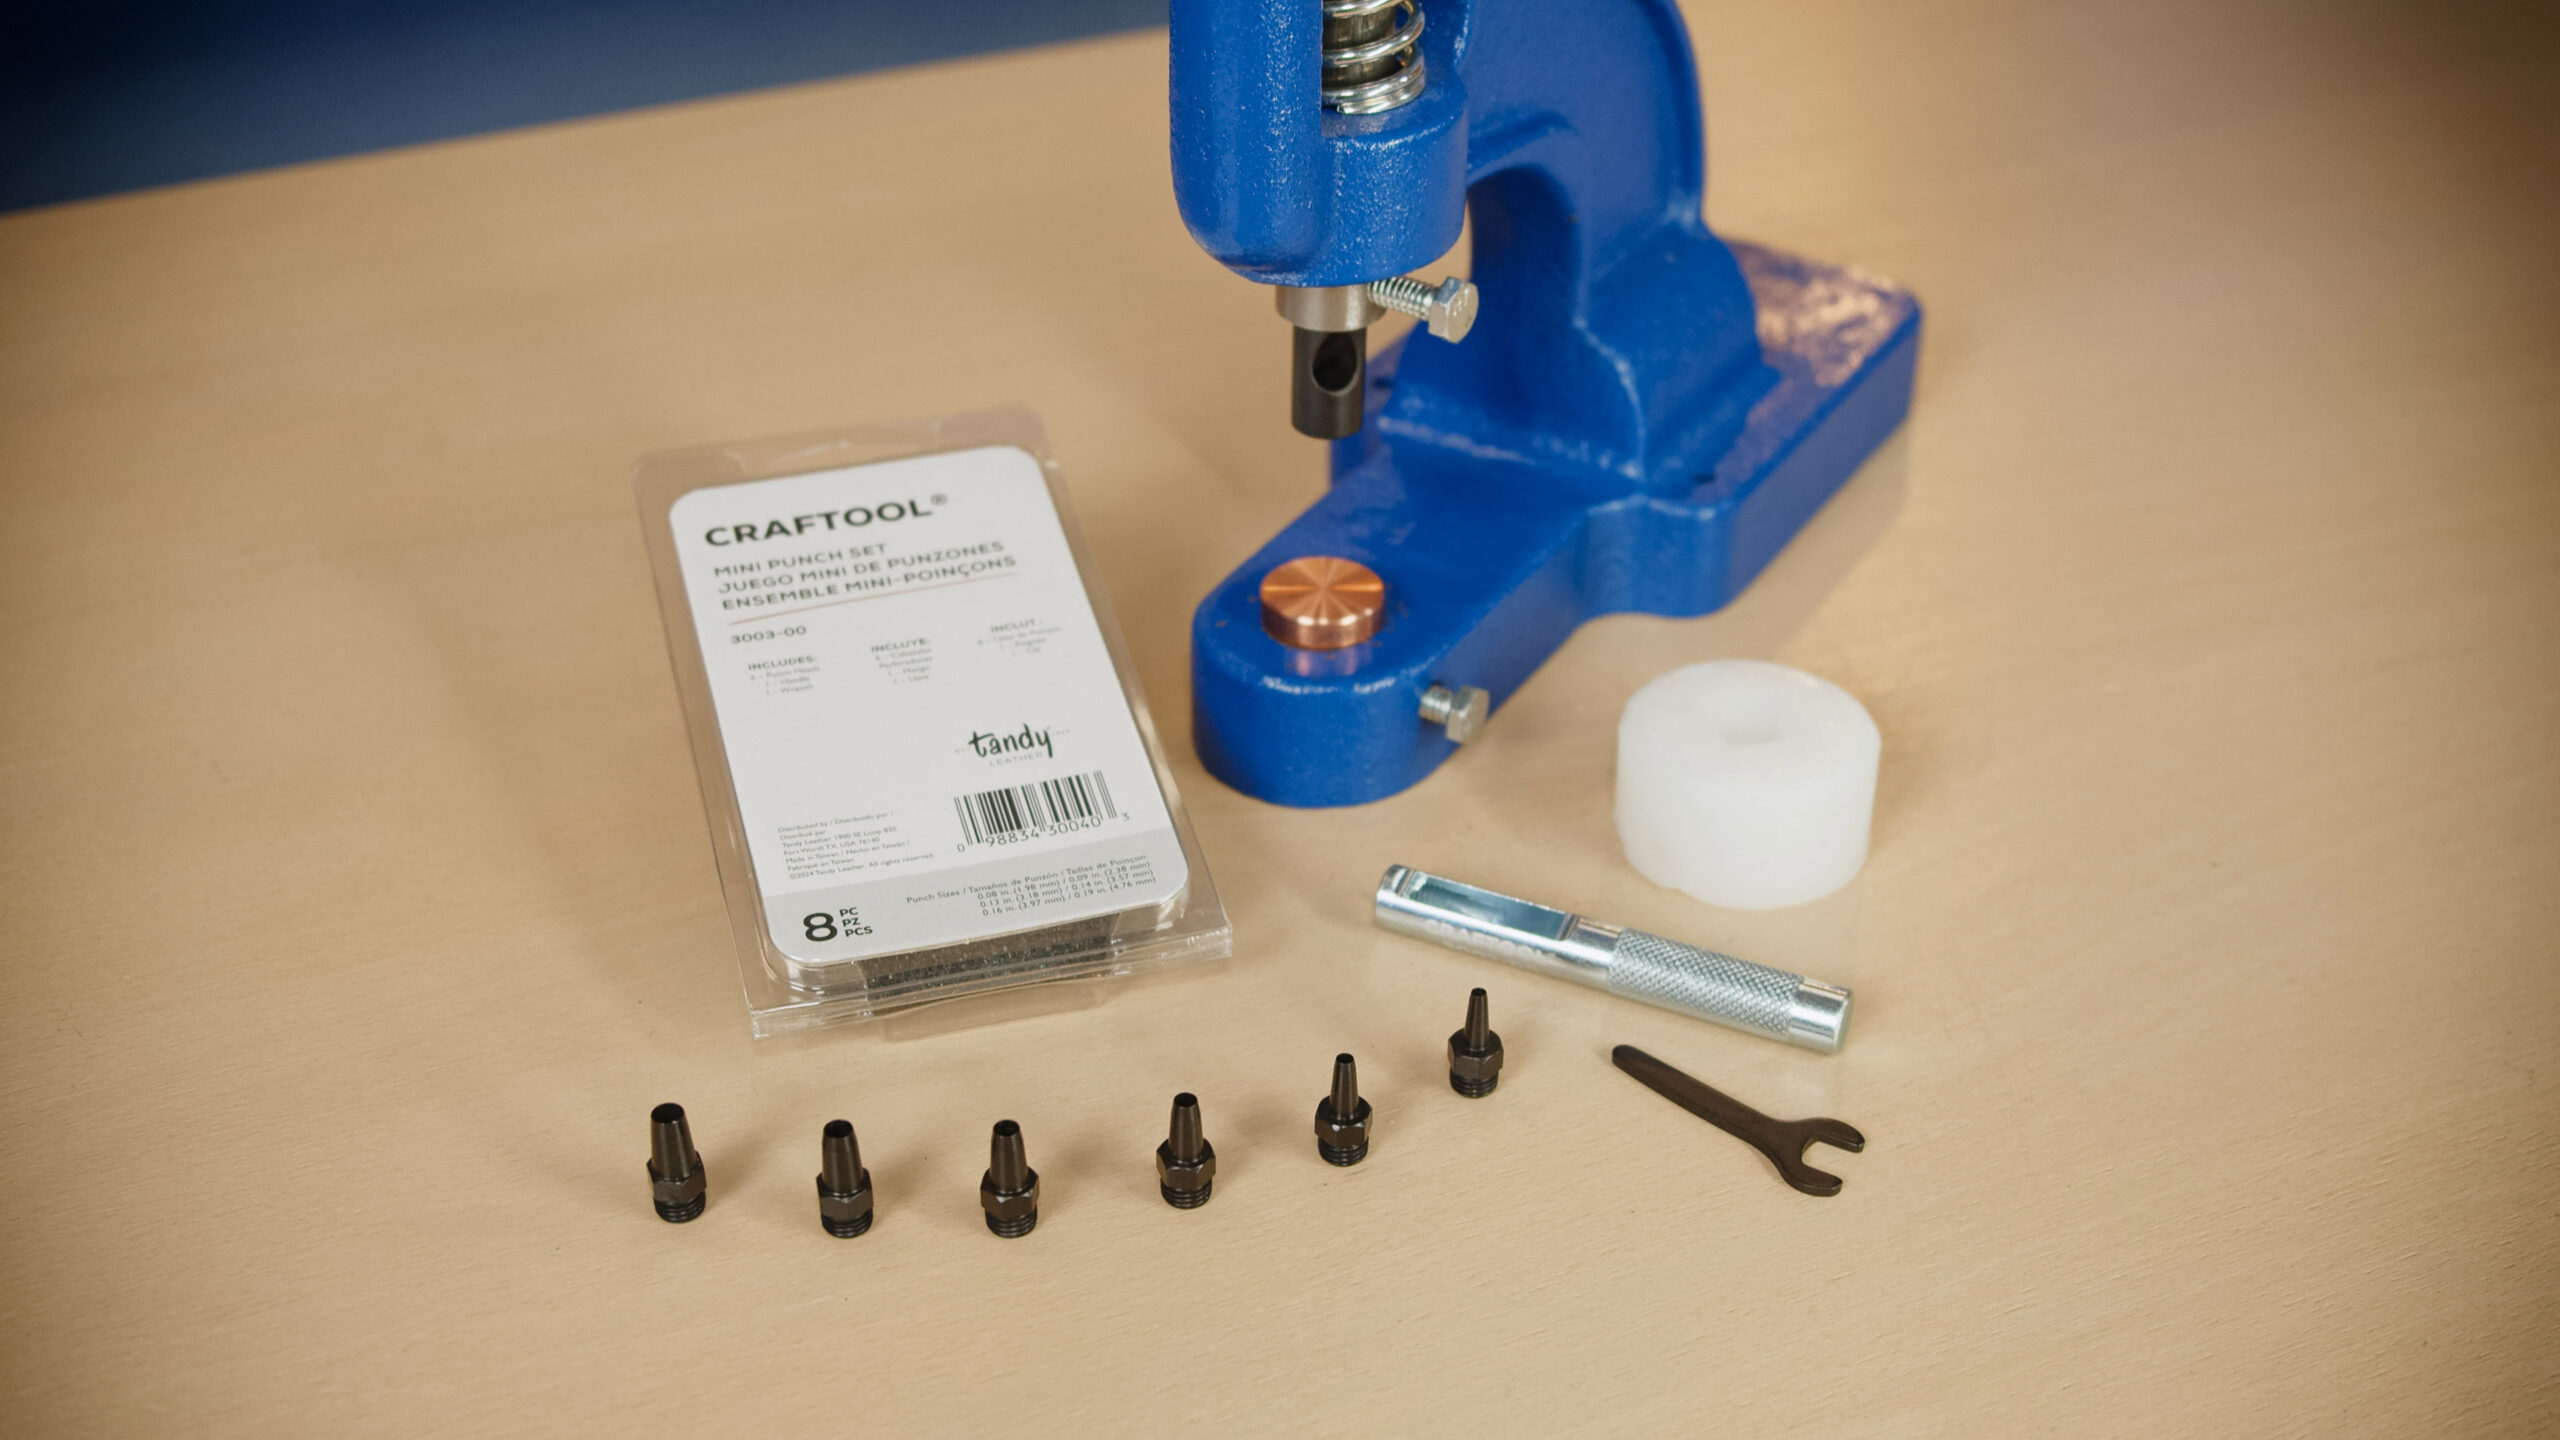
Punches come in different sizes, so it is important to choose the right hole diameter for the specific rivet. The hole must be neither too tight nor unnecessarily large. If it is too small, the rivet post will not go through. If it is too large, the joint can weaken under tensile load, especially with smaller rivets. The safest way is always to test the hole size on a scrap of the material first.
Why the lower die is made of copper or brass
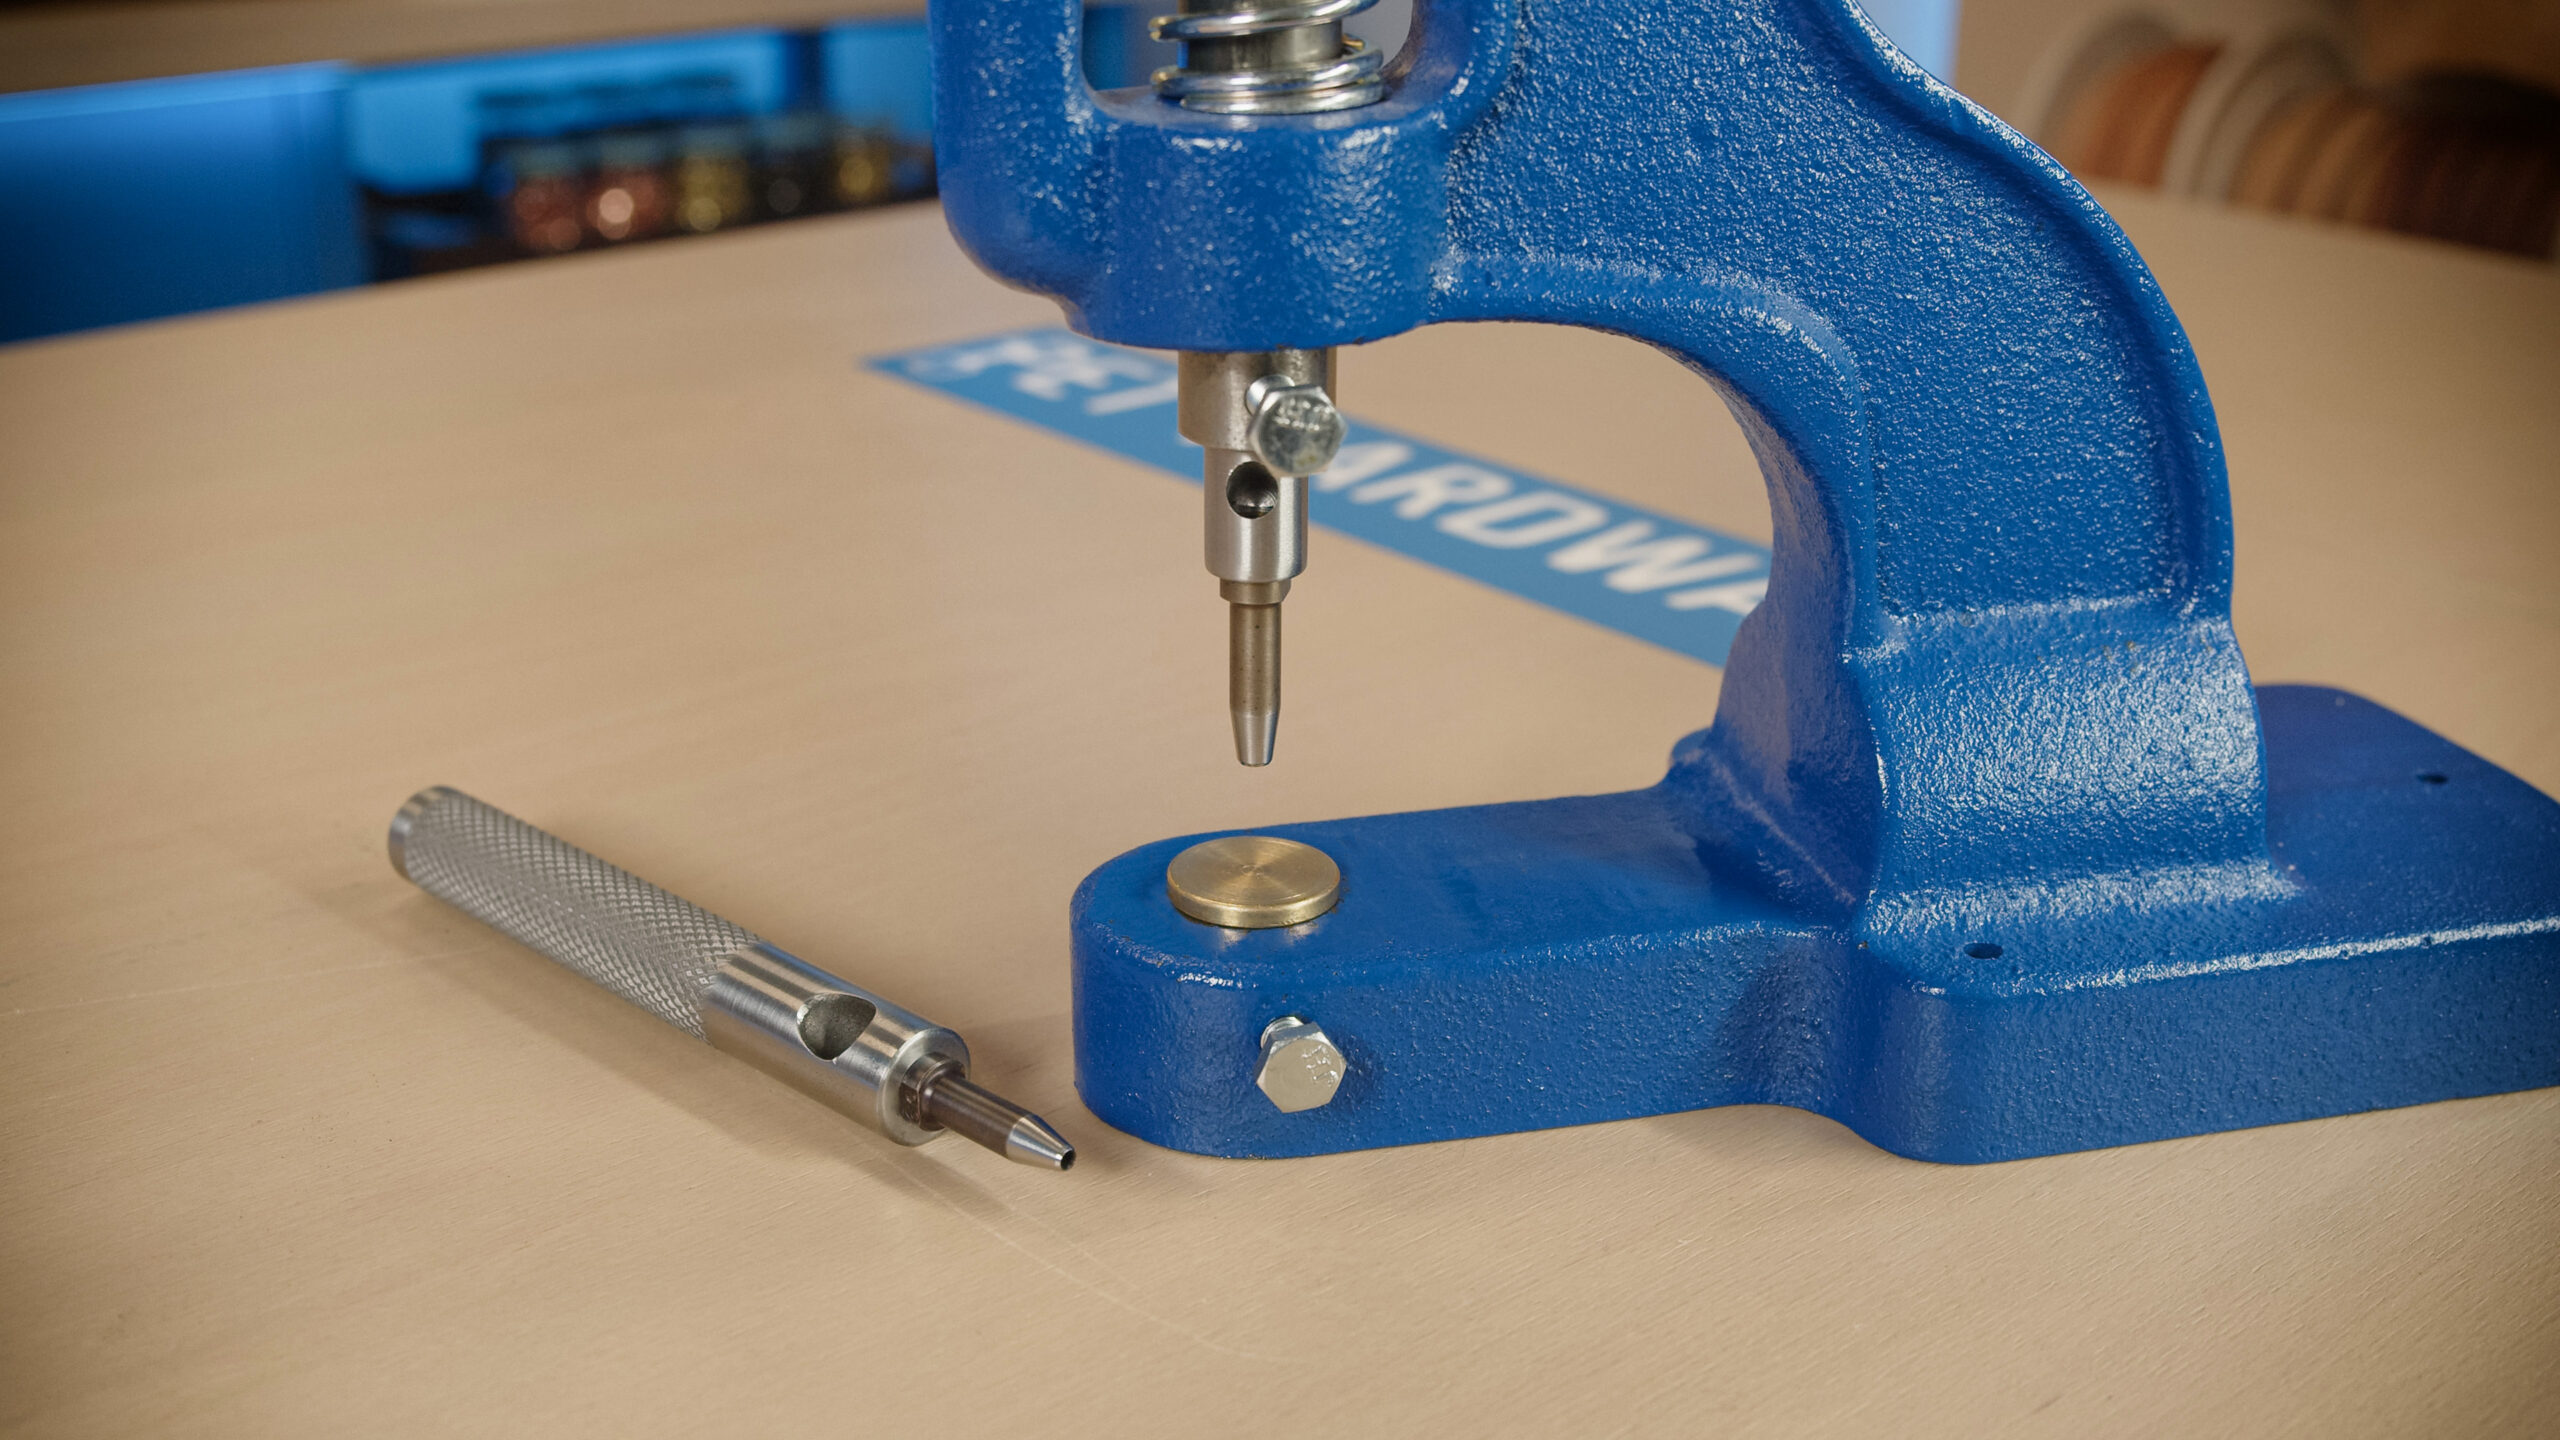
The lower die of these punch adapters is deliberately made of copper or brass, which are softer metals. This way the punch does not hit a hard surface when punching, which helps protect the cutting edge of the punch from damage and dulling.
After a while, a pressed-in ring starts to form on the lower die. This is normal and happens precisely because copper and brass are softer materials. It is not a manufacturing defect, just a natural sign of use. This wear alone does not mean the punch is being damaged.

You are most likely to damage a punch when you use the wrong type of punch for the material. A typical example is using leather punches on waterproof webbing, which has a textile reinforcement inside. Because of this reinforcement, standard punches can wear out very quickly or even break completely.
Punching waterproof webbing
Waterproof webbing has a textile reinforcement inside, which makes it harder to punch than leather and other softer materials.

To punch waterproof webbing in a hand press, we recommend:
- a punch adapter for drive punches
- a drive punch for a 3 mm hole
- a drive punch for a 4 mm hole
When punching waterproof webbing, choose the punch size according to what you plan to set in the hole. As with leather, the hole must be neither too tight nor unnecessarily large. It is always best to test everything on a scrap of the material first.
How to choose the right hole diameter
Choose the hole diameter from the table in the article How to Set Rivets by Hand. The same applies to the press: in leather, use a punch slightly smaller than the rivet post; in waterproof webbing, use one that matches the post exactly.
Setting rivets with a hand press
Once you have set up the press and punched the hole, you can move on to riveting itself. When working with a hand press, it is important to choose the right setting die for the type and size of rivet. Single cap and double cap rivets need different dies: dies for single cap rivets and dies for double cap rivets. The die diameter matches the diameter of the rivet cap (6, 7, 8, 10 or 12 mm). The advantage of a hand press is that it applies pressure straight down, so the rivet does not tilt to one side as you press it.
When choosing a rivet, start from the total thickness of the materials you are joining. As a rule of thumb, the rivet should be about 2–3 mm longer than the combined thickness of the layers. It is always best to test everything on a scrap of the material first.
You will find a detailed overview of all rivet types, materials and sizes in a separate article:
Setting a single cap rivet

Fit the setting die of the matching size into the press. Insert the rivet post into the prepared hole from the back of the piece.

From the front, place the rivet cap on the post. Then rest the prepared rivet on the lower part of the die.

Set the rivet by pulling the lever down in one smooth motion.

The pressure of the press makes sure the rivet is set evenly. As the press pushes on the rivet cap, the rivet deforms: the post widens and forms a strong permanent joint.


Setting a double cap rivet

Setting a double cap rivet works much like setting a single cap rivet, but you need a die made for double cap rivets. Here too, each rivet size has its own setting die.
The setting die has a recess shaped like the rivet cap, so you do not damage the cap as you set the rivet. The result is a clean joint with a rounded rivet cap on both sides.


What else you can do with a hand press
Working with a hand press is simple and accurate, and it makes the job easier, especially when you set many rivets. With the right dies and the right rivet size, you get a clean, strong joint with very few rejects.
A hand press is not only for riveting, either. It also works for setting other hardware, and it quickly becomes a tool you reach for more often than you expected. Want to see more practical uses? Take a look at our articles on setting grommets, rhinestone rivets and snap fasteners:
Boas,
Tem para venda a prensa manual, qual o valor.