Common Dog Collar Making Mistakes: What to Check Before Shipping

Dog collar making is rewarding work, but it is also a craft where millimeters matter. One crooked rivet, a badly punched hole or the wrong choice of hardware can spoil not only the look of the finished product but, above all, how well and how safely it works.

With collars in particular, keep in mind that they are not just a photo prop. A collar has to hold during everyday wear, when the dog pulls on the leash, when it moves and in daily use. That is why it pays to check every important part before you pack the product and ship it to your customer.

In this article we look at the most common mistakes in dog collar making, why they happen and how to avoid them.

Continue reading Common Dog Collar Making Mistakes: What to Check Before Shipping
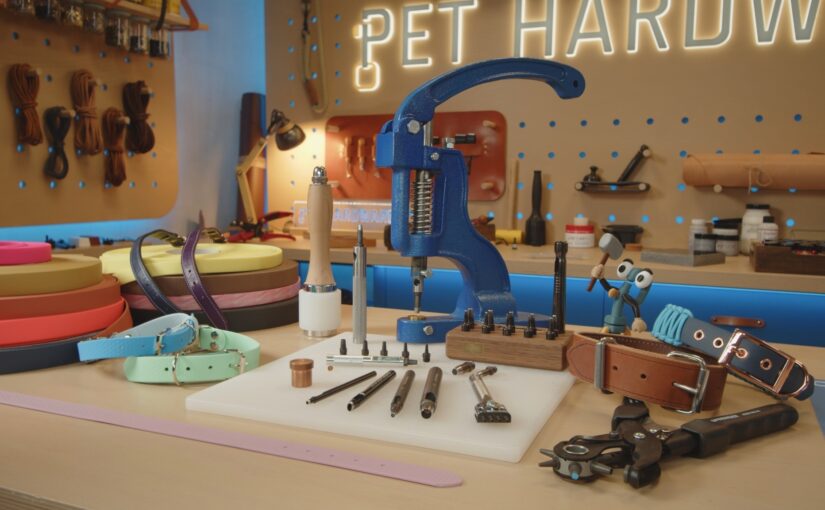
Leather Hole Punch Tools Compared: What to Use on Leather and Waterproof Webbing

There is a wide range of hole punch tools, from simple rotary punch pliers and single drive punches to tools you can use in a press. At first glance they may all seem to do the same thing: make a hole. In practice, though, they differ in how you use them, in the shape and size of the hole and, above all, in which material they are made for.

Continue reading Leather Hole Punch Tools Compared: What to Use on Leather and Waterproof Webbing

Leather Finish Guide: How to Choose a Sealer, Wax or Oil

You have finished dyeing a belt, stitched up a wallet, or you are about to restore an old saddle. On the shelf stand bottles with names like Resolene, Tan Kote, Neatsfoot Oil or Carnauba Crème, and it is not clear which one to use and in what order. You will find them all in the Leather Finishes category; the leather itself is covered in our guide to leather types.

Choosing the right product is critical. The wrong leather finish can ruin hours of your work: the leather can stay tacky after drying, look unnaturally shiny, or the dye can rub off onto clothing.

In this article, we will sort out the products. We will divide them into 4 logical steps, explain when to reach for which one, and finish with a bonus section on restoring older pieces.

Continue reading Leather Finish Guide: How to Choose a Sealer, Wax or Oil

How to Use a Hand Press for Rivets: Step-by-Step Guide

You can set rivets by hand with the right tools, as we describe in the article How to Set Rivets by Hand, or with a hand press. In this article, we look at the advantages of a hand press for rivets, the types of presses available and how to use one correctly when riveting.

Continue reading How to Use a Hand Press for Rivets: Step-by-Step Guide

How to Make a Waterproof Dog Collar: Step-by-Step Guide

A collar made from waterproof webbing is strong, easy to clean, and even a beginner can make one without a dedicated workshop. We will guide you step by step from choosing the materials to the finished piece.

Continue reading How to Make a Waterproof Dog Collar: Step-by-Step Guide

Angelus Paint on Waterproof Webbing: What Works and What Doesn’t

Does it stick or not? Stories about Angelus paint on waterproof webbing contradict each other. Some swear by the results, others report a disaster within a few days. We tested it in the workshop and in everyday use, and the answer is clear: it works, but it has its quirks. Here are a few findings that will save you webbing, time and frustration.

Continue reading Angelus Paint on Waterproof Webbing: What Works and What Doesn’t

How to Sew Shock-Absorbing Webbing for a Bungee Leash

Shock-absorbing webbing, sometimes known as Ultraflex, looks like ordinary webbing at first glance. But it stretches from 100 cm to 140 cm and springs back; the force needed for that is 6 kg for the 15 mm width, 8 kg for 20 mm and 12 kg for 25 mm. That stretch absorbs the jolt, softens a sudden pull and is easier on both the handler’s hands and the dog. We sell it in widths of 15, 20 and 25 mm, with a thickness of 3.5 mm. It is a material for bungee leashes, canicross, running with your dog and everyday walks with larger dogs.

Continue reading How to Sew Shock-Absorbing Webbing for a Bungee Leash

How to Set Rhinestone Rivets: Tools, Tips and Techniques

Rhinestone rivets? Small, sparkly show-offs. They are not there to hold anything together; their job is to look good. They have two parts: the top, where the rhinestone sparkles, and the bottom, let’s call it the “cap”, which goes on from the back. If you were hoping to attach a buckle to a horse harness with them, better not. This is jewelry, not a load-bearing joint.

Continue reading How to Set Rhinestone Rivets: Tools, Tips and Techniques

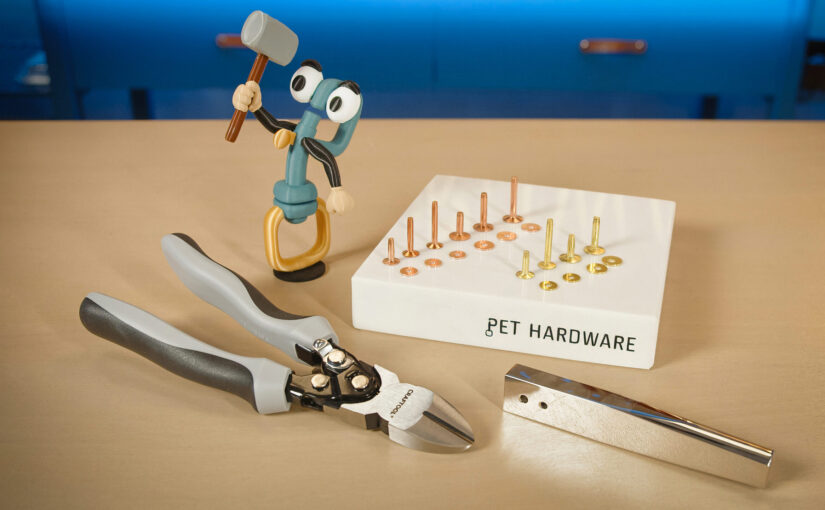
Copper and Brass Rivets and Burrs: How to Set Them Step by Step

Copper and brass rivets with burrs make some of the strongest joints in saddlery. You use them mainly where a rivet has to hold well, where the joint will be under stress, or where the rivet should also be a visible handcrafted detail. You will find them on leather dog collars, leashes, harnesses, belts, bags and other leather goods, where besides adding strength they can also play a distinct design role.

Continue reading Copper and Brass Rivets and Burrs: How to Set Them Step by Step