
Decorative rivets are a very popular metal decorations. They can decorate dog collars and leads, bracelets, handbags, shoes, leather clothes, diaries and many other products. Because of their diverse shapes and sizes, the riveting is not easy. As we get a lot of questions about this, we’ve prepared for you this article.
It should be noted at the outset that riveting ornaments are not recommended for permanently attaching two pieces of leather.
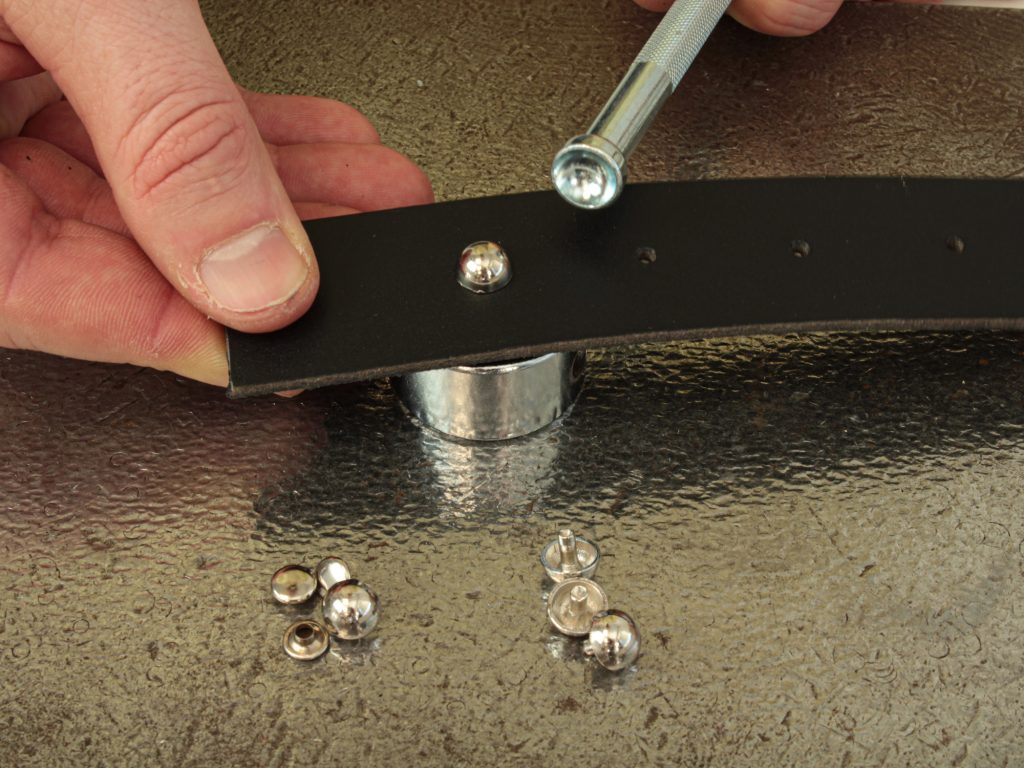
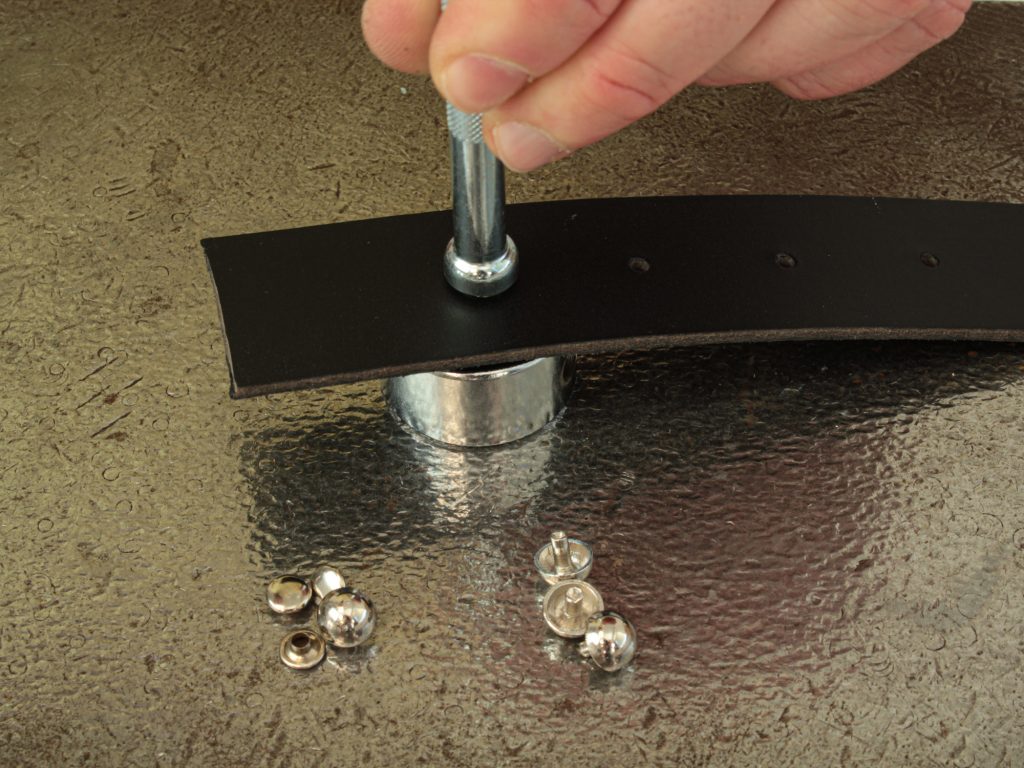
The procedure for riveting ornaments is similar to that for saddlery rivets. For detailed instructions, see How to Hand Rivet. All the ornaments we sell are riveted using a setter for riveting open saddlery rivets 7 mm in diameter.
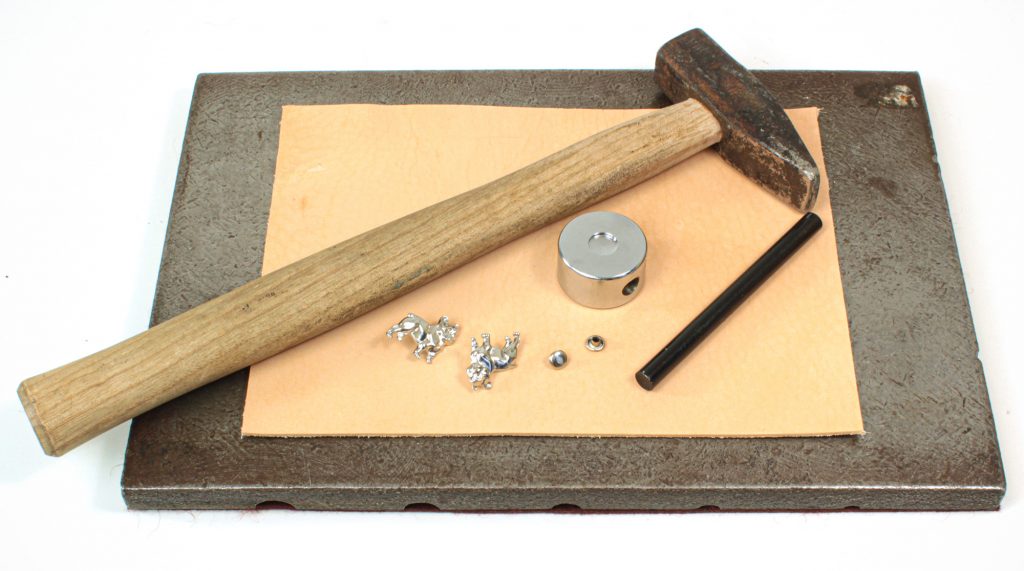
The success and failure of riveting ornaments is determined by the use of the right pad, or base. We will show you which one to choose, depending on the height of the ornaments and also how to make one.
Correct choice of base
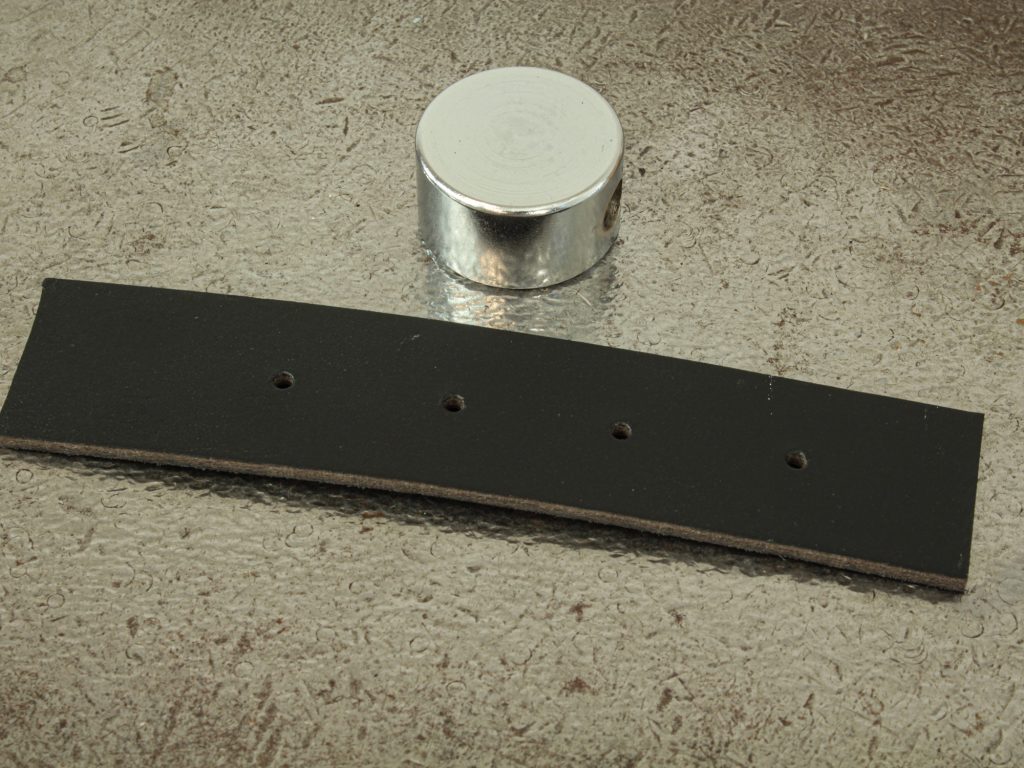
For manual riveting of conventional saddlery rivets, anvils are used. These must be selected according to the size and shape of the rivet. Given the variety of ornamental rivets, the same approach would be very costly. Therefore, we use instead a vegetable-tanned leather base, which must be laid on a hard and level surface (steel plate, flat side of the anvil, etc.).
When riveting low ornaments in the shape of dogs, bones, paws, flat stars, crosses, etc., very thin leather must be used (approx. 1 mm). Using thicker leather can result in the ornaments getting bent or even cracked during riveting.
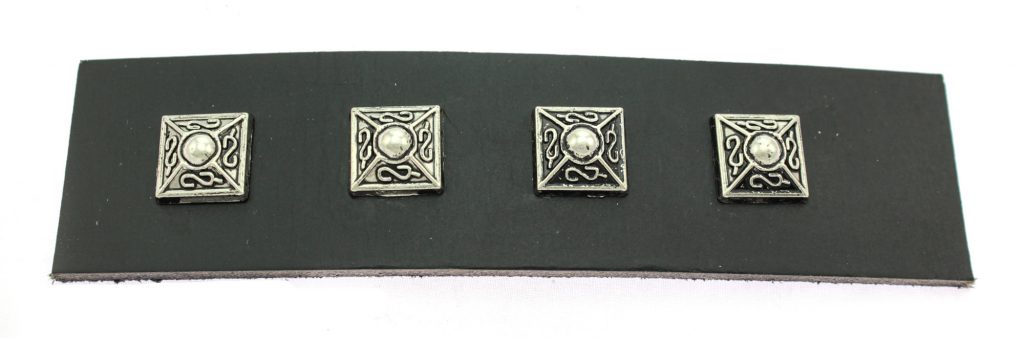
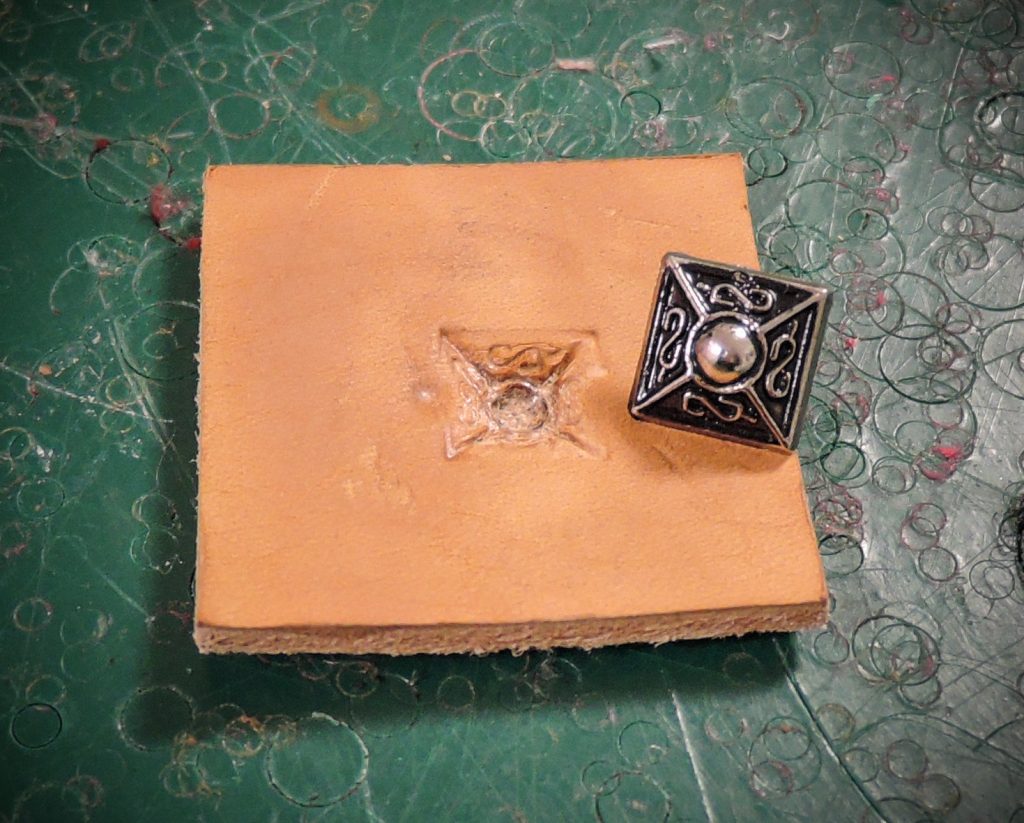
When riveting high ornaments, it is advisable to make a mold for each decoration, a negative shape of the decoration – a die. This will ensure that during setting the rivet:
- will not move,
- will not bend or crack,
- will attach firmly to the product.
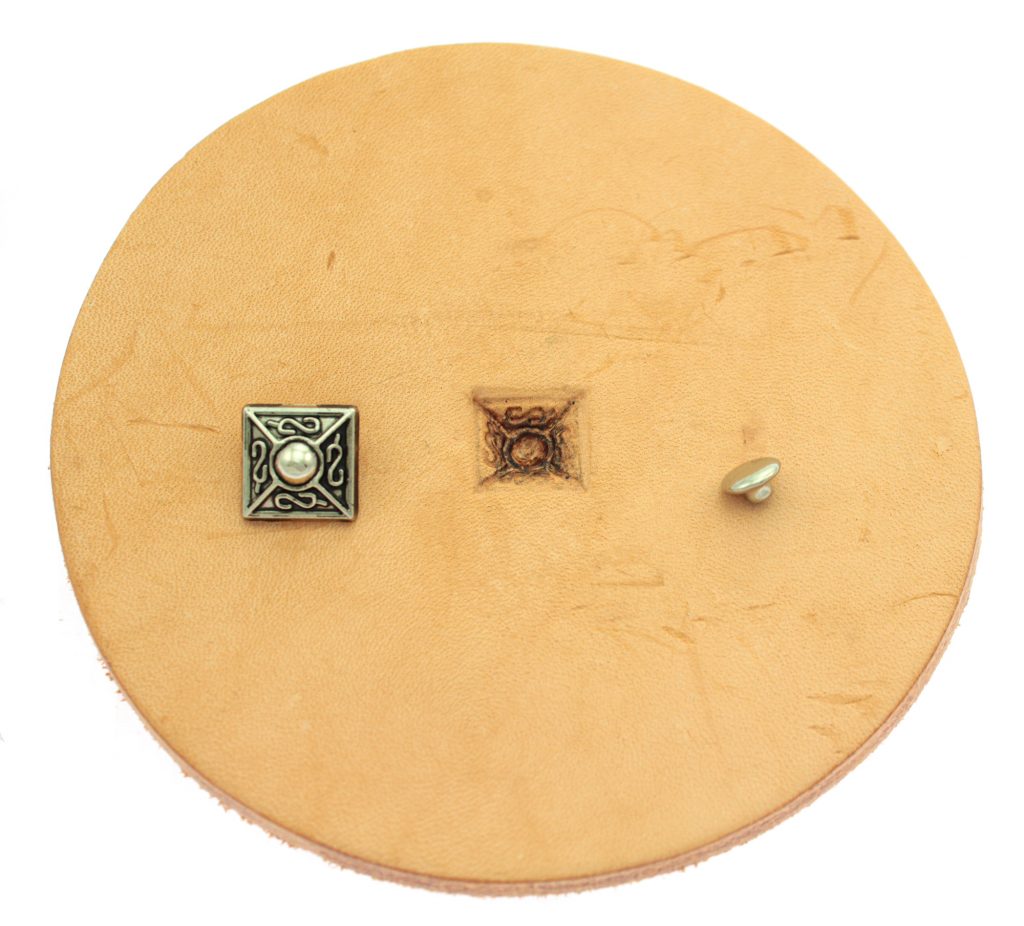
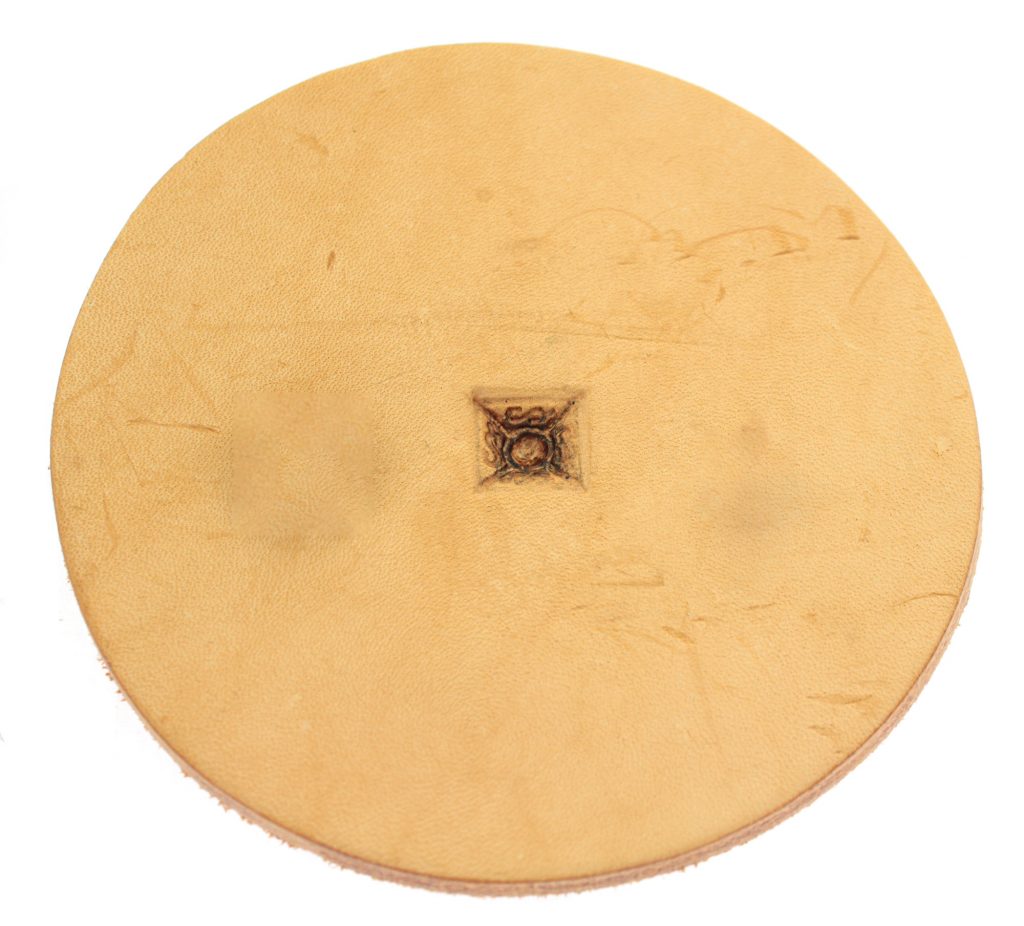
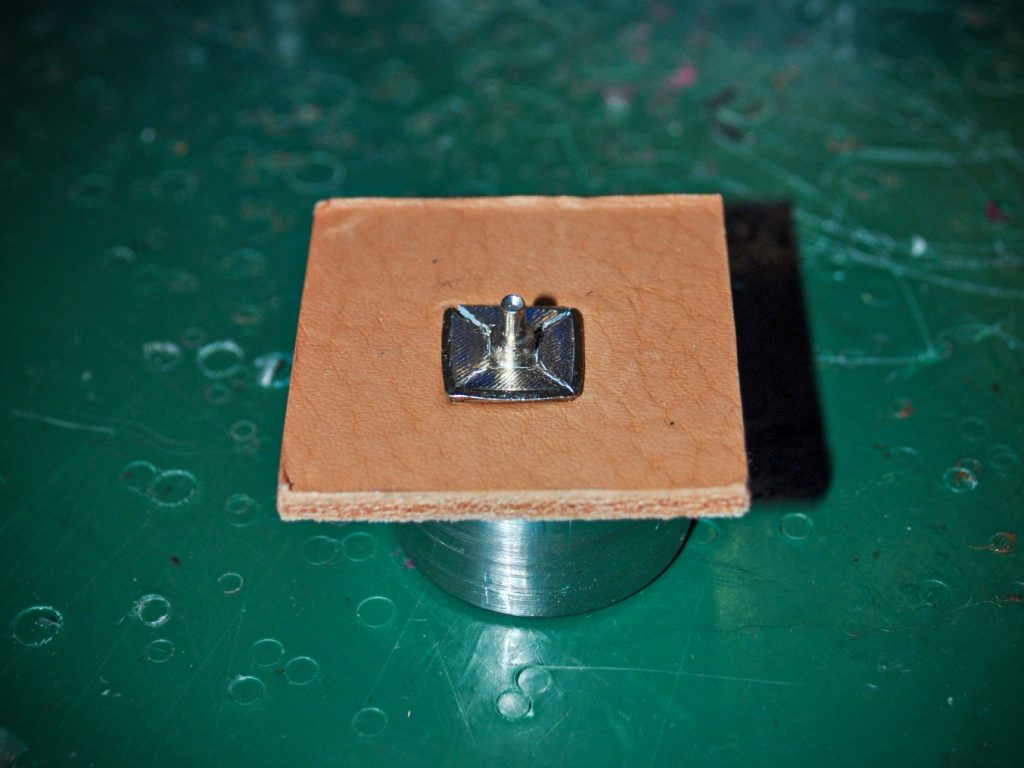
Die preparation
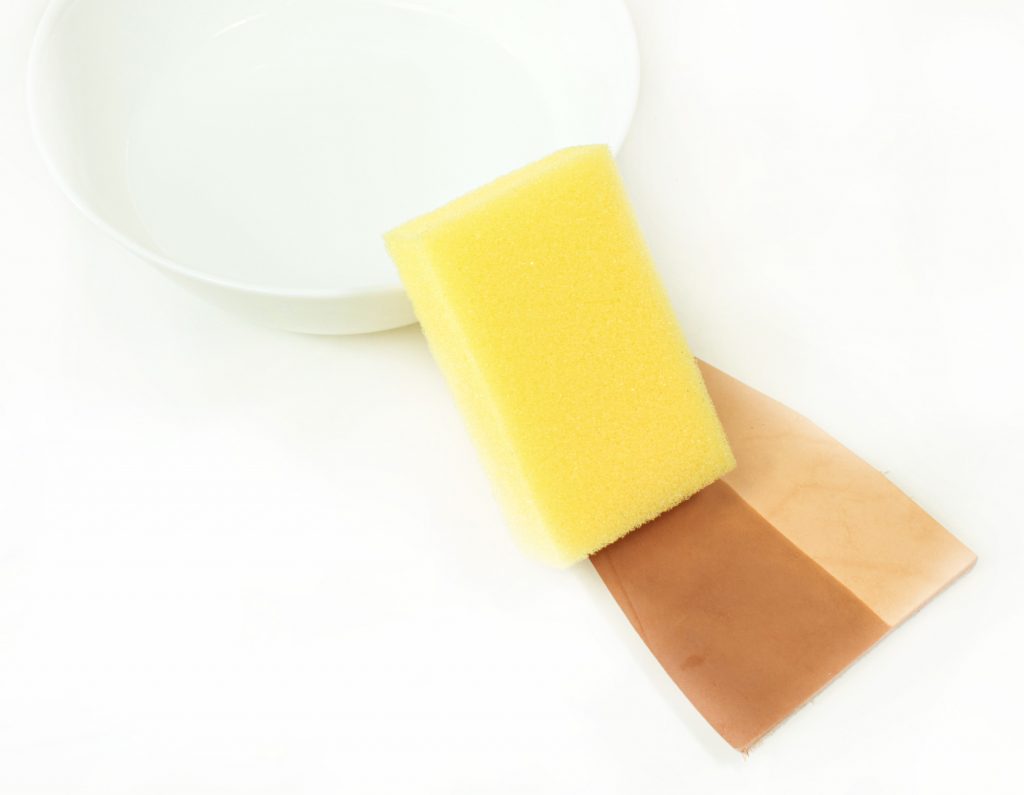
Thick, veg- tanned (smooth) leather is suitable for the making the die. Two layers can be glued together for this purpose. After gluing it is necessary to weigh down the leather and allow the glue to dry properly.
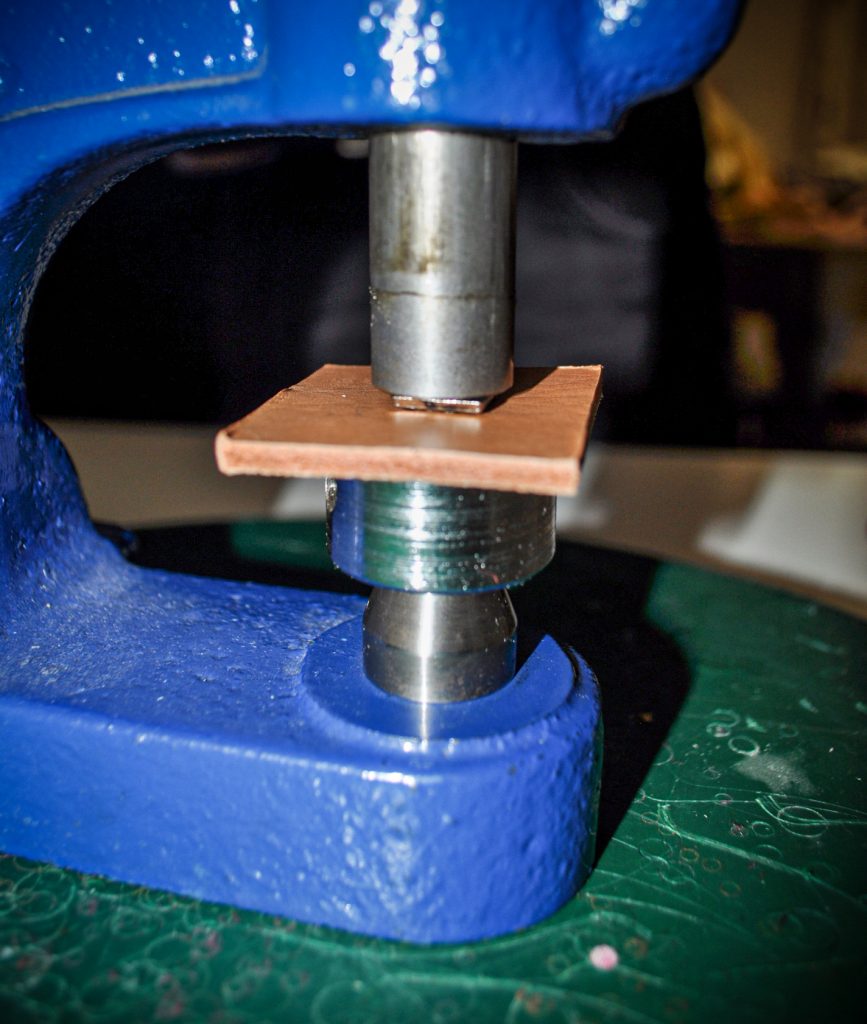
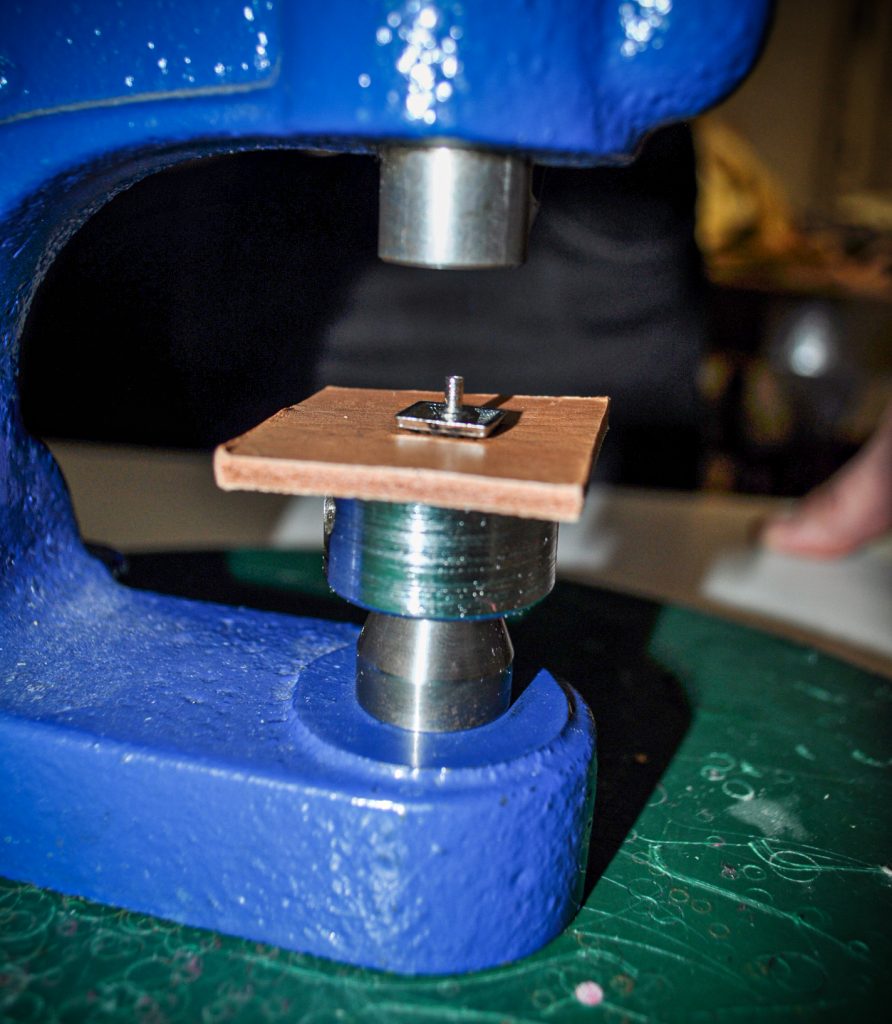
The process of making the die is quite simple:

The dies can also be made using a hand press if one is available. After removal of the top setting insert, the force of the press can be used instead of the hammer.
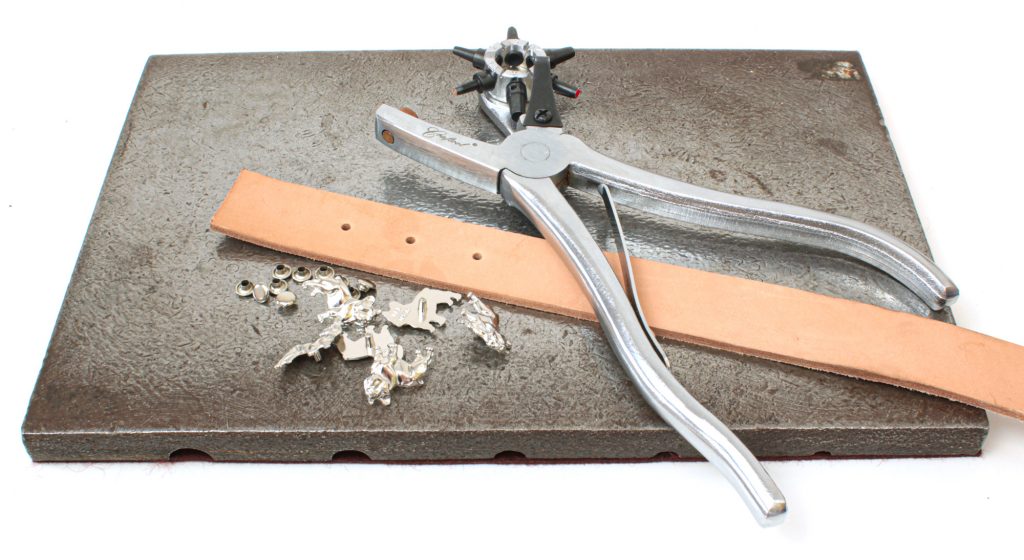
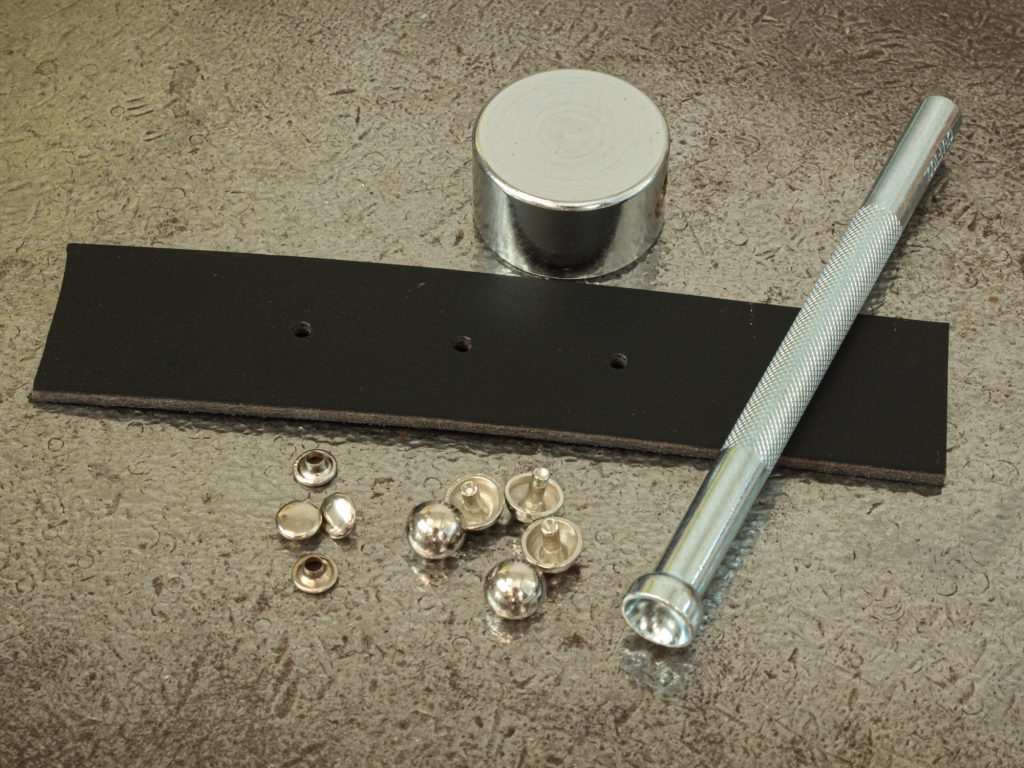
How to set ornamental rivets
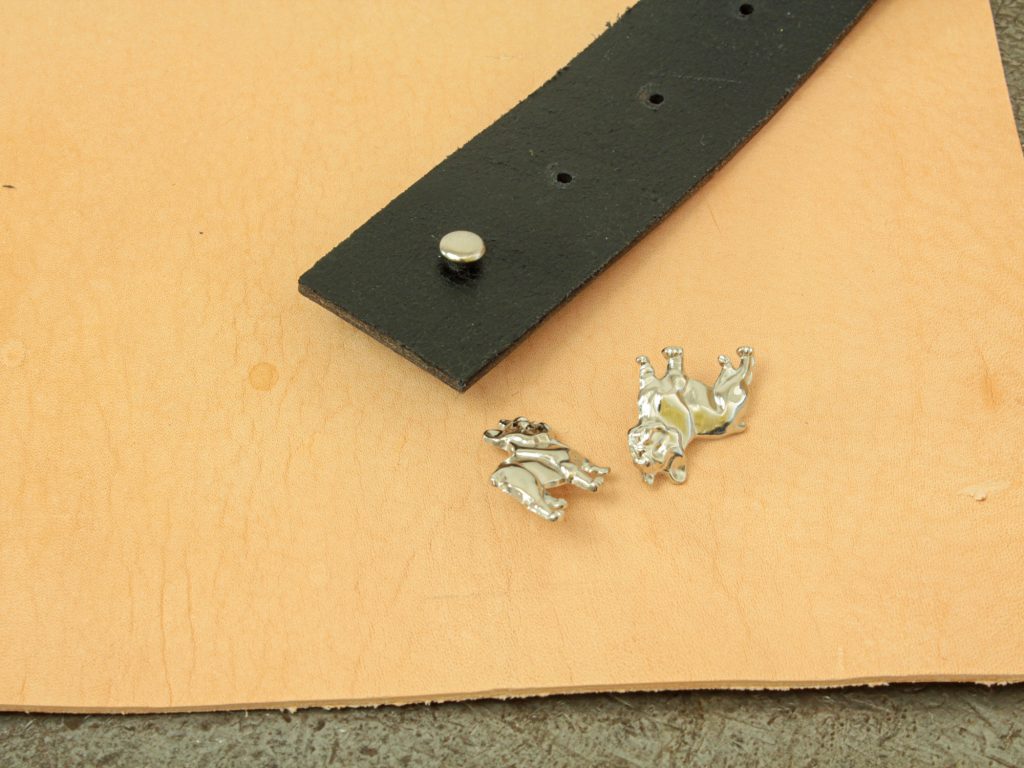
The procedure is the same for both low and high ornamental rivets. Similar to the riveting of saddlery rivets, it is important to choose a suitable leather thickness here as well. To correctly flare out. it is necessary for the stem to protrude 1 – 2 mm above the leather. If the leather is too thick, the stem cannot spread and the ornament will not stick. For example, for rivet with a 5 mm stem, it is ideal to choose a leather with a thickness of 3 – 3.5 mm.


Riveting of spikes and spots
Rivets with half-round, oval or spike heads are a special category of ornaments. When riveting these, a die like the above is not enough and you will need to use a specific head setter and anvil. The riveting process itself is similar to the previous process, except that the head of the rivet, not the ornament is placed on the base. Here’s how:

Closing advice
We do not recommend wood, rubber, silicone, felt or elastic pads for ornamental riveting.
- The harder the pad, the easier will be the process. For our own use, a steel plate with thin leather or the die on top proved best.
- Elastic bases give way when the rivet is struck, and then the stem is not properly flared.
- Felt pads are very soft, while the ornaments will bend and in extreme cases break.
Properly fastened ornament must not move or rotate in the material in any way, rivet head must lie flat with the material (not at a slant).
Pethardware.com
The only shop you’ll ever need for crafting collars and leashes.
Visit Pethardware.com