
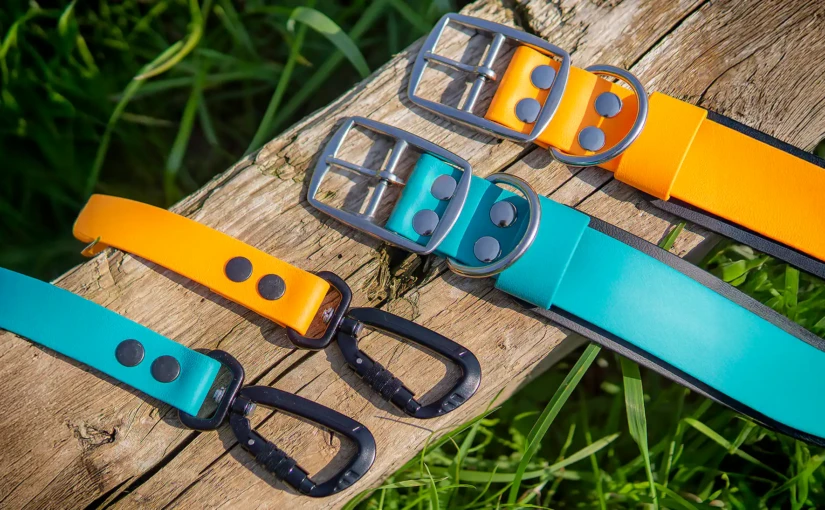
Riveting is one of the most efficient ways to join materials. It creates a strong yet flexible joint that can replace stitching in many projects, and a well-set rivet says a lot about the maker. Whether you are making a dog collar or a leather bag, this guide to leather rivets will help you choose the right type and avoid the mistakes that cost you time and material.
Types of leather rivets and what they do
Riveting is about more than holding two pieces of material together. In practice, rivets have three jobs:
- Joining: The main structural element (for example, a leash made without any stitching).
- Reinforcing: A safeguard at points under heavy pull (at buckles and D-rings), where rivets back up the stitching.
- Decorative: The rivet works as an ornament (for example, rhinestone rivets or pyramid studs). For help setting rhinestone rivets, read How to Set Rhinestone Rivets.

Open vs. closed rivets
The main difference between them is not strength but how the rivet looks from the back (underside):


- Open rivets: The hollow post is visible on the back. They work well on belts, bags or cases where the back is hidden under a lining or inside the item.


- Closed rivets: They have a smooth cap on both sides, so they will not scratch the animal or catch its fur. For collars and harnesses, use closed rivets. An open rivet belongs where nobody will see or feel the back, for example under a lining.

- Rivets and burrs: They consist of a solid post and a burr (washer) that is pushed onto it, after which the post is peened over. The result is a permanent joint that takes heavy loads. They suit traditional saddlery work with a rustic look.


Want to learn more about working with these rivets? Read our blog post:
What is the locking groove, and why do you want it?
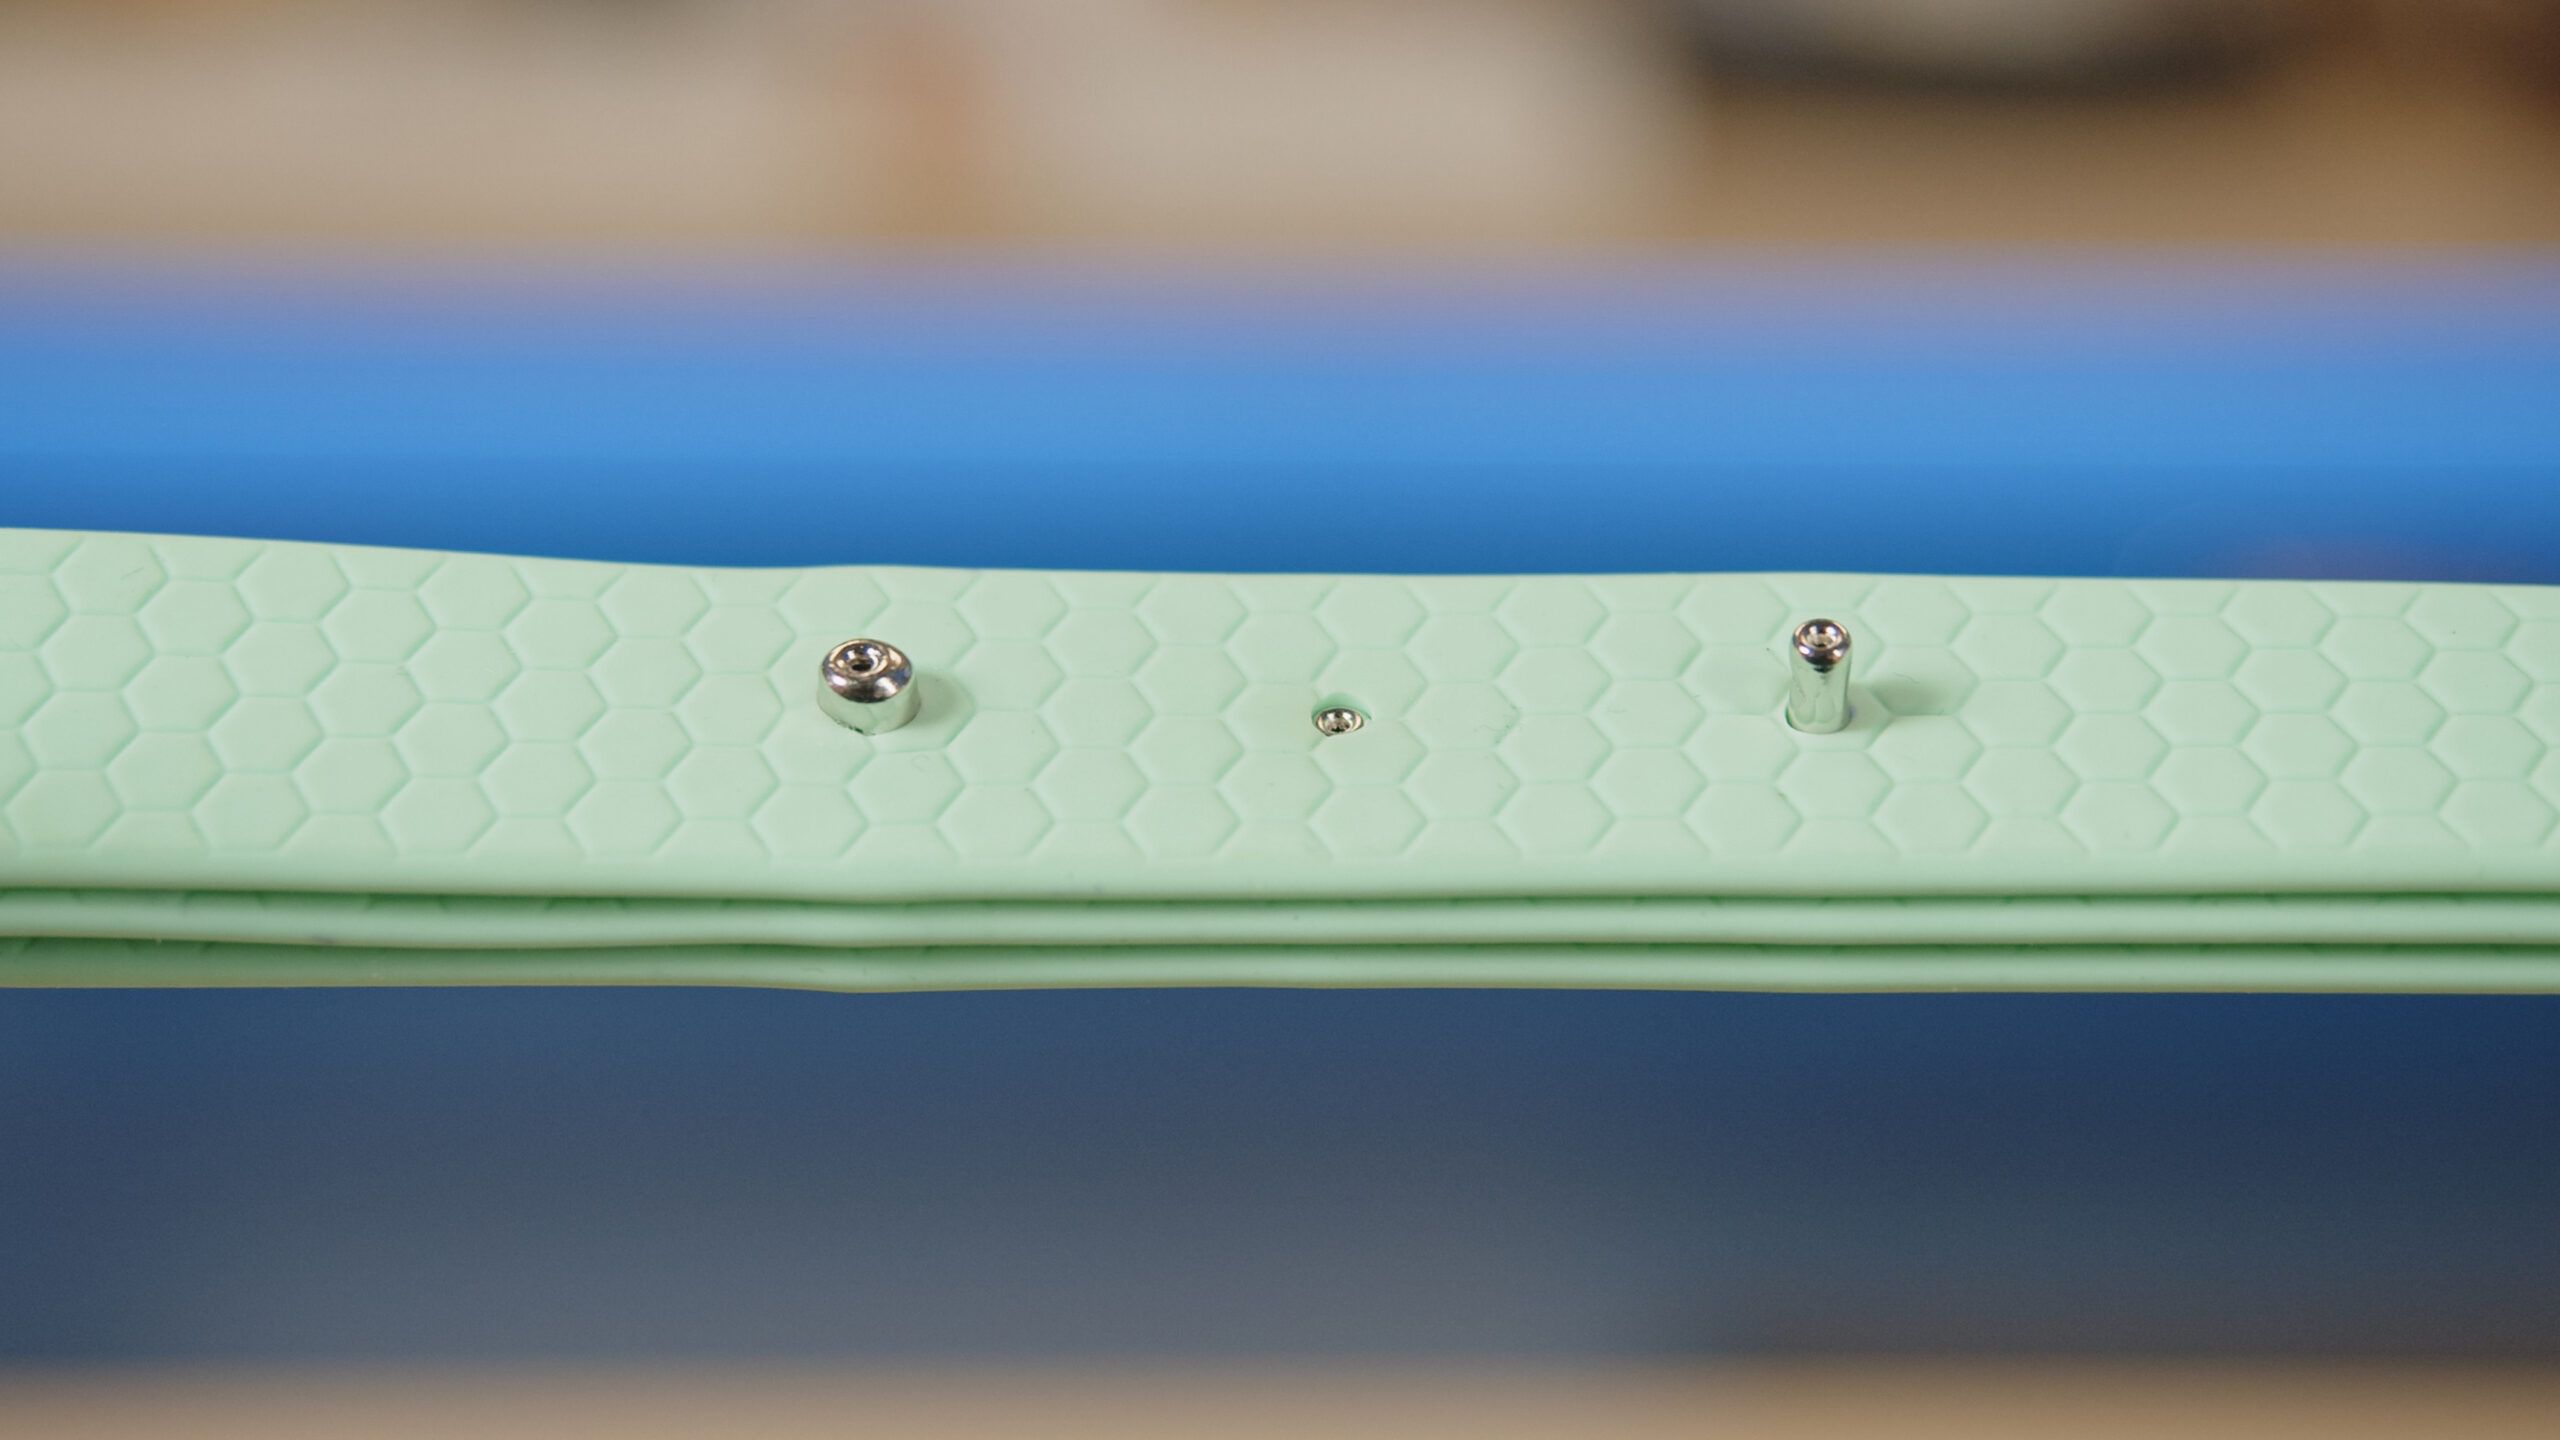
Look closely at the post of our rivets and you will see a small indent around it. This detail is the locking groove. It is not a defect but a practical feature that makes your work easier:

- Holds the cap before setting: Thanks to the groove, the cap clicks lightly onto the post and does not fall off on its own. This is a big help on more complex items: you push the rivets through the holes, put the caps on and only then set them one by one at your own pace.
- Stability: The groove keeps the rivet upright before you strike it with the mallet or press it for the first time.
You will find this locking groove on all our standard rivets. The only exception is rivets and burrs (copper and brass). They work on a completely different principle, with the end of the post peened over the burr, so they have no groove.
Material matters: steel, brass or stainless steel?
Choosing a rivet is not just about the color but mainly about what it will withstand outdoors. The material directly affects how long the whole item lasts.

- Steel rivets: The most common and most affordable choice. They are very strong and available in many finishes. They work well for everyday city accessories, but keep in mind that they can corrode over time in damp conditions.
- Brass rivets: If you make gear for active dogs that love water and mud, go for brass or stainless steel. Brass does not rust, so it lasts much longer in water and mud than untreated steel. It does darken over time, though, and long exposure to salt water can damage its surface. For constant contact with seawater, choose stainless steel. A steel rivet with a worn-off finish will rust in the damp.
- Stainless steel rivets: Made of stainless steel (AISI 304), they do not rust and are harder than steel or brass rivets. Use them on items that will often be wet or under heavy strain.


The truth about brass: shine, patina and care
Brass is the most popular material in saddlery for its warm color and durability. You should know, though, which type of rivet you are holding:
1. Solid brass (natural, no finish)
This is bare metal with no lacquer or other coating.
- Properties: Over time it oxidizes naturally: it darkens, turns brown and loses its shine. This is not a defect but a natural property of a “living” metal.
- How to care for it: To bring back the original bright golden shine, we recommend Sitol brass polish. A little on a cloth is enough and the rivets look new again. Watch our video to see how Sitol works in practice.
- Prevention: If you want to stop oxidation completely, you can spray the hardware with clear protective lacquer.
2. Brass-plated brass (brass with a plated finish)
Here an extra electroplated layer is applied over solid brass (often with a silver-colored intermediate layer) to keep a lasting high shine without polishing.
- Properties: These rivets stay bright gold in tone for a long time and do not darken as quickly as natural brass.
- What to watch out for: If heavy use wears this rivet down, the silver intermediate layer may show through. Sitol will not help here, because this is not oxidation you can polish off but mechanical wear of the top layer.

3. Nickel-free rivets (silver-tone brass)
If you need hardware suitable for people with allergies that also matches silver-colored components, choose brass with a Nickel Free (NF) finish.
Although brass is naturally a yellow metal, these rivets have a special electroplated finish of tin with a special additive that gives them a silver color you cannot tell apart from standard nickel. So you can safely combine them with your other silver-tone hardware.
In our shop, look for Nickel Free rivets under “brass in nickel tone” (codes B70 Z – NF, B72 Z – NF and B75 Z – NF). On the website they carry the “Nickel tested” label. This matters especially to owners of dogs with sensitive skin, because this hardware contains no nickel, the metal that most often causes allergies. It does not rule out other allergies, though.

How to tame stainless steel
Saddlers love stainless steel rivets because they last a lifetime, but they have one particular property: they are extremely hard. If you are working with them for the first time, you may be surprised how much harder they are to set than steel or brass rivets.
Working with a press
Stainless steel needs a huge amount of pressing force. A normal pull on the lever of a hand press is often not enough to set the rivet fully, unless you are extremely strong or have a hydraulic press in your workshop.
The hand press lever has a hole for a foot pedal linkage, which you buy separately. The foot pedal linkage multiplies the force of the lever and lets you use the strength of your leg too. The press must be bolted firmly to the workbench, though, or it will tip over under a strong pull. This way you can set a stainless steel rivet without much effort.

Setting by hand
The second option, just as good, is setting rivets by hand with a rivet setter and a heavier maul. While a press relies on steady pressure, here you use impact. The blow of the maul gives the rivet the sharp impulse that suits hard stainless steel best. So if you do not have a press (or a foot pedal linkage for it), just strike firmly. Stainless steel needs it.
Finishes for every style
With a wide range of finishes, you can match your rivets to the webbing and the rest of the hardware.


What exactly is a finish?
The finish is basically the rivet’s outer coat. While the material (steel, brass, stainless steel) determines the strength and durability of the core, the finish gives it its final color, style and basic protection.
Most rivets get their look through electroplating, a process that deposits a thin layer of another metal on the rivet. That is why rivets come in so many combinations of material and finish, from classic silver nickel through antique brass to modern rose gold.


What to watch out for with finishes
Keep in mind that a finish does not last forever. Even if you never scratch the rivet on purpose, it gradually goes through natural wear.
- Effect of use: Everyday wear, rubbing against clothing and handling slowly wear away the colored top layer. How long the rivet stays like new depends on how the finish was applied.
- Fashion finishes: Colors such as rose gold or black wear off more easily. Over time, the base metal may start to show through. Colors such as silver nickel or rainbow (neo-chrome with titanium) tend to be more stable.
- Protecting steel: On steel rivets, the finish mainly serves as protection. If after years it wears down to the steel core, the rivet may start to corrode in damp conditions.
Workshop tip:
If you are making something that should last for decades and keep looking the same, the best choice is stainless steel or solid brass. These materials have no finish that could wear off.


How to choose the right rivet size
Choosing a rivet is not only about the material but above all about millimeters. A wrong post length is the most common reason a rivet does not hold, pulls out or bends when you set it. Focus on two basic dimensions:

1. Cap diameter (value “C”)

Choose the diameter by the webbing width and the look you want:
- For narrower webbing (10–15 mm), caps with a diameter of 6–7 mm work best.
- For standard and wider collars (20 mm and more), caps with a diameter of 10–12 mm are the most common.
2. Post length (value “B”)
The golden rule: the rivet post should be 2 to 3 mm longer than the total thickness of the layers you are joining. For three layers of waterproof webbing (about 7.5 mm), use a 10 or 11 mm post.

Quick reference for waterproof webbing
Our waterproof webbing comes in two thicknesses, 1.5 and 2.5 mm. The table below assumes 2.5 mm thick webbing. If you are riveting 1.5 mm webbing, add up the thickness of all layers and add 2 to 3 mm. For tips on working with it, read How to Work with Waterproof Webbing. You can learn how to punch clean holes in it in our comparison of hole punching tools. Just choose by the number of layers, webbing width and cap size:
Joining 2 layers of webbing (about 5 mm in total)
For this joint, we recommend rivets with an 8 mm post.
Joining 3 layers of webbing (about 7.5 mm in total)
For this joint, we recommend rivets with an 11 mm post.
What to watch out for with post length
- If the post is too short:
The rivet does not grip the bottom piece well enough and the joint comes apart the first time you put it under load.
- If the post is too long:
When you set it, the post bends sideways inside, the rivet shifts and the cap will not sit flat on the material.
How to set rivets: choose your method
Setting rivets is not rocket science once you have the right tools and know how. Depending on how many rivets you plan to set and how deep you want to go into the craft, you have two main options:

1. Setting rivets by hand (for small batches)
If you are a beginner or only rivet now and then, a hand rivet setter, an anvil and a mallet are all you need. It is a traditional method that takes a little practice, but it has a charm of its own.
We have prepared a detailed step-by-step guide to setting rivets by hand. It includes a complete list of the tools you need, tips on technique and how to check the joint, so your work looks neat even without a press.
2. Using a press (for larger batches)
For larger orders, a press pays off. It is faster, takes little strength and is quieter than hammering. Thanks to the straight vertical pressure, the caps sit the same on every rivet.

We have written a detailed article on working with a press. Besides a photo guide to the riveting itself, it has a key table for punching the right holes. You will learn what hole size to choose for each rivet so the joint holds firmly.
Most common mistakes (and how to fix them)
Even with the best material, things sometimes go wrong. Here are the most common problems and tips on how to get out of them:
- A springy work surface: If you rivet on an ordinary wooden table, the top will flex and shake under the blows. You lose the force of the blow as the table moves, so the rivet does not set properly.
- Crooked riveting: If you strike at an angle, the post bends inside and the rivet cap stays off-center. The rivet then does not sit evenly on the material, which looks sloppy and weakens the joint.
Workshop tip:
If you have to rivet on a table, always do it directly above a table leg. That is the only spot that does not flex, so the rivet gets a proper blow.
First aid: when it goes wrong
If you press a rivet crooked or find out you forgot to slide on the D-ring, do not try to pry the rivet out with a screwdriver. You will only scratch the item for good.

For cases like this, we sell Craftool rivet cutting pliers. Slide them under the cap and snip the rivet off without damaging the material. With them, a fix takes seconds and you can set a new rivet right away, and better.
Final word: a small rivet that does a big job
Rivets may be small parts, but they play a key role in saddlery. The right rivet not only holds your item together in harsh conditions but also gives it the look you want.

Whether you go for affordable steel, traditional brass or hard-wearing stainless steel, always think about the conditions you will use your item in. We hope this guide has helped you find your way around rivets and that your next riveting job goes without unnecessary mistakes.
Do you know which rivet is right for your next project? Browse our full range of rivets and get making.
Pethardware.com
The only shop you’ll ever need for crafting collars and leashes.
Visit Pethardware.com