

Does it stick or not? Stories about Angelus paint on waterproof webbing contradict each other. Some swear by the results, others report a disaster within a few days. We tested it in the workshop and in everyday use, and the answer is clear: it works, but it has its quirks. Here are a few findings that will save you webbing, time and frustration.

Why paint sometimes fails on waterproof webbing
Waterproof webbing has a smooth surface layer that repels water and dirt. That makes it easy to clean, but it also makes it hard for any paint to adhere.
Angelus paints are acrylic and are made primarily for leather (a porous surface). Leather partly absorbs the paint, but on a plastic surface the paint has nowhere to soak in. It holds only by adhesion to the surface. If you neglect the surface preparation, the paint will not bond and will start to peel.
A common mistake is trying to fix poor adhesion with a coat of finisher. On this type of synthetic material, however, finishing the whole surface is often counterproductive. The finisher does not soak into the plastic; it stays on the surface, and over time it can make the paint peel off even faster, finisher and all.
What worked for us

The key step is to degrease the webbing thoroughly with Angelus Deglazer. It removes residual oils and waxes from manufacturing, which are the biggest obstacle for the paint. Without degreasing, the paint peels off the smooth surface easily. We use the deglazer on the face of the webbing and degrease the edges with isopropyl alcohol before applying Nubio edge gel.

Apply the paint itself in thin coats. On smooth plastic, patience is key: the thinner the coat, the better it grips the surface. If possible, let the paint dry overnight. For maximum durability, let it cure for 24 to 48 hours before you put the webbing under strain or test it with water.
Our tip: Before you start on a whole batch, always do a quick test (rubbing + water) on a small piece of material.
What to watch out for
During testing, we noticed that problems can occur when you skip a step of the procedure. Below you will find specific cases and, more importantly, why they happen.
A thick coat of paint
Angelus paints are more flexible than ordinary acrylic paints, but they have their limits on synthetics. If you apply an unnecessarily thick coat, the paint will not bond to the material and will form a “crust” on the surface that:
- stays soft even after a long drying time,
- you can easily damage (for example, by scratching it with a fingernail),
- can crack or peel over time, especially where the webbing bends.

Using a heat gun
Trying to speed up drying with a heat gun can backfire. At higher temperatures, you risk damaging or literally scorching the surface of the webbing. That ruins not only the paint, but the whole product. If you are in a hurry, use only a stream of cold air (a hair dryer without heat), but you will get the best results by letting it dry naturally.

Applying a finisher
Why does a finisher often fail on waterproof webbing? Unlike leather, synthetic material does not absorb the finisher, so if you apply it over a large area, it has no chance to dry properly. The result is an unpleasantly tacky surface.

So when does a finisher make sense and when does it not?
- Small details (yes): If you apply finisher to just a few specific spots, a name or a single line, it dries properly and helps protect the paint.
- Many motifs and drops (no): Once the webbing has more drops or details (typically with splatter patterns), finishing every dot by hand is not realistic.
- Finishing the whole webbing then creates the tacky surface mentioned above, so in this case it is downright counterproductive.


Verdict: A finisher does not improve adhesion. Degreasing and thin coats do. On small details (a name, a single line), a finisher protects the paint. If you still want to use it elsewhere (for example, on pastel shades for extra protection), always test it on a sample first.
Different shades and batches: why testing is a must
Even if you follow the correct procedure, paint can behave differently on synthetics from one shade to another. How well it adheres to a smooth surface can depend on the chemical composition of a particular paint and its production batch.
In our experience, pastel and very light shades hold less well, but it can happen with any shade. Angelus paints are not made primarily for plastics, so nobody can guarantee a 100% result across the entire colour range.
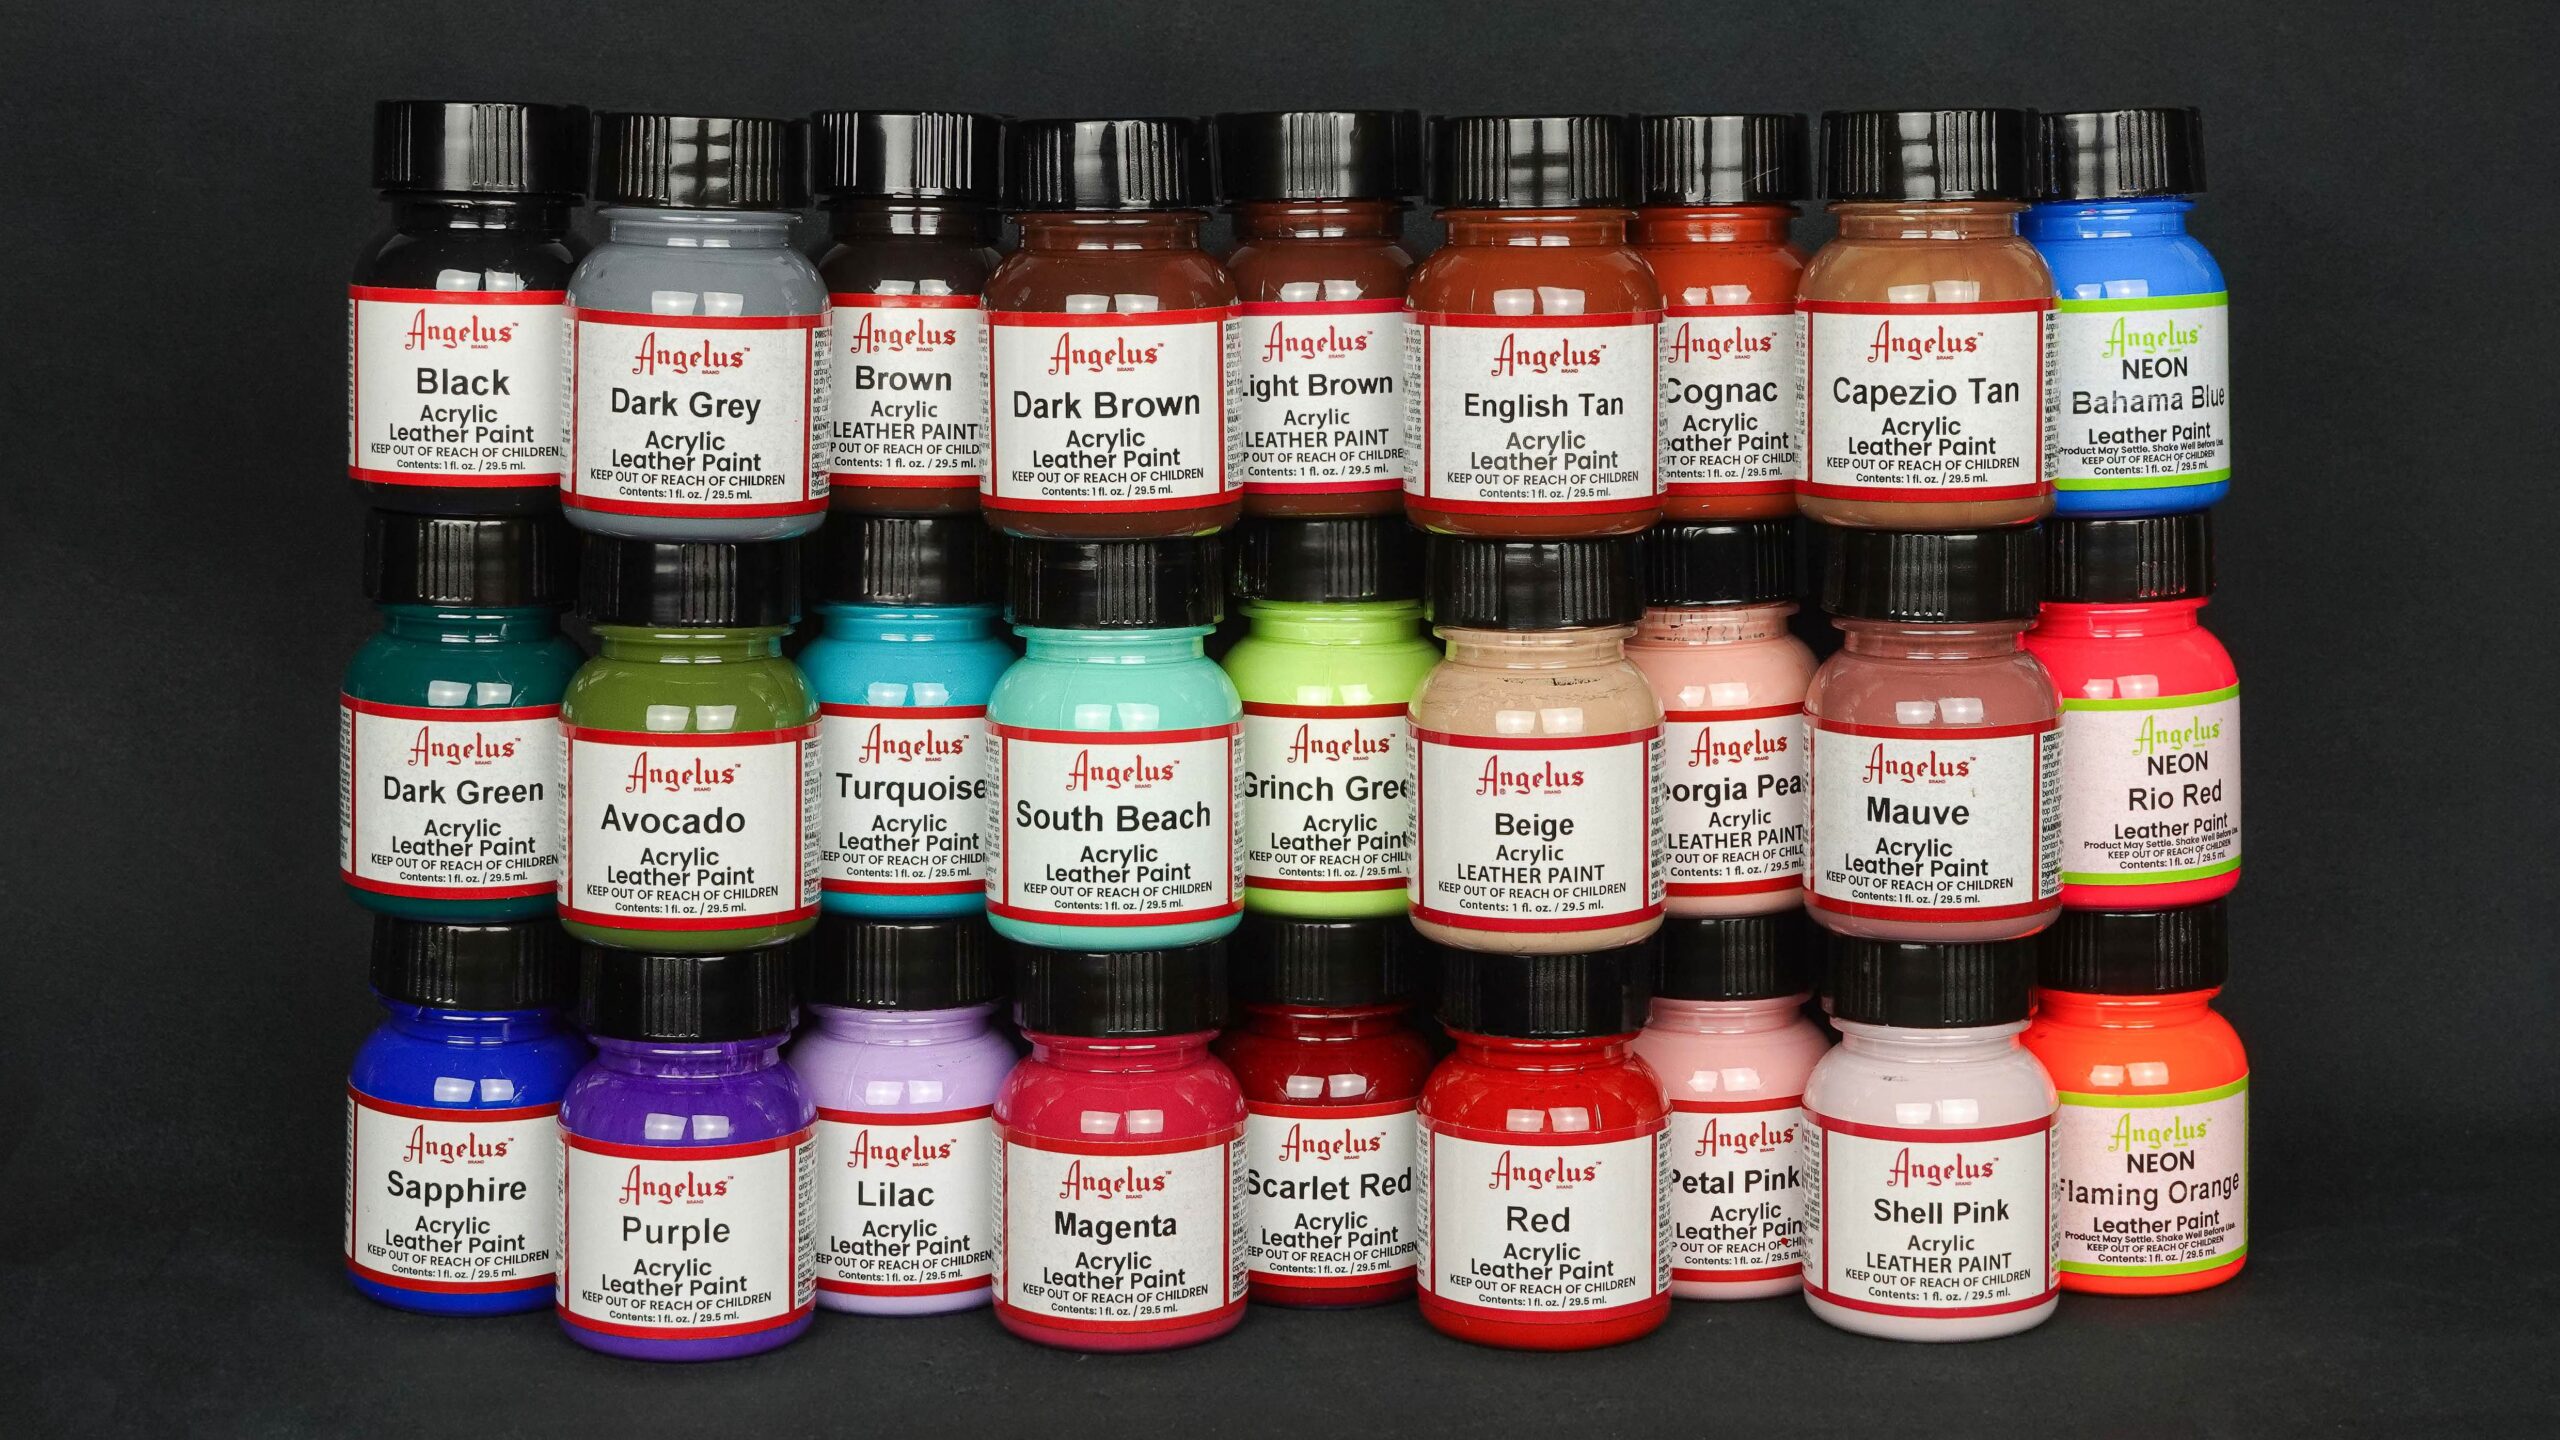
So before you start production, always test on an offcut of the webbing:
- Let the paint cure for 24–48 hours.
- Try hard rubbing with a finger or a cloth.
- Do a water test.
If the paint fails the test, it is safer to choose a different shade or a different decorating technique.
Conclusion
Do Angelus paints and waterproof webbing go together? Yes, the paint holds up and looks good, as long as you know how to apply it. To be fair, though, there is no 100% universal solution for every shade on synthetics. Before you start real production, take a little time to test. Once the paint on a sample passes both the rub test and the water test, you are good to go.
For painting webbing edges with Nubio gel and choosing shades, read the article Working with waterproof webbing; for the whole collar-making process, see our step-by-step guide.
In short, for a successful result:
- Degrease thoroughly (Angelus Deglazer).
- Apply thin coats (less is more).
- Let it cure properly (24–48 hours).
- Test on a sample (rubbing + water).


Great post! I’ve found that prepping the webbing properly — cleaning and lightly sanding the surface — really helps the paint adhere better and last longer. Small preparation steps make a big difference.
Loved this guide! I also share DIY tips and pet gear advice on [Link deleted]
. Waterproofing and proper painting techniques really extend the life of webbing projects.