
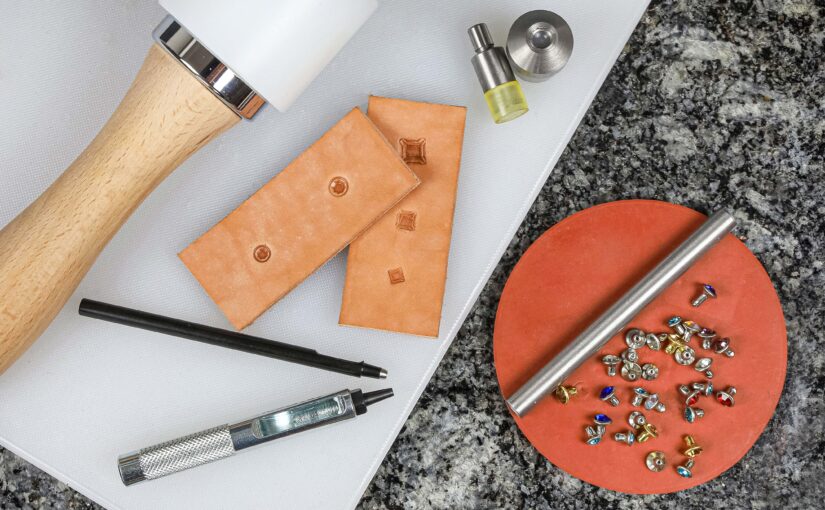
Rhinestone rivets? Small, sparkly show-offs. They are not there to hold anything together; their job is to look good. They have two parts: the top, where the rhinestone sparkles, and the bottom, let’s call it the “cap”, which goes on from the back. If you were hoping to attach a buckle to a horse harness with them, better not. This is jewelry, not a load-bearing joint.
Rhinestones are cut stones with facets that refract the light.
Uses and types of rhinestone rivets
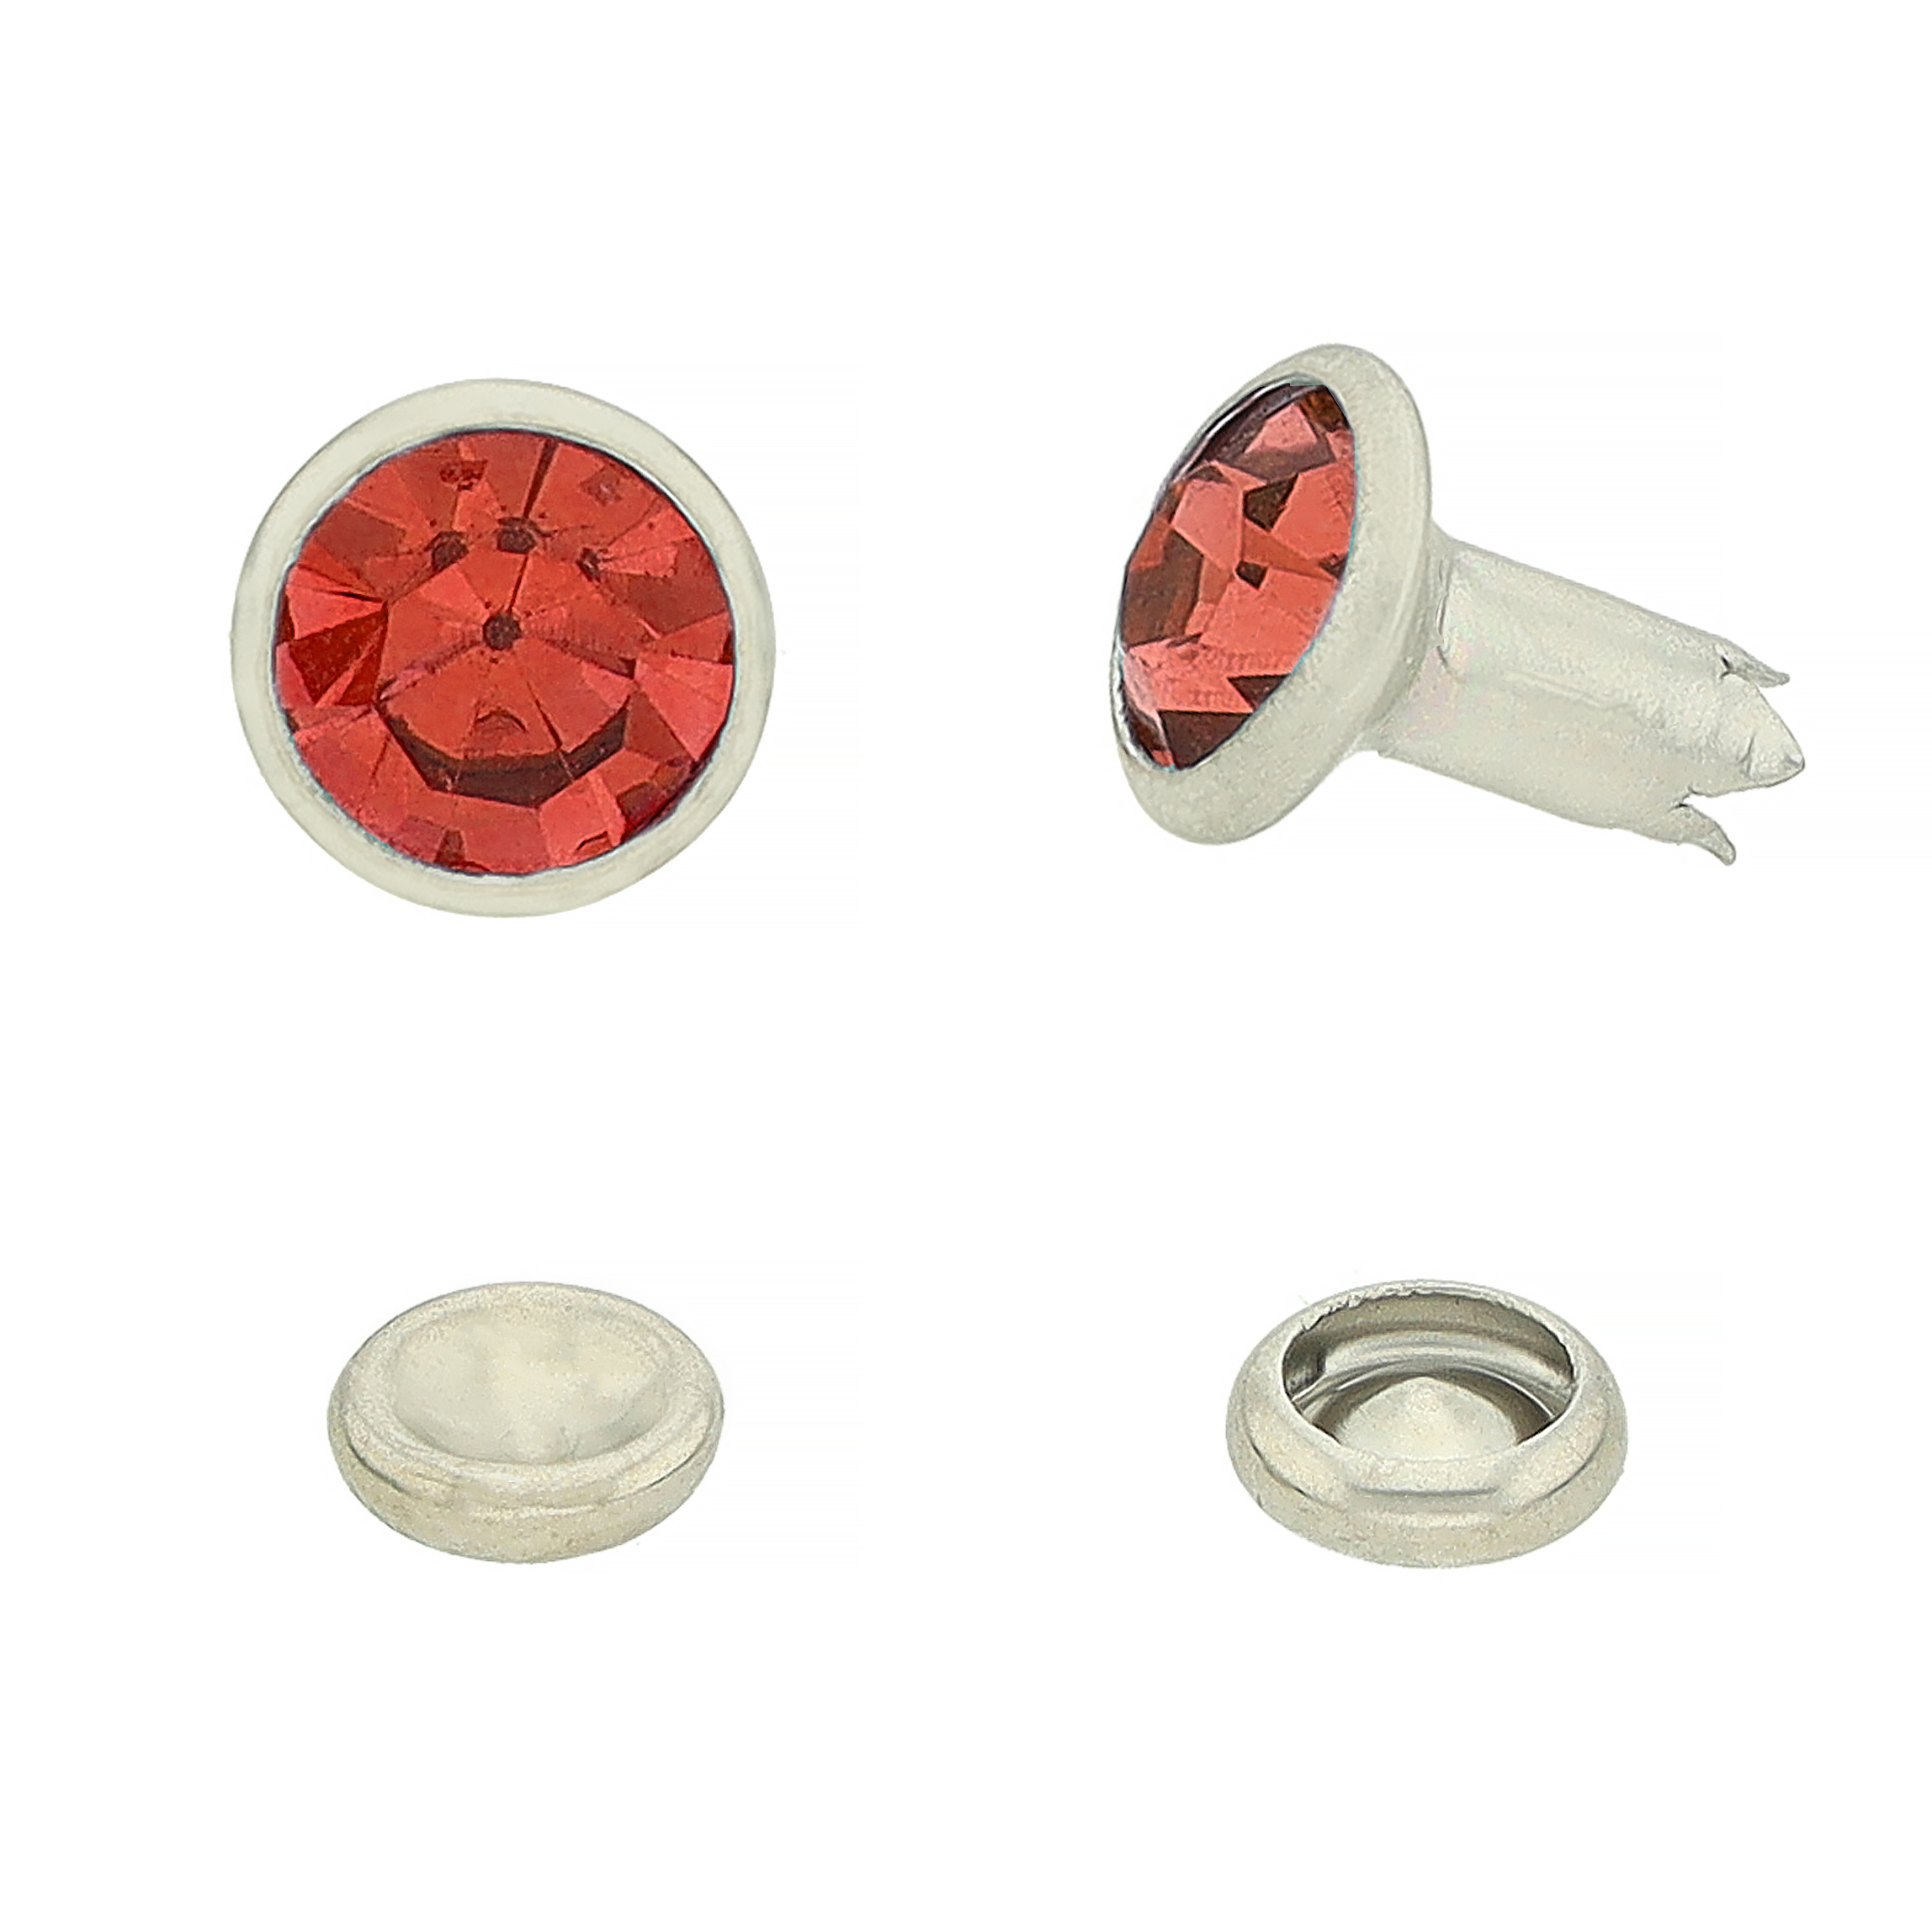
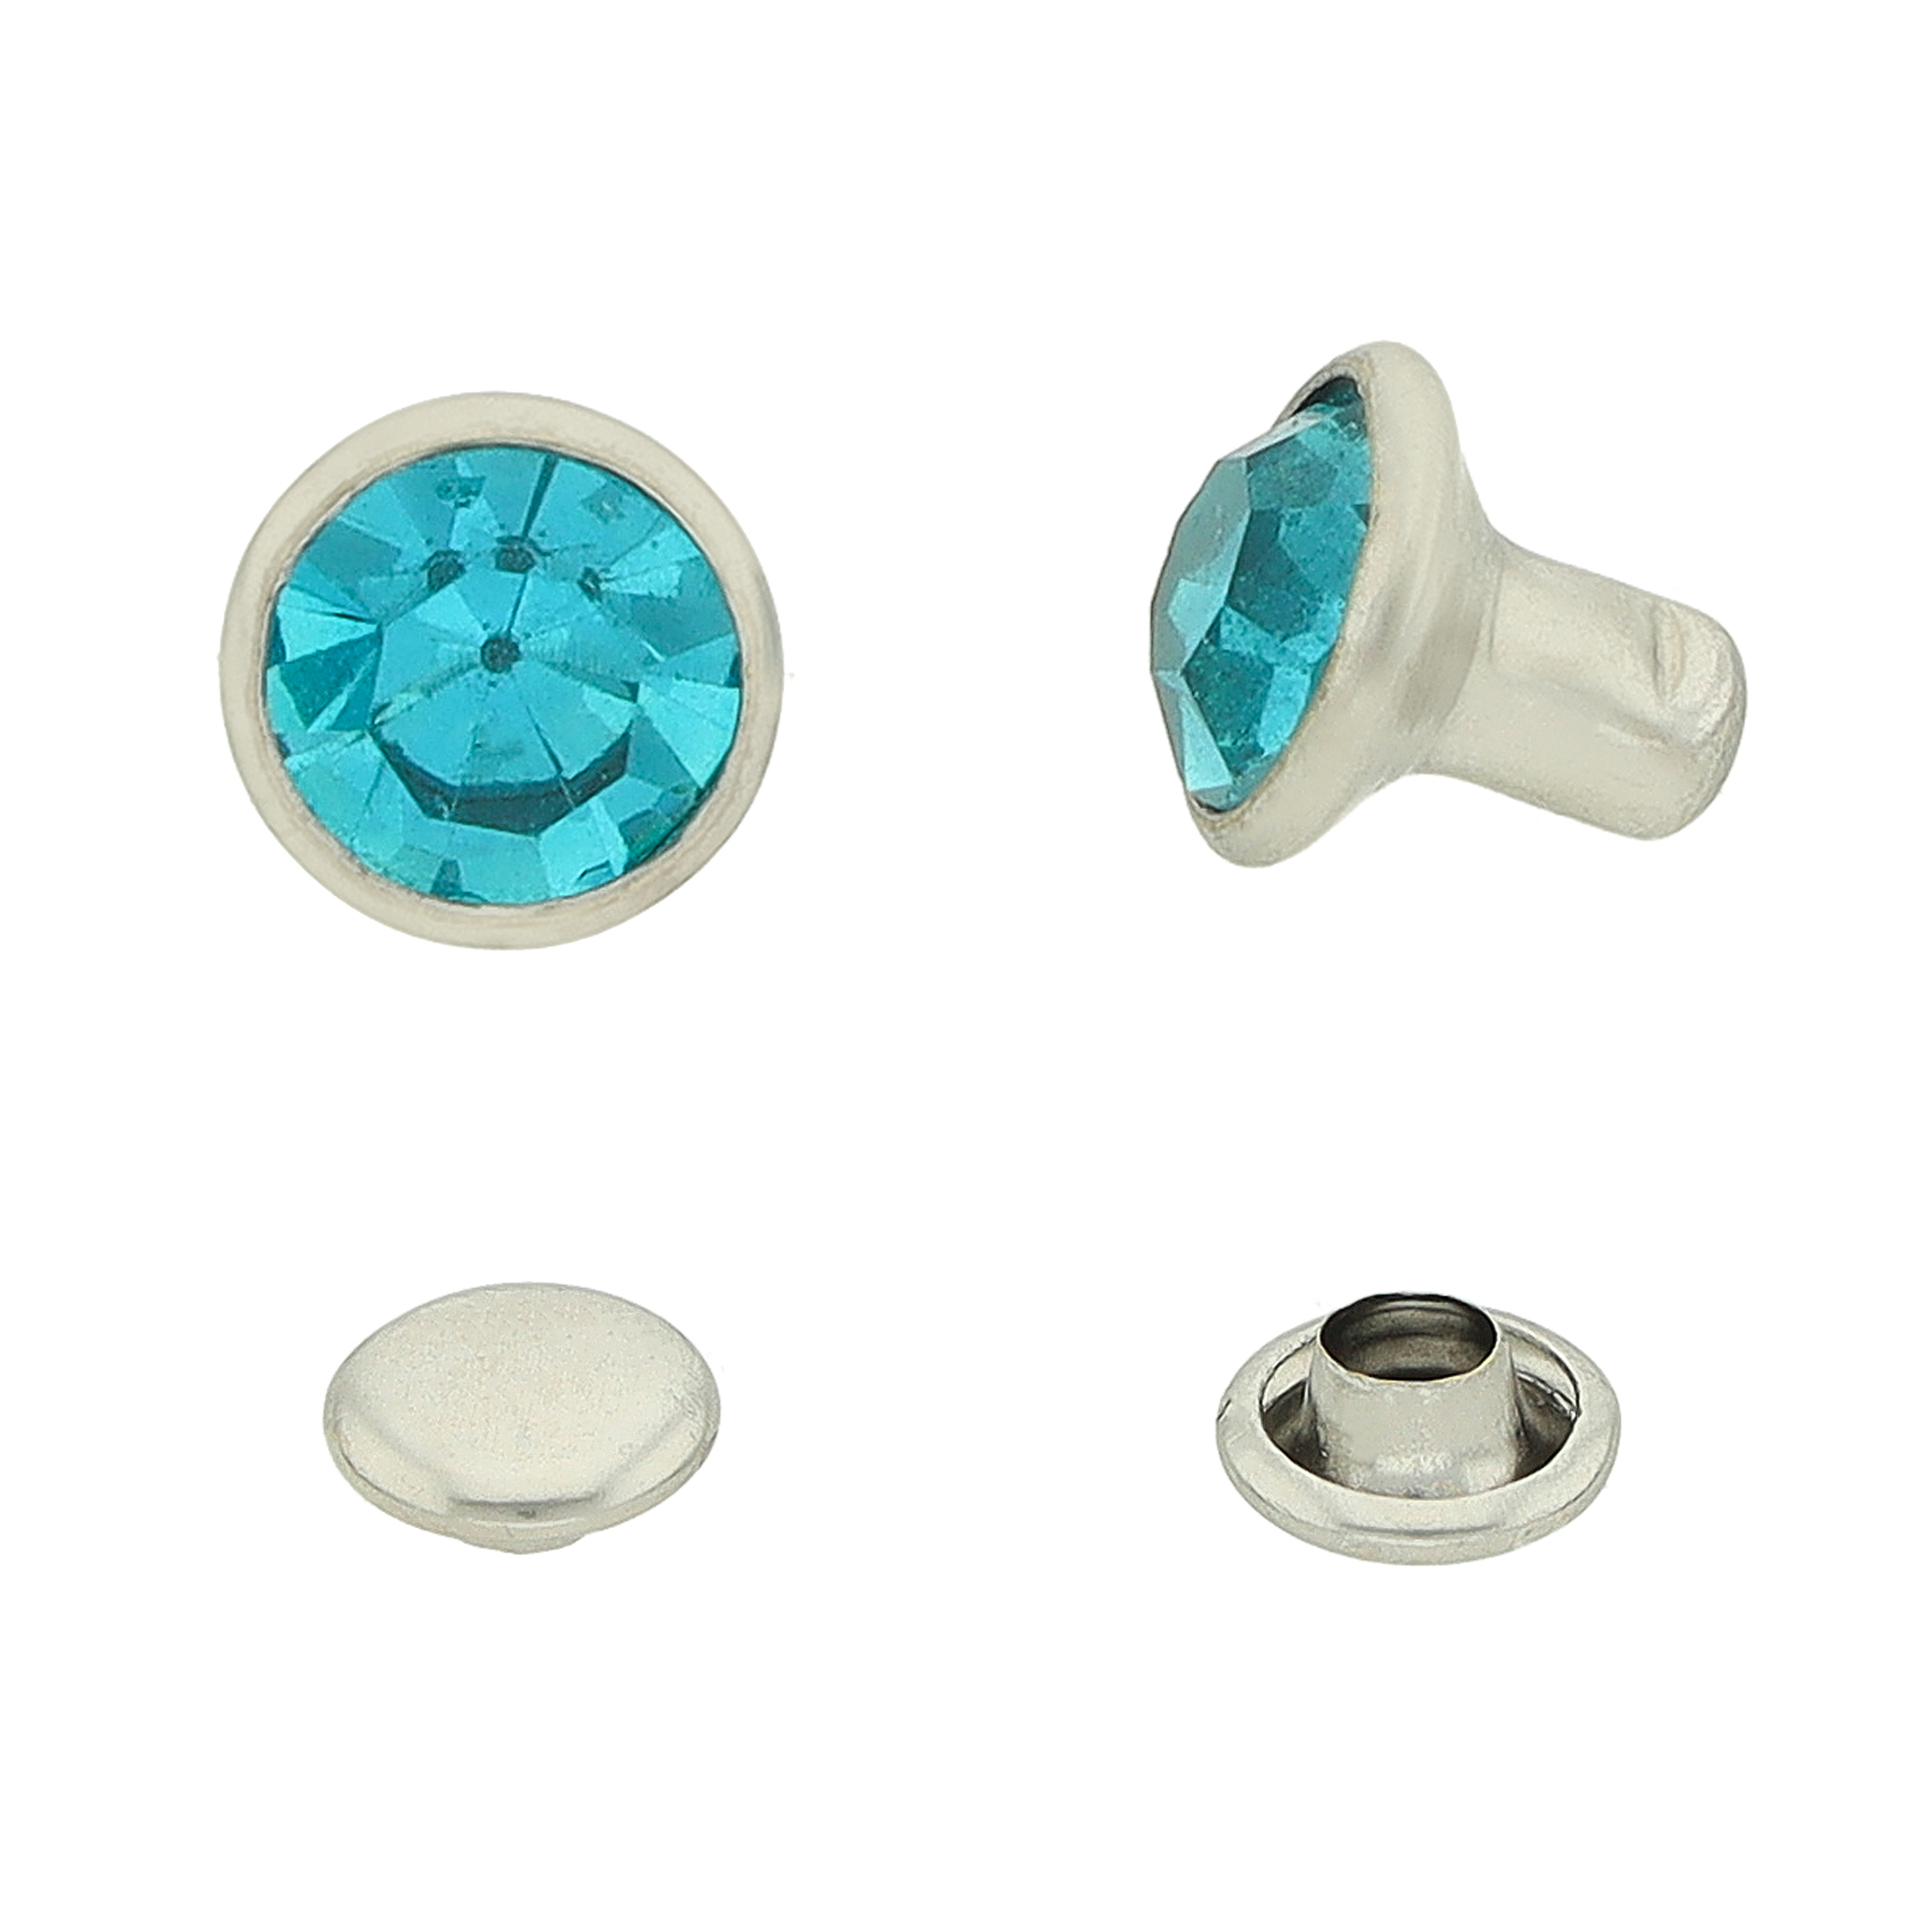
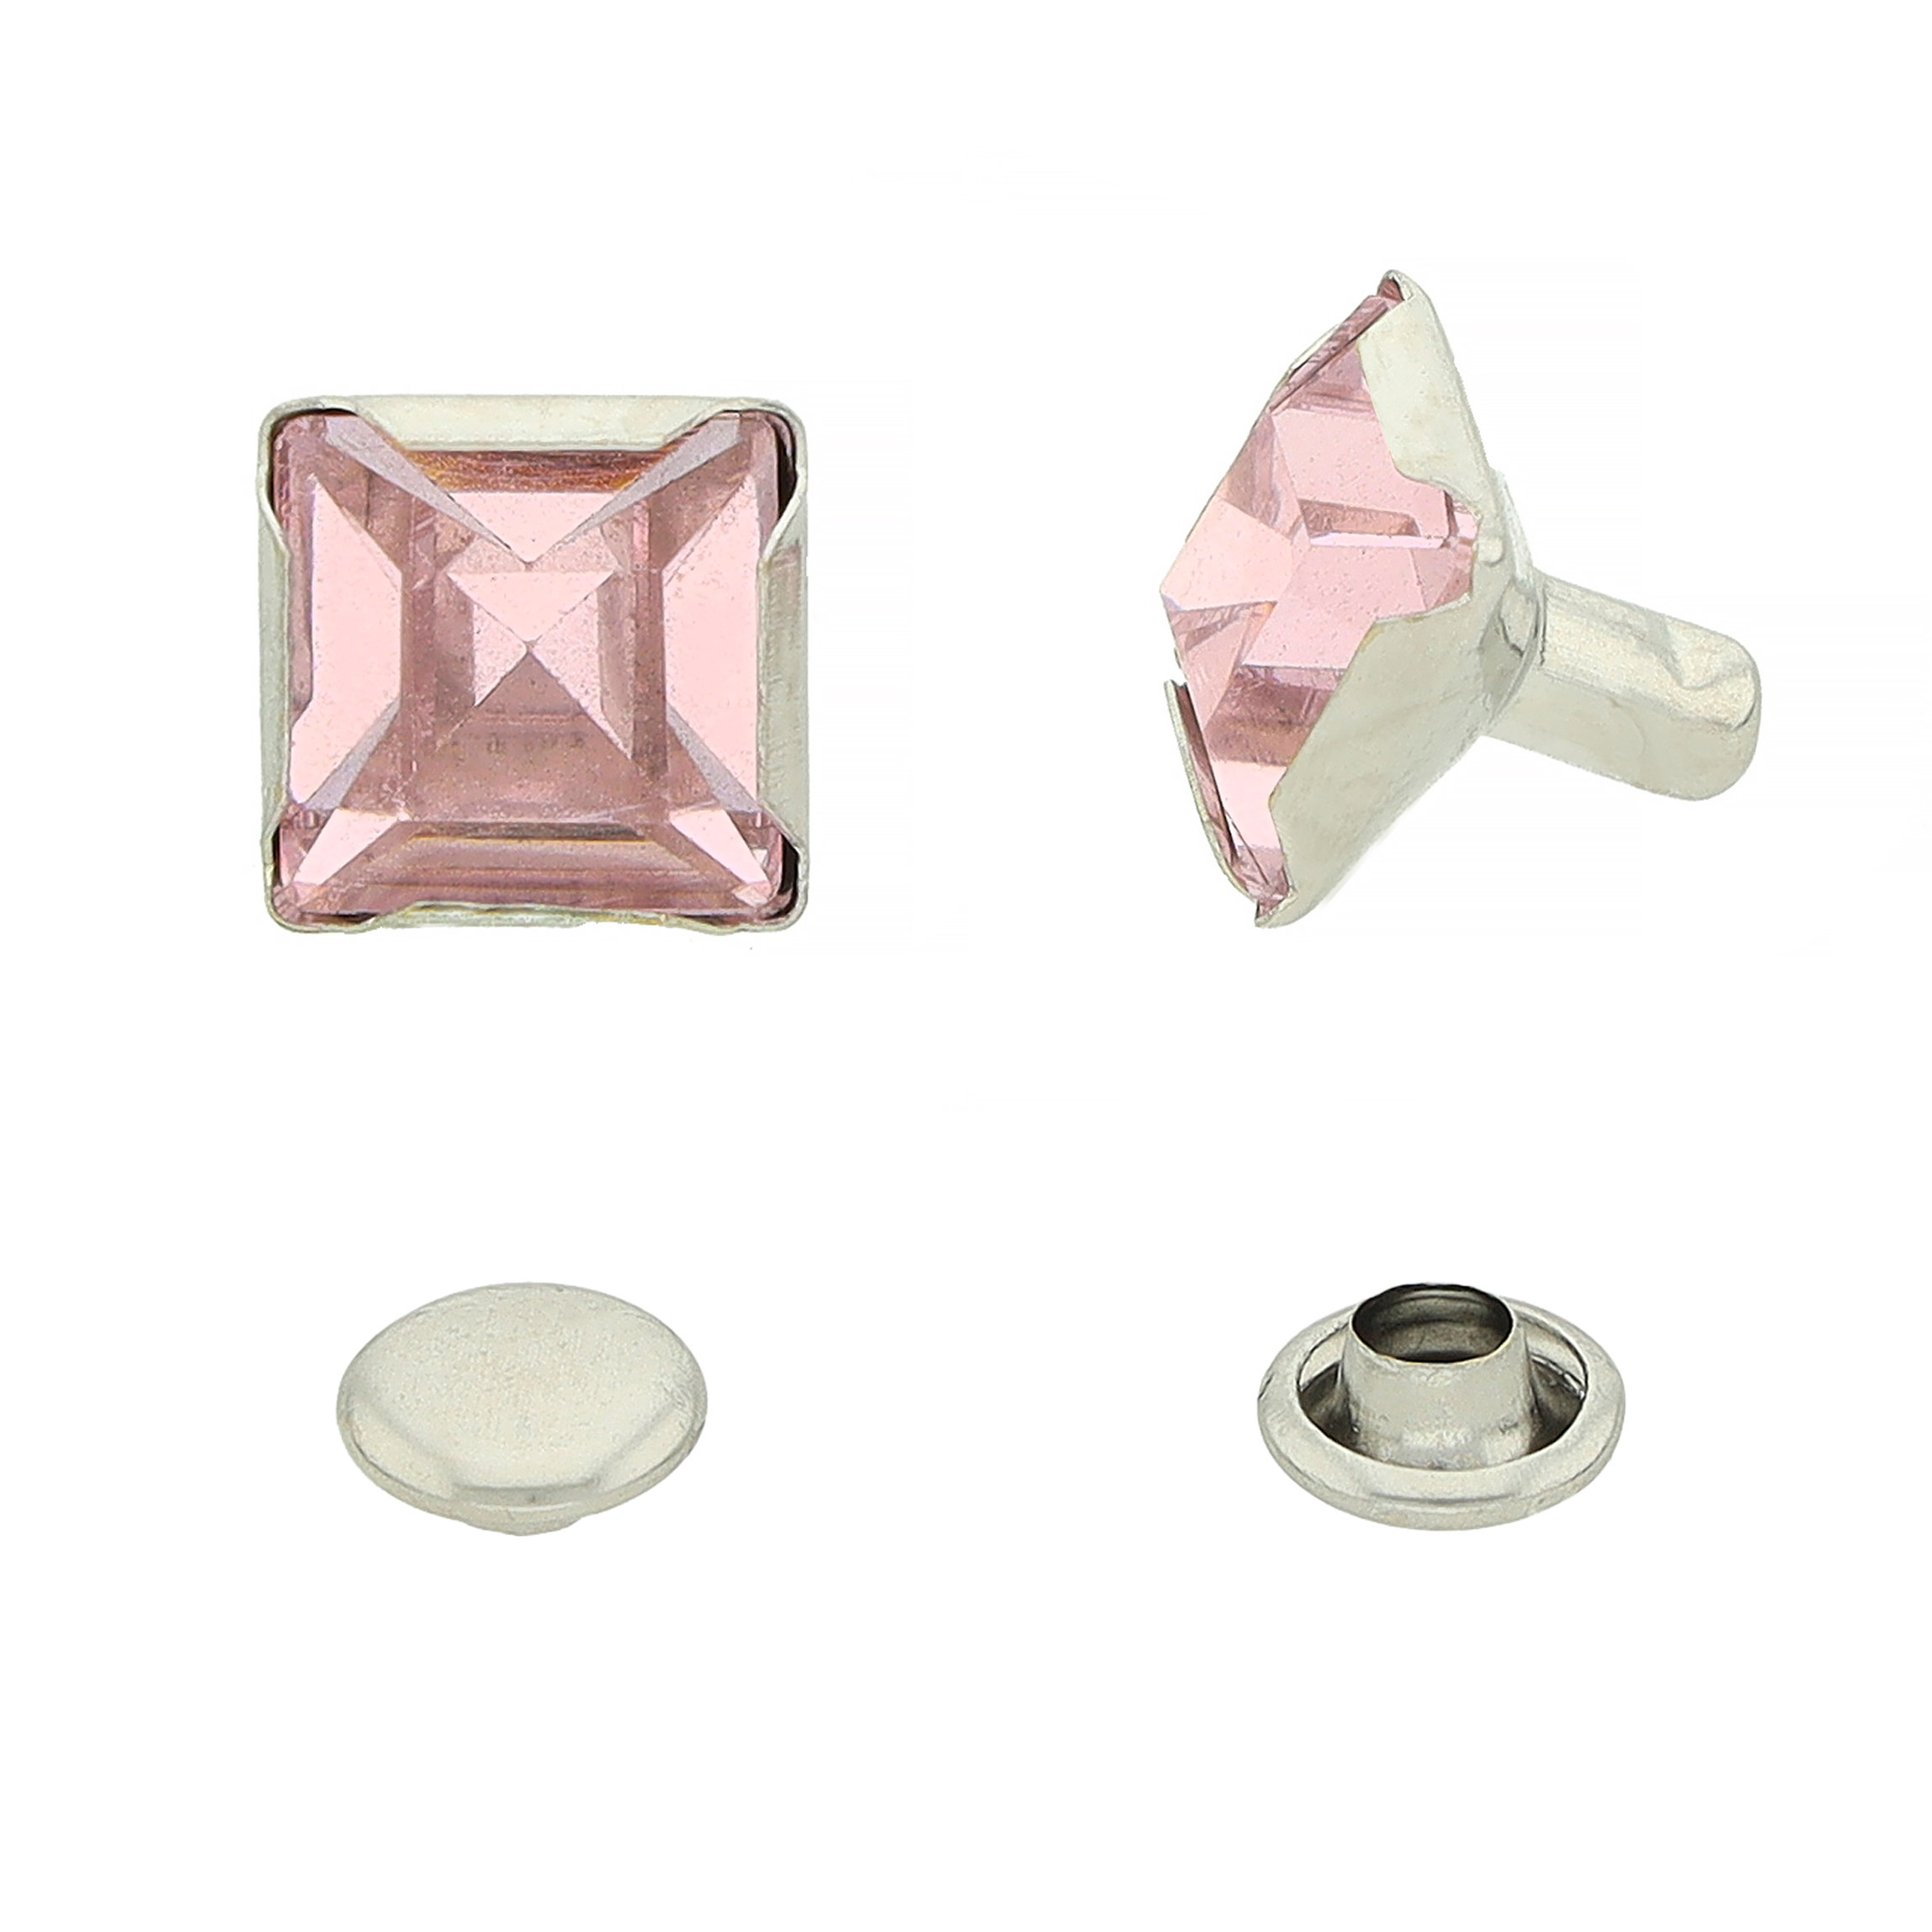
Rhinestone rivets have found their place wherever style matters. Collars, leashes or dog coats? Of course. But also handbags, shoes, belts, and even a jacket or coat that could use a bit of extra sparkle. In short, when something should look good and stand out, a rhinestone is a good choice.
Rhinestone rivets also go well with other decorative pieces:
- snap hooks decorated with rhinestones
- rhinestone collar buckles
- collar charms
- slide charms
- decorative rivets (metal decorative rivets are set on a hard base, see How to Rivet Metal Ornaments to Leather; a rhinestone needs a soft base)
Rhinestone rivets are not built for strength. Their strength is in their looks, not in how much load they take. Do not put them to work under tension: better not attach a buckle or a D-ring with them. That goes for mini collars for Chihuahuas too, because they also deserve a reliable joint.
What you need to set rhinestone rivets
1. A rhinestone rivet
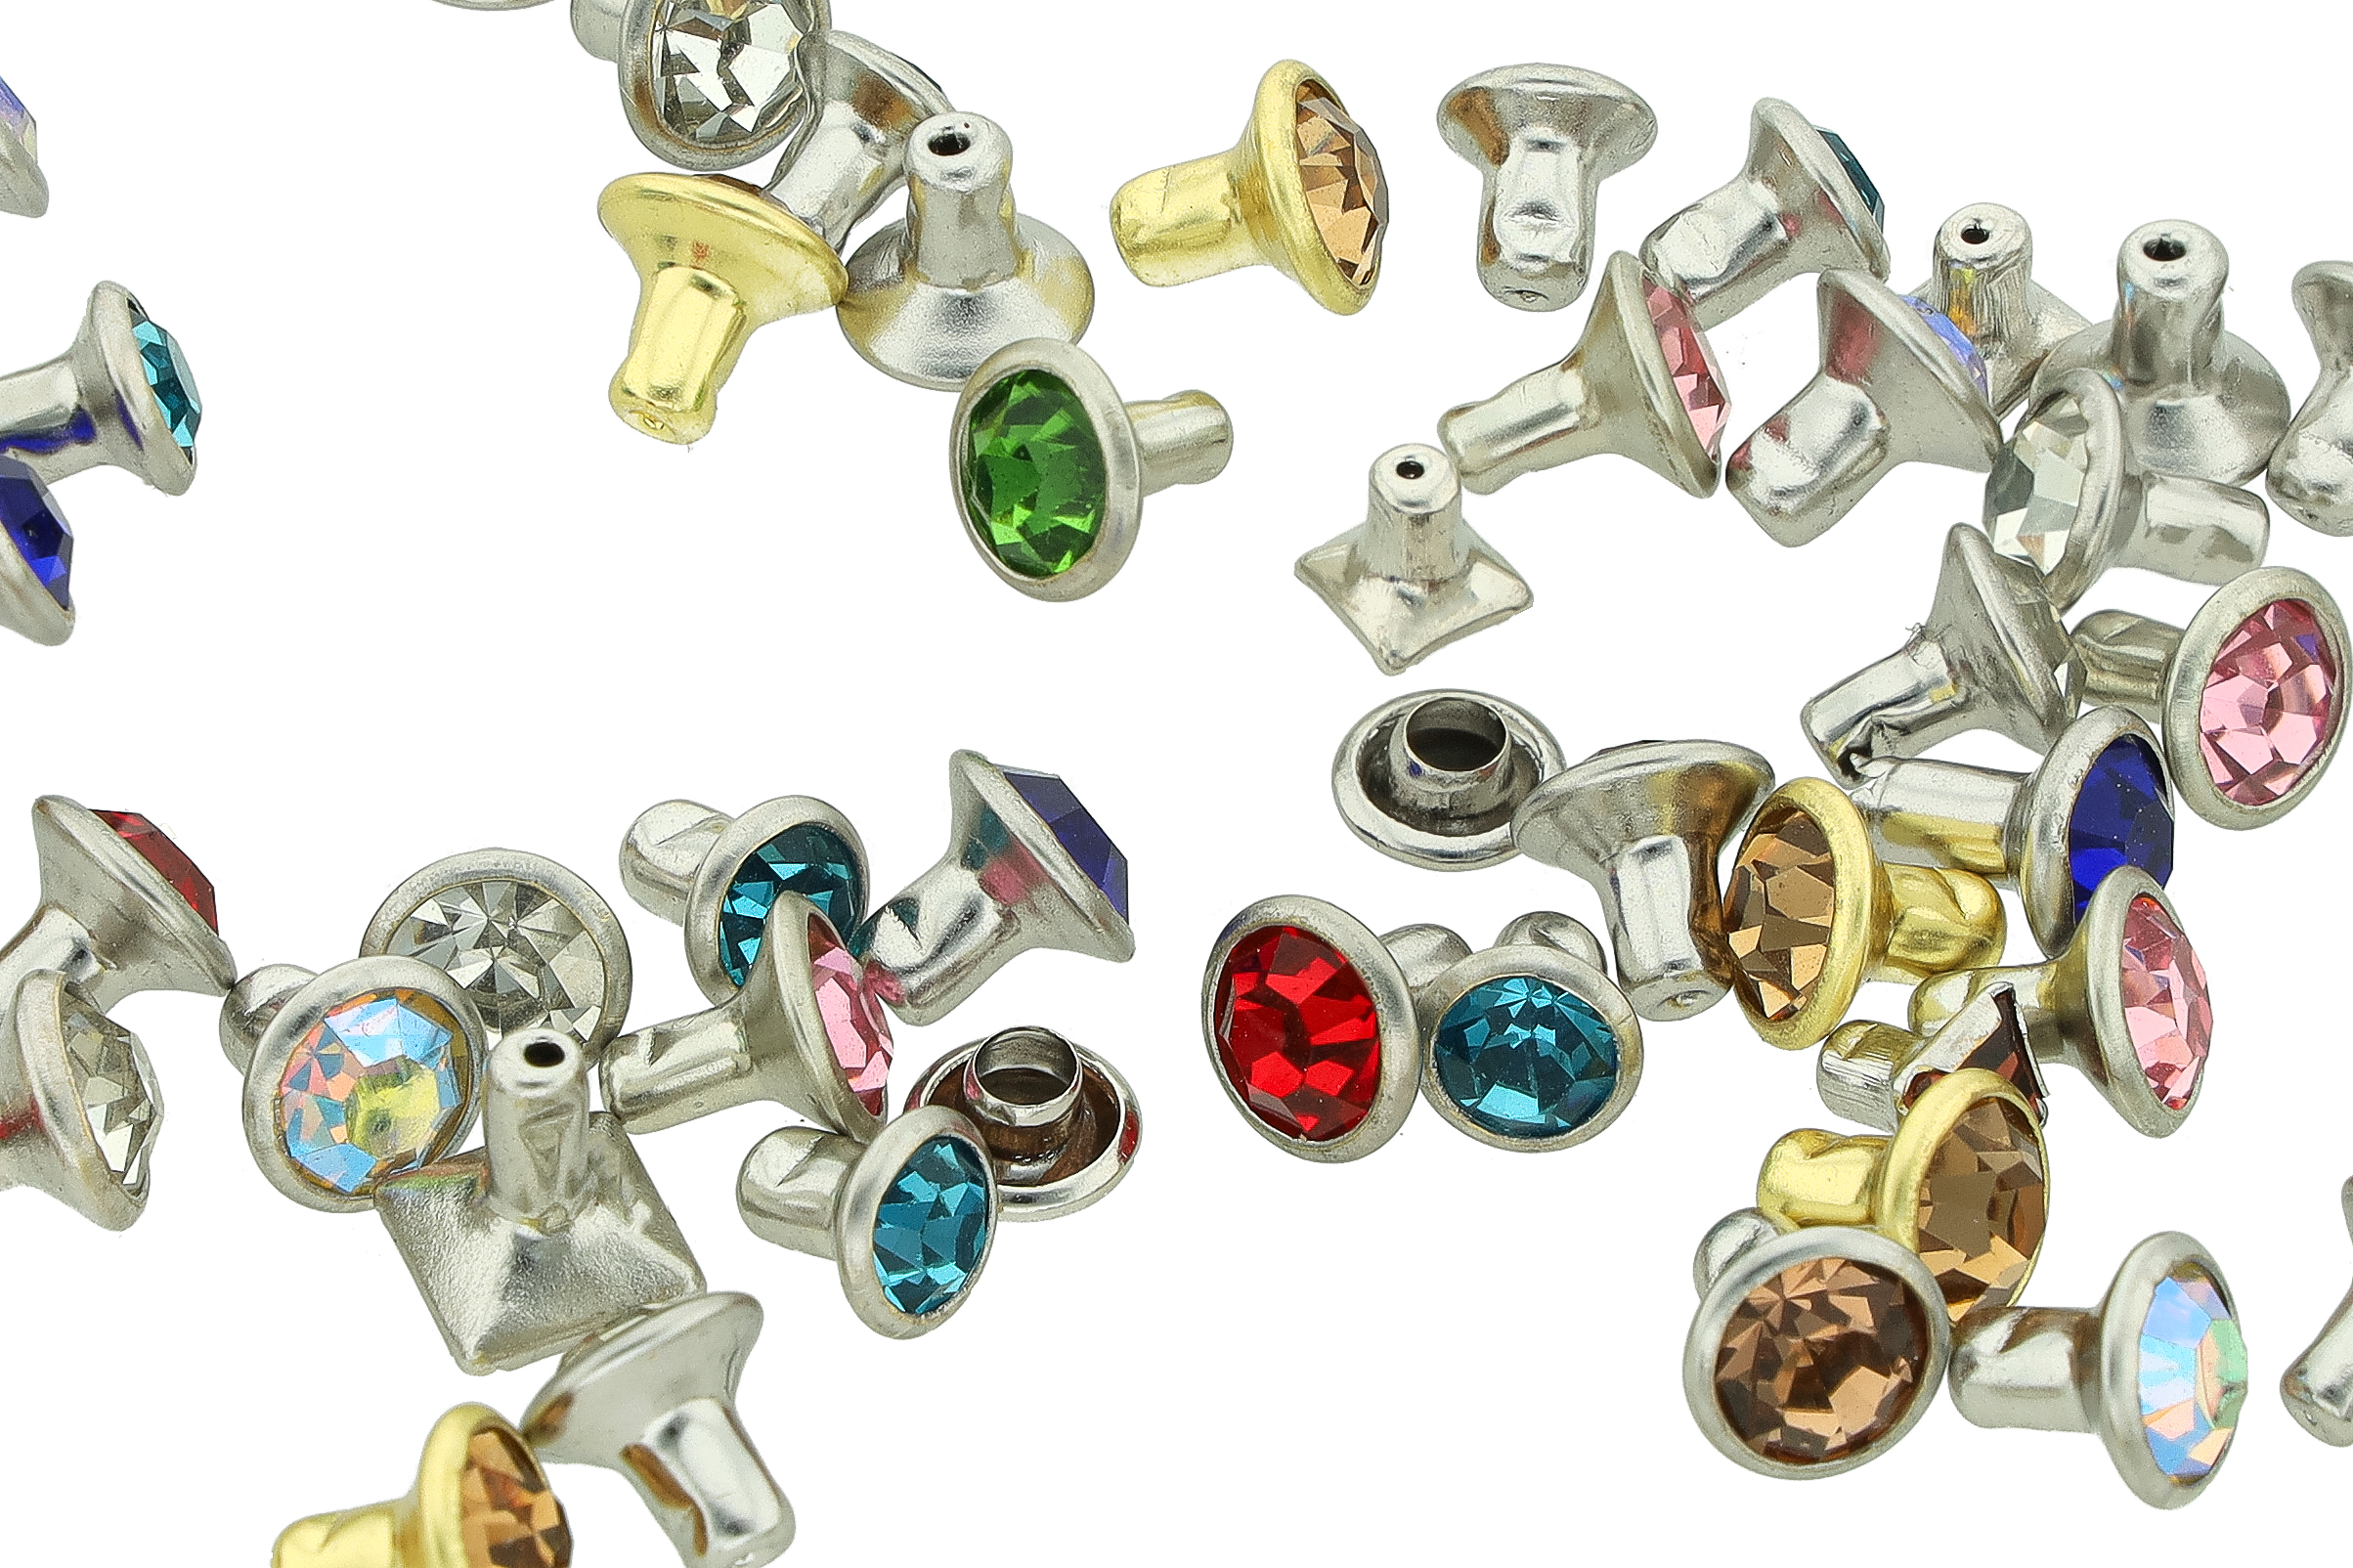
Choose a rhinestone rivet by shape, stone size and color. And watch out here: the post must be 2–3 mm longer than the thickness of all the layers you are riveting. Otherwise it will not hold, or you will not be able to set it fully.
2. A hole punch
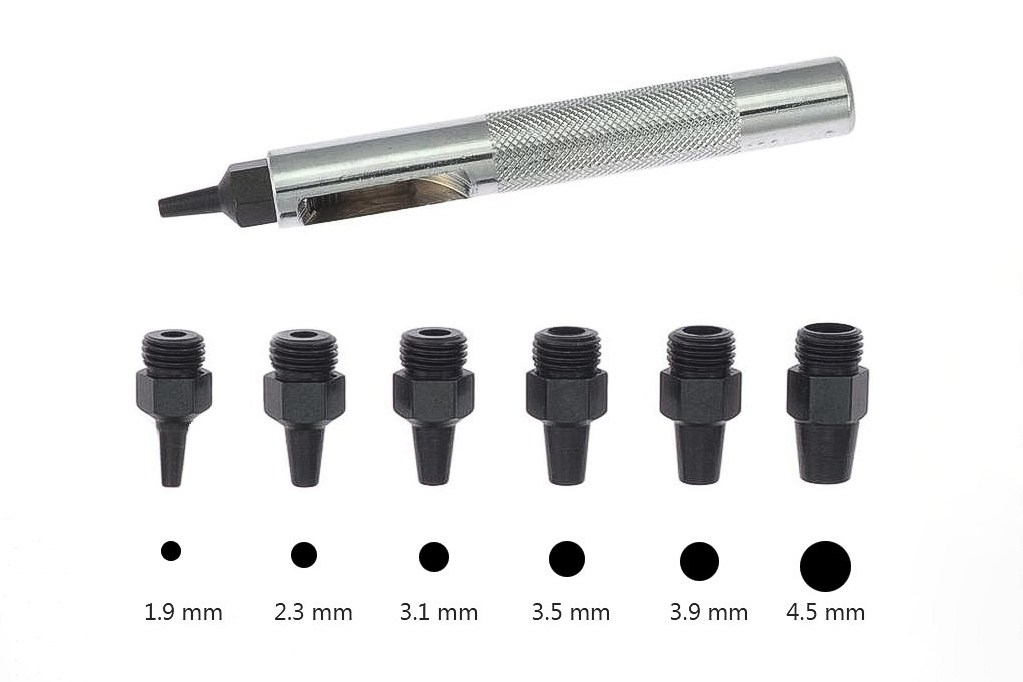
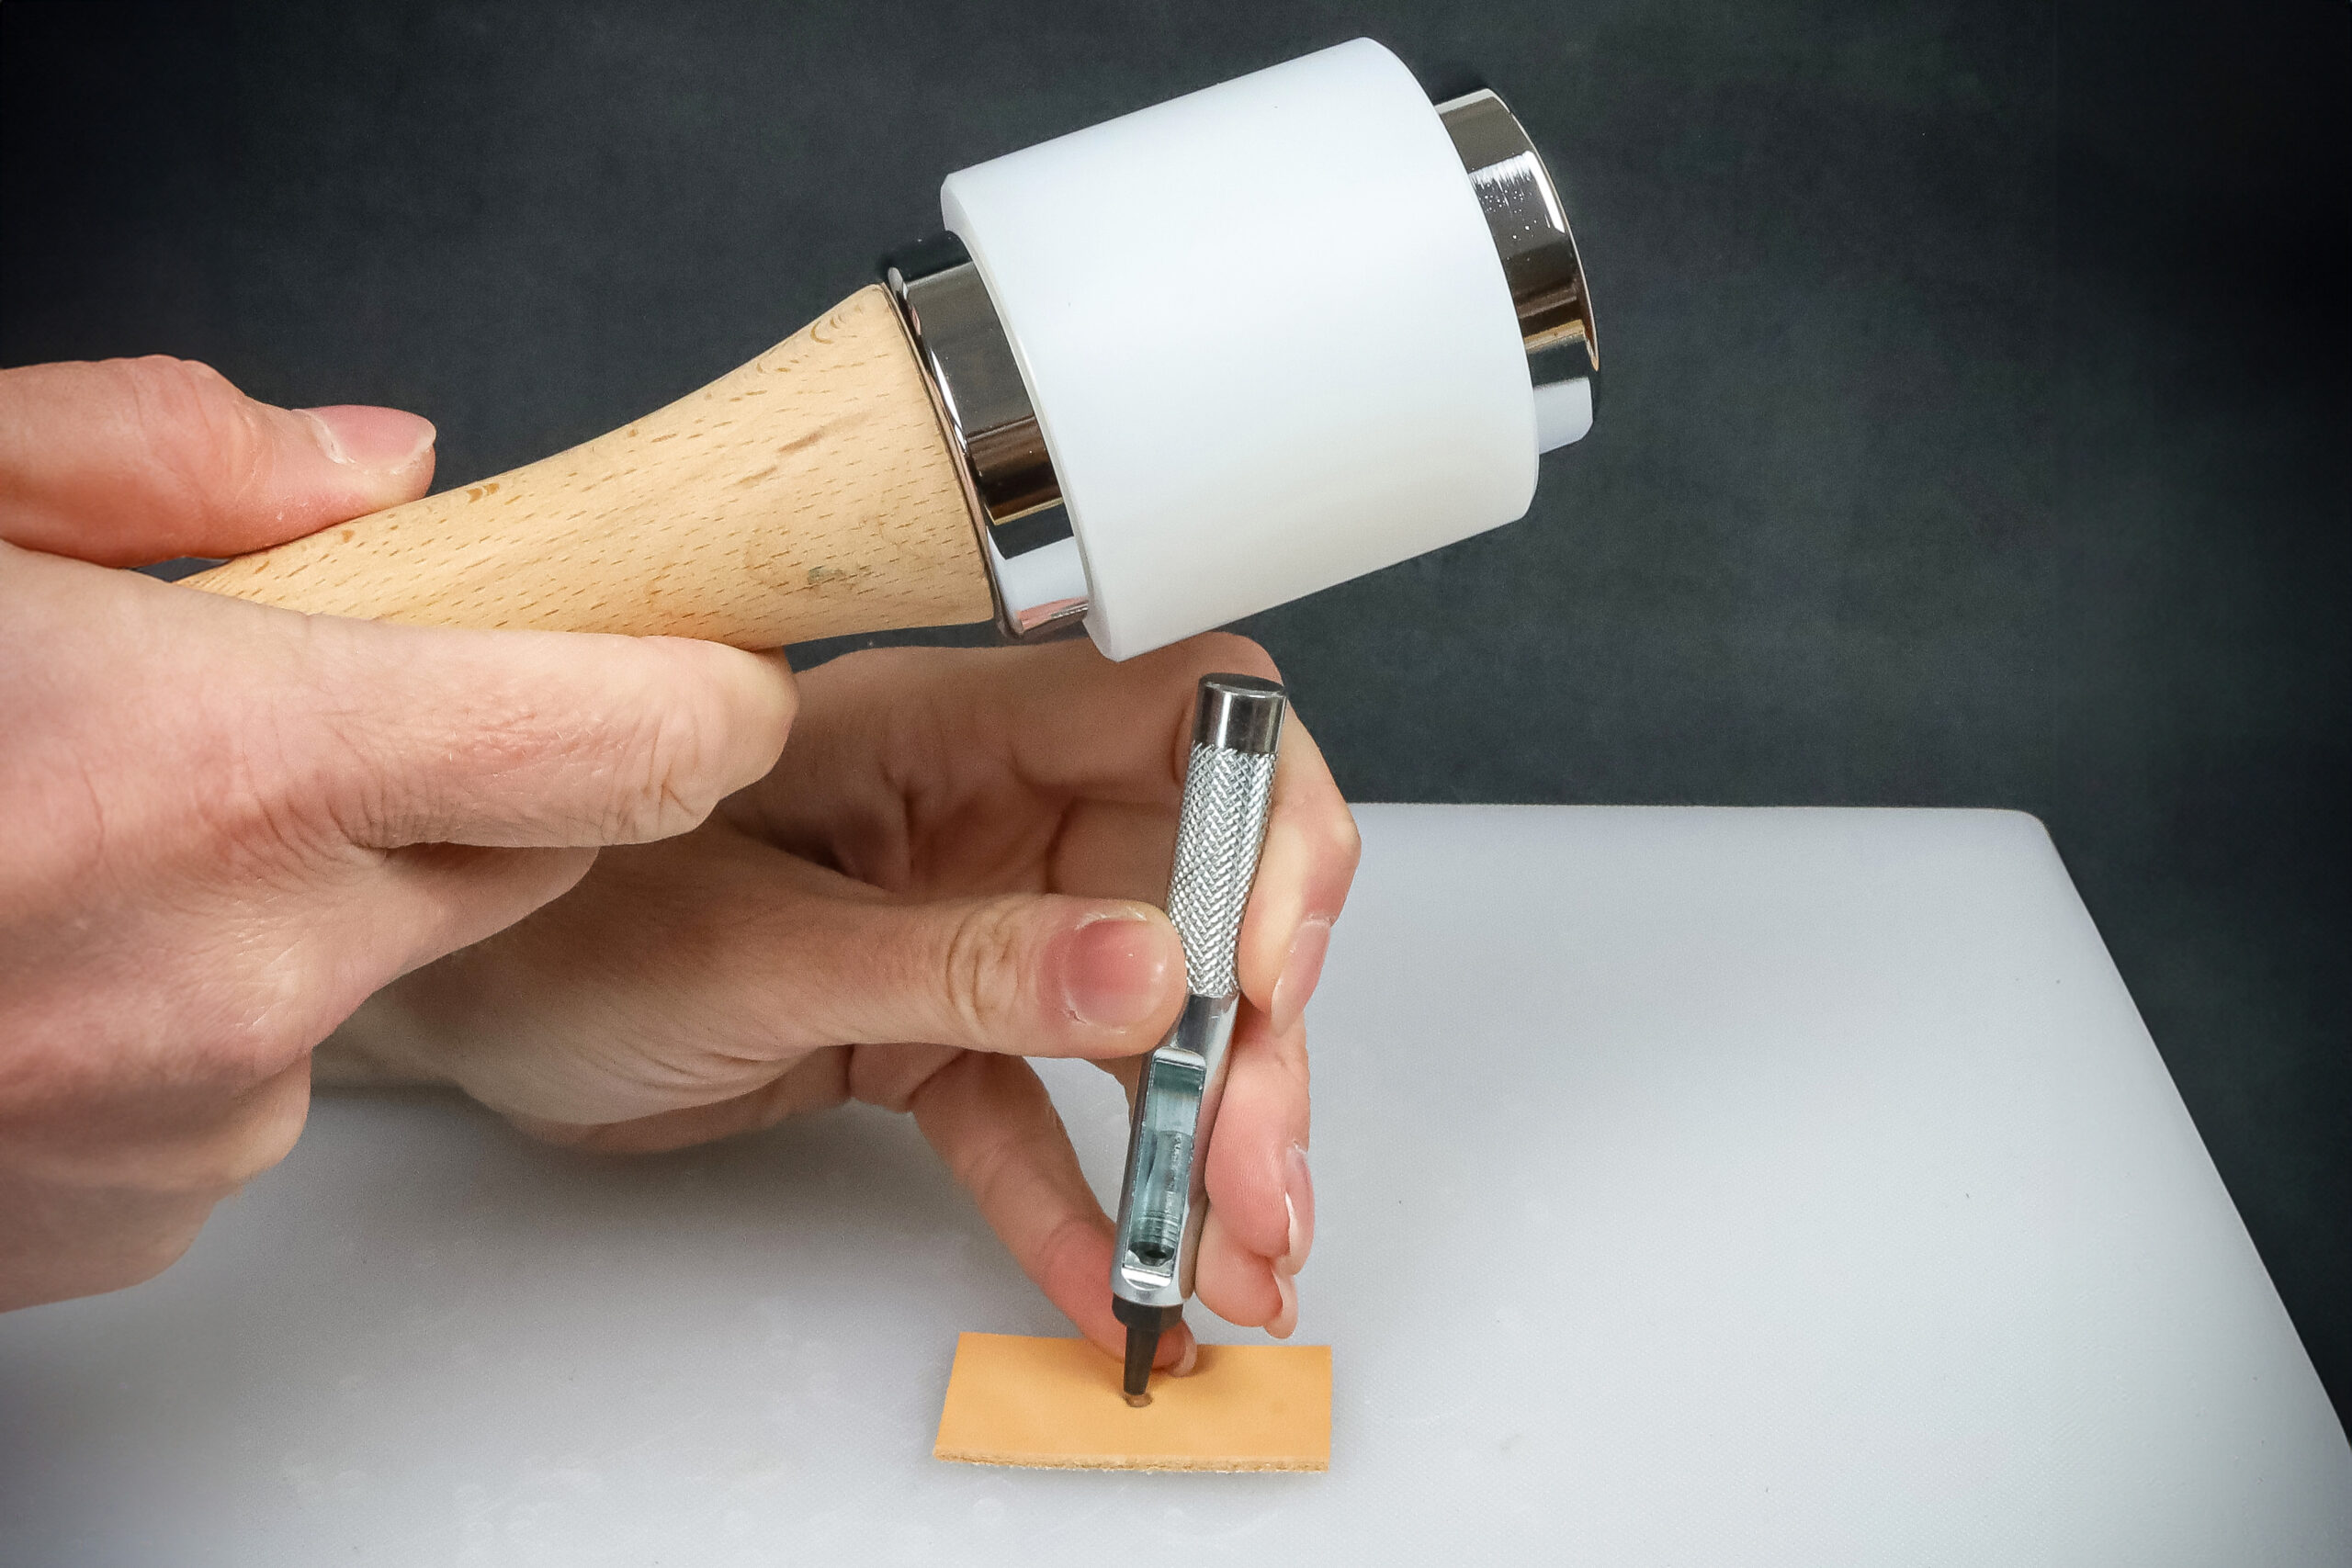
Before you set the rhinestone, prepare the hole. A round hole punch works best. You can use a single drive punch, a set with interchangeable punch tips, or a punch tip fitted into a press with an adapter. And do not worry: a 2.5 mm hole is usually enough, so you do not need to buy a whole set right away.
3. Tools for setting rhinestone rivets
How do you get a rhinestone rivet in place safely and without damage? There are several options, and none of them is wrong. It depends on what you have at hand, what you plan to make and what material you are riveting. Here is a short overview:
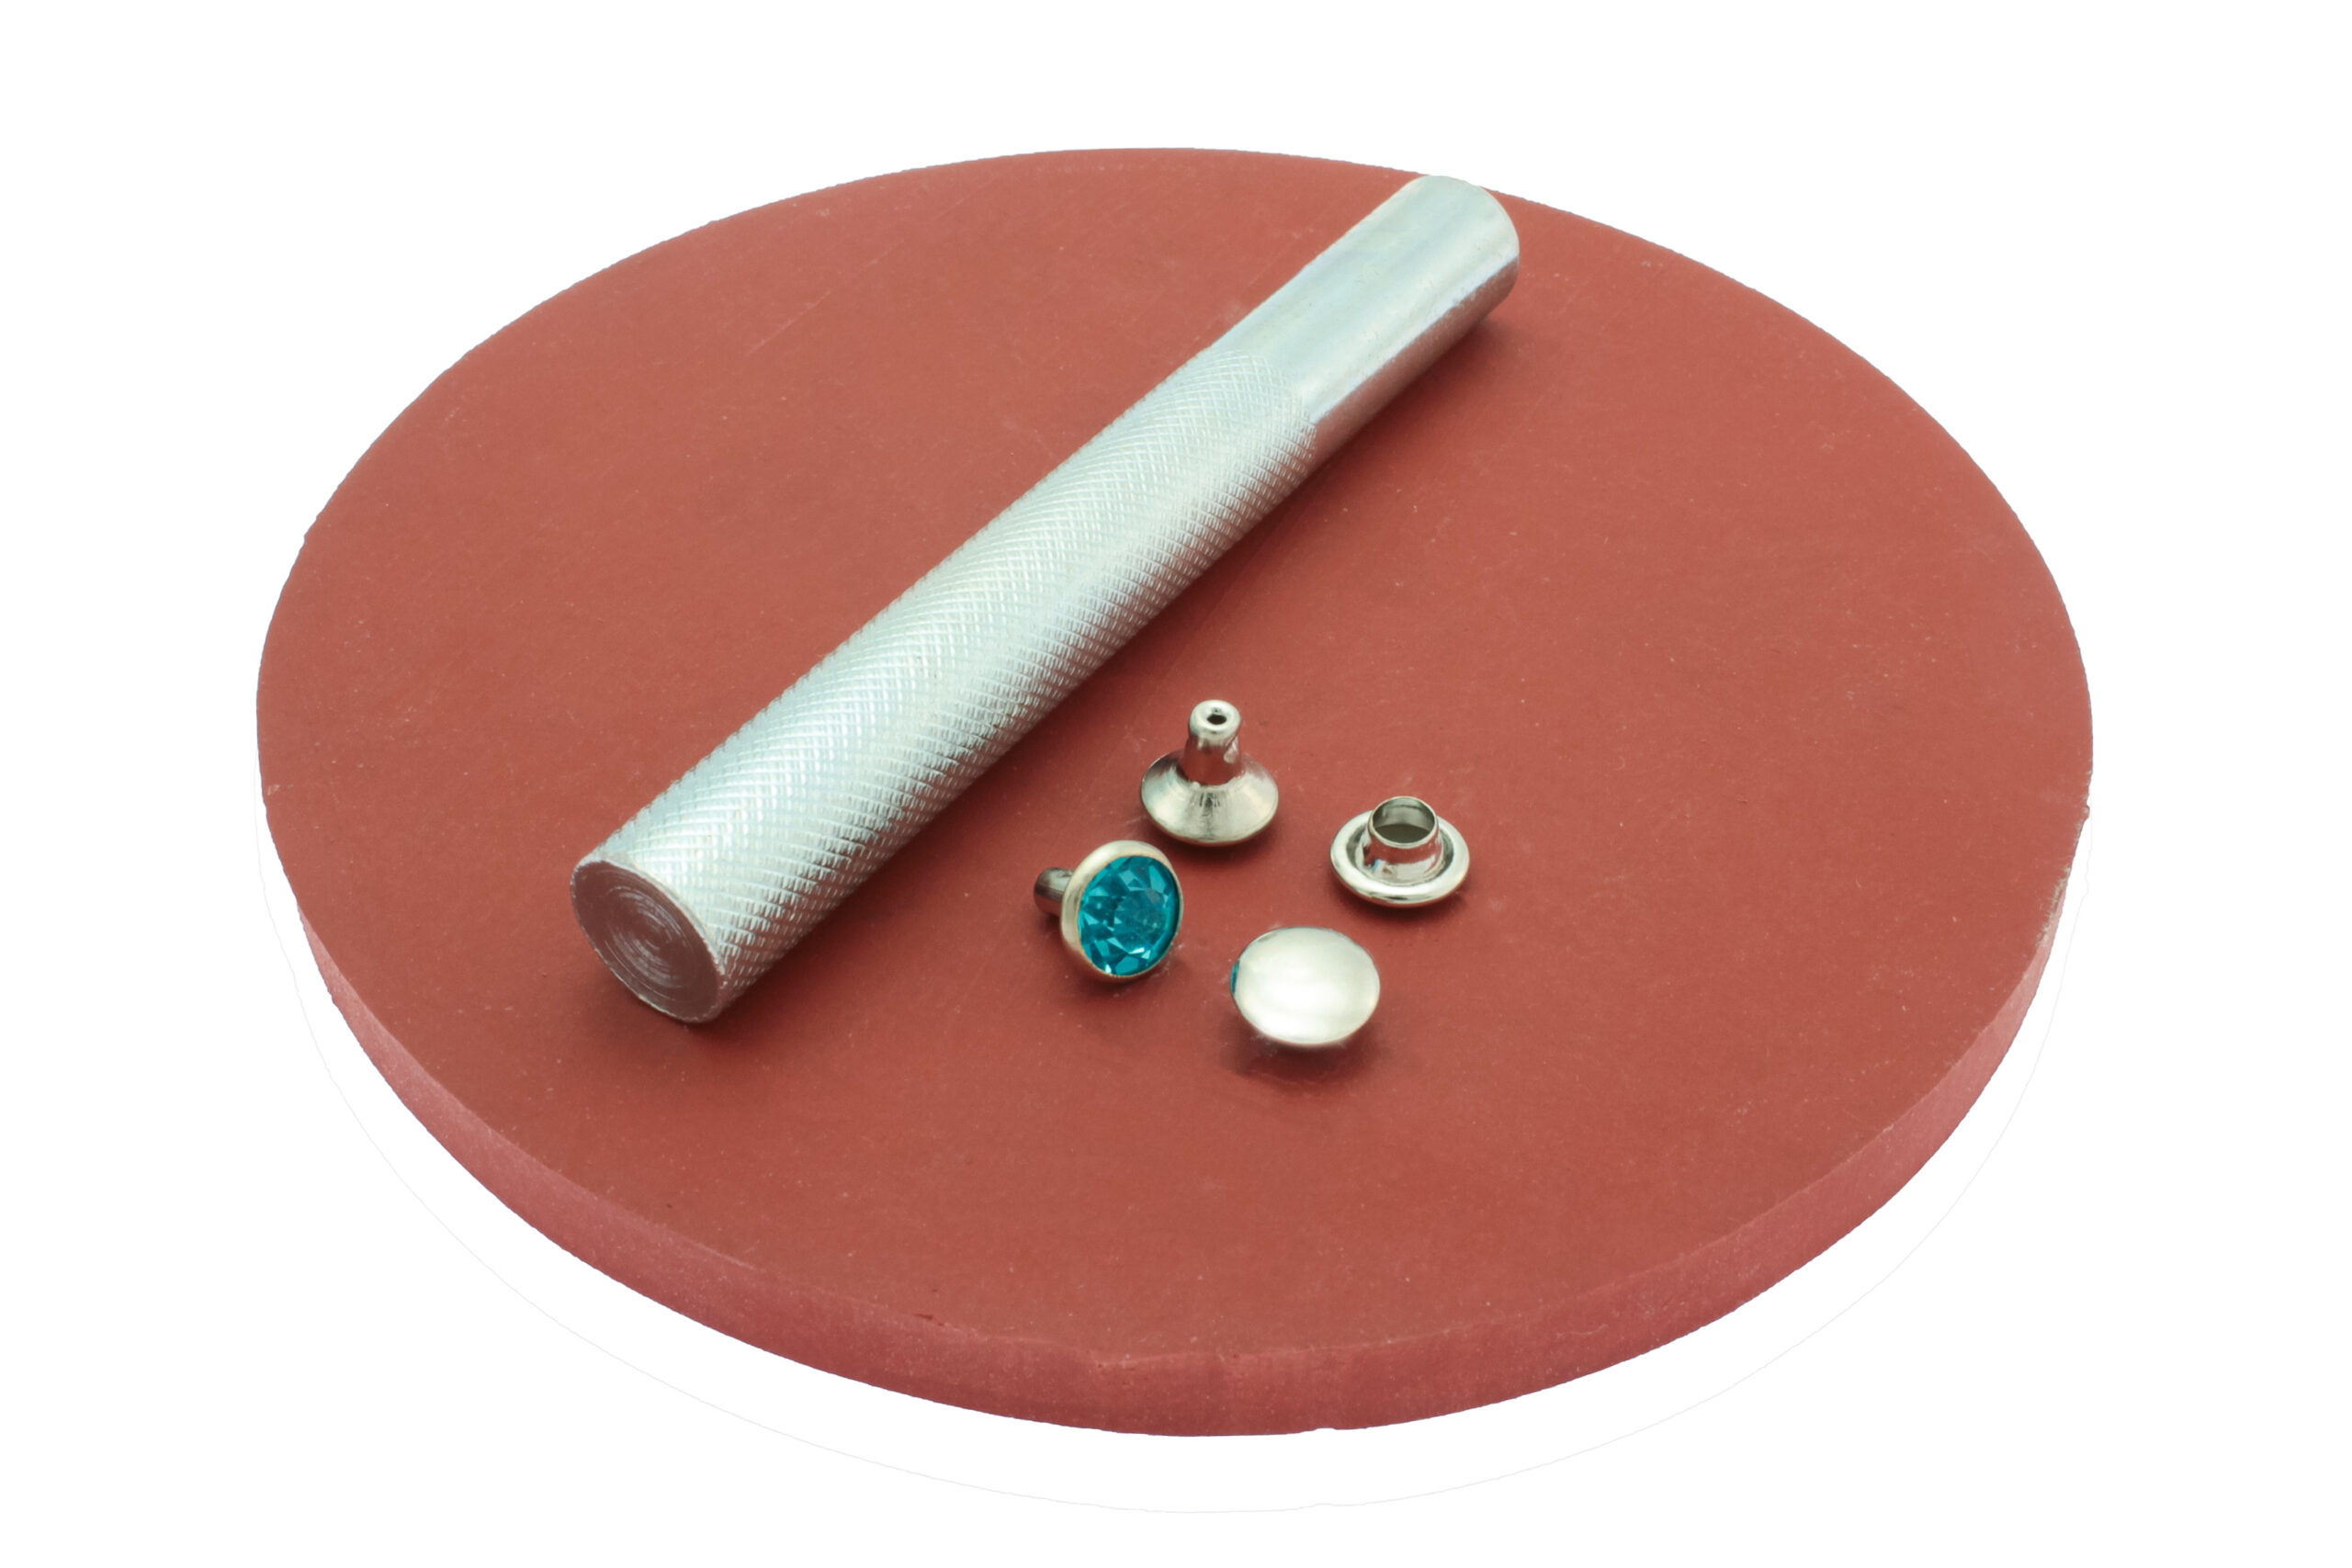
a. A hand setting kit with a rubber pad: a good fit for hobbyists and smaller workshops. Simple, affordable, it does the job. Nothing to overthink.
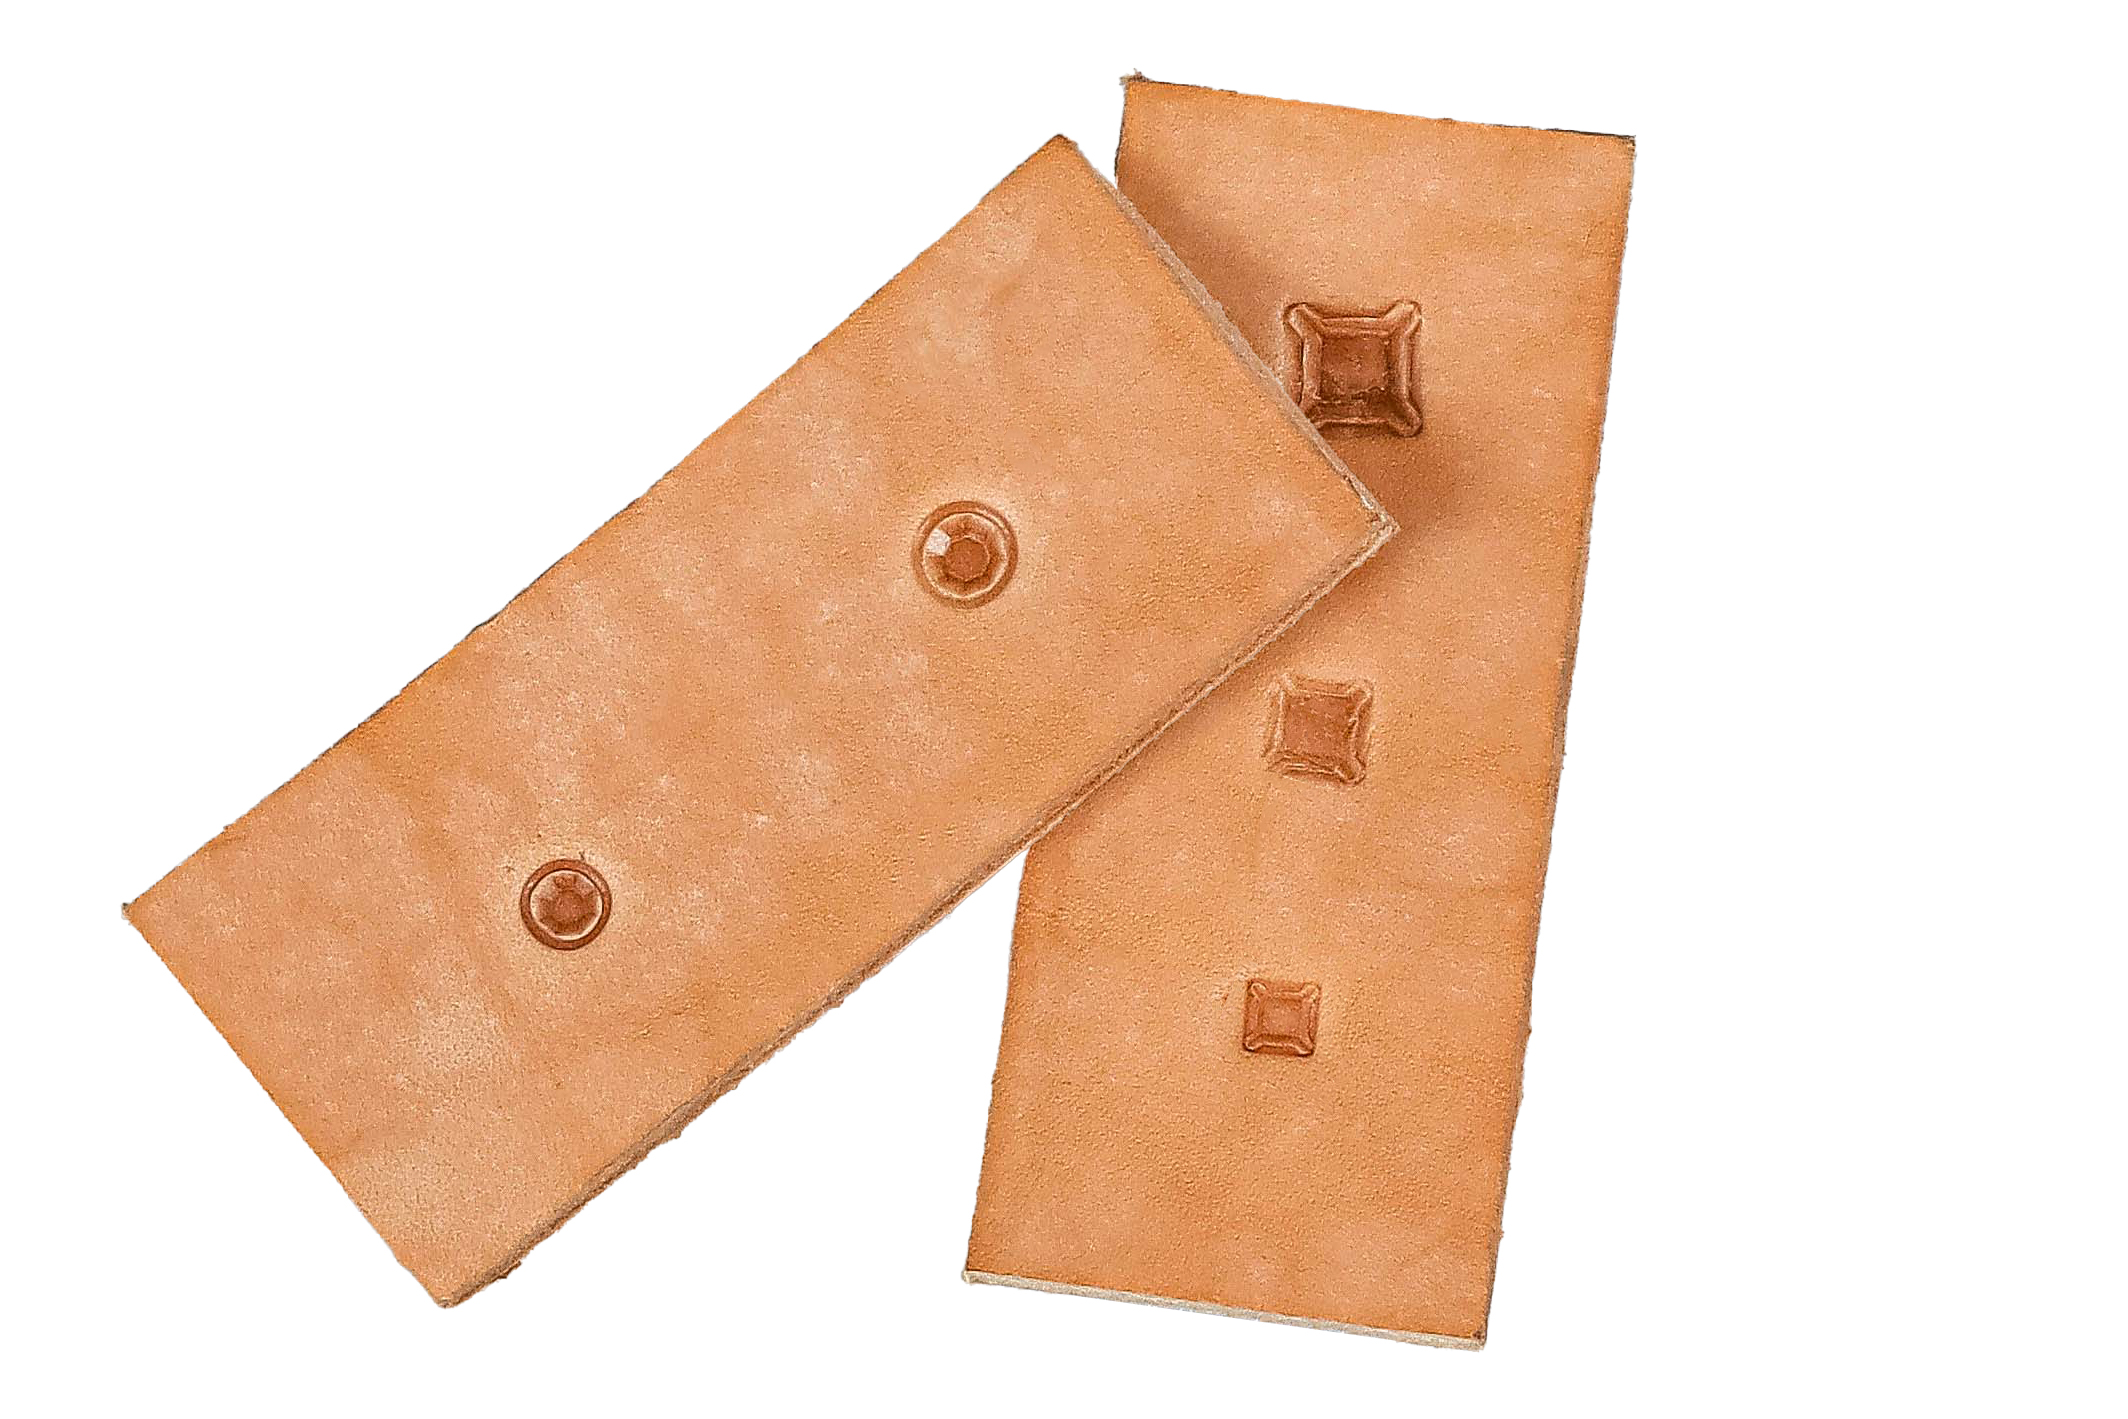
b. Your own leather die: a great choice for square rhinestones or when you do not have the right die for the press. The leather die holds the rhinestone in place and protects it from cracking. Smart and gentle.
c. A hand press with a die: if you are serious about it and rivet often, a press is the way to go. Accurate, repeatable, neat. And your hands will thank you.
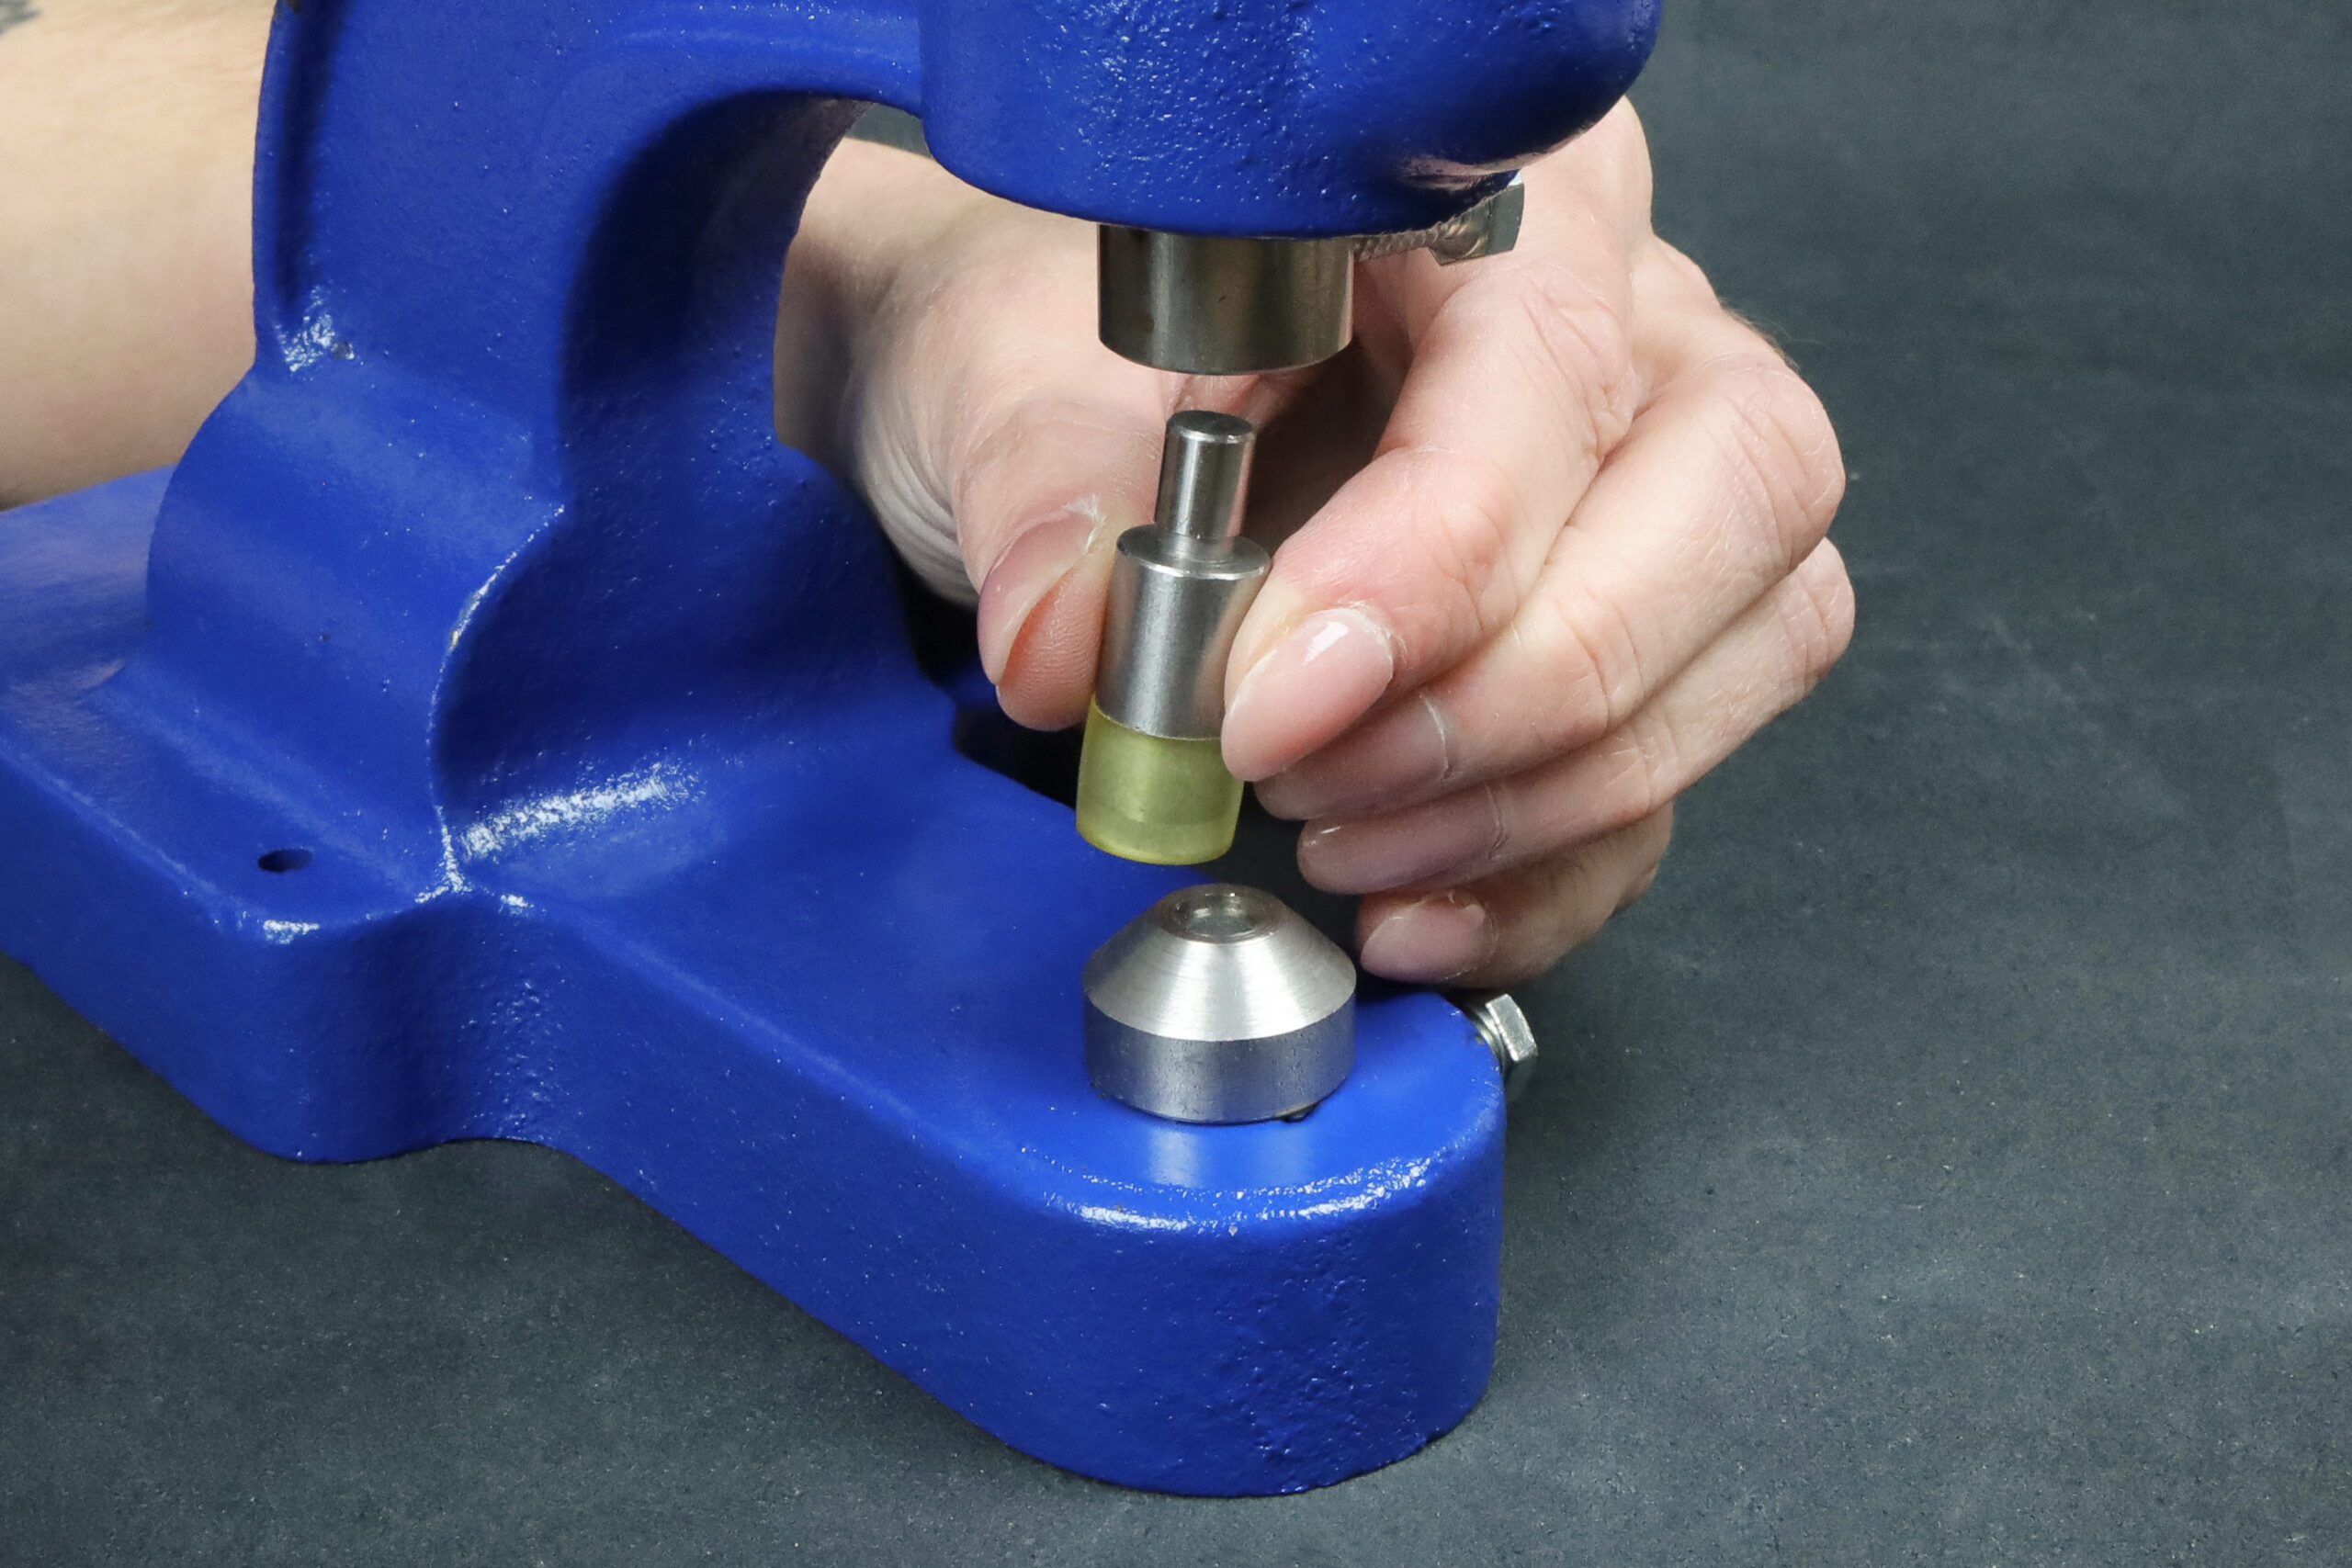
Setting by hand with a setting kit
Step by step
- Start by punching a hole in the material, with a diameter that matches the post.
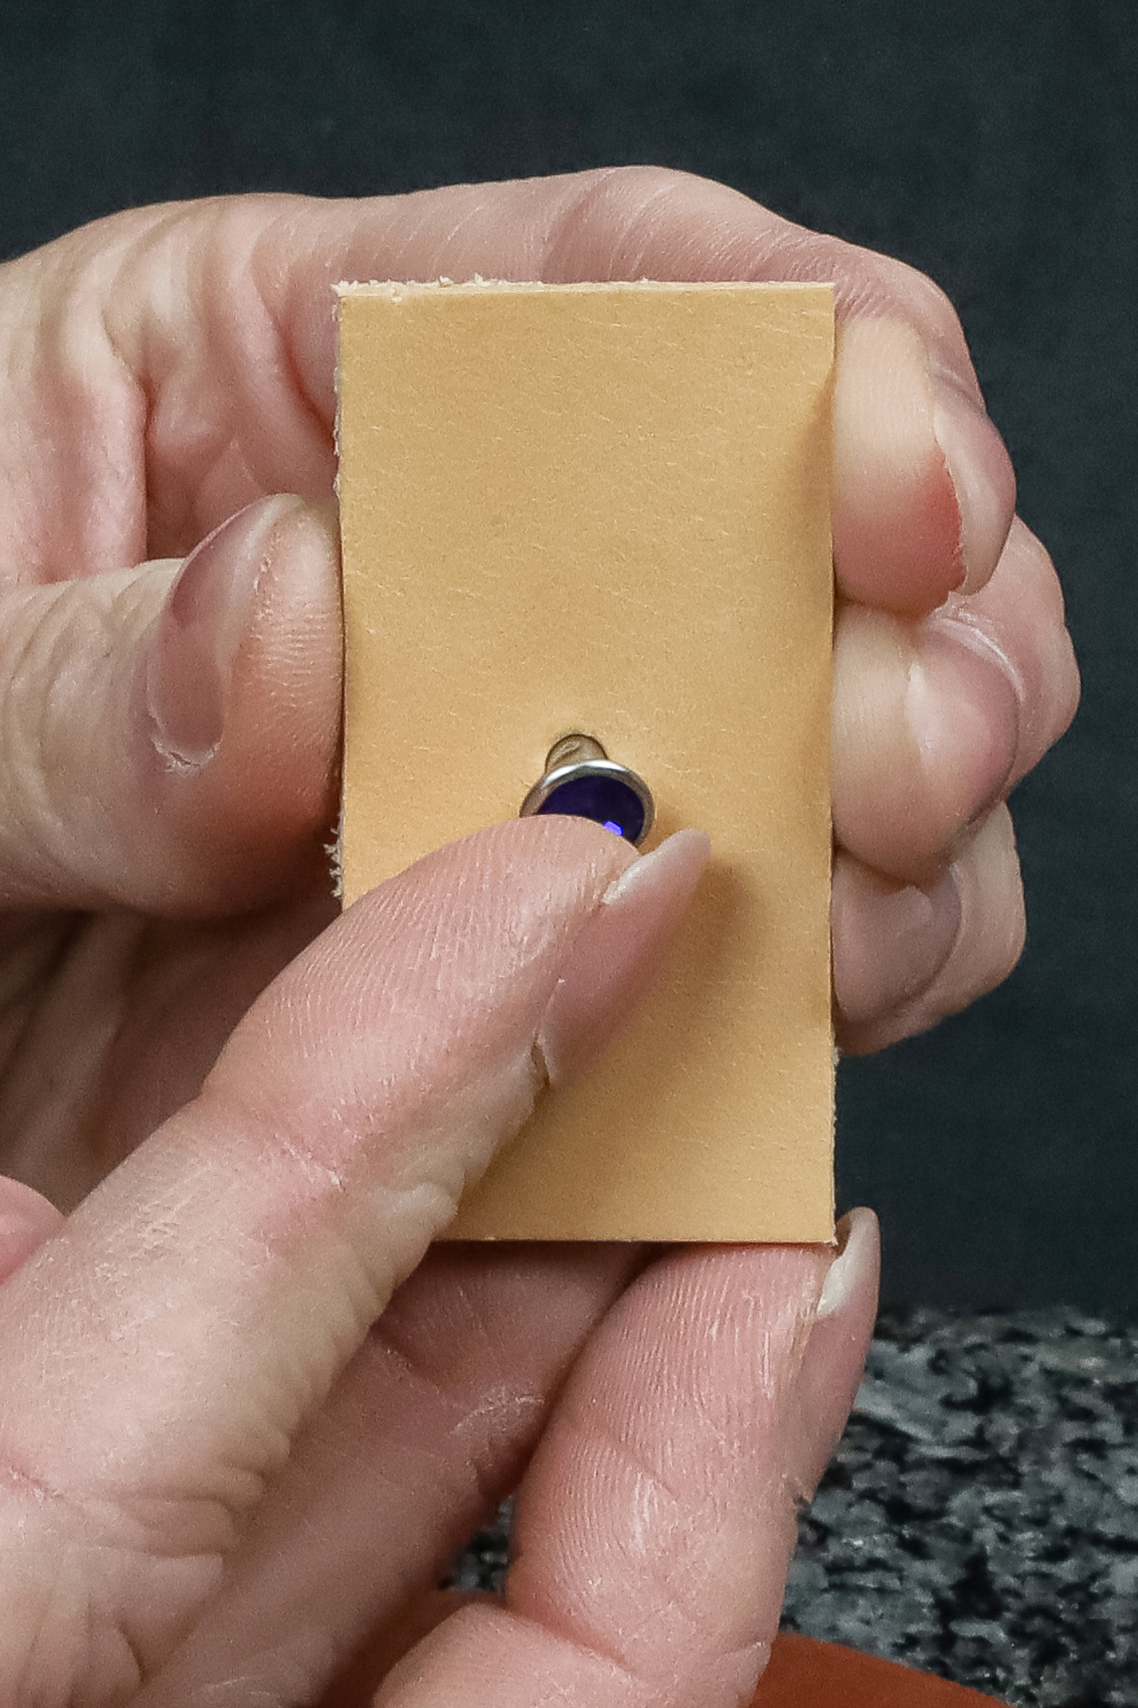
- Insert the top part with the rhinestone from the front: the stone should sit neatly in the center of the hole.
- From the back, add the bottom part, the so-called cap.
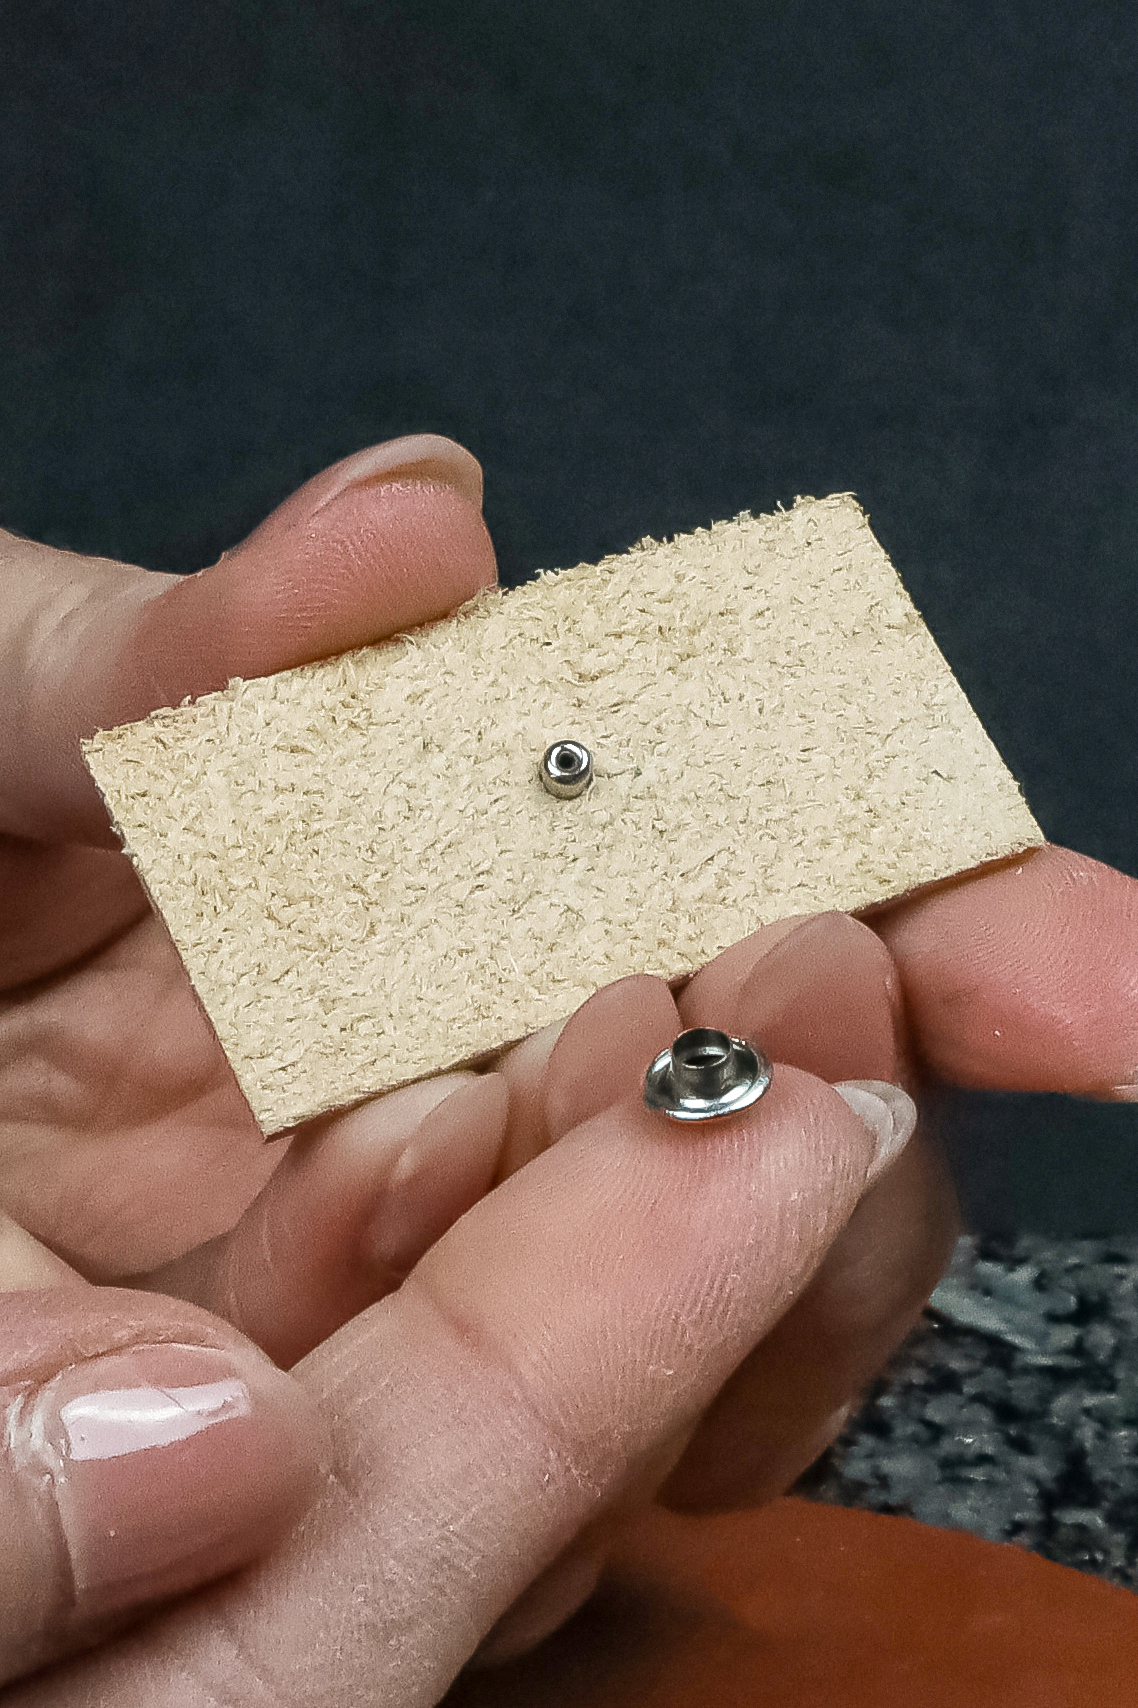
- Place the whole assembly on the rubber pad, rhinestone down, straight, no tilting.
- Put the setter on the cap and set the rivet with several small but firm blows of the mallet. The pad holds the rhinestone and keeps it from being damaged.
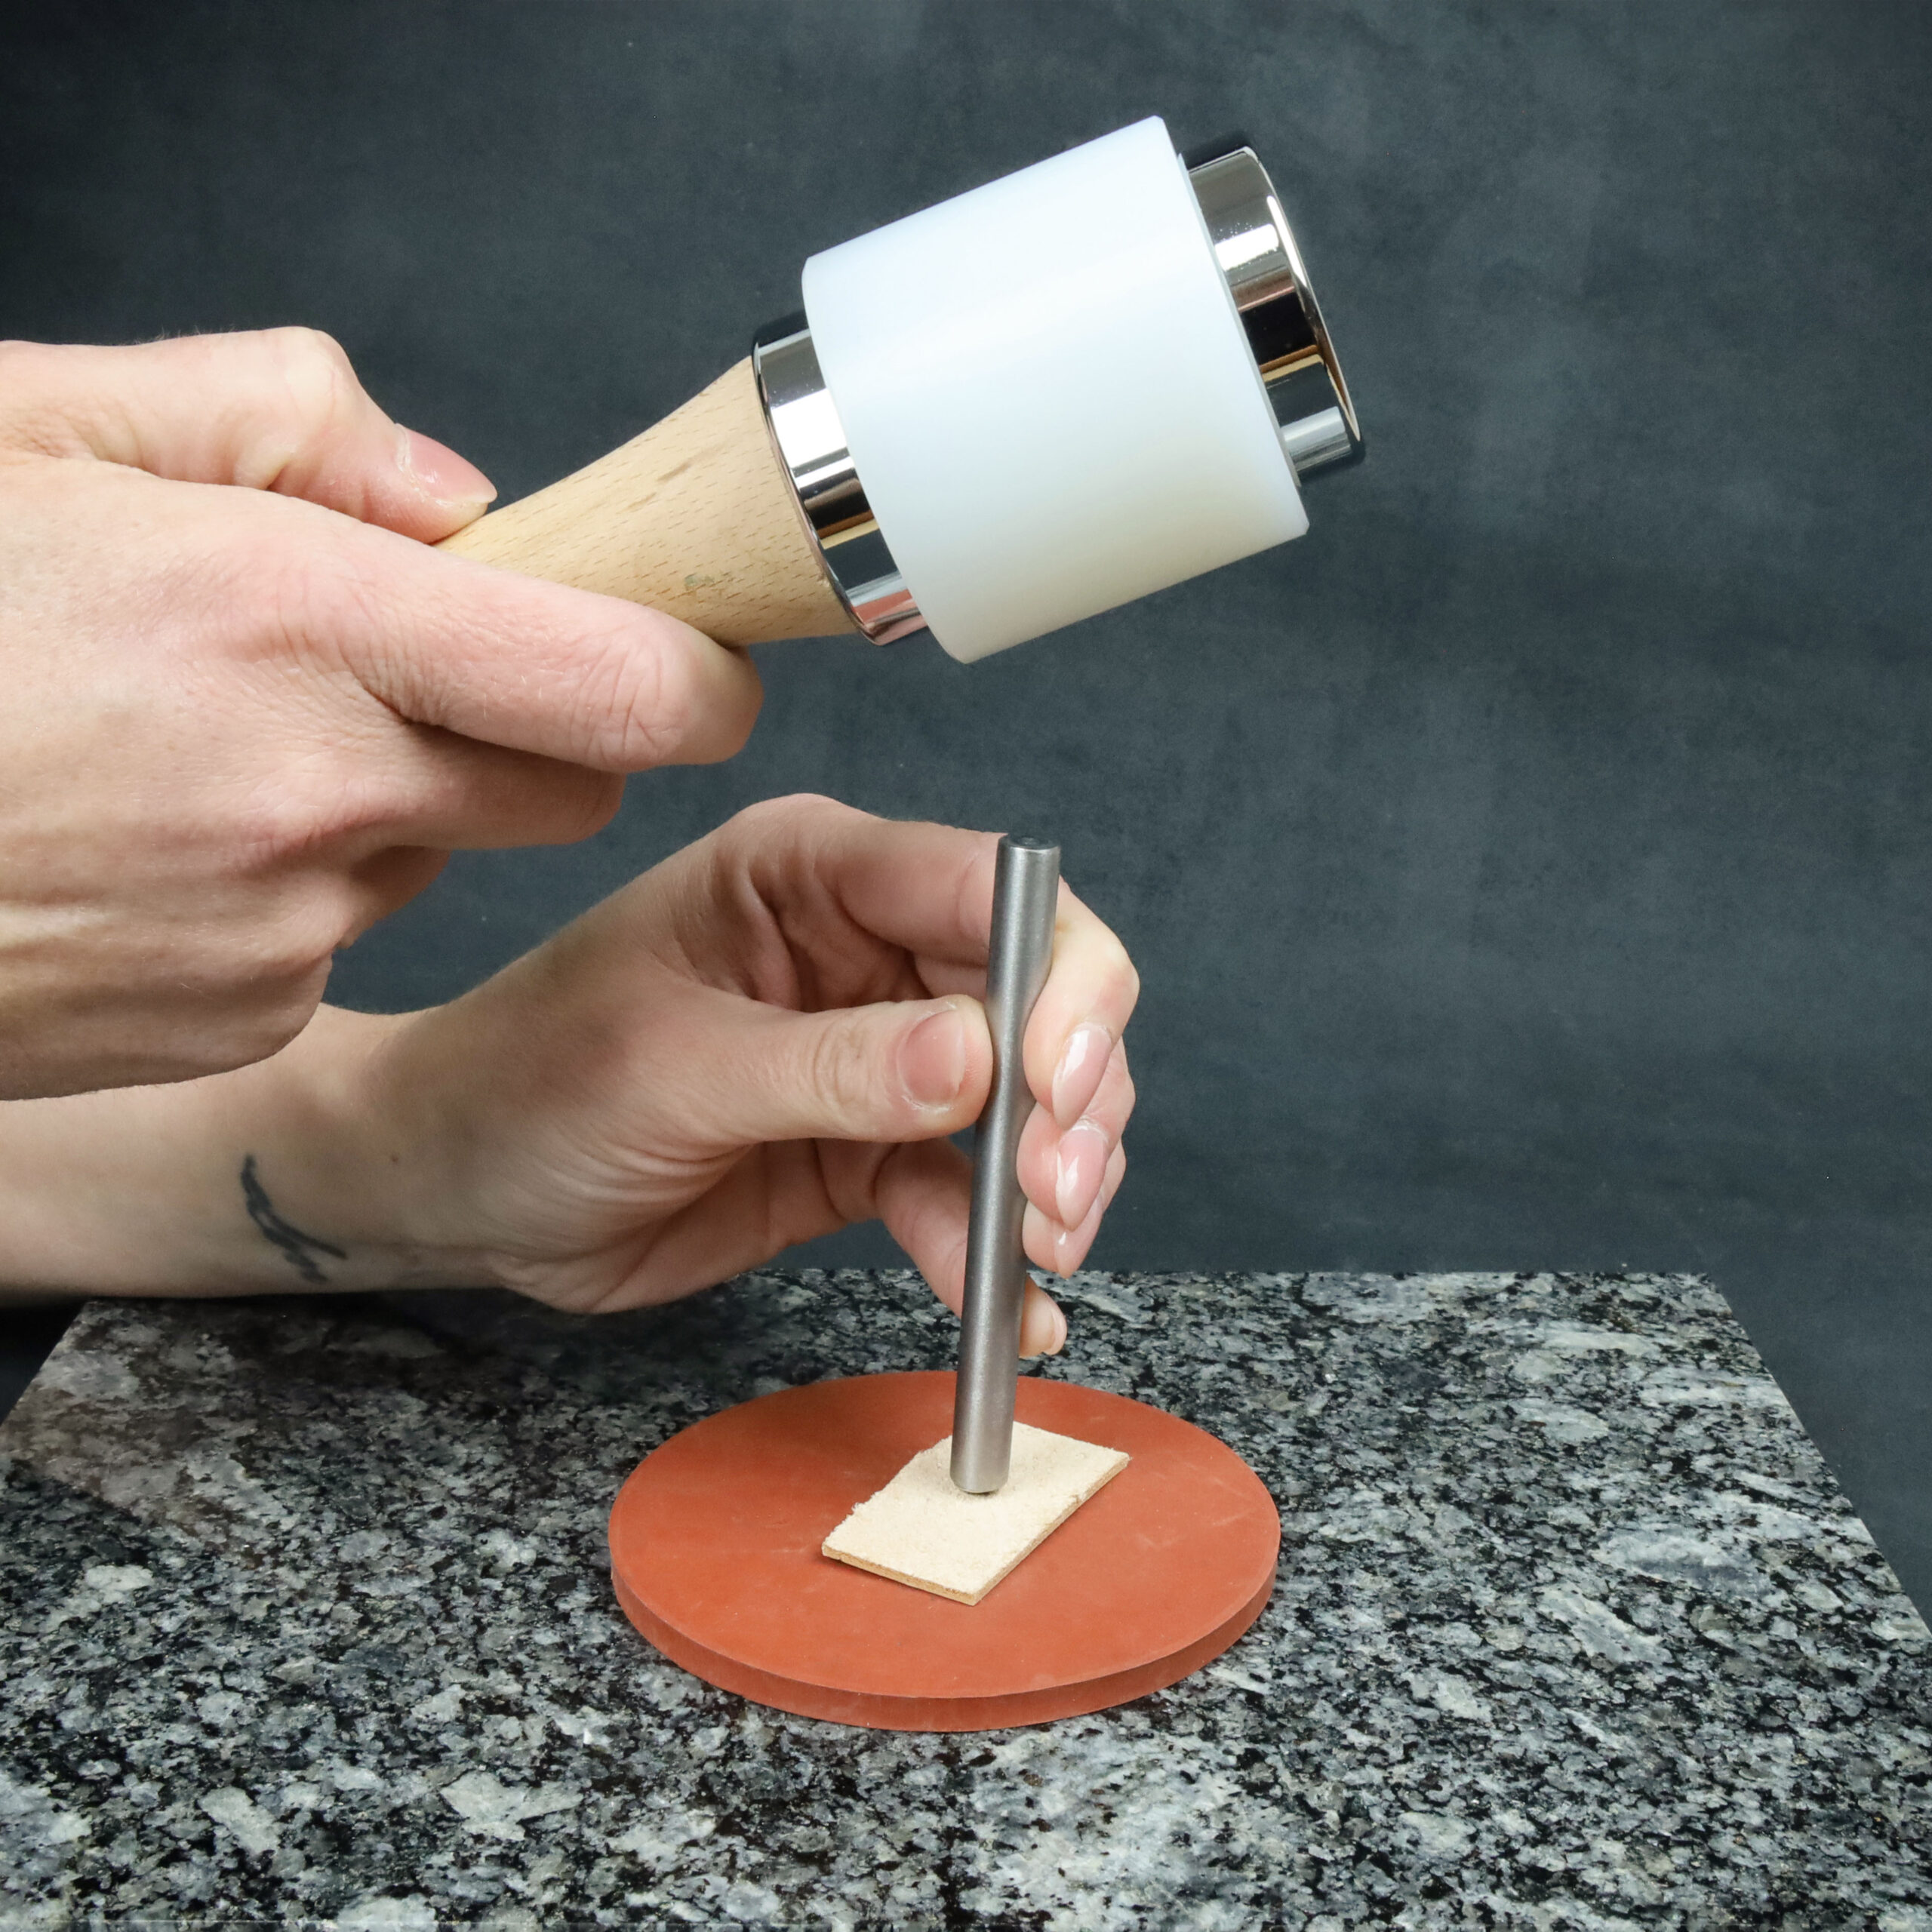
Hard bases? Better forget about them. Wood or plastic can do more harm than good: the glass stone cracks easily and the joint will not hold evenly. A rubber pad with a hardness of 30–50 Shore A works best.
Tame the rhinestone with your own die: simple and smart
Do your stones crack when you rivet them? You are not alone. A hard or uneven base is often to blame. A rhinestone is easily damaged during riveting, so it needs a soft, flat base.
Help the rhinestone survive riveting intact: 4 mm thick vegetable-tanned cowhide makes a great base for a homemade die. Anyone can make one, and you will see the difference right away.
- Wet the leather with warm or hot water and gently press the rhinestone into it: this creates a shallow recess that holds it nicely during riveting and protects it under pressure.
- Once the leather dries, it hardens, keeps its shape and does exactly the job you need.
- Then set the rivet with a mallet over the cap, or carefully press it in a hand press.
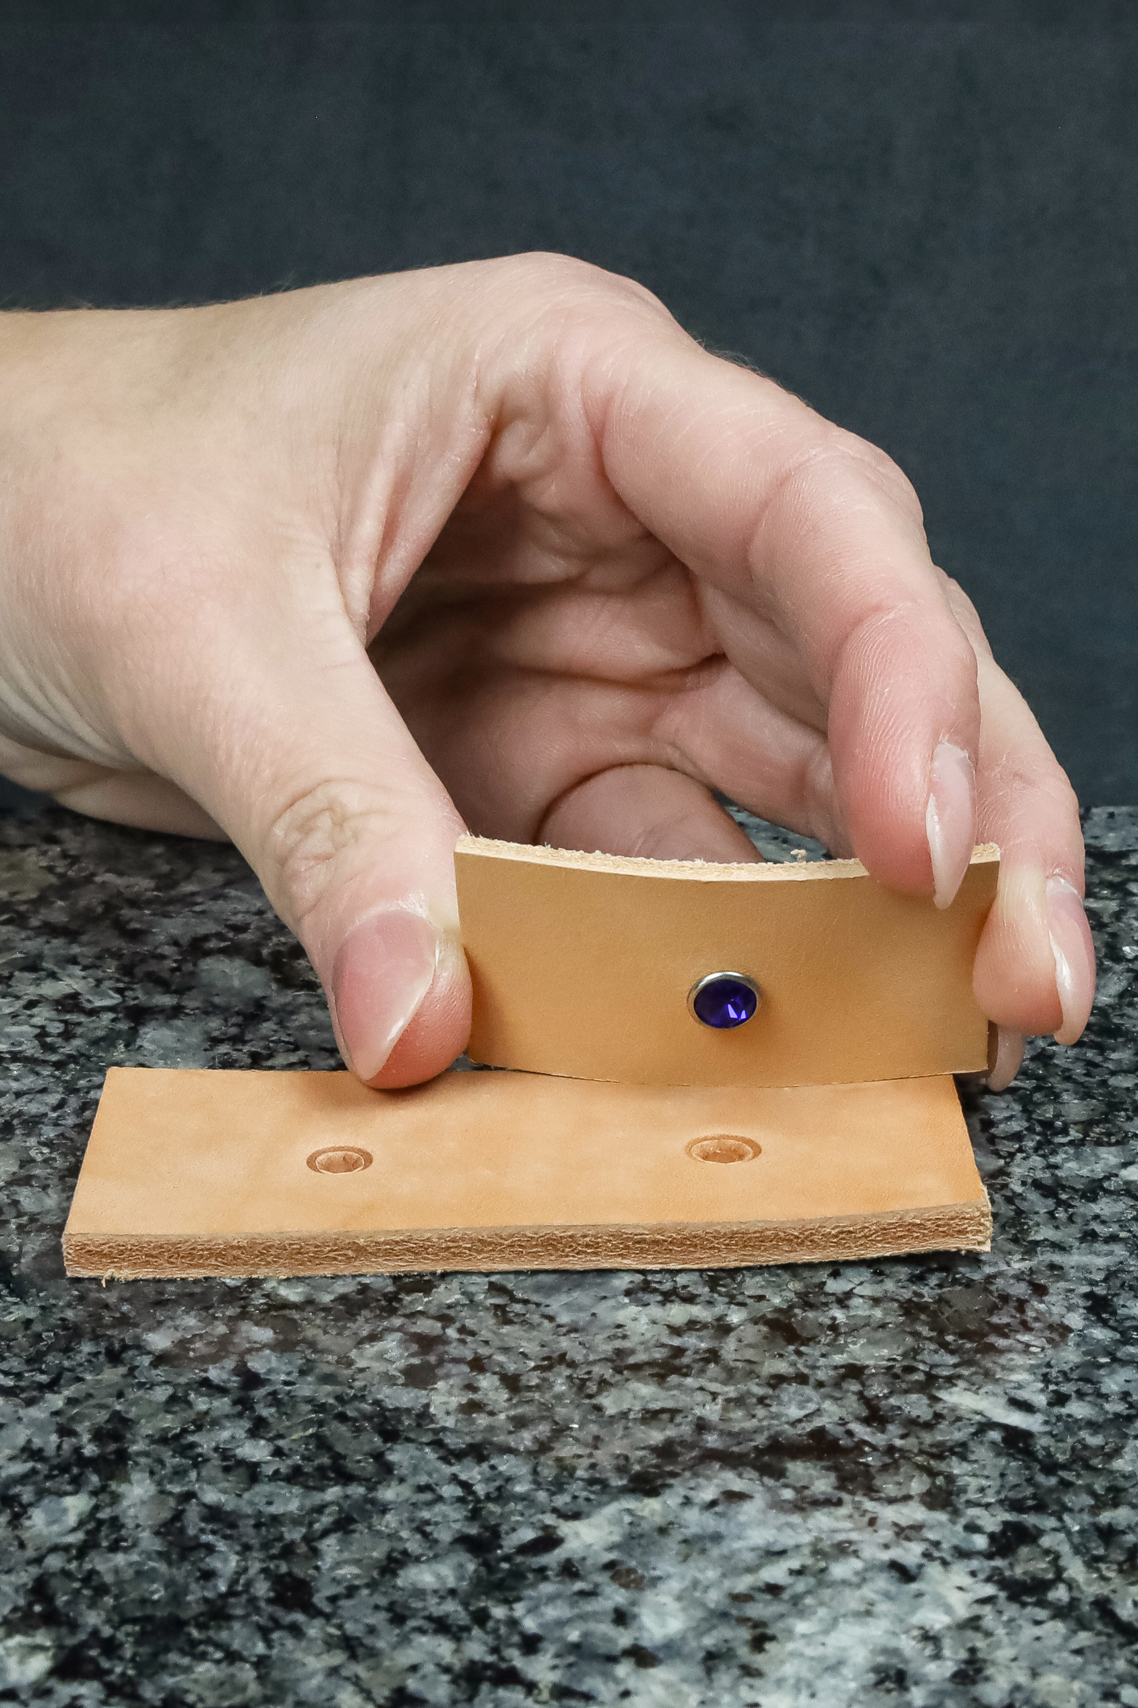
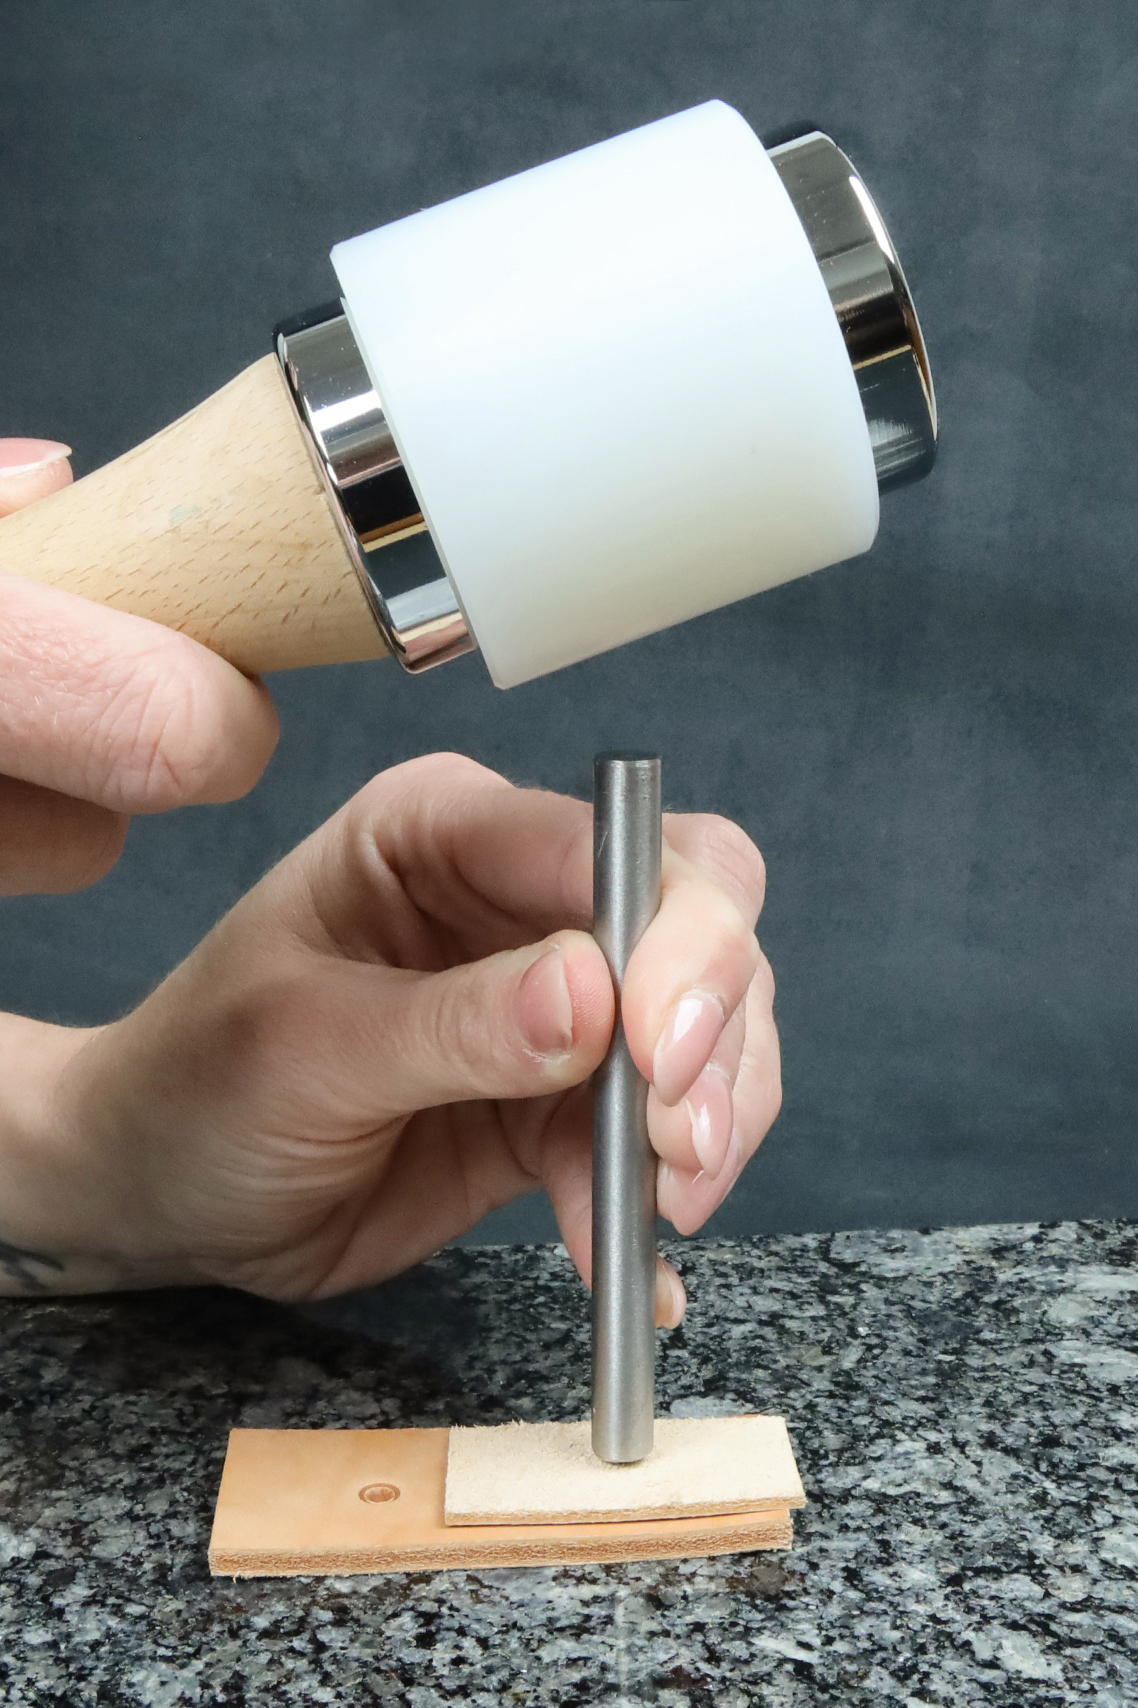
If rubber does not work for you, a leather die is a smart and stylish alternative. It works, keeps its shape, and the rhinestone sits in it safely while you rivet.
Setting rhinestone rivets with a hand press
a. Closed rhinestone rivets
Planning to rivet more often or in larger quantities? Then it is time to bring out a hand press with the matching dies. Each rhinestone rivet has its own setting die, depending on its size and shape. One die for all of them? Unfortunately not.
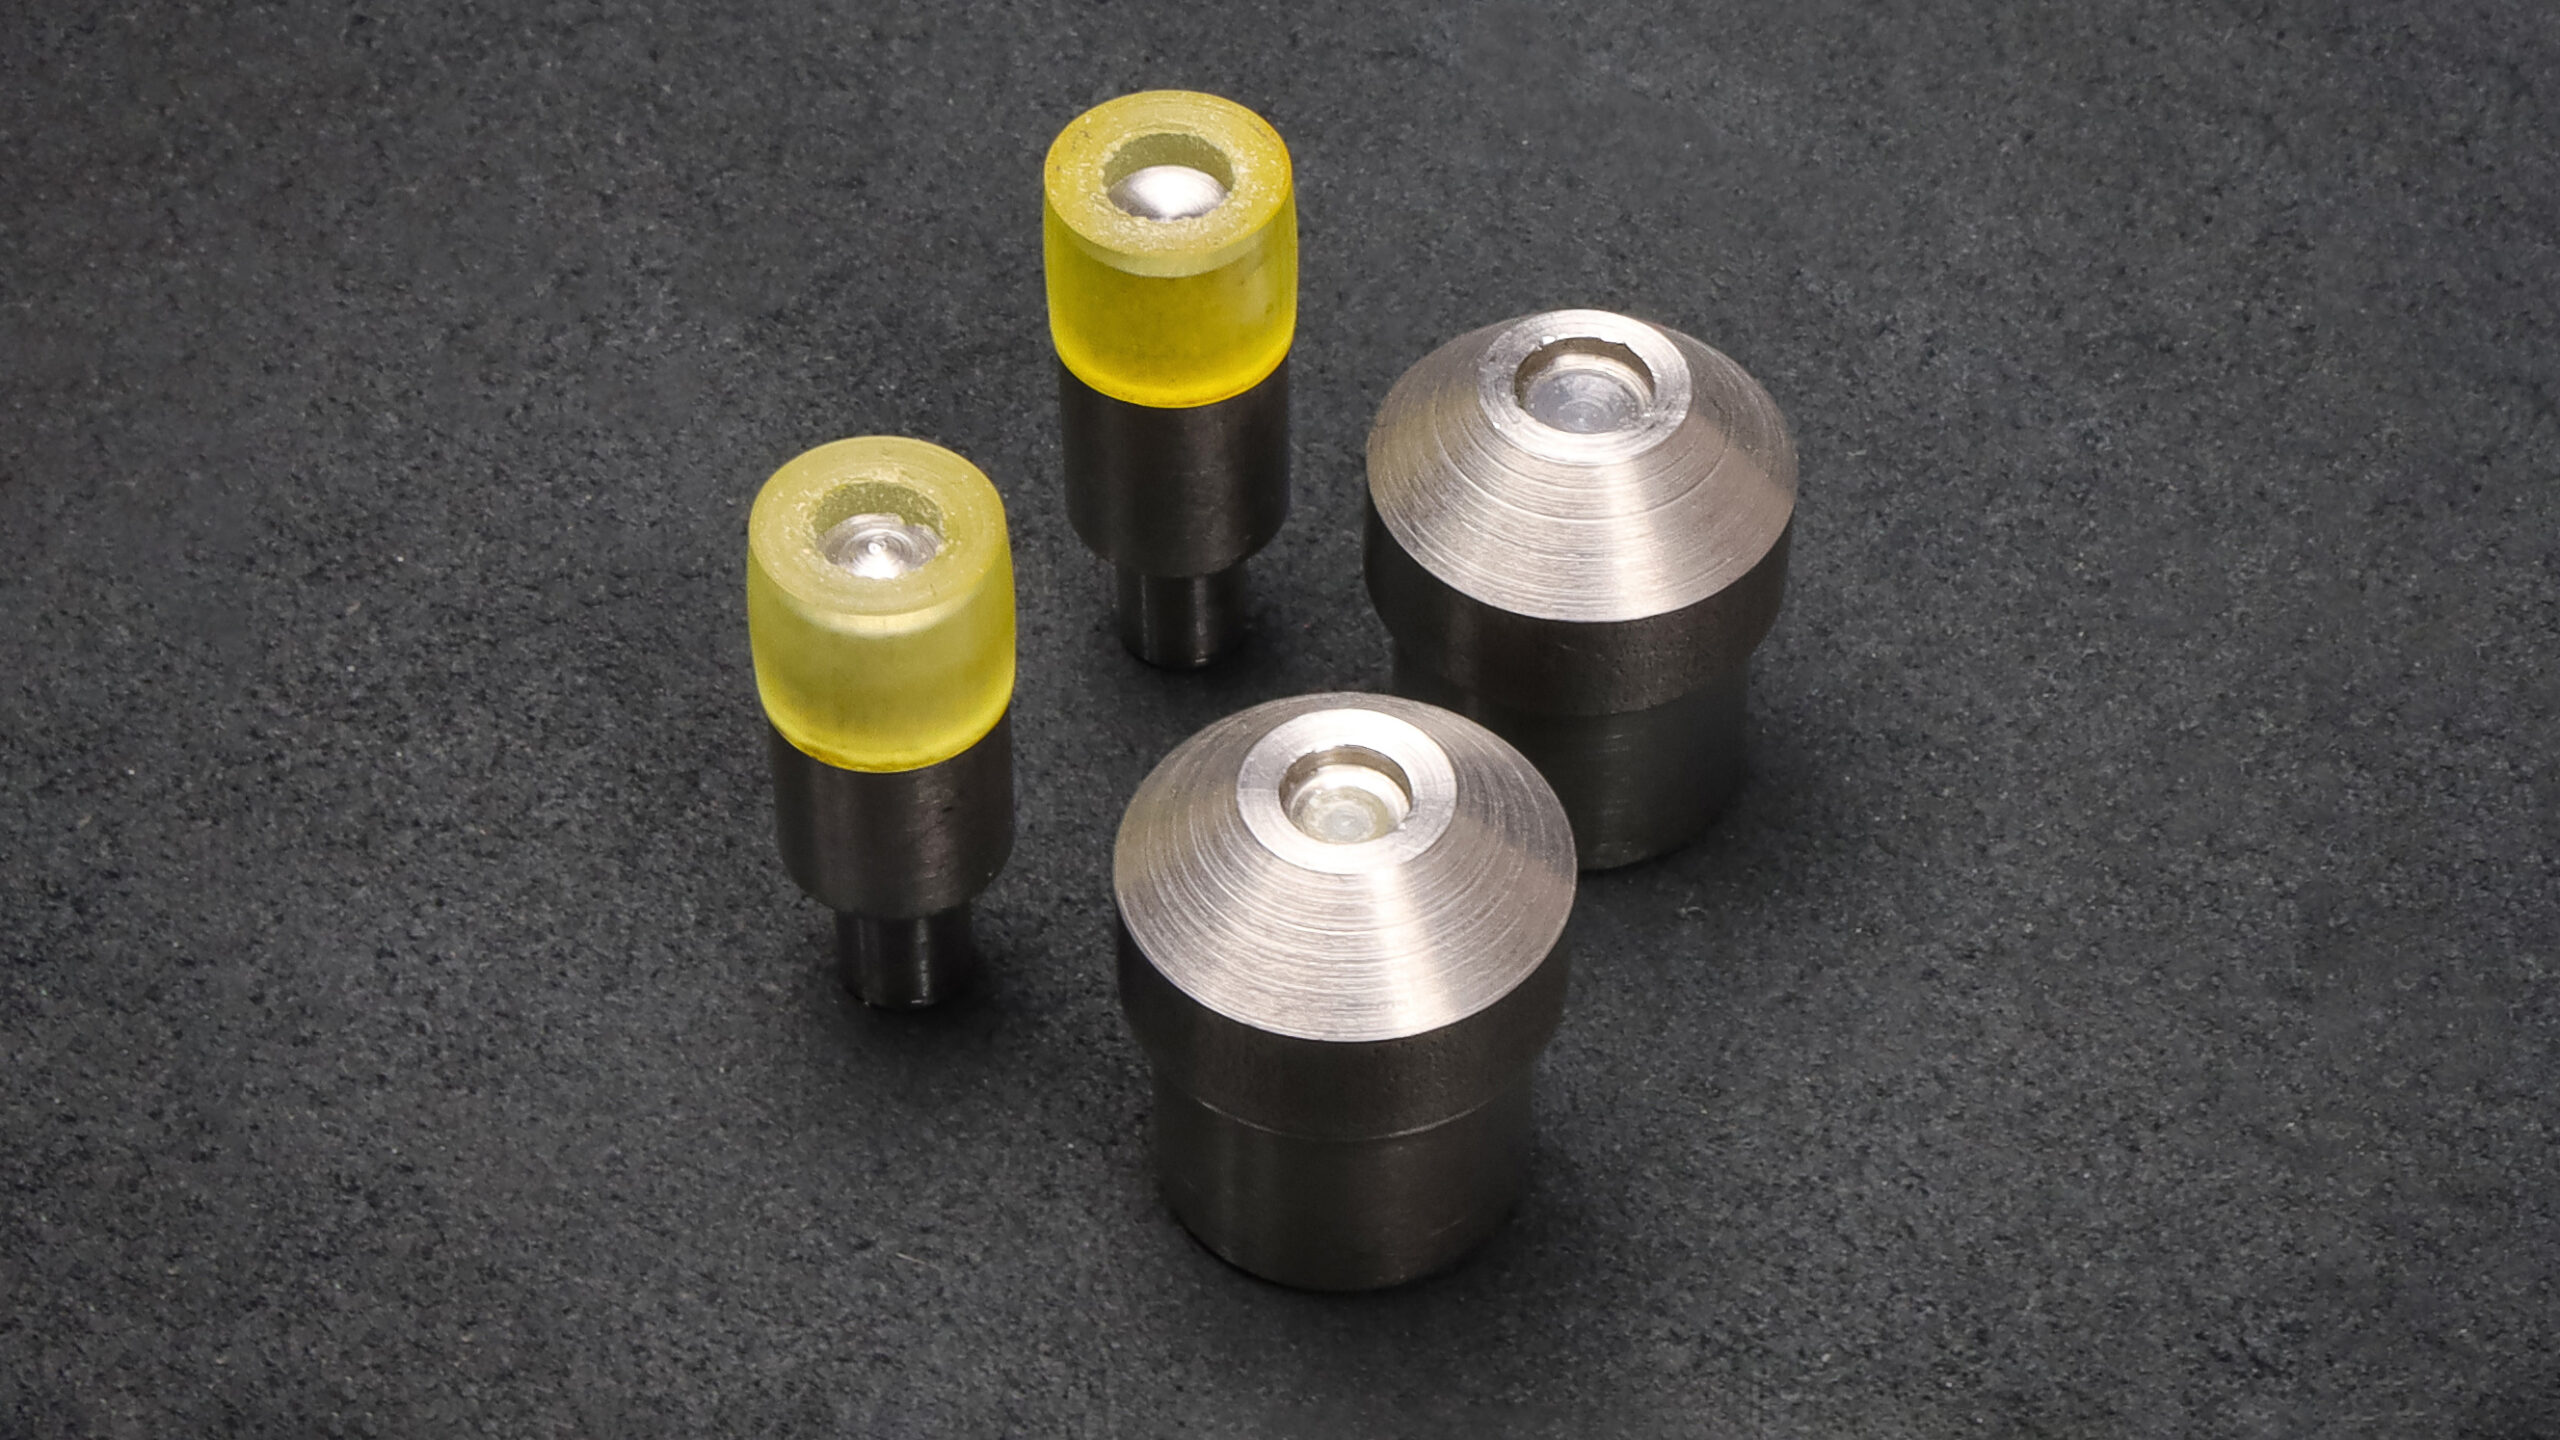
A hand press? That is in a different league. You will find a detailed procedure in the article How to Use a Hand Press for Rivets. Riveting with it is accurate, smooth and saves effort, especially when you have a lot to do. And if you plan to use it regularly, bolt it firmly to the table.
How to set them:
- Fit the right dies into the press and tighten the screws.
- Punch a hole of the right size in the material.
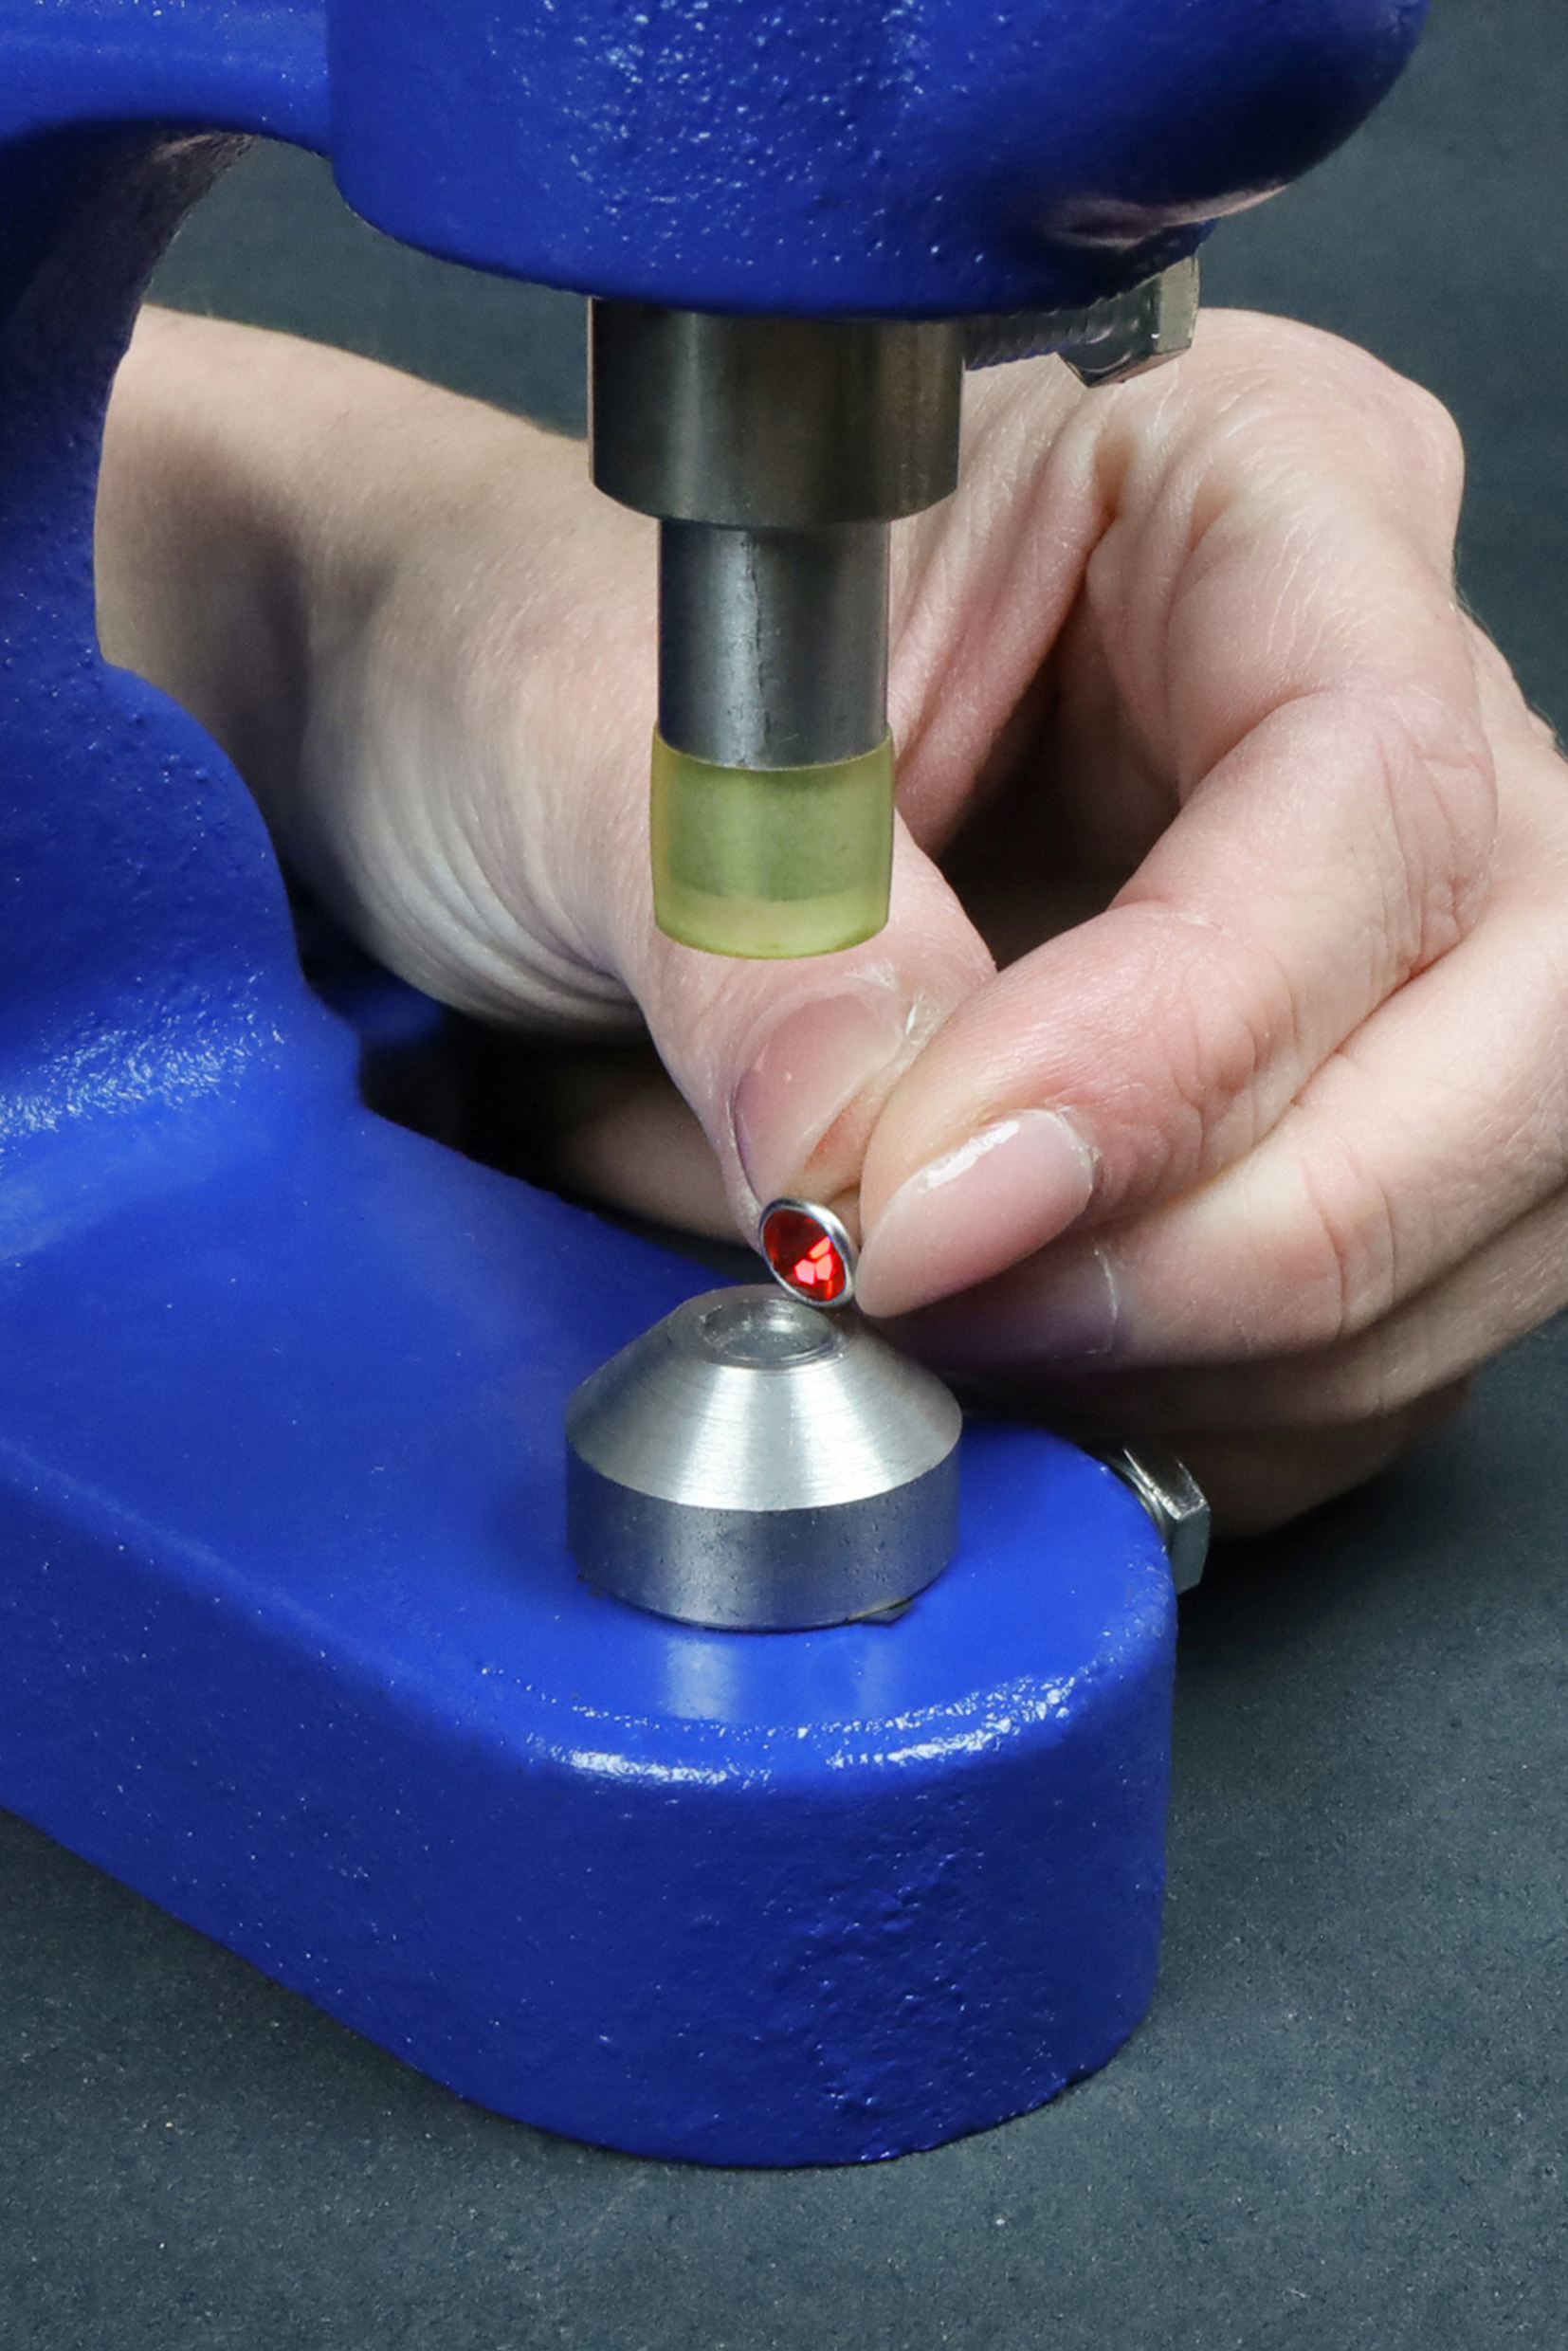
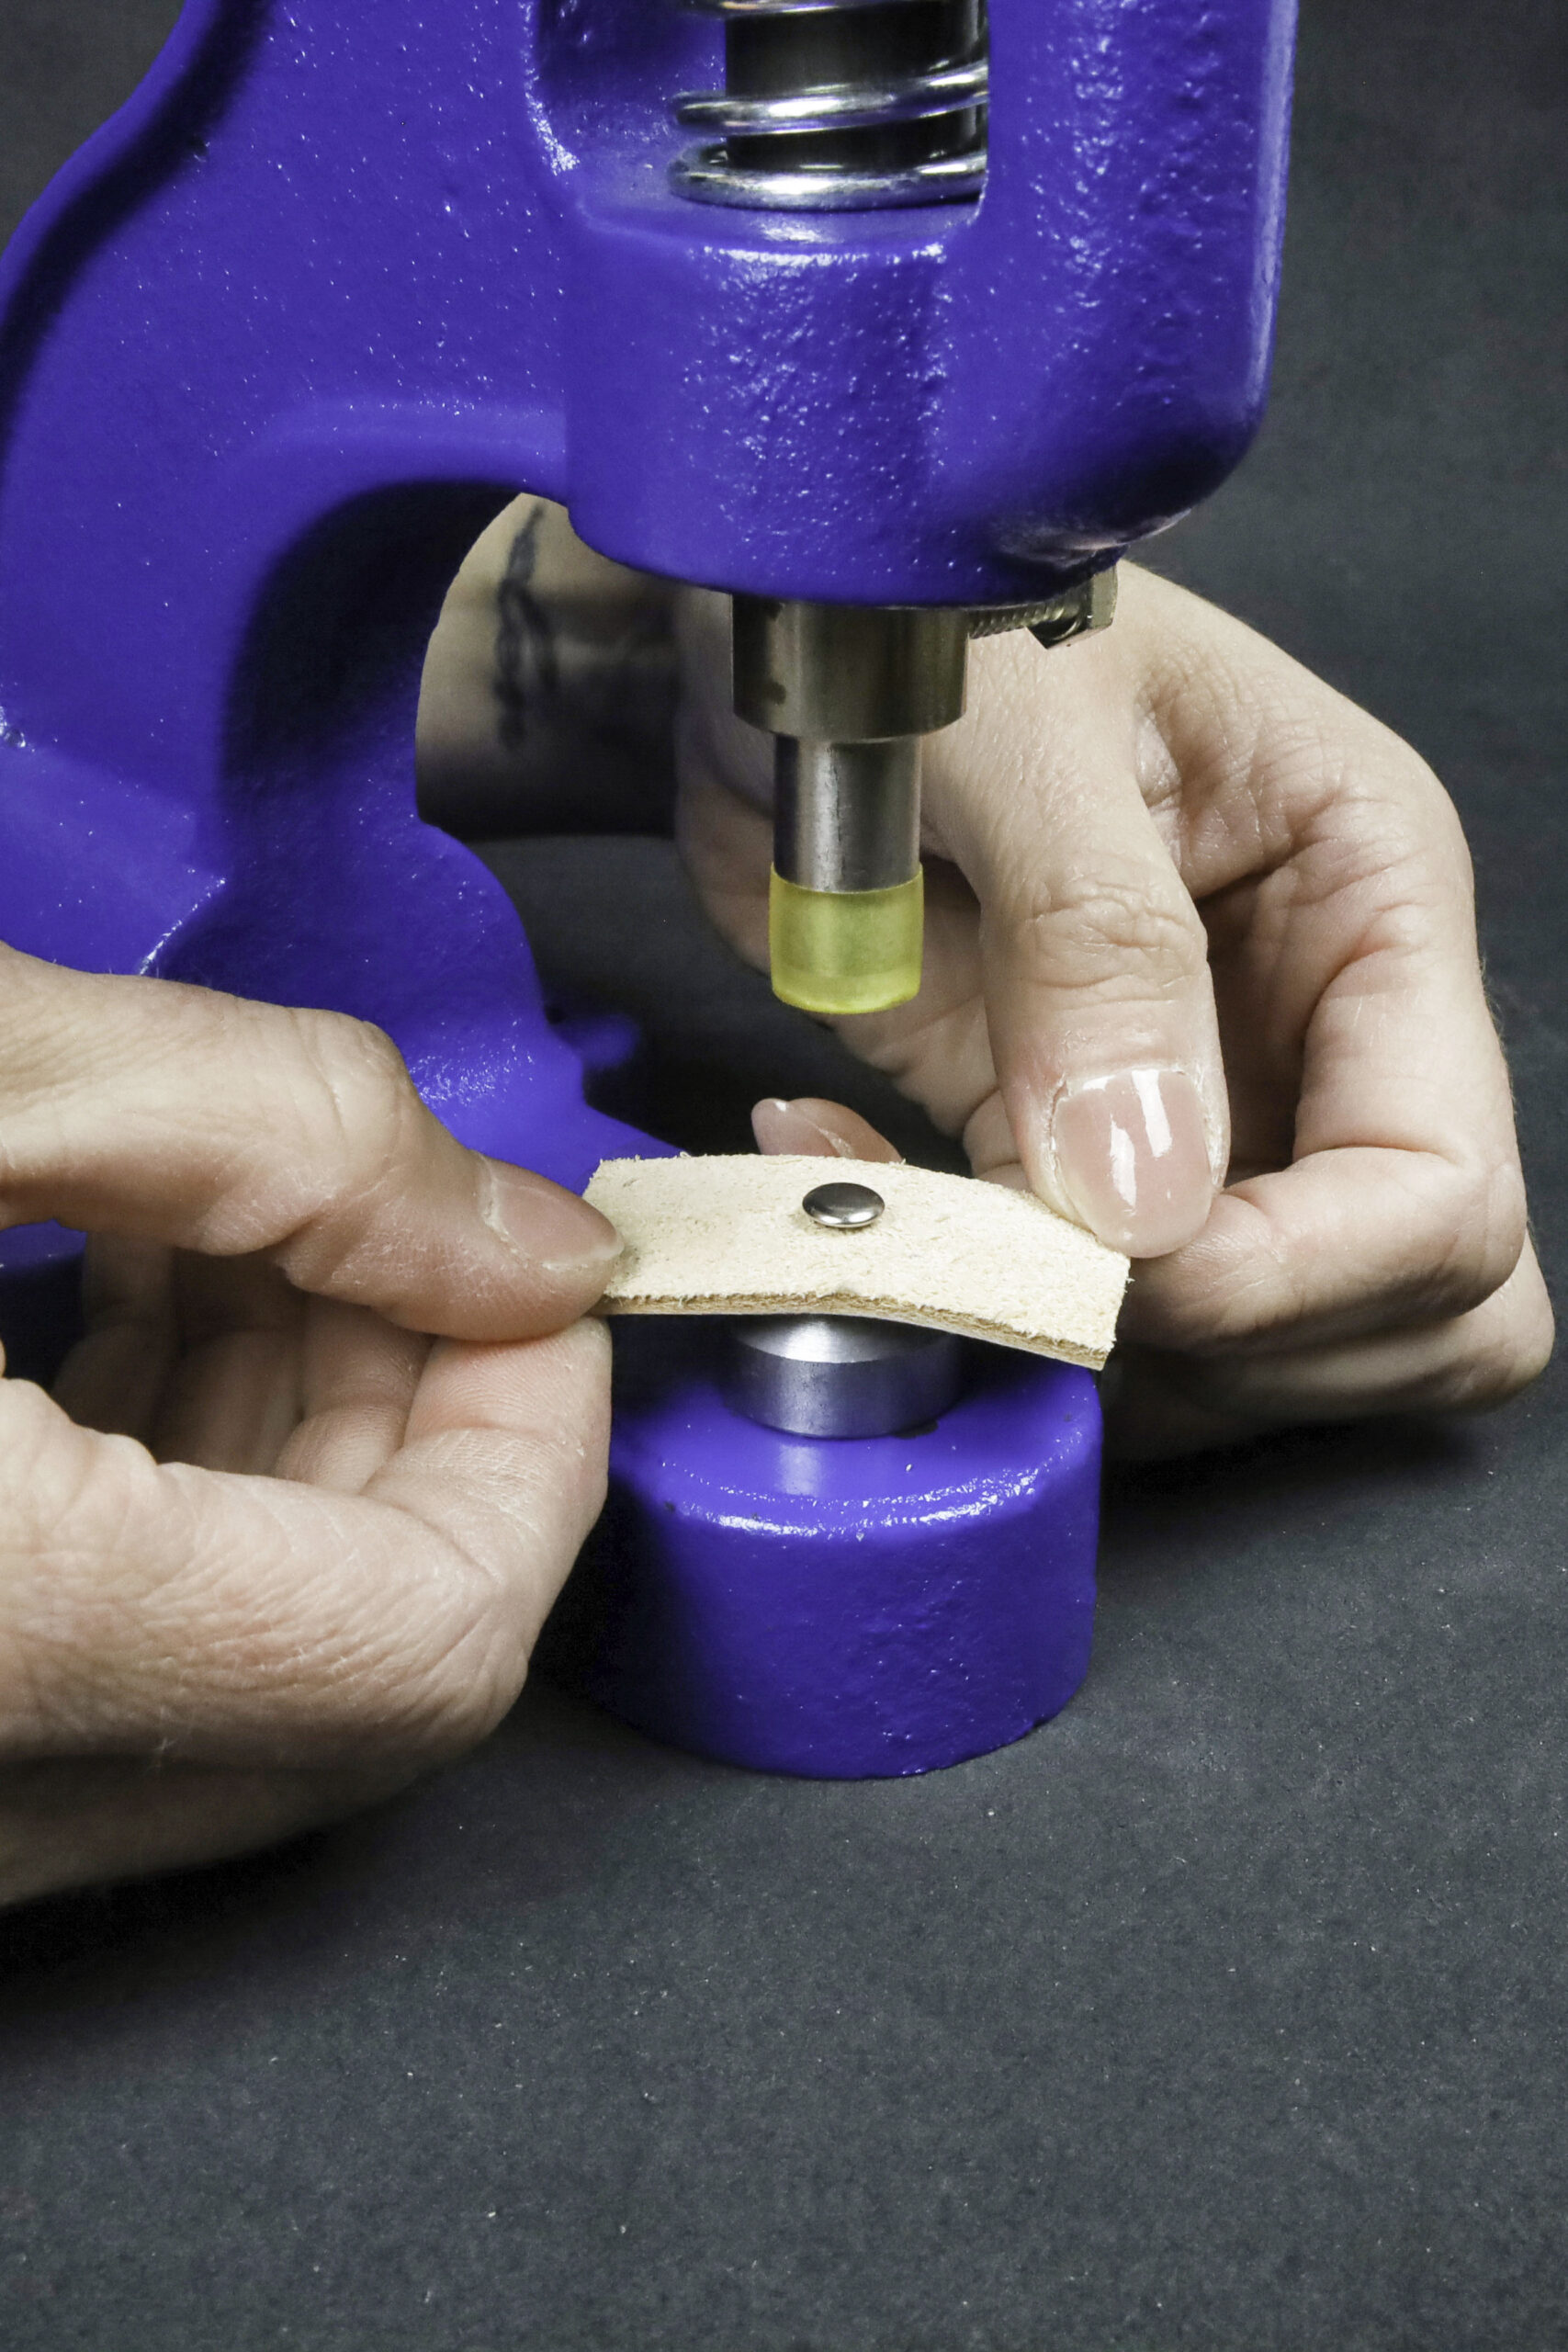
- Insert the top part with the rhinestone into the hole from the front of the material.
- From the back, put on the bottom part of the rivet, the so-called cap.
- Place the whole assembly in the press and pull the lever to set the rivet.
An alternative if you want to work smart, as with self-piercing rivets
- Put the top part with the rhinestone straight into the lower die, no fuss.
- Fit the cap into the upper die. Everything has to sit properly.
- Place the material with the prepared hole between the dies, then just pull the lever and you are done. The rivet holds, the rhinestone shines.
b. Self-piercing rhinestone rivets
Self-piercing rhinestone rivets have small teeth on the post, so they cut their own way through thinner material without punching a hole first. They work well for fine leather, fabric or faux leather. But note: if you work with harder or thicker materials (for example waterproof webbing), we still recommend preparing a hole in advance. Rhinestones can handle a lot, but do not expect miracles.
How to set them:
- First prepare the press: fit the dies made for self-piercing rivets and tighten the screws firmly.
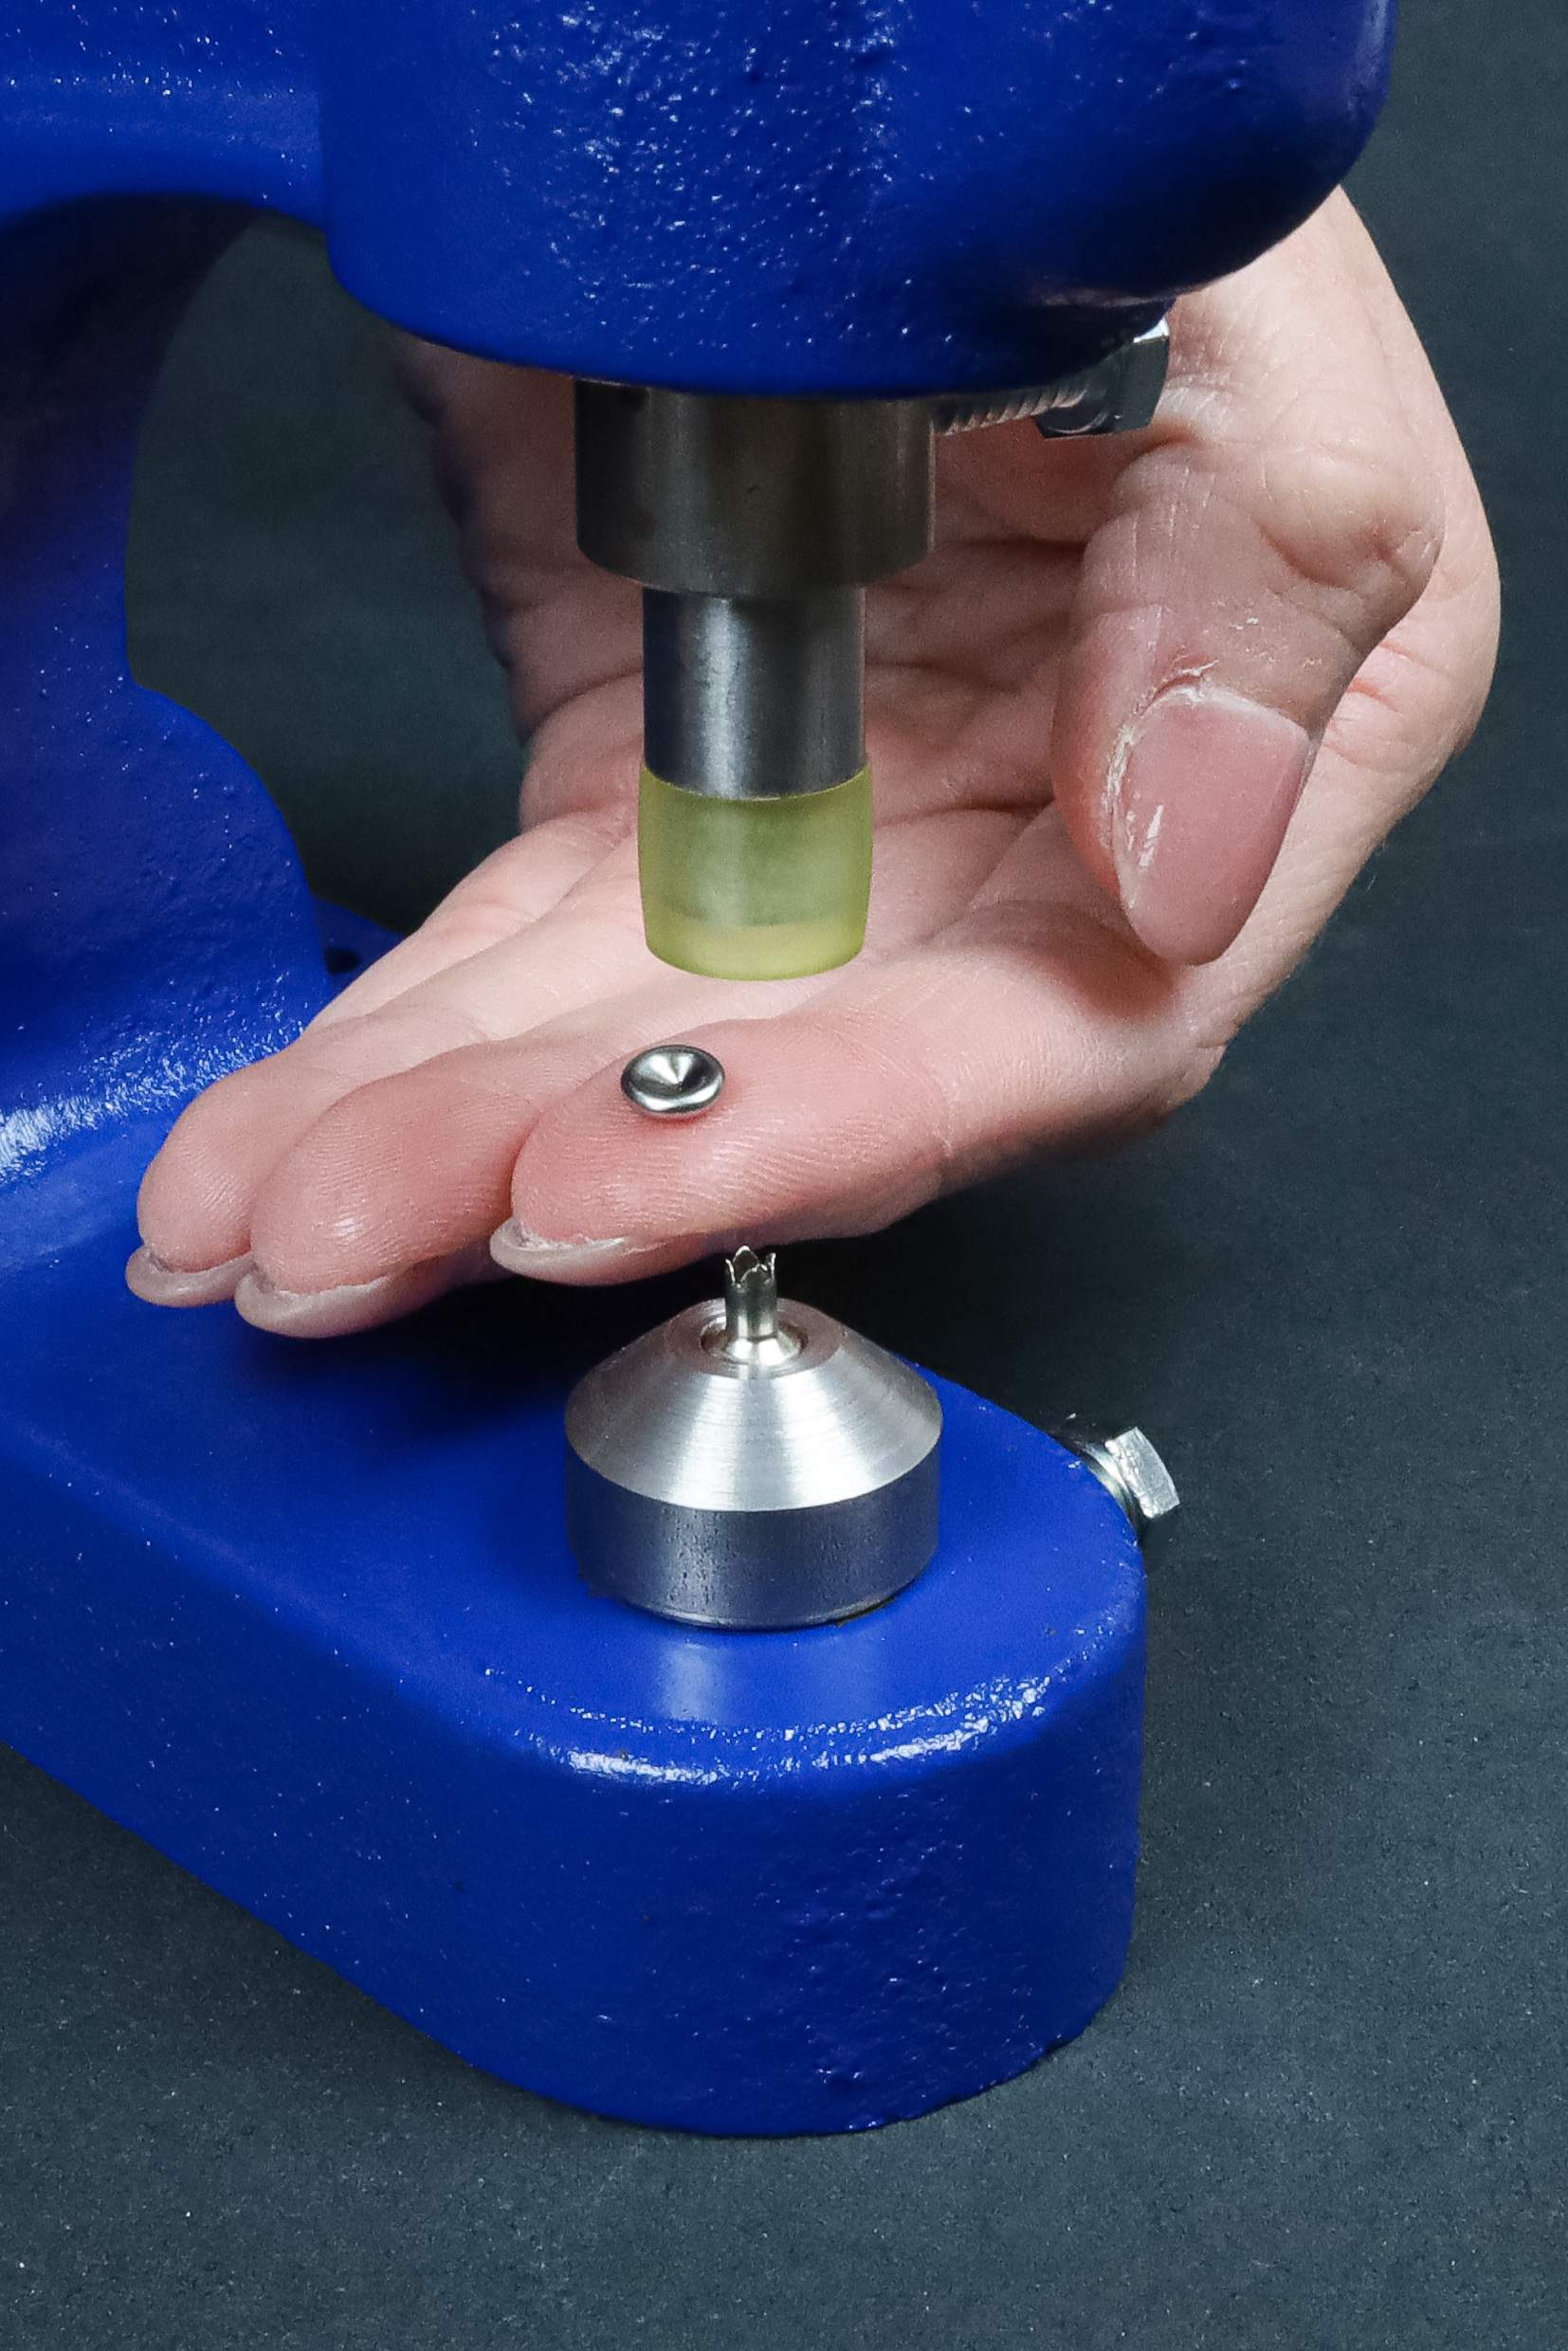
- Put the top part with the rhinestone into the lower die.
- Put the bottom part, the cap, into the upper die.
- Place the material you want to press the rivet into between the dies.
- Now slowly pull the press lever. Thanks to its sharp teeth, the rivet makes its own way through.
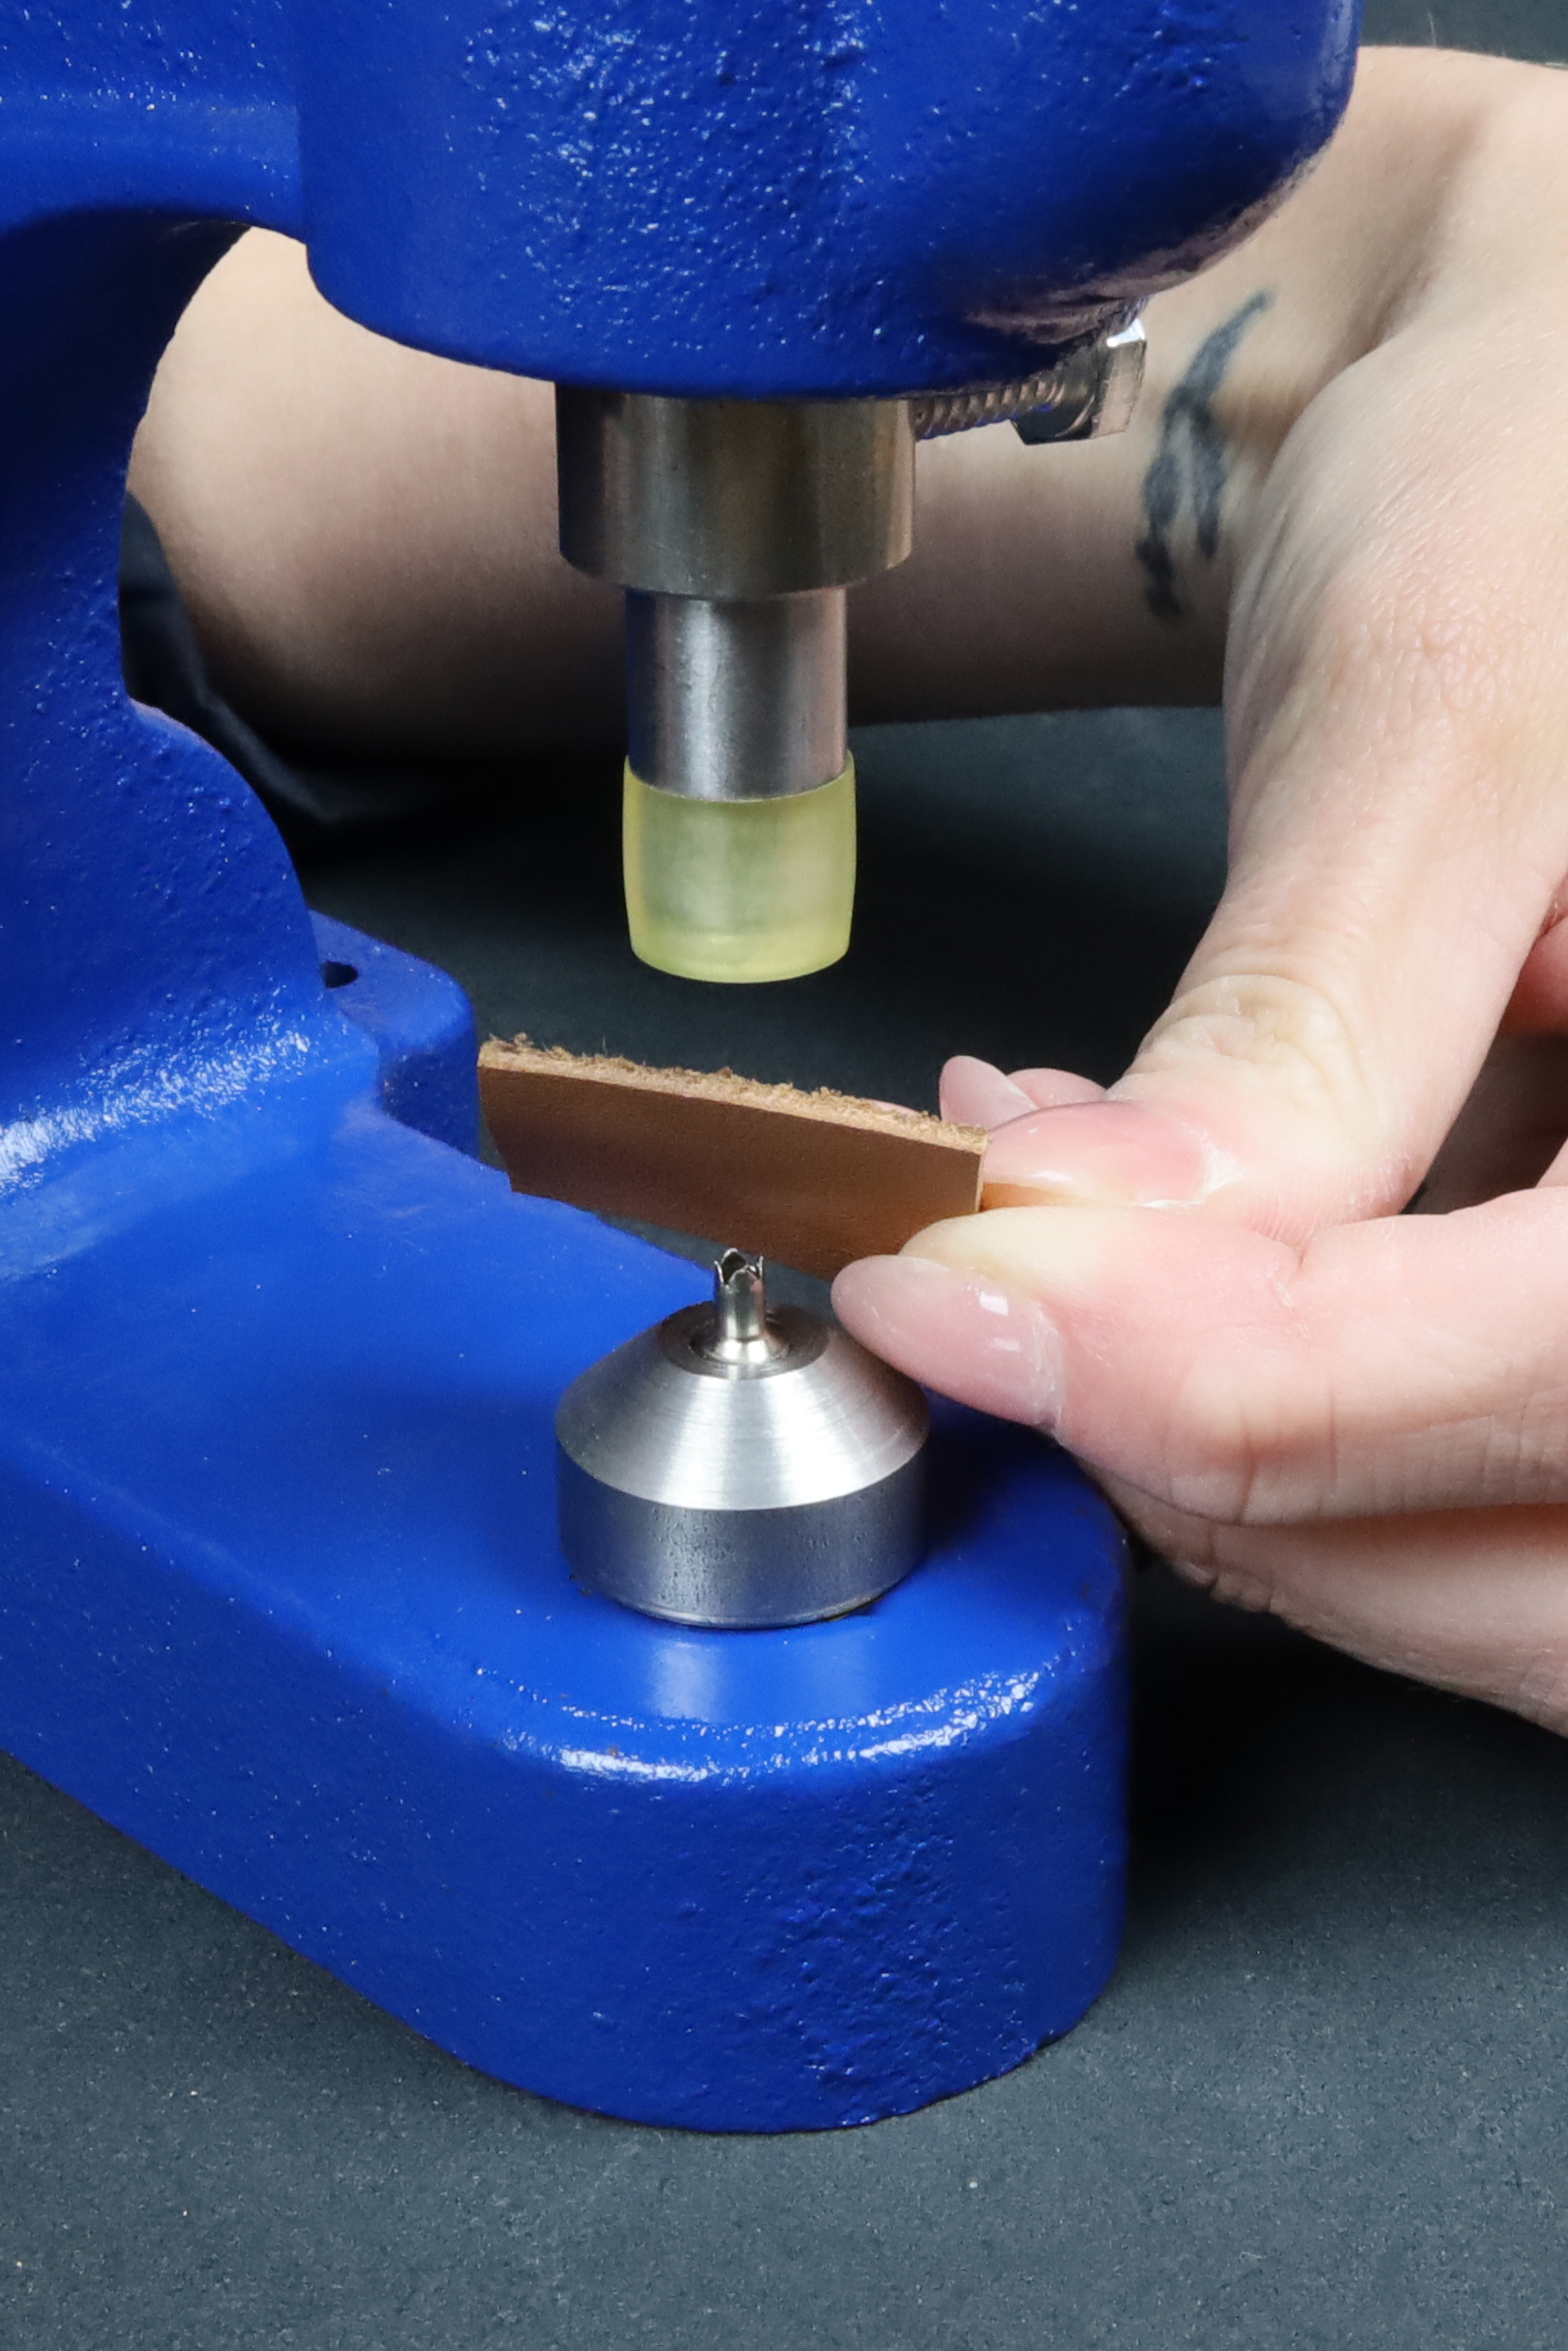
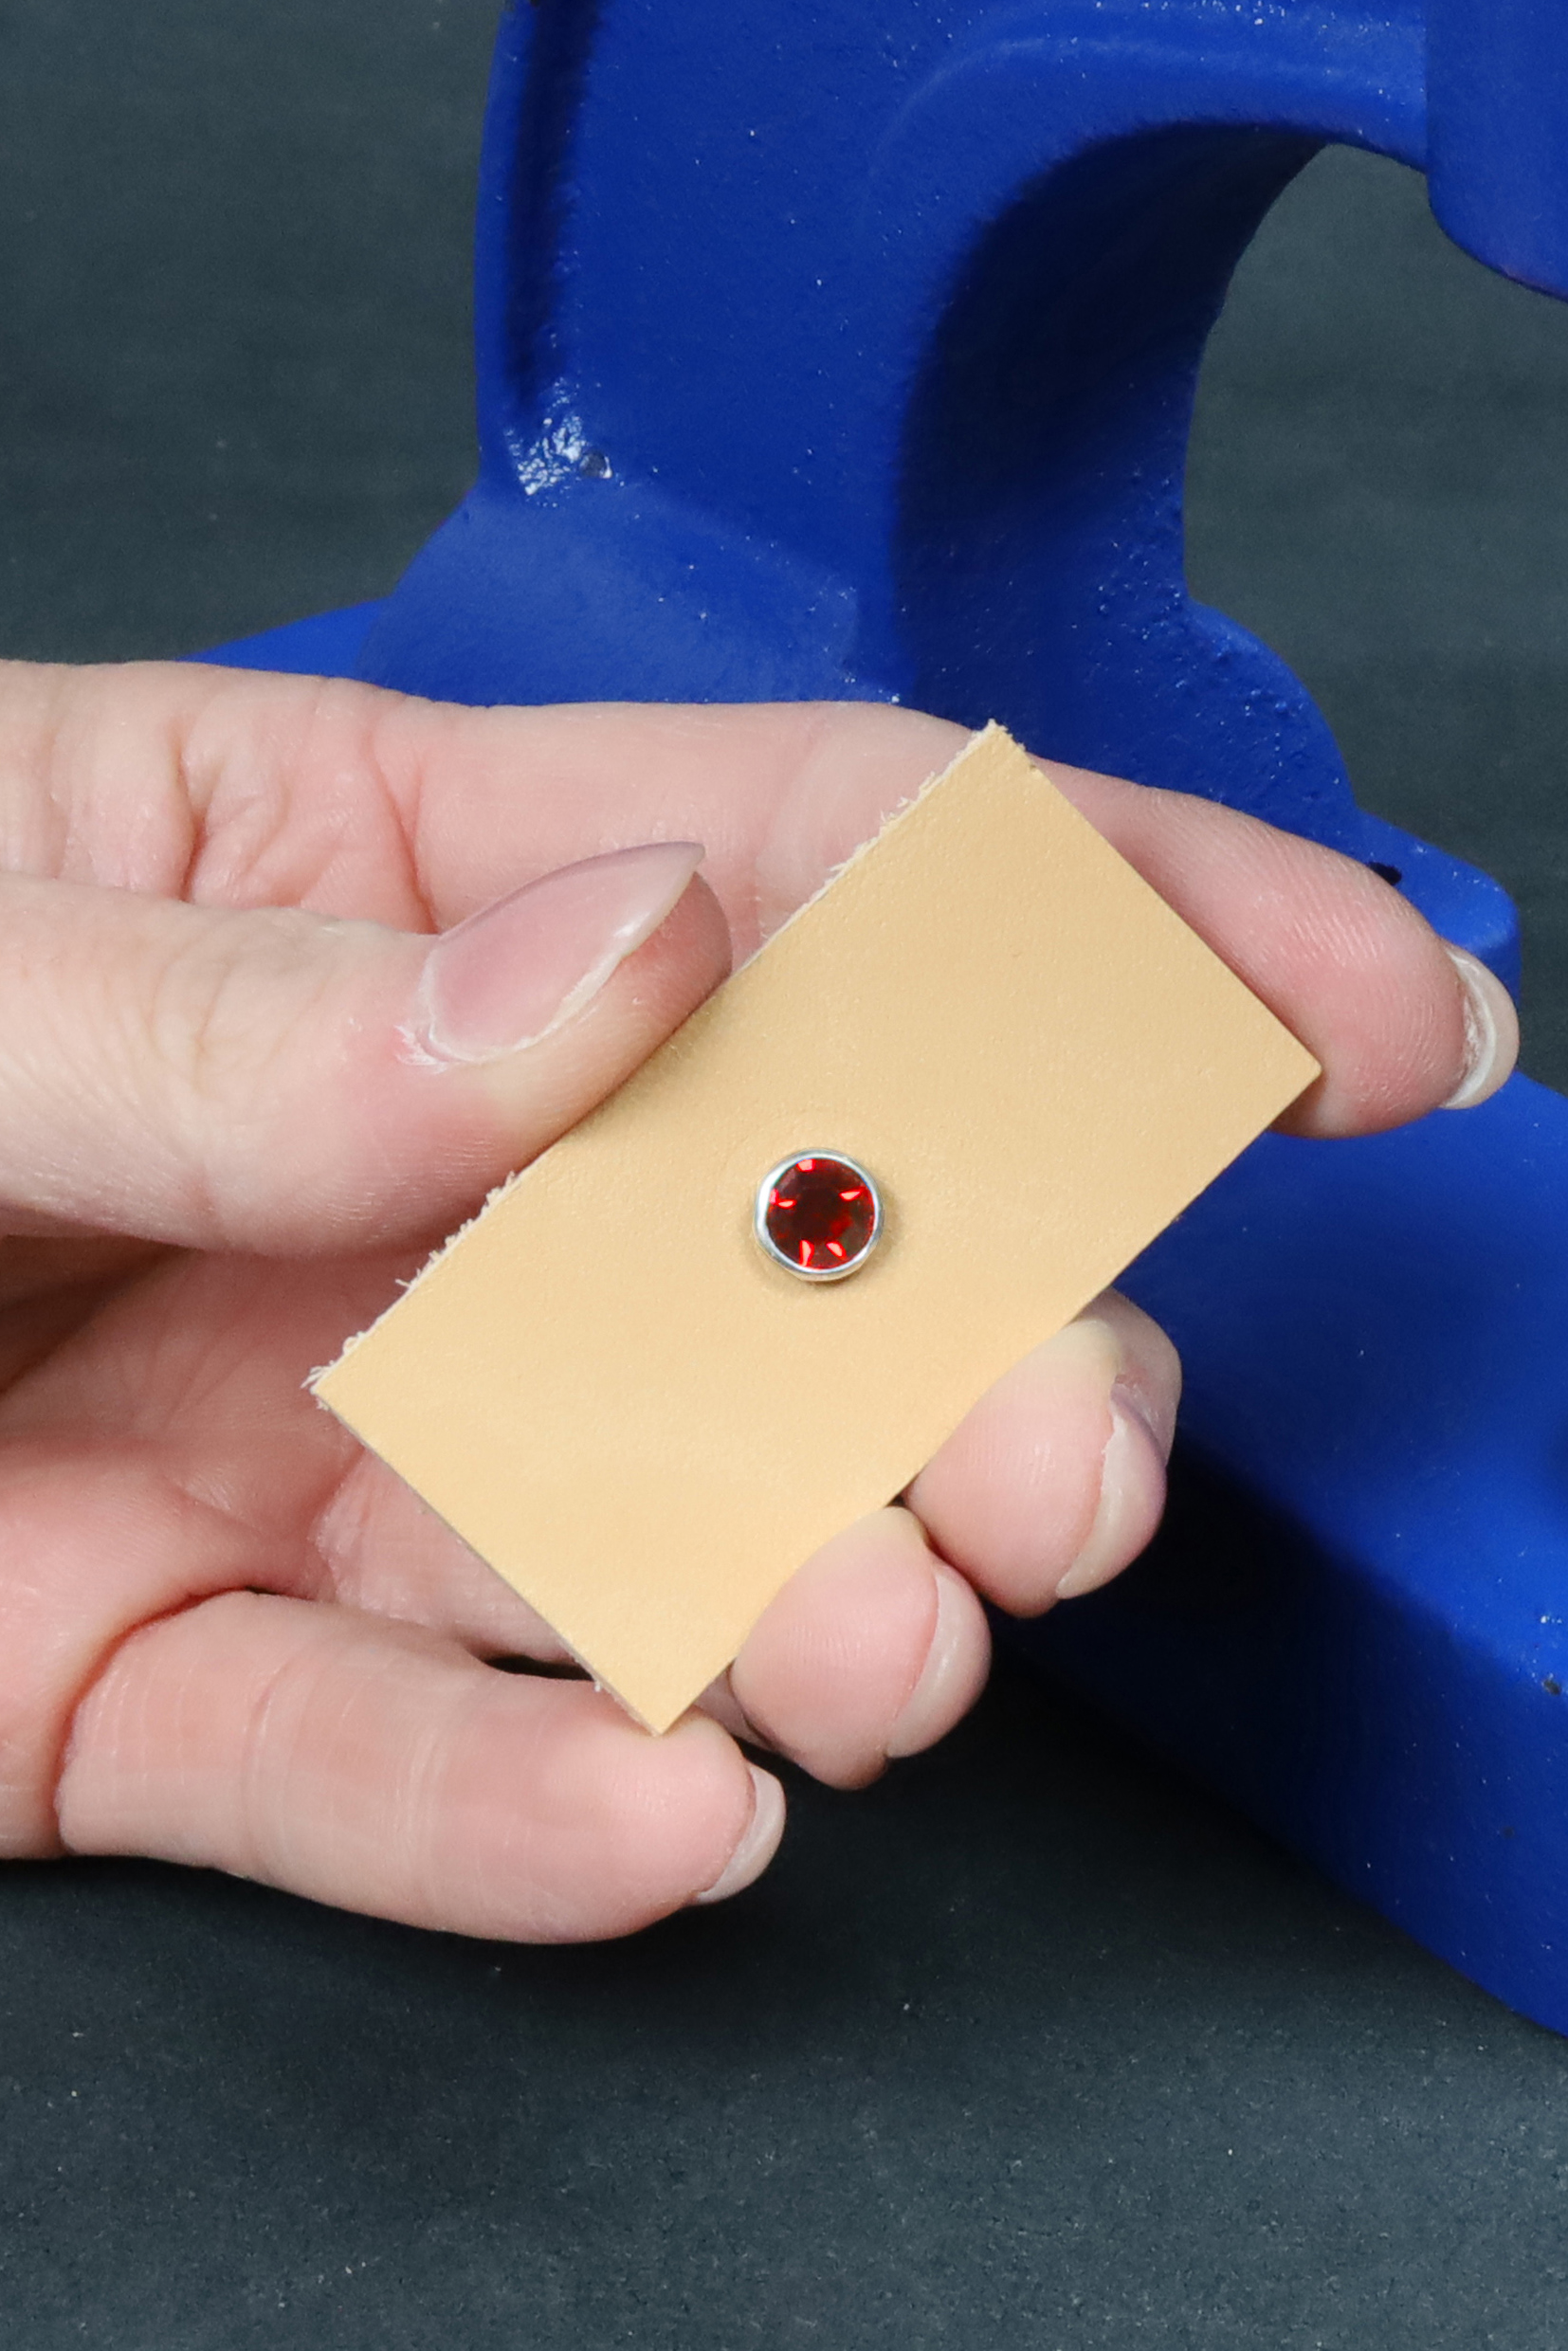
Note: When you hide the rhinestone in the lower die, you cannot see exactly where it is aimed. If you want millimeter-accurate placement, mark the spot on the front of the material. This helps you avoid surprises and having to redo the rivet.
Self-piercing rivets can only be set in a press with the matching dies.
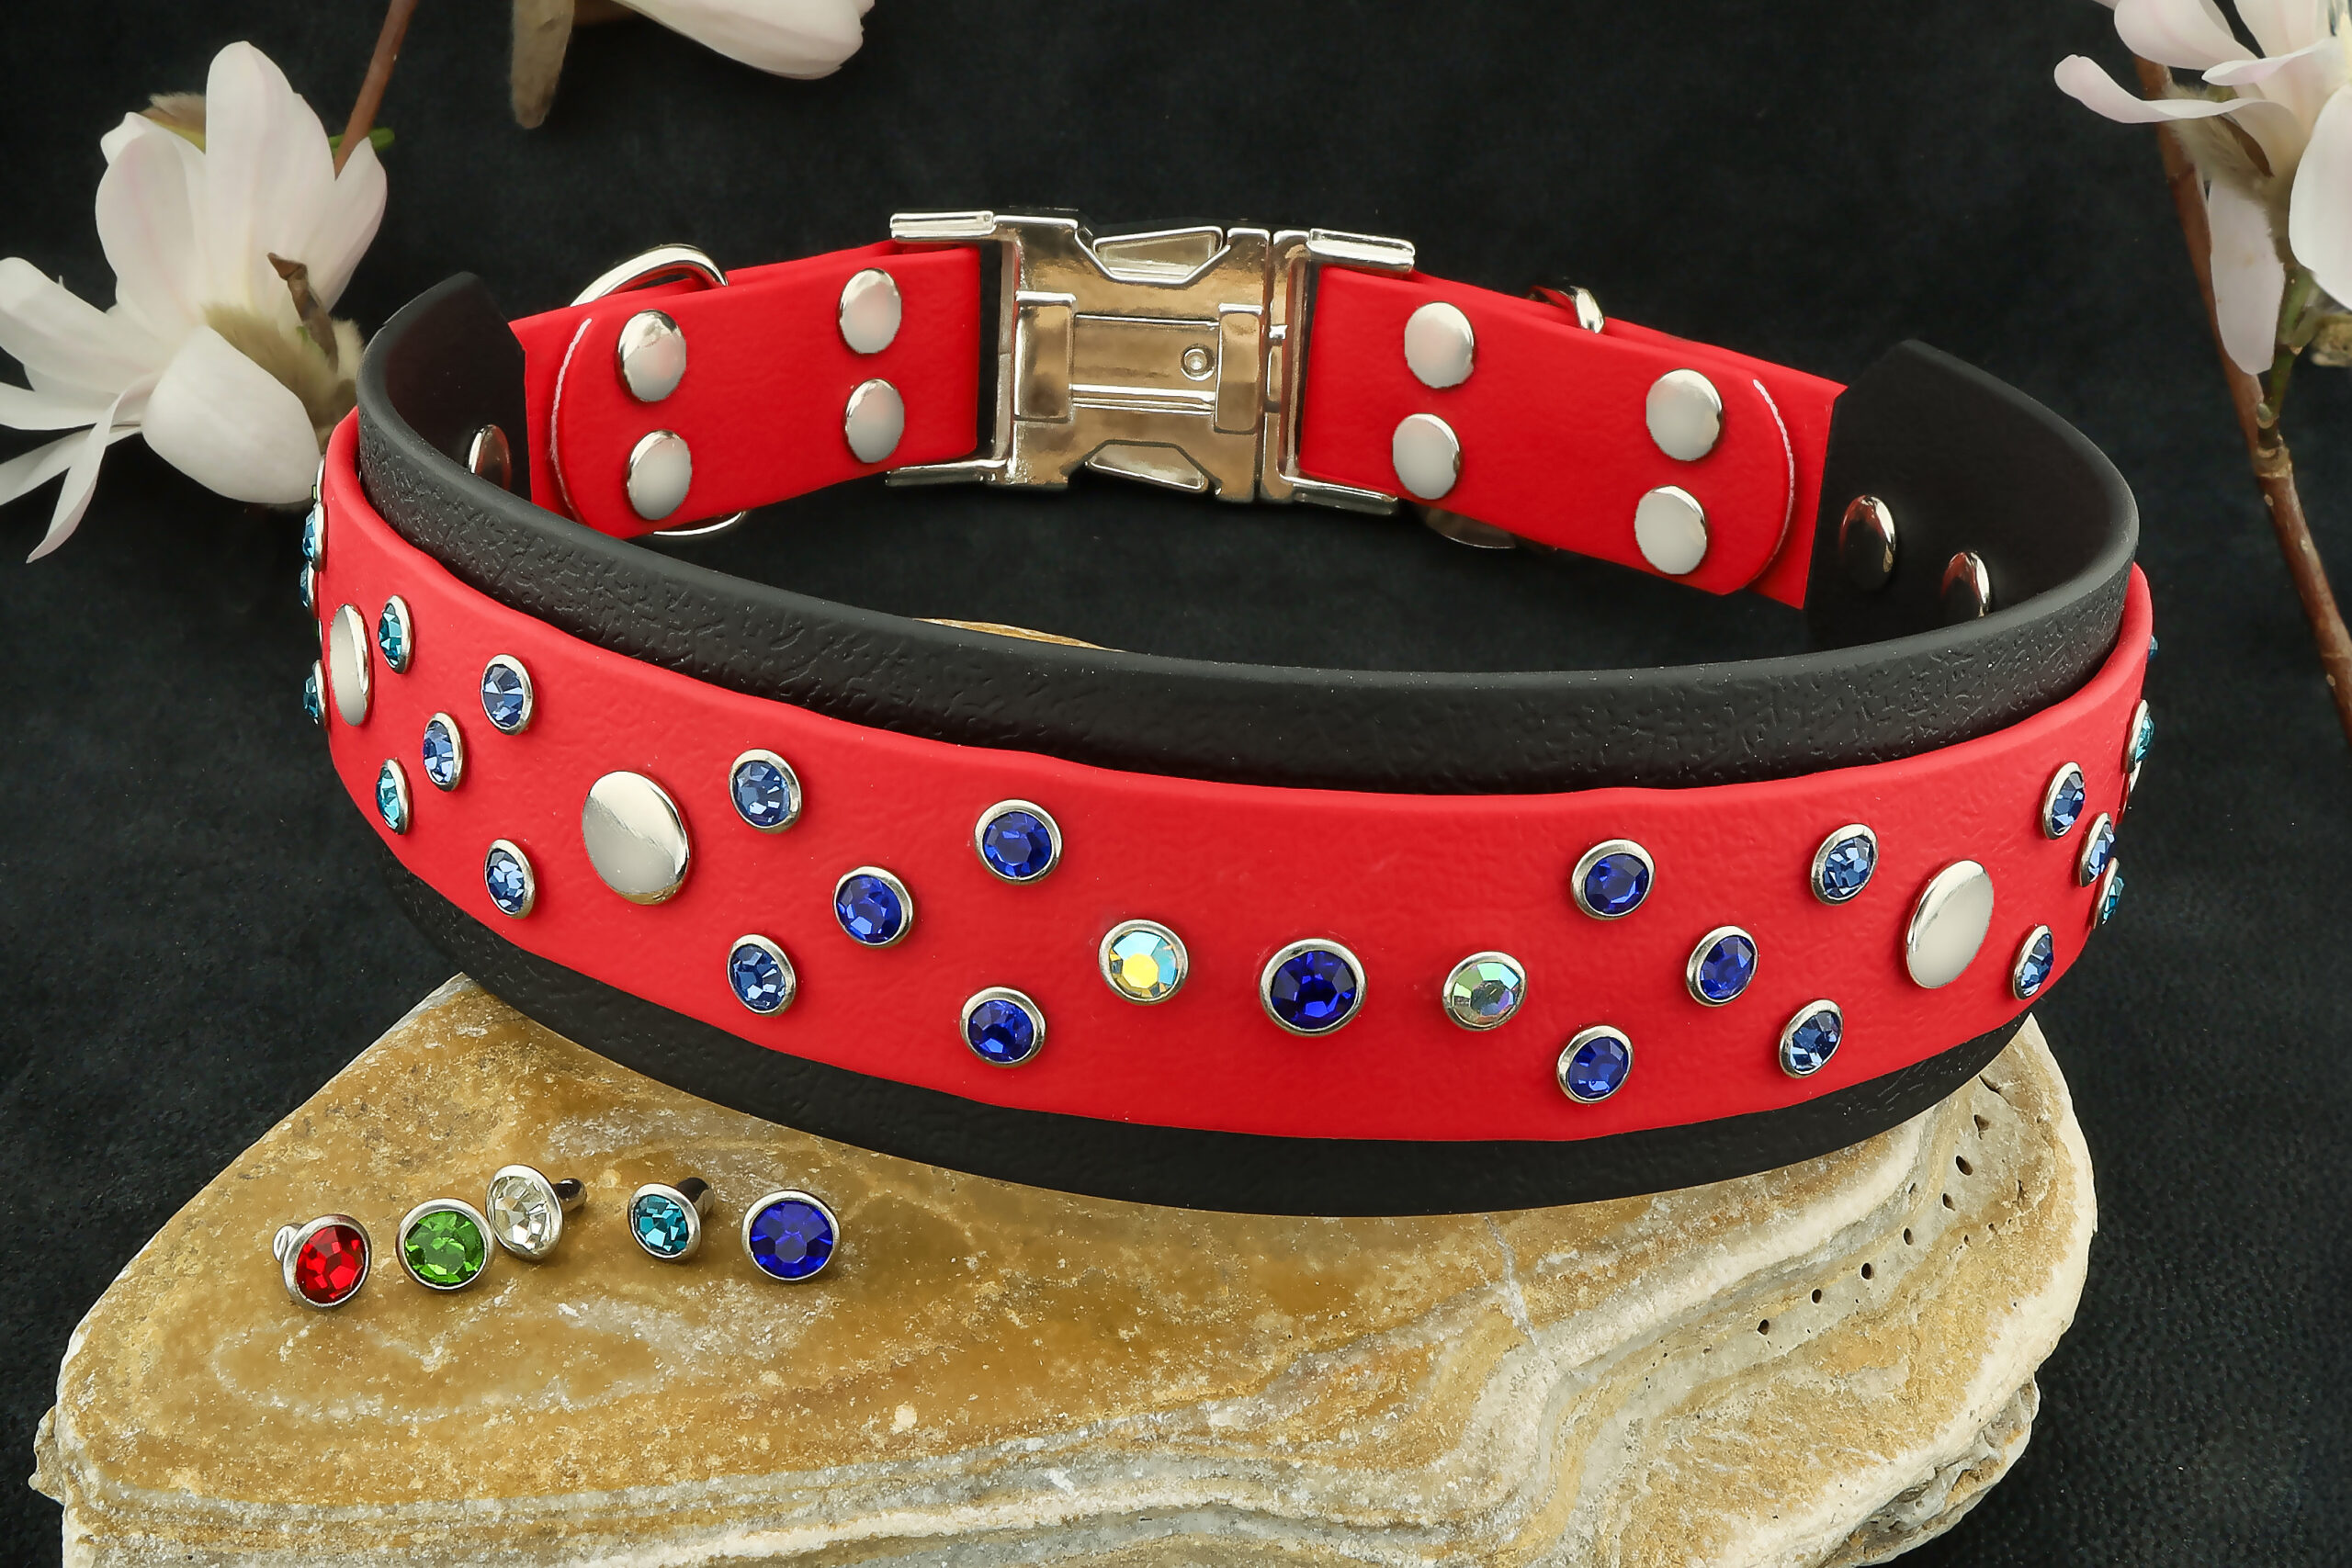
TIP: Try combining rhinestone rivets with waterproof webbing. The mix of a tough material and sparkling glass creates a surprisingly elegant contrast. Whether you are making a collar, a bag or a camera strap, a rhinestone makes the piece stand out. Punch the hole in waterproof webbing with a waterproof webbing punch, not a standard hole punch. Our smallest one is ø 3 mm, so before you buy, check that the post of the rhinestone rivet you chose fits the hole.
So, are you ready to give it a try? Rhinestone rivets may seem like a small detail, but they make a big impression. They bring a piece to life and make it stand out. Try them on a scrap first, then rivet the finished piece. You can choose the right rhinestone rivet from our range.
Pethardware.com
The only shop you’ll ever need for crafting collars and leashes.
Visit Pethardware.com