Shock-absorbing webbing, also known as Ultraflex, may look like an ordinary strap at first glance, but when it matters – it stretches, absorbs impact, softens jolts, and increases comfort for both dog and handler. The ideal material for bungee leashes, canicross, running with dogs, and daily walks with larger pups.
But hold on – flexibility comes with its own set of challenges. Shock-absorbing webbing behaves very differently from standard polypropylene webbing. So – let’s break it down.
How shock-absorbing webbing behaves in real use
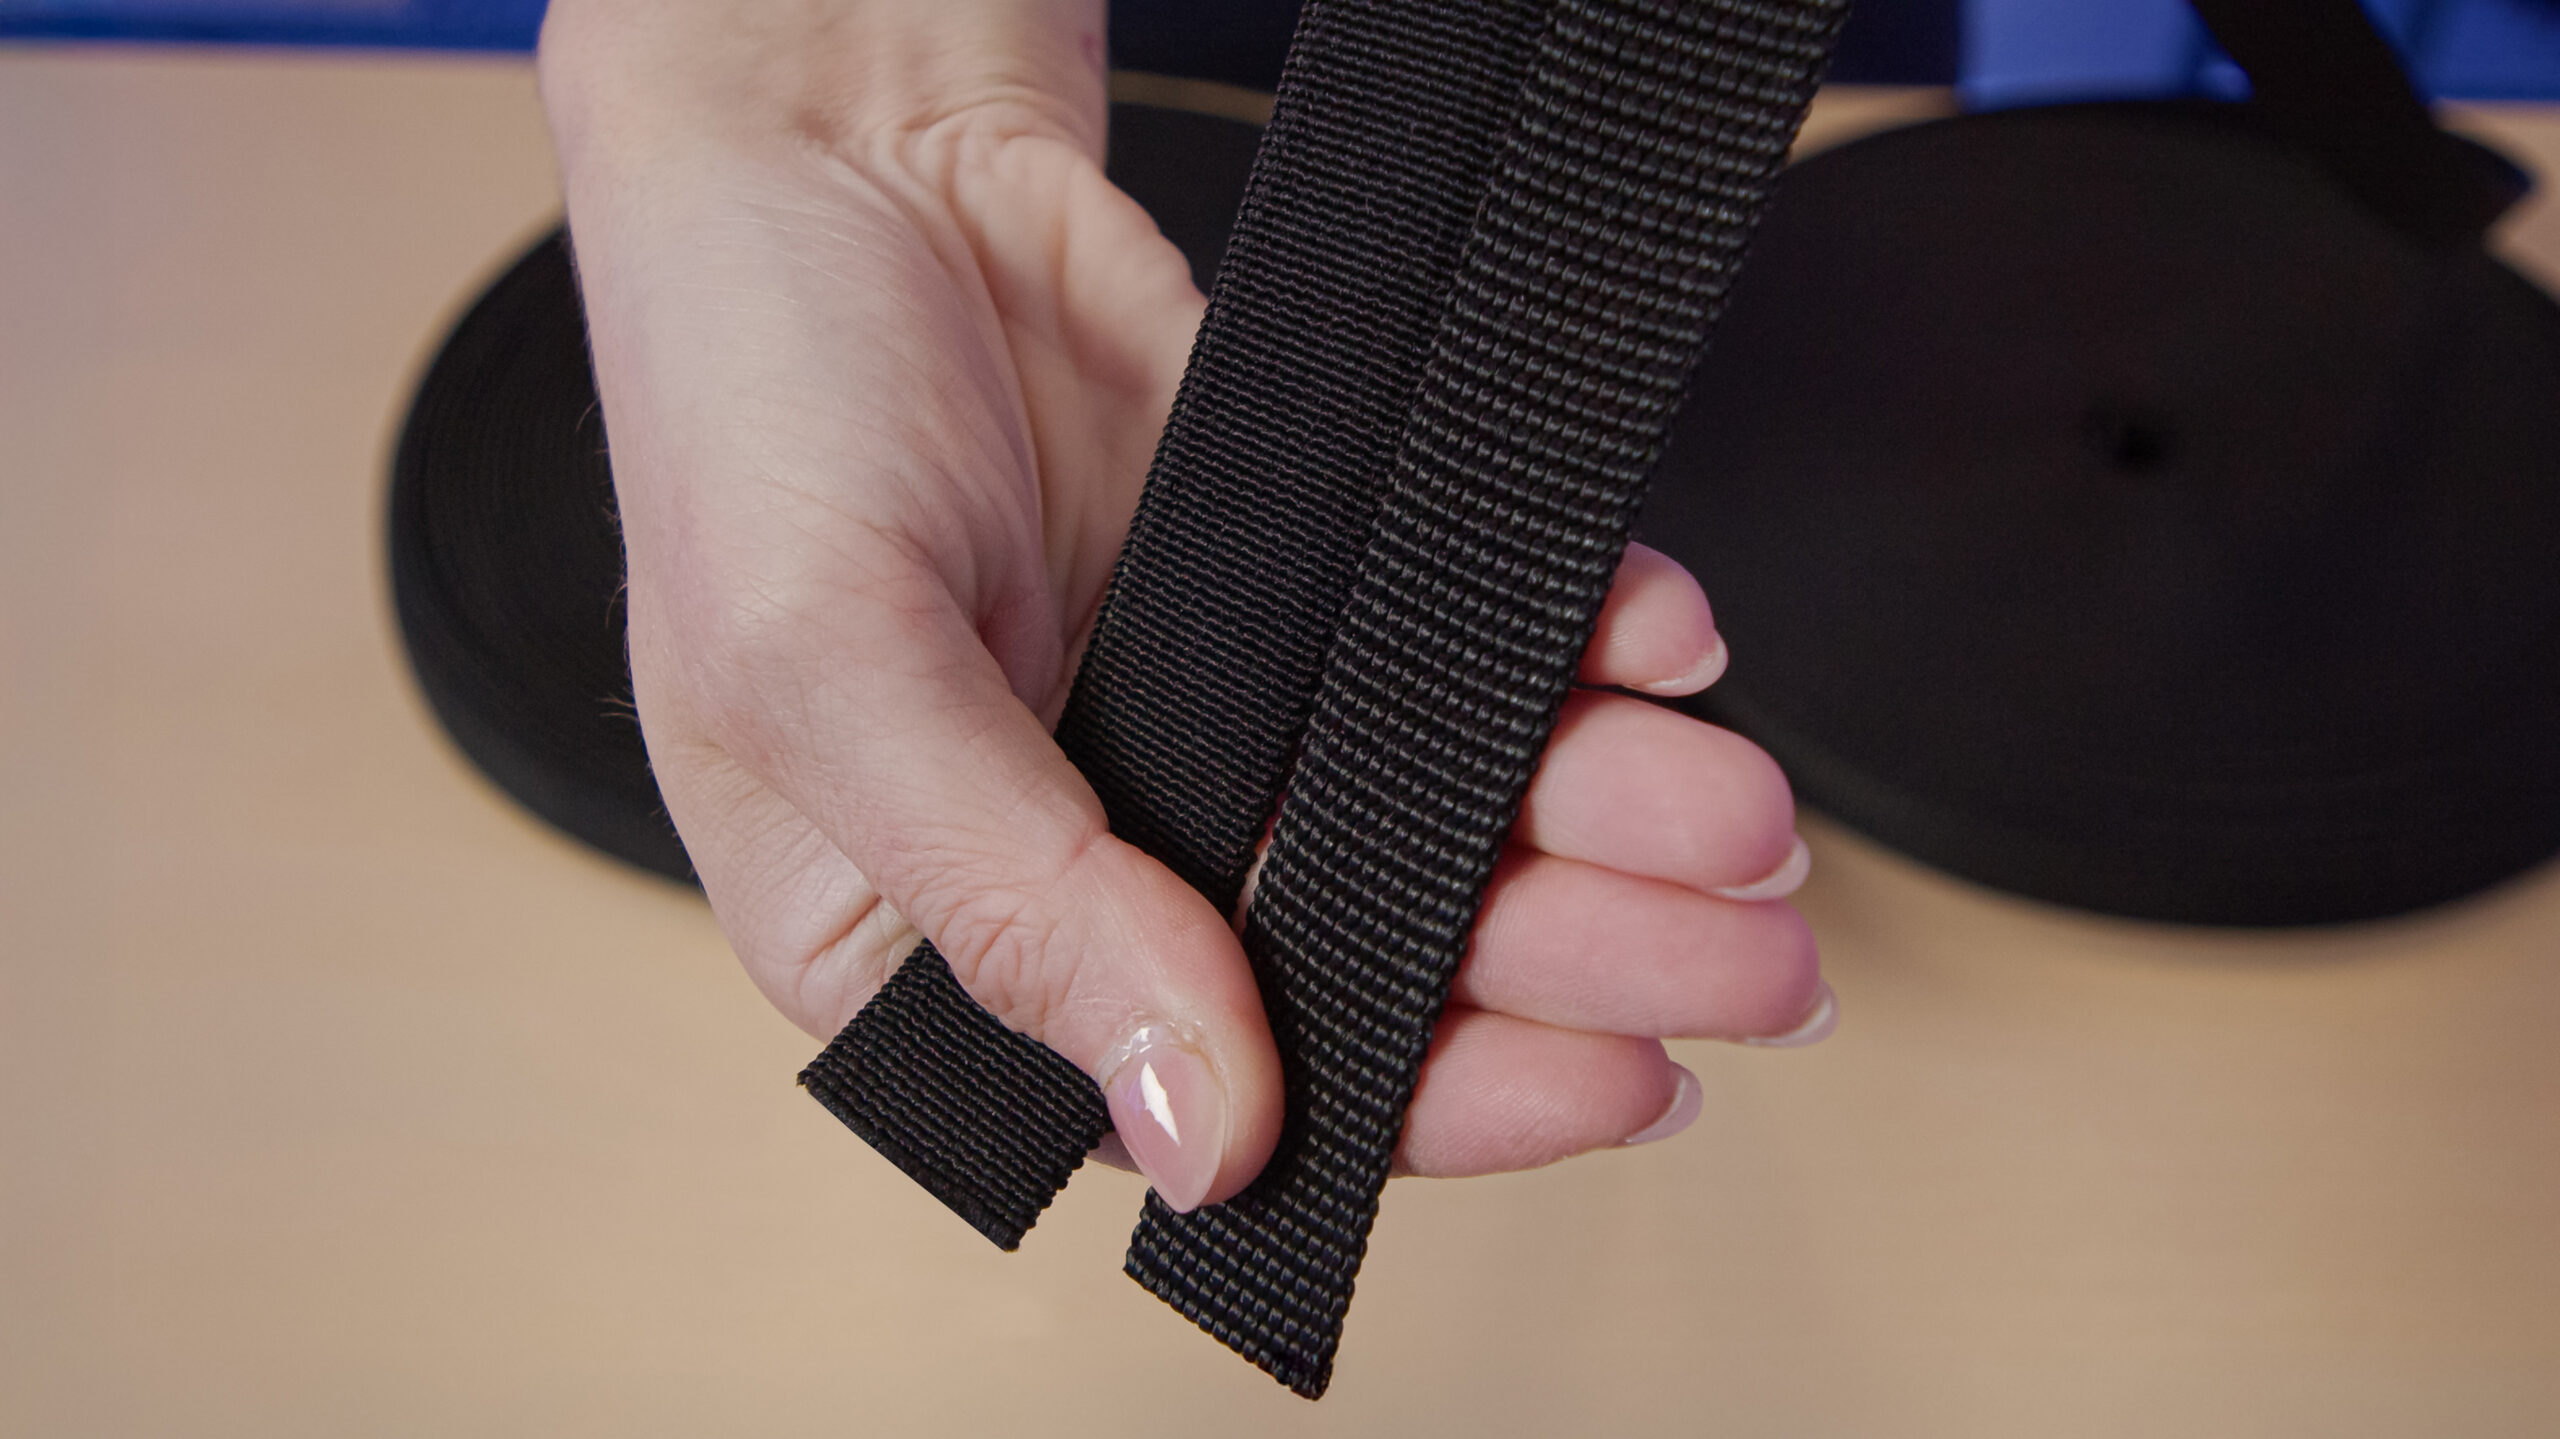
Picture two leashes. Same length, same width. One made of PP webbing – it holds its shape and length. The other made of shock-absorbing webbing – and it stretches beautifully under tension. That extra give absorbs the force that would otherwise shoot straight into your hand (or your dog). Where standard webbing jerks your arm, this one smooths the pull like a breeze.

🎥 VIDEO 1: Structure and stretch – clear and simple demo.
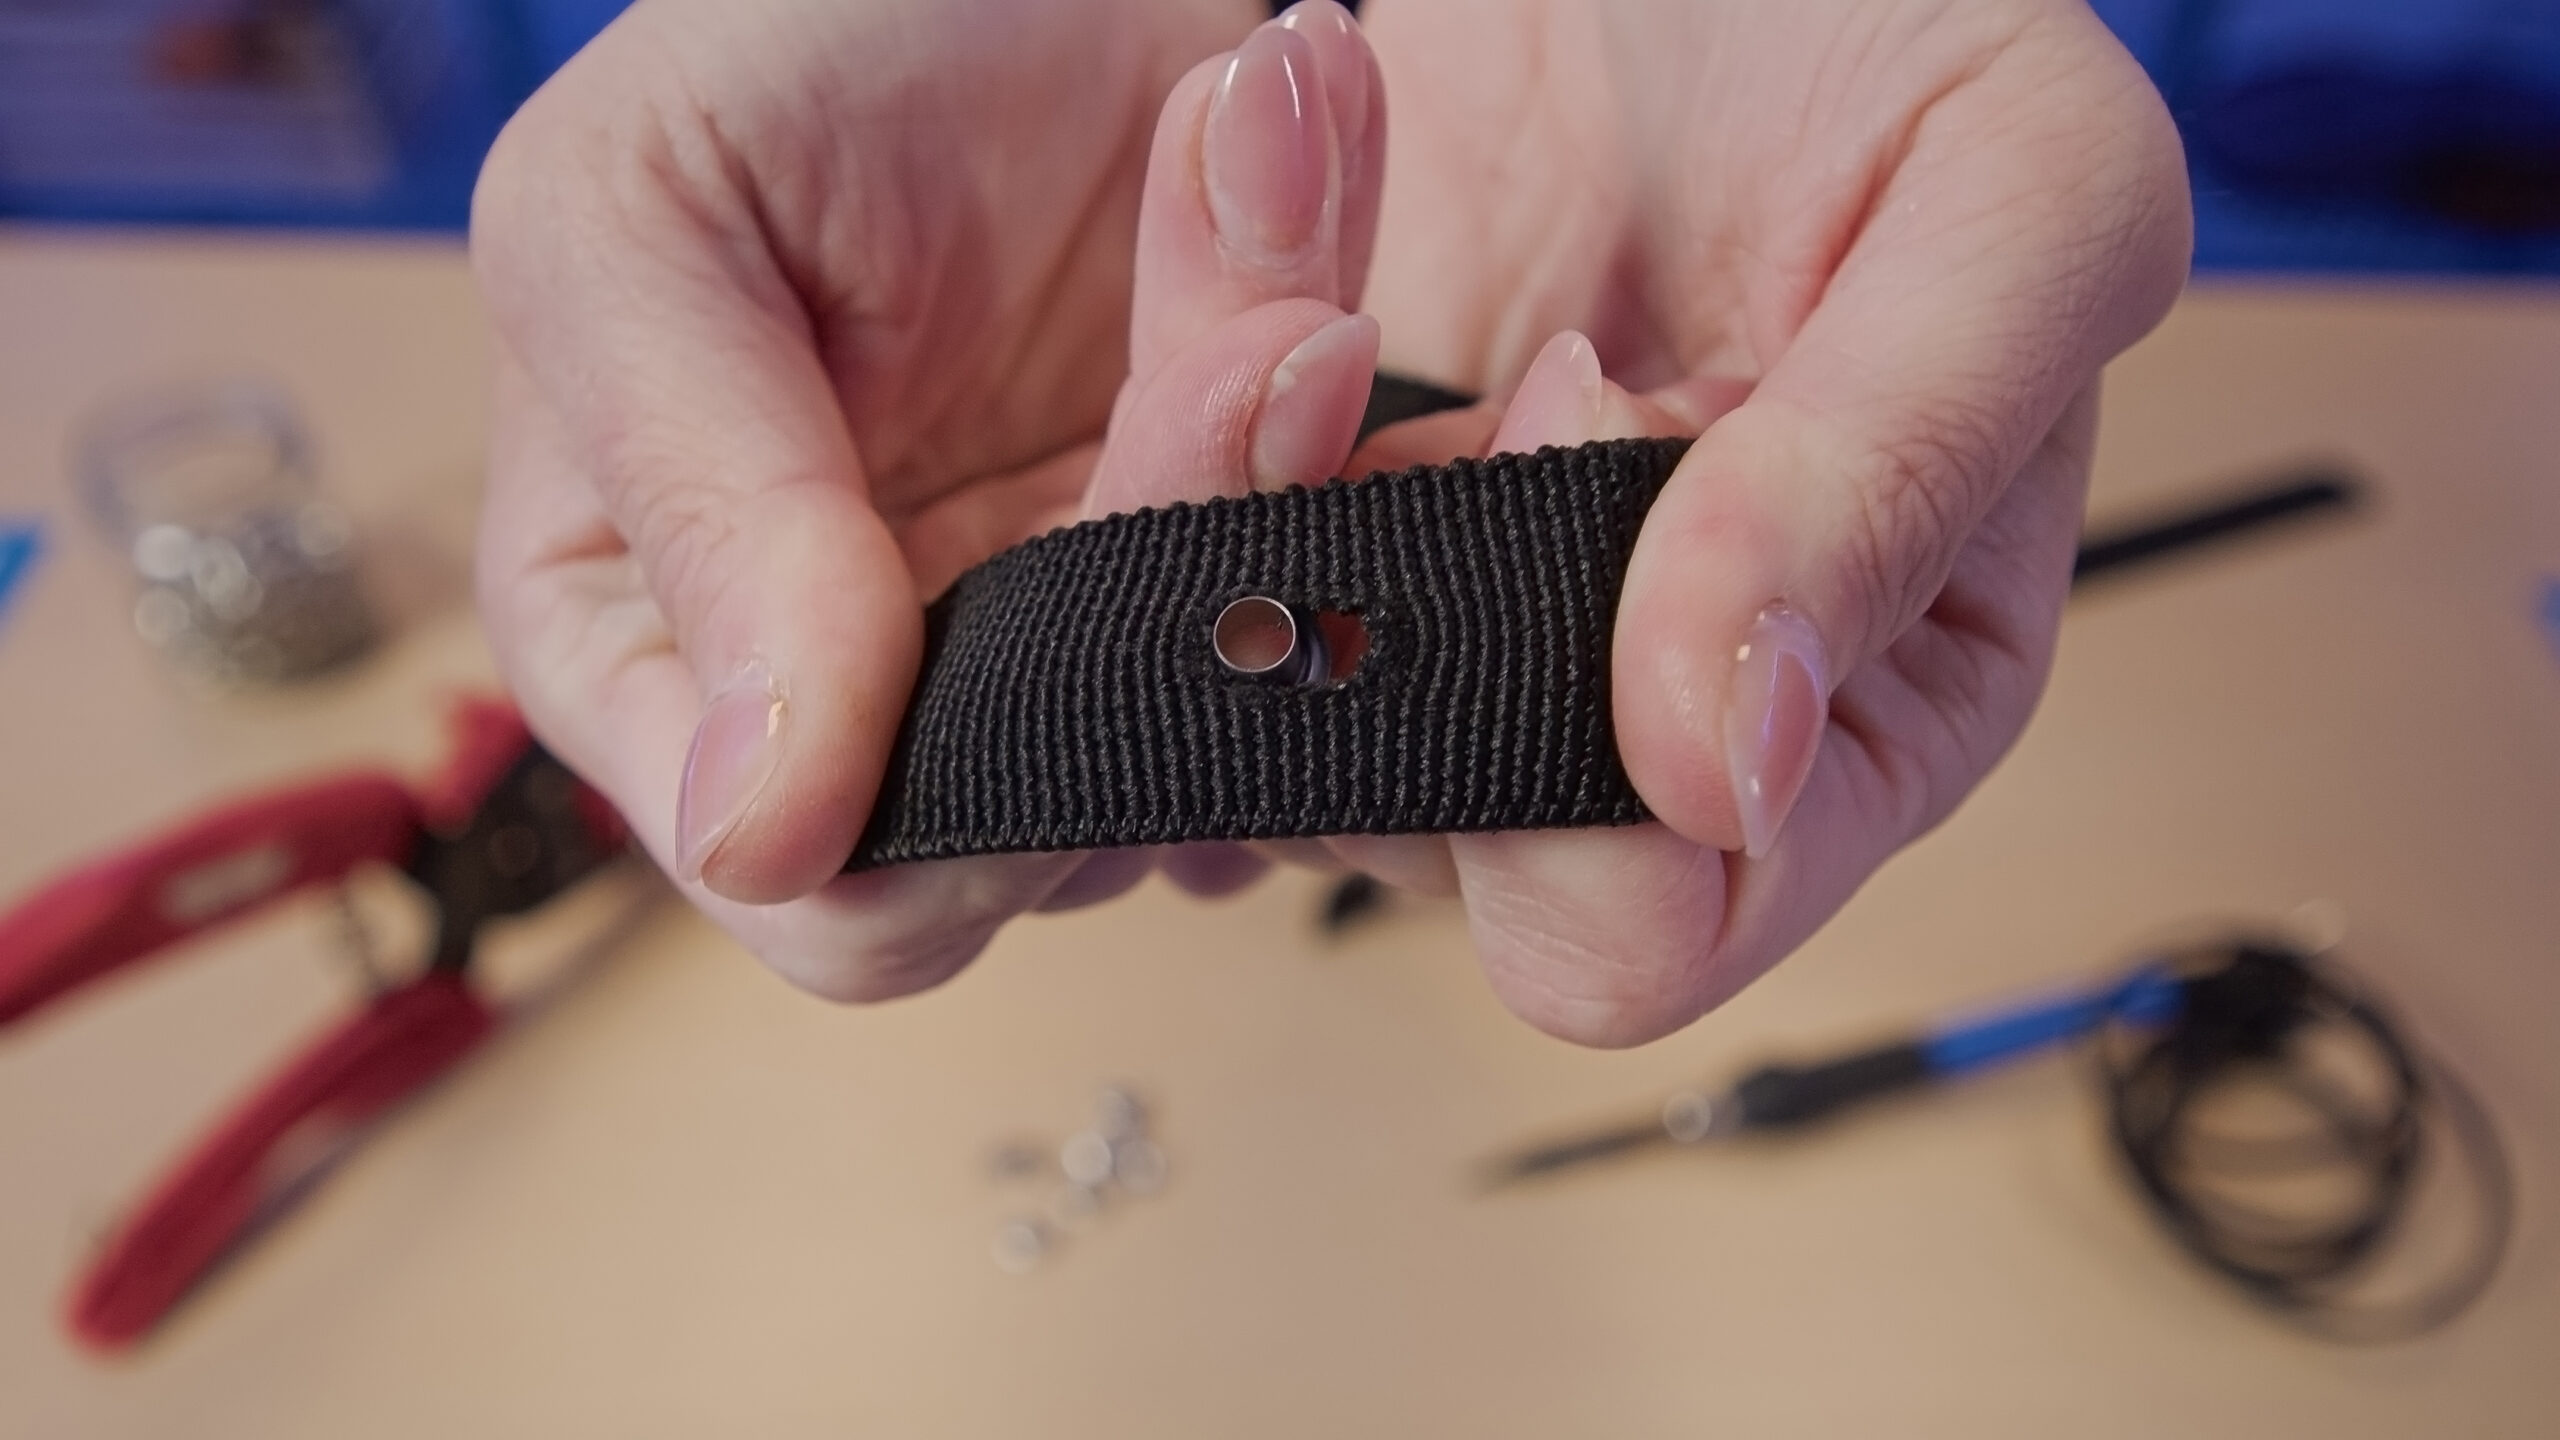
What if I want to punch holes or use rivets?
Short and honest answer? No. Don’t do it.
This webbing isn’t made for punching or riveting. Due to its stretchiness:
- holes deform under tension,
- rivets wobble and won’t hold,
- grommets pop out,
- and melted holes tend to crack.
So: no holes, no rivets. If you want a strong, lasting connection – you’ll need a sewing machine.
How to sew shock-absorbing webbing so it holds
Sewing is the art of control – if you know what you’re doing. And with this stretchy material, it’s twice as true.
Recommended gear:
✅ Needle: heavy-duty, preferably for denim (size 100–110)
✅ Thread: strong polyester – like Synton 40
✅ Machine: industrial (a home machine can handle max one layer)
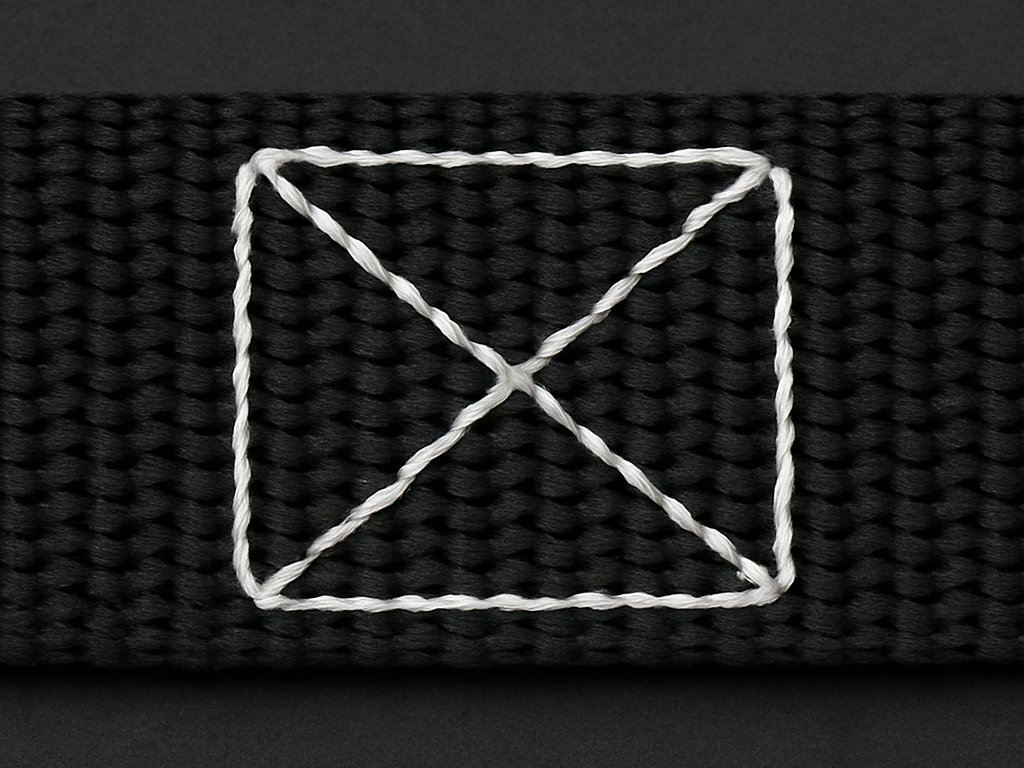
X-box stitch: small shape, big strength
If you want your connection to truly hold, go for the X-box stitch – a rectangle reinforced with a stitched “X”. It’s used in tension-bearing straps, harnesses, collars… anywhere strength matters.
It’s simple – and seriously reliable.
Two sewing techniques: basic vs. layered
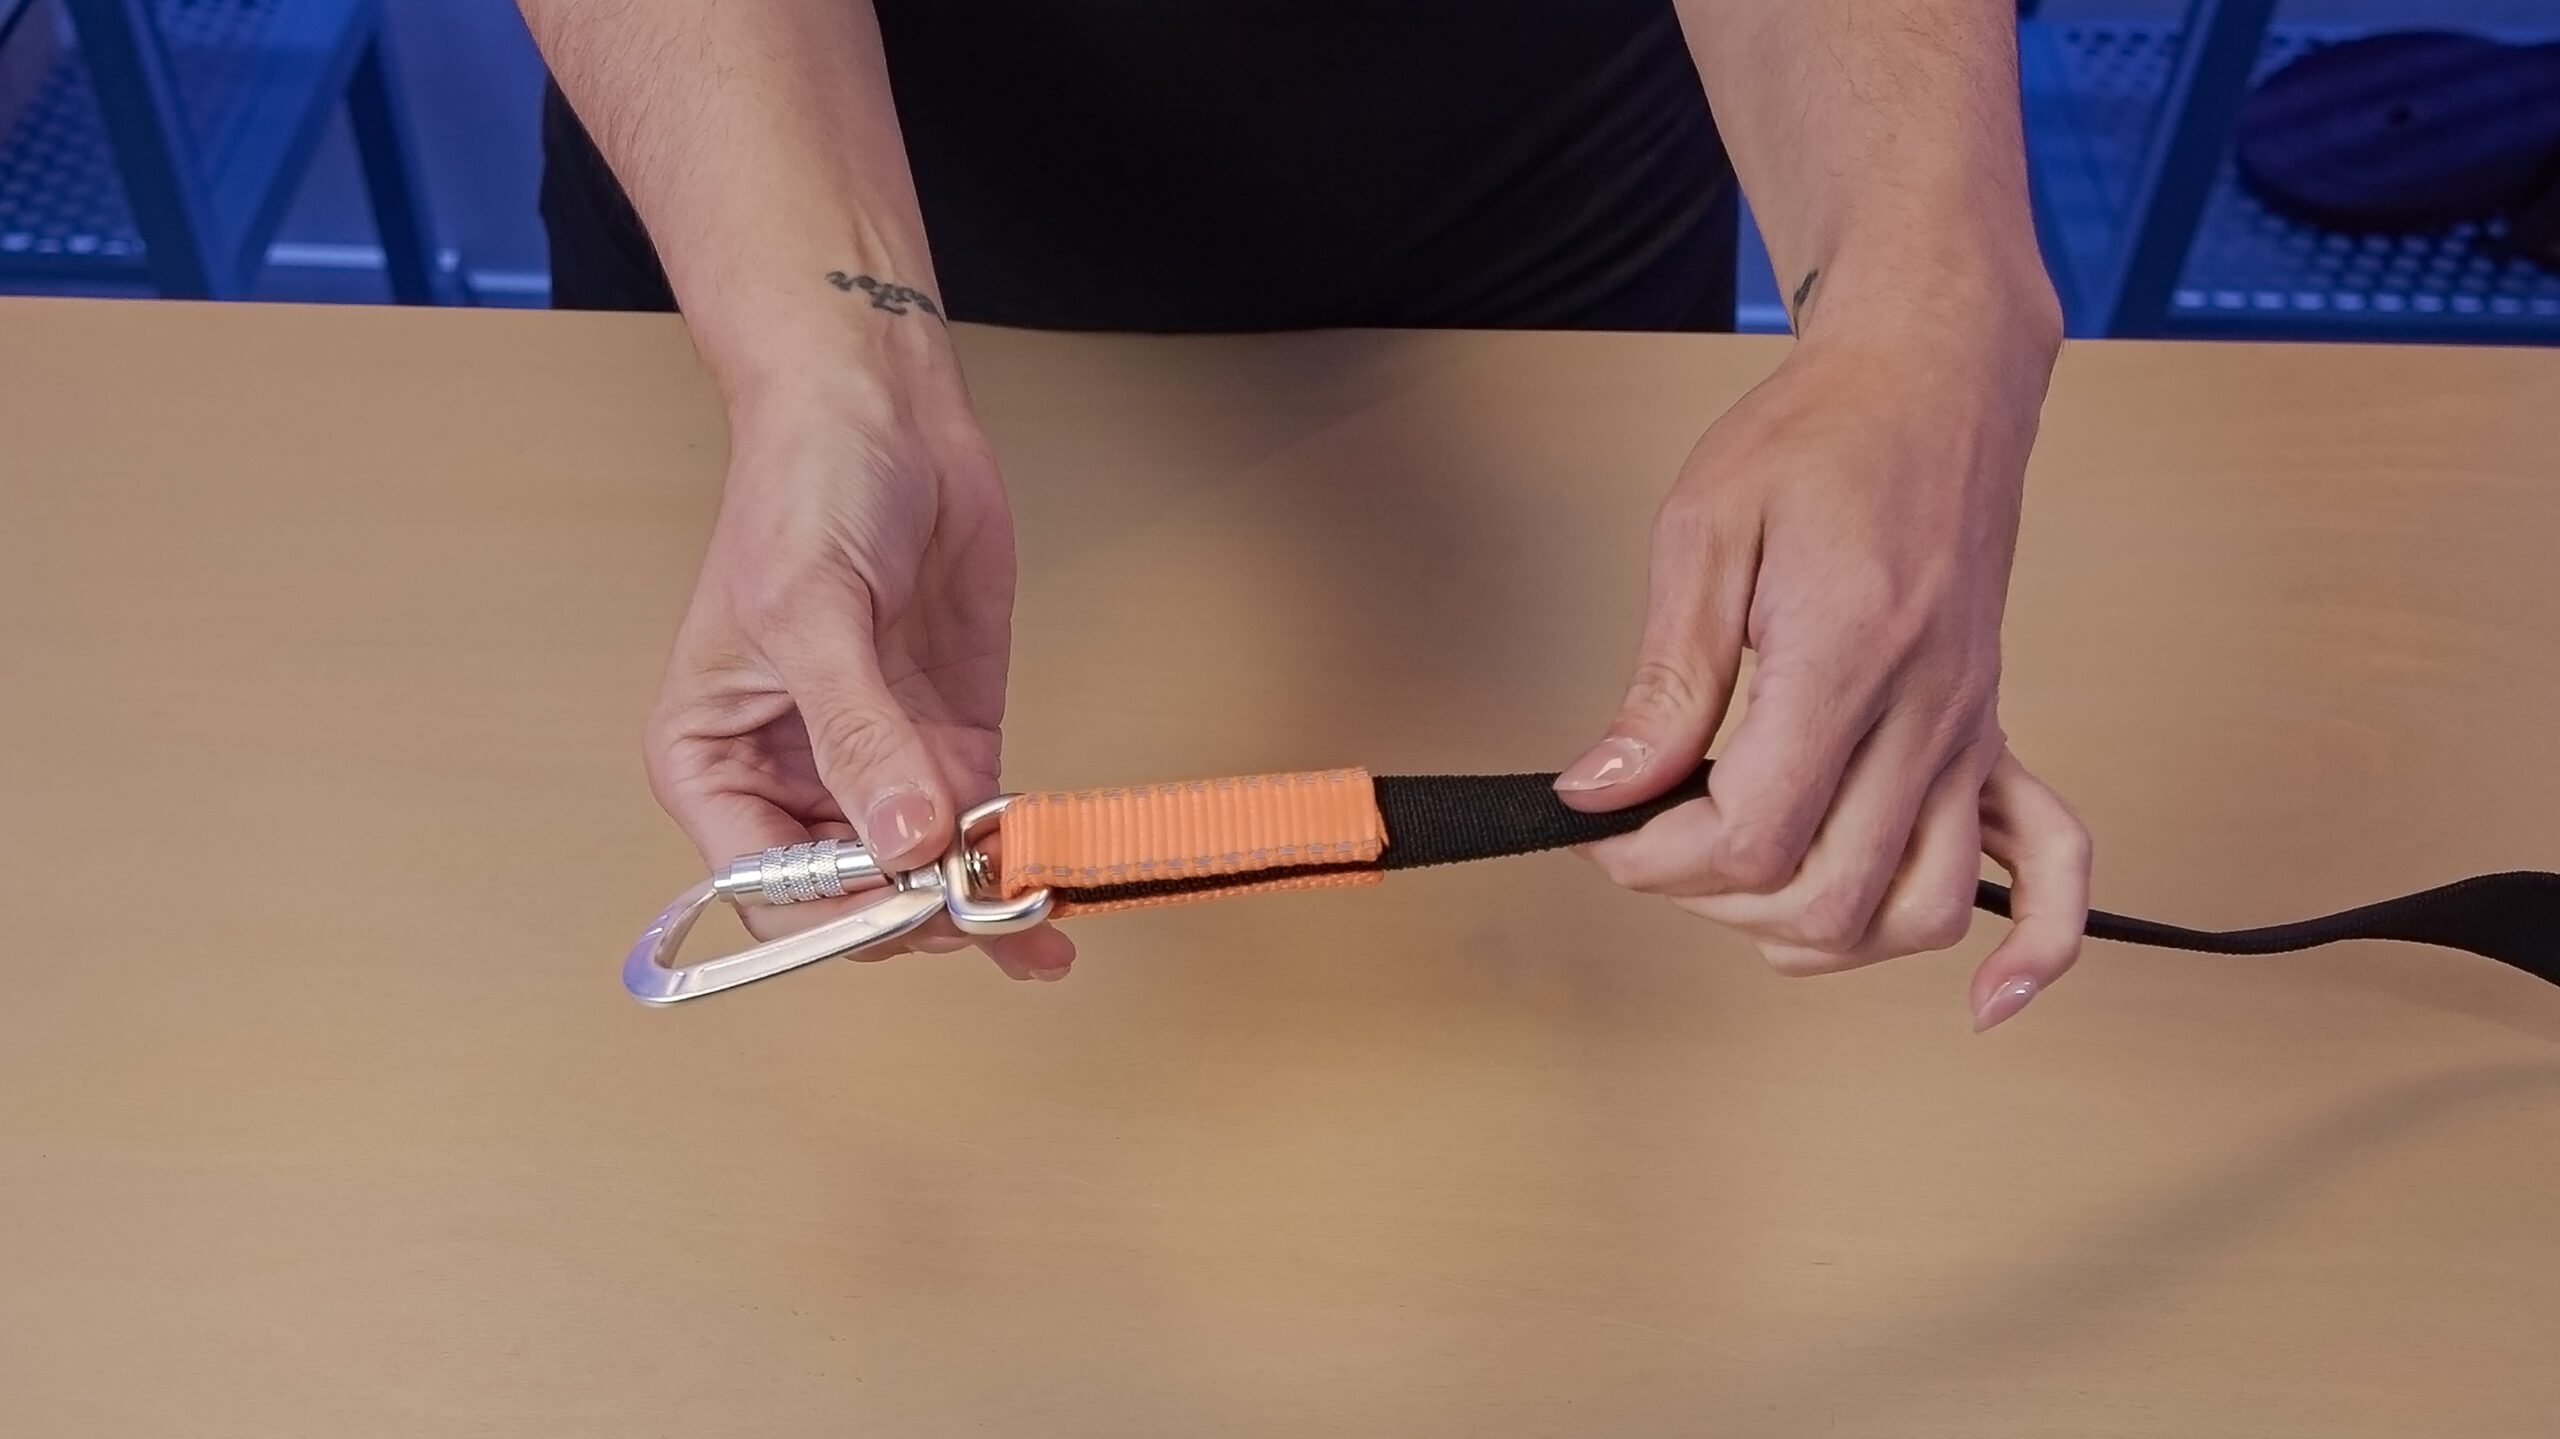
🎥 VIDEO 2: Simple stitching – Shock-absorbing webbing folded over, snap hook inserted, sewn with X-box stitch (two layers)
🎥 VIDEO 3: Layered stitching – Shock-absorbing webbing inserted between two layers of standard webbing, sewn with X-box (three layers – industrial machine required)
👉 This one’s for the pros. Home machines will struggle – and lose.
Pre-stitching fixation – key to precision
Before you start stitching, it’s wise to hold those layers together. Here’s how:
✅ Double-sided tape
- go for thin, narrow, high-quality tape (like Tesa or 3M)
- avoid foam-based tape
- sticks well, no smell, fast workflow
✅ Contact adhesive (Chemoprén)
- apply 1–2 thin layers of glue
- let it dry before pressing together – otherwise it’ll mess up your needle *and* your patience
Combining with standard webbing
The most common setup is:
- Elastic section: shock-absorbing webbing
- Ends: standard PP webbing (for handle or snap hook)
This way, the leash stretches only where it should – while keeping the ends stable and secure.
What it looks like when pros do it at scale
Warning: NO plastic snap hooks!
Not even for small dogs. Not for fun. Not “just for now.”
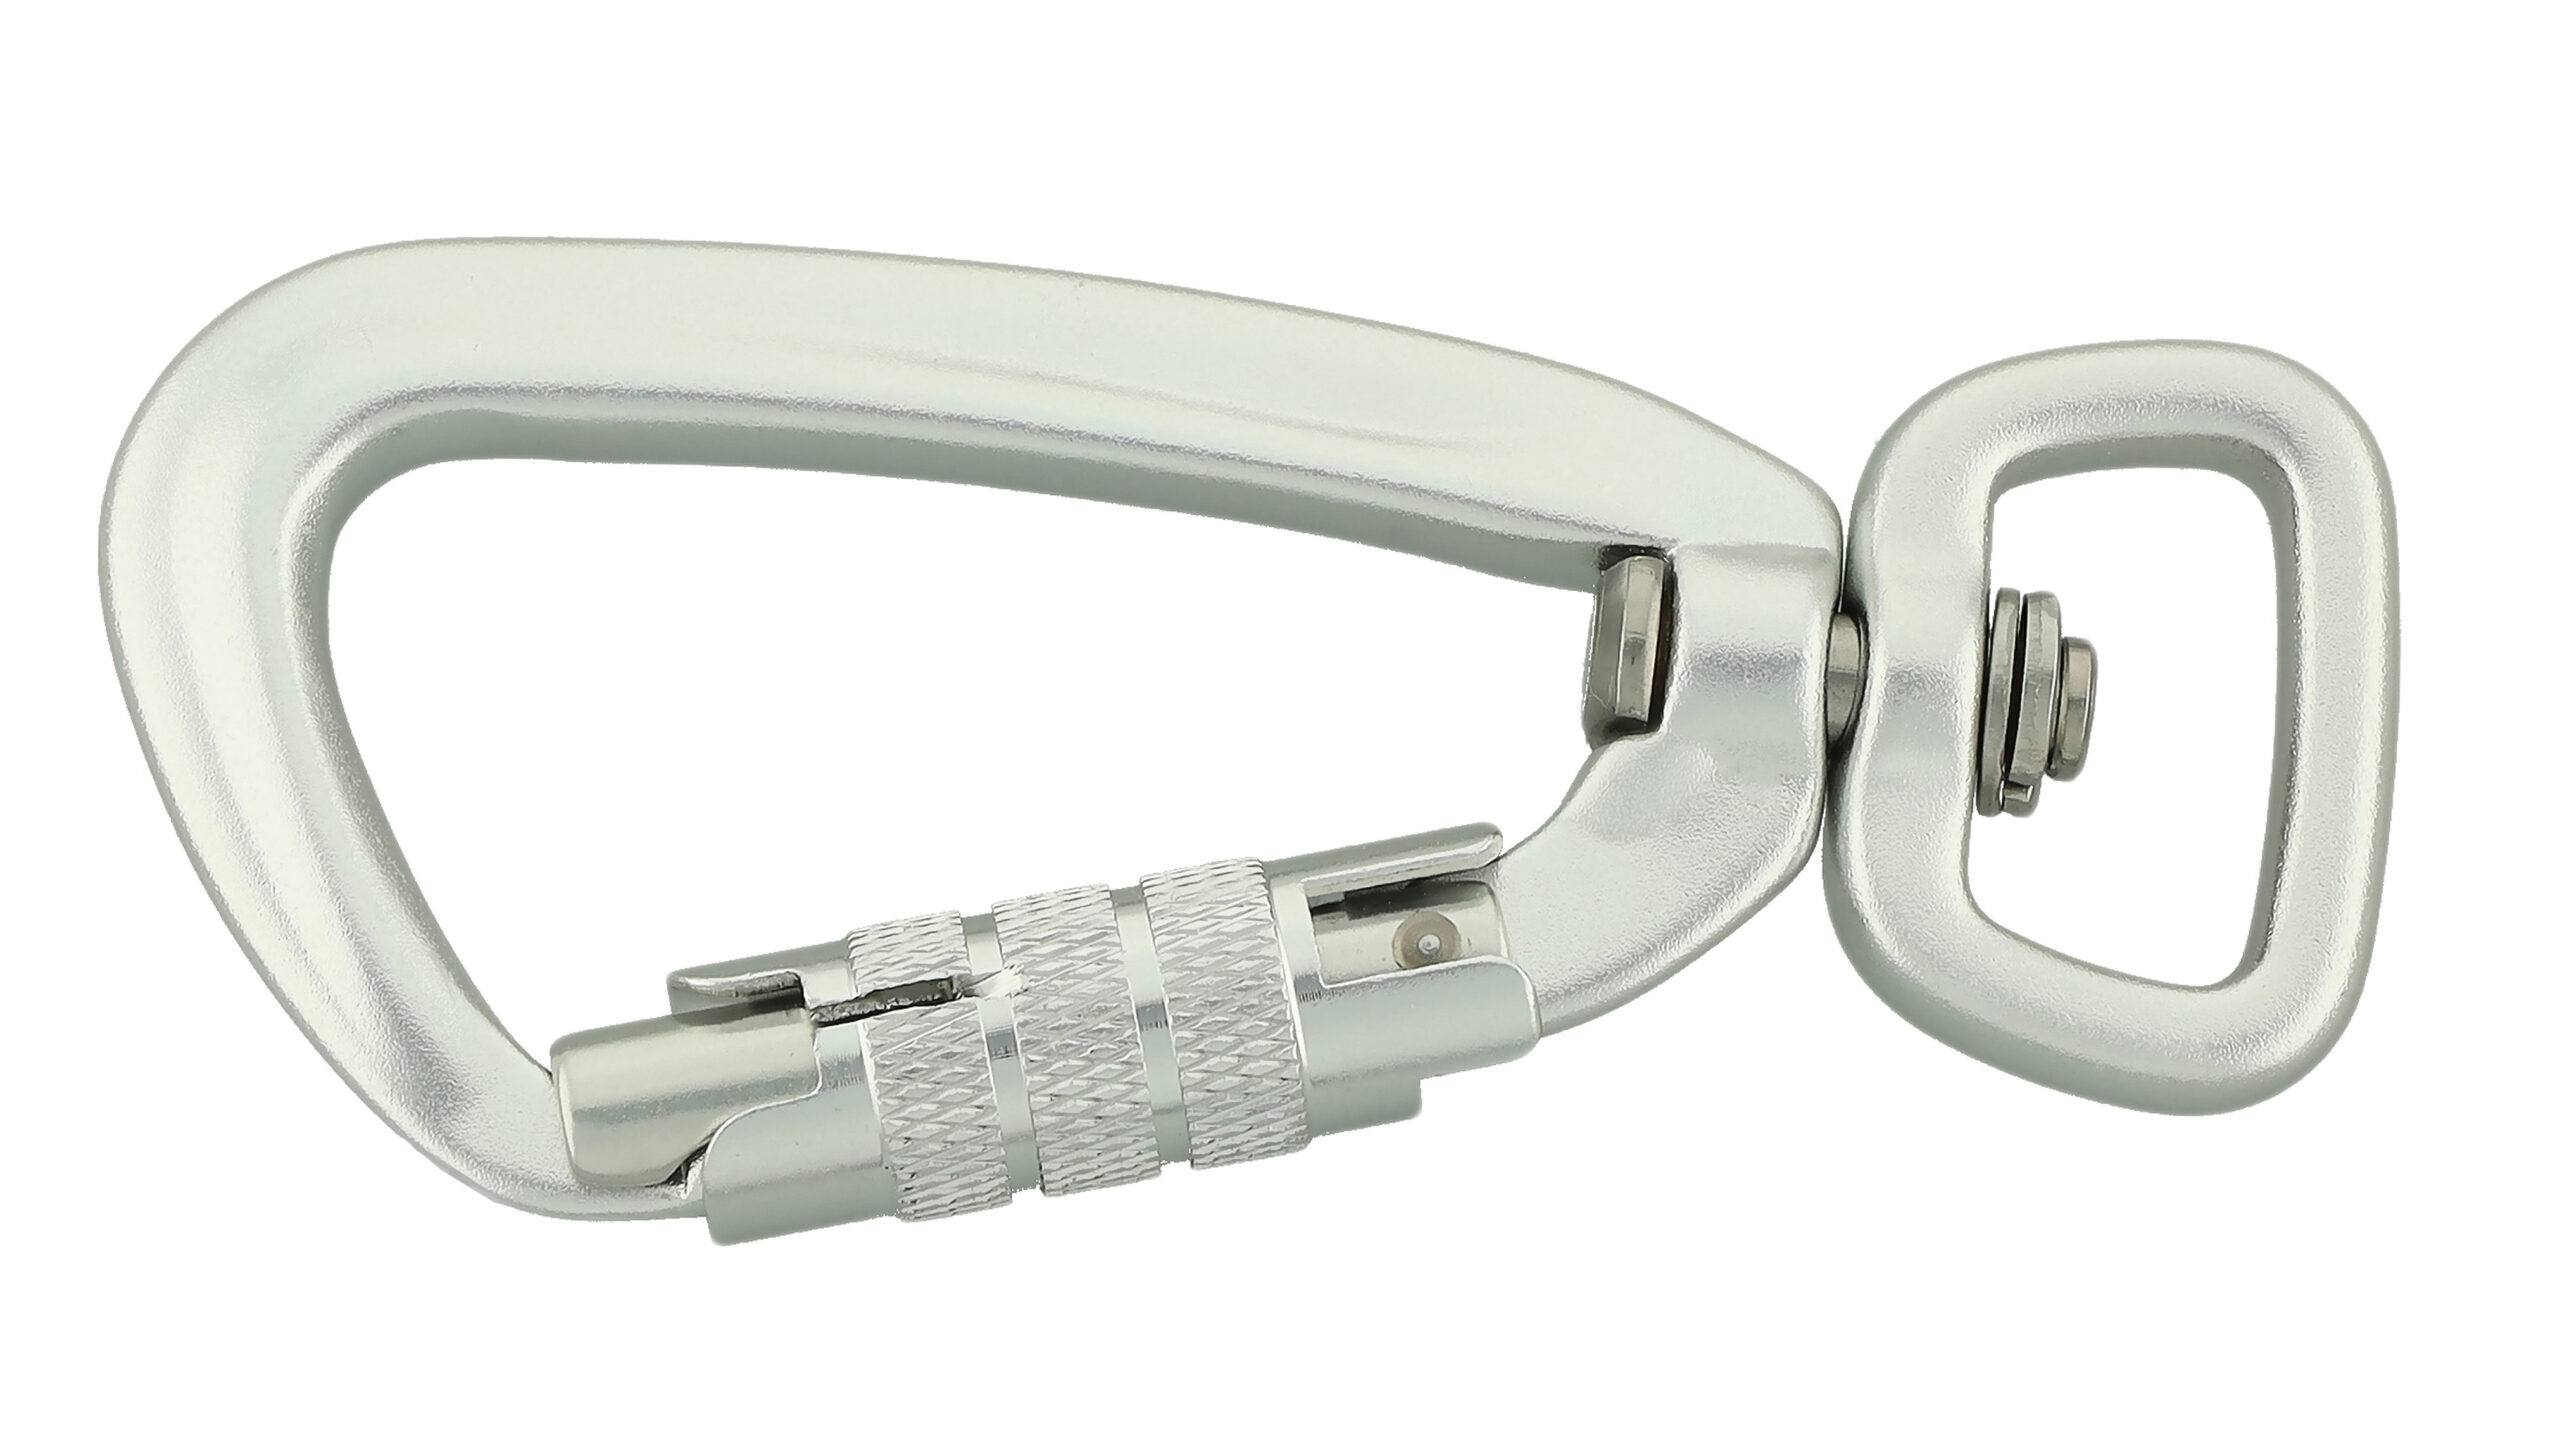
Shock-absorbing webbing can deliver a serious pull – and plastic snap hooks are the weakest link. Use lightweight aluminum snap hooks. Preferably with a locking mechanism.
Summary: Shock-Absorbing Webbing in a Nutshell
✅ Impact cushioning
✅ Comfort for dog and handler
✅ Sleek appearance
❌ Riveting? Nope.
✔️ Only X-box stitching, ideally pre-fixed
✔️ Combine with standard webbing = stability & reliability
✔️ And above all – no plastic snap hooks!
So – ready to try it?
Shock-absorbing webbing isn’t “just stretchy material.” It’s a material with personality – one that helps you create a leash that looks great, performs even better, and can handle a real puller. You just have to use it right.
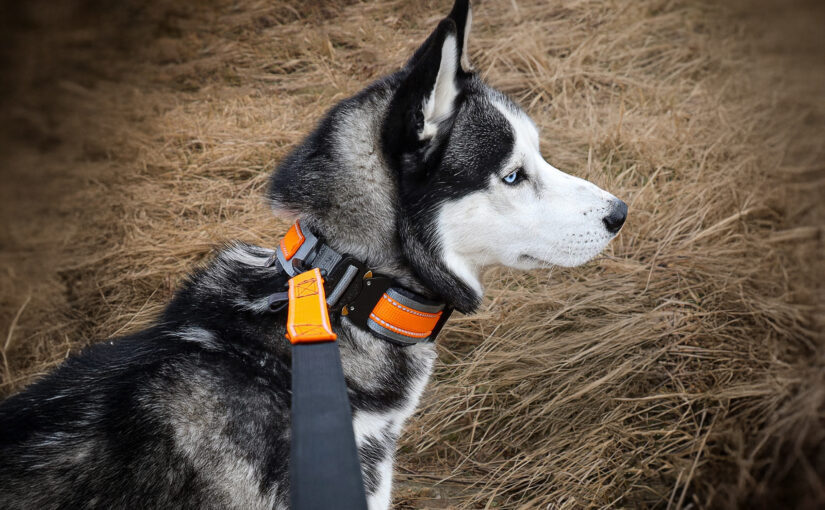
How a leash made of shock-absorbing webbing behaves in the field
Pethardware.com
The only shop you’ll ever need for crafting collars and leashes.
Visit Pethardware.com