

Decorative rivets brighten up dog collars and leashes, bracelets, handbags, shoes, leather clothing and planners. We sell them by the hundred (minimum order 100 pcs). Because they come in so many shapes and sizes, setting them is often tricky. We get a lot of questions about it, so we wrote this article for you.
First, an important reminder: we do not recommend using decorative rivets to join materials permanently.
The procedure for setting decorative rivets is similar to setting saddlery rivets. You will find detailed instructions in the article How to rivet by hand. You can set all the metal ornaments we sell with a rivet setter for open saddlery rivets with a 7 mm diameter.

Whether setting decorative rivets succeeds or fails depends on using the right base. We will show you how to choose one according to the height of the ornament and how to make it yourself.
Choosing the right base for decorative rivets
For ordinary saddlery rivets, you set them by hand on anvils chosen to match the size and shape of the rivet. With so many different decorative rivets, that approach would be very expensive. That is why we use vegetable-tanned leather as the base, which must lie on a hard, flat surface (a steel plate, the flat side of an anvil, etc.).
When you set low ornaments shaped like dogs, bones, paws, flat stars, rosettes and the like, you need to use very thin leather (about 1 mm). With thicker leather, the ornament could bend or even crack as you set it.

When you set high ornaments, it is a good idea to make a form with the negative shape of each ornament, a mold. It ensures that:
- the ornament does not move while you set it,
- the ornament does not bend or crack while you set it,
- and the ornament holds firmly on the product.

How to make a mold
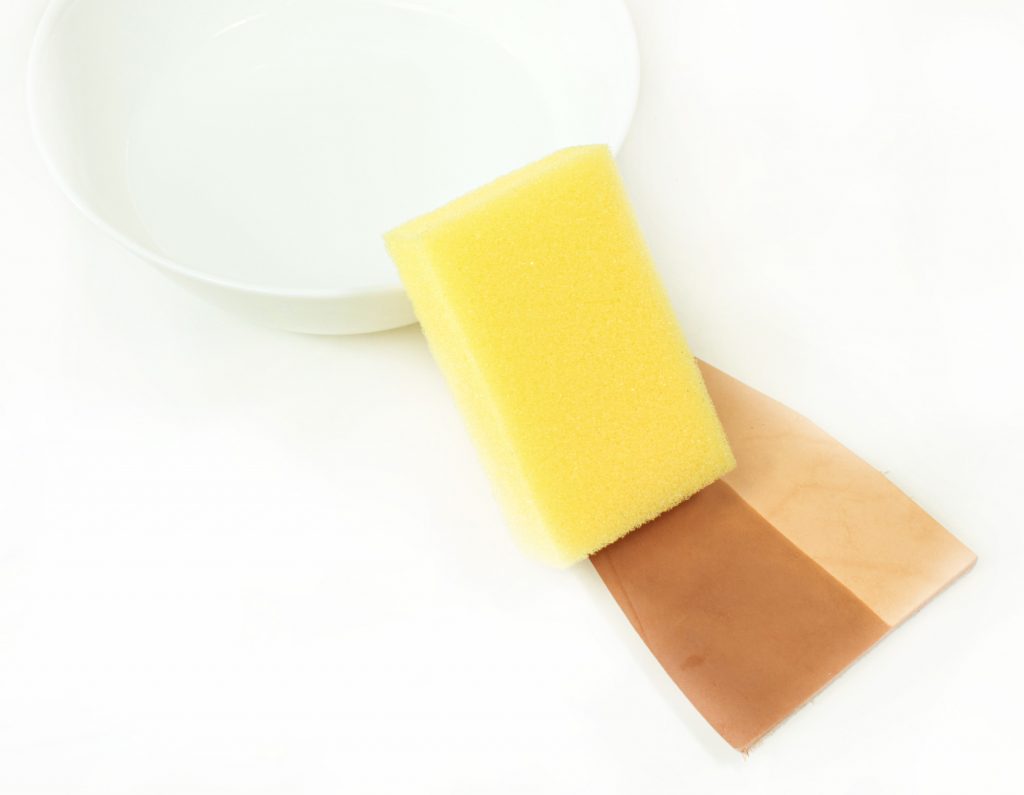
Thick vegetable-tanned leather (full-grain) works well for a mold. You can also glue two pieces of leather together for this purpose. After gluing, weigh the leather down and let the glue dry thoroughly.
Making a mold is very simple:


If you have a hand press, you can make the mold with it too (how to use the press is explained in the article Riveting with a hand press). Remove the upper die and use the pressing force of the press instead of a mallet.


How to set decorative rivets
The procedure is the same for low and high ornaments. As with saddlery rivets, it is important to choose the right leather thickness. To set the rivet properly, the post must stick out 2–3 mm above the leather. If the leather is too thick, the post will not flare and the ornament will not hold. For an ornament with a 4 mm post, choose leather 1–2 mm thick; for a 5 mm post, leather 2–3 mm thick.


Setting spikes and dome-head ornaments

Two types form a special category of ornaments: rivets with a half-round, lentil-shaped head (dome) and spikes. For these, a mold is no longer enough and you need the matching rivet setter. The procedure is similar to other ornaments, except that the rivet cap, not the ornament, sits on the base underneath. Here is how:


Final tips
We do not recommend wooden, rubber, silicone, felt or springy bases for setting metal ornaments. The opposite applies to rhinestone rivets, because the stone needs a soft base; see How to set rhinestone rivets.
- The harder the base, the easier it is to set the ornaments. A steel plate with thin leather or a mold on top has worked well for us.
- A springy base bounces back on impact and the post does not flare enough in the cap.
- Felt bases are very soft; they bend when you set the ornament and, in the worst case, the ornament can crack.
A properly attached ornament must not move or turn in the material in any way, and the rivet cap must sit parallel to the material (not at an angle).
Pethardware.com
The only shop you’ll ever need for crafting collars and leashes.
Visit Pethardware.com