Want a collar made exactly your way? I’ll guide you step by step and in no time you’ll have a handsome, strong, waterproof piece you’ll be proud of. You don’t need prior experience or a special workshop. Let’s get started.
Why choose waterproof webbing for collars
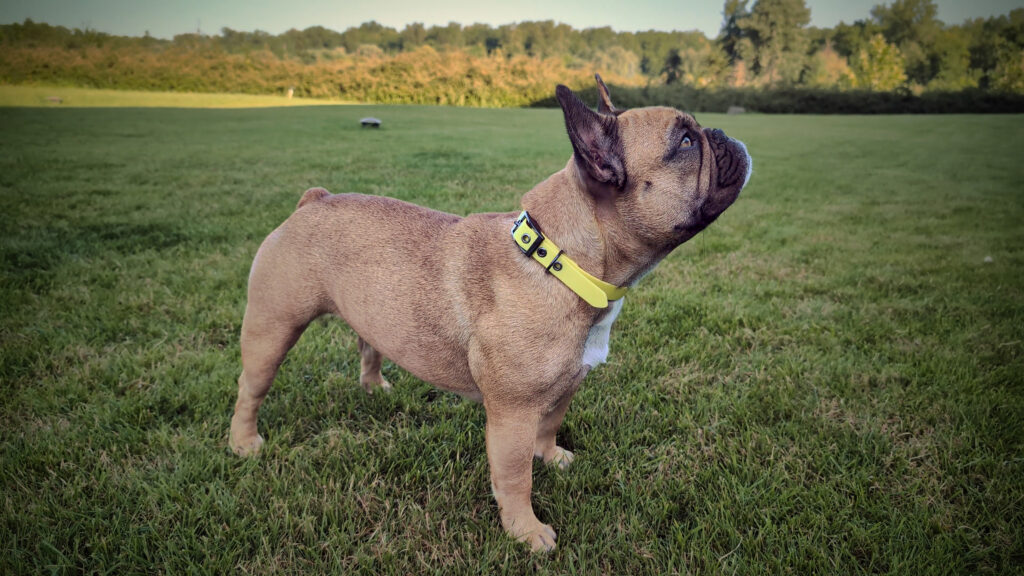
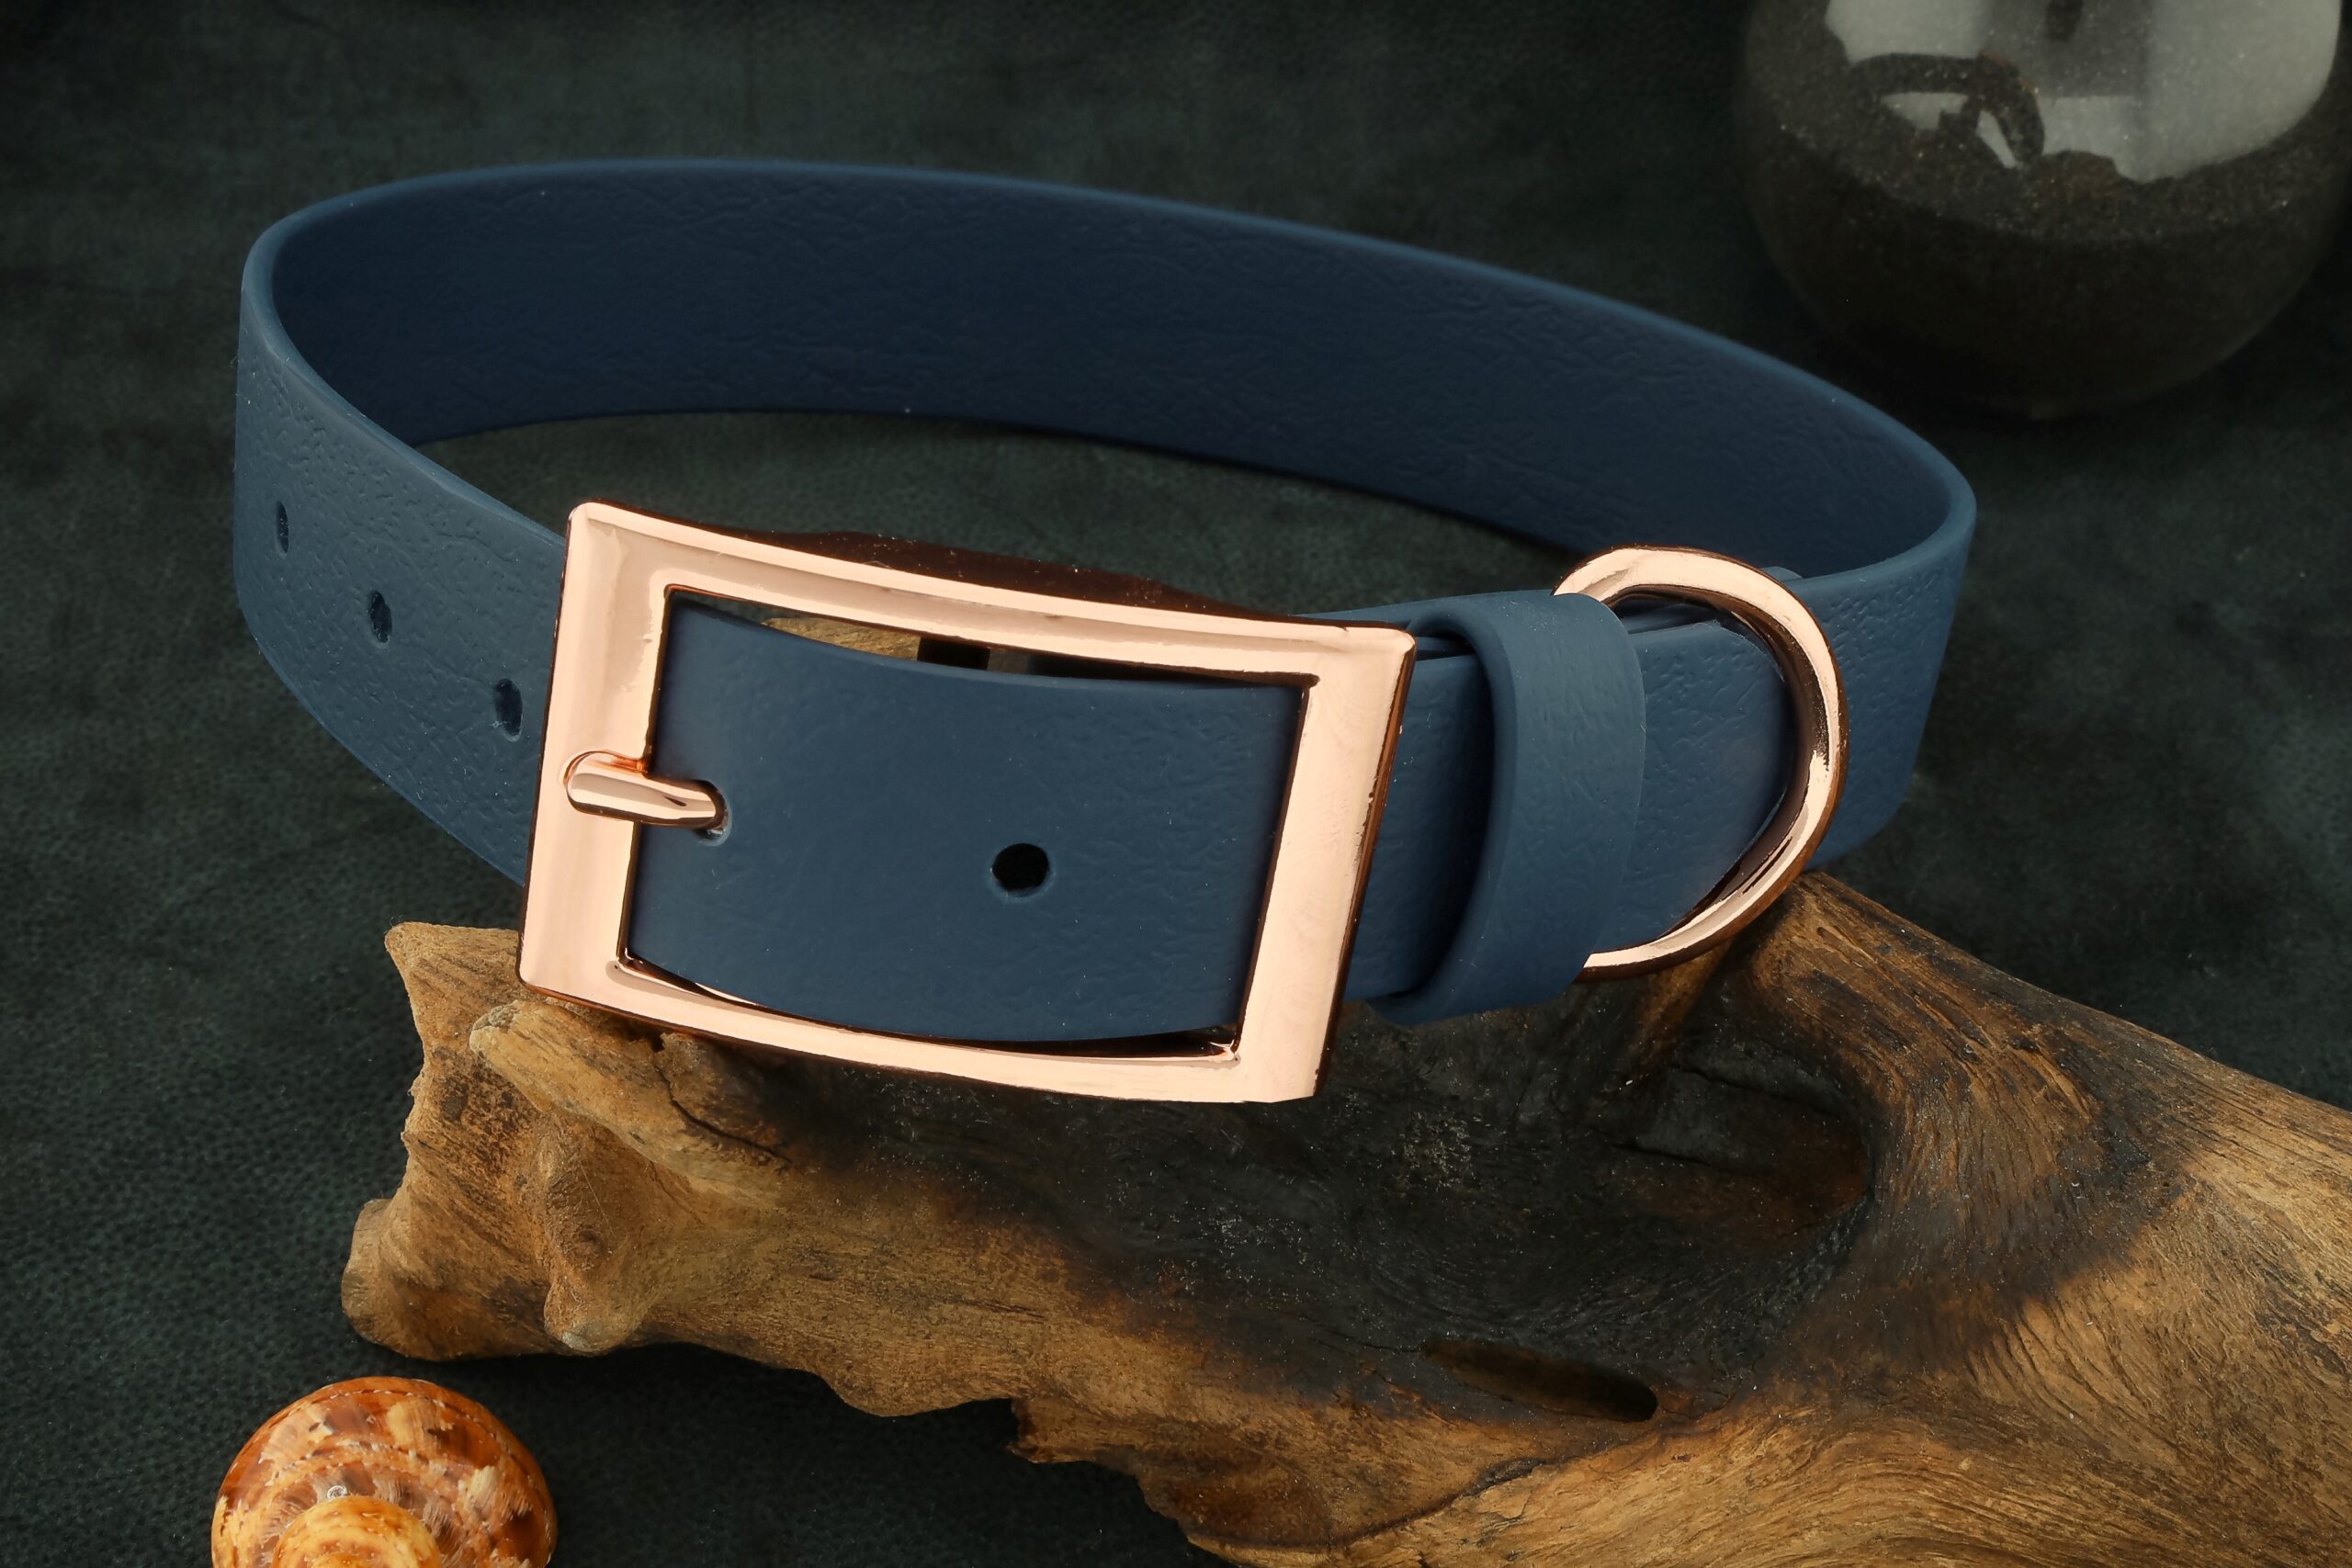
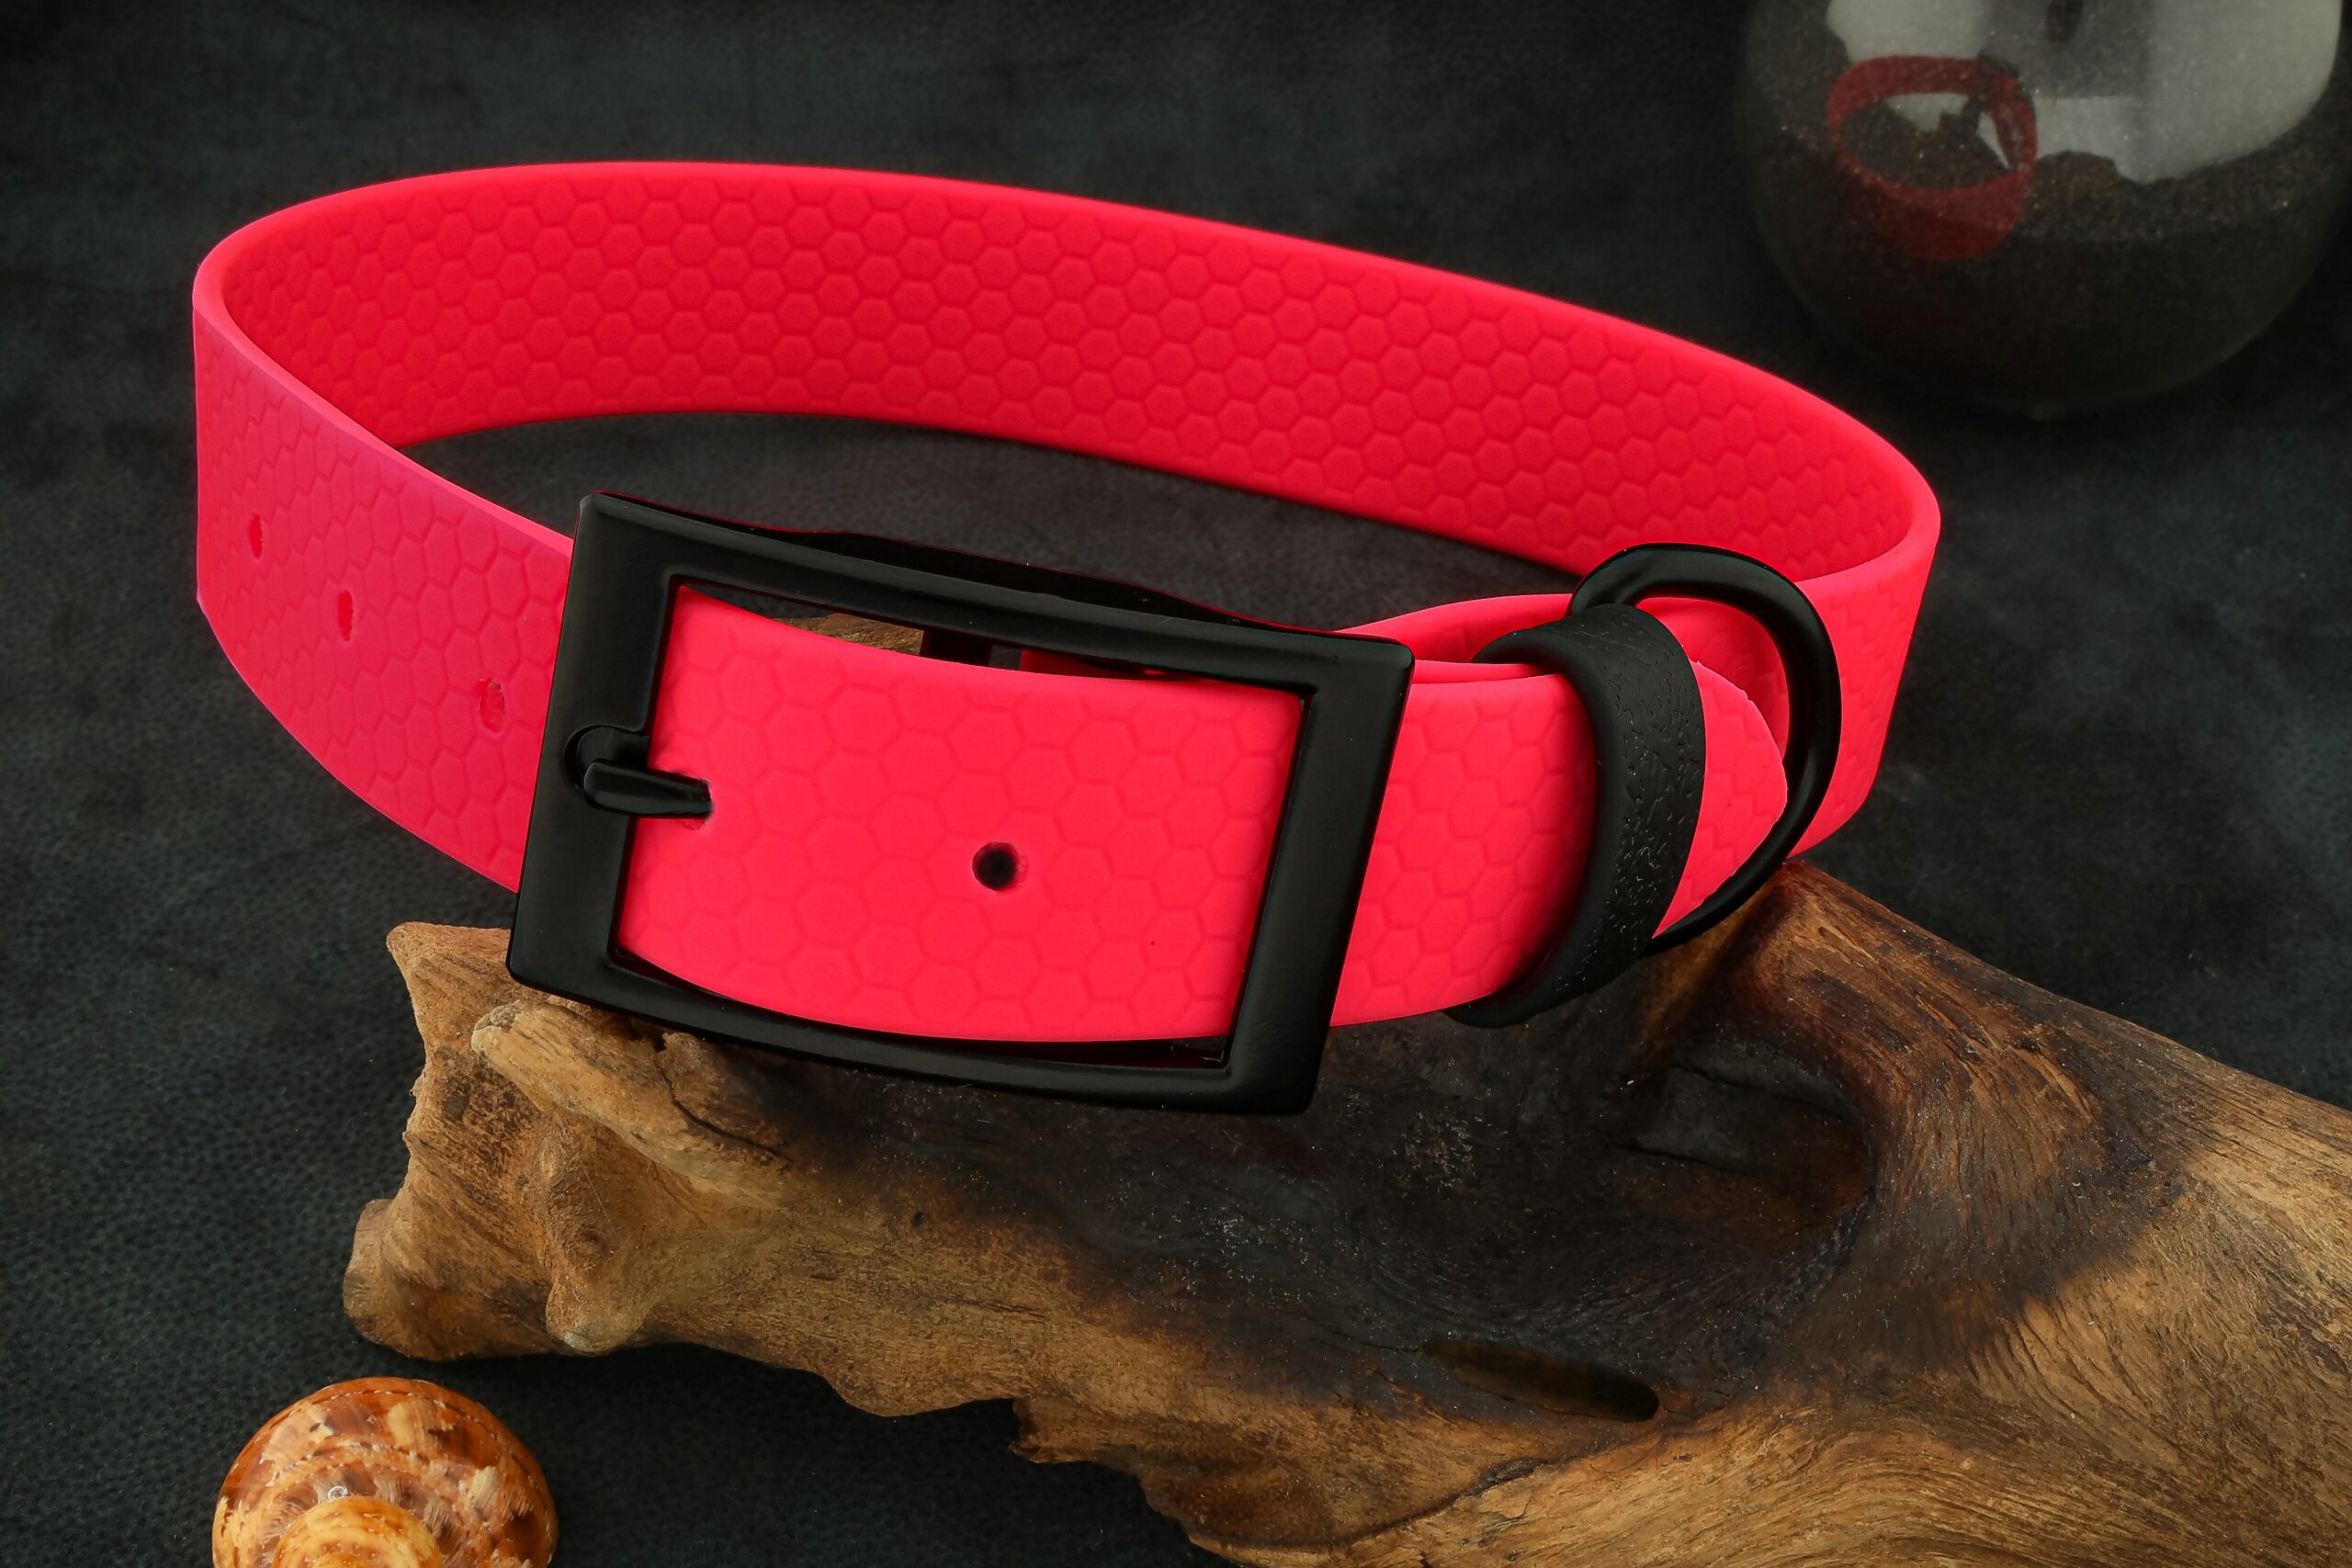
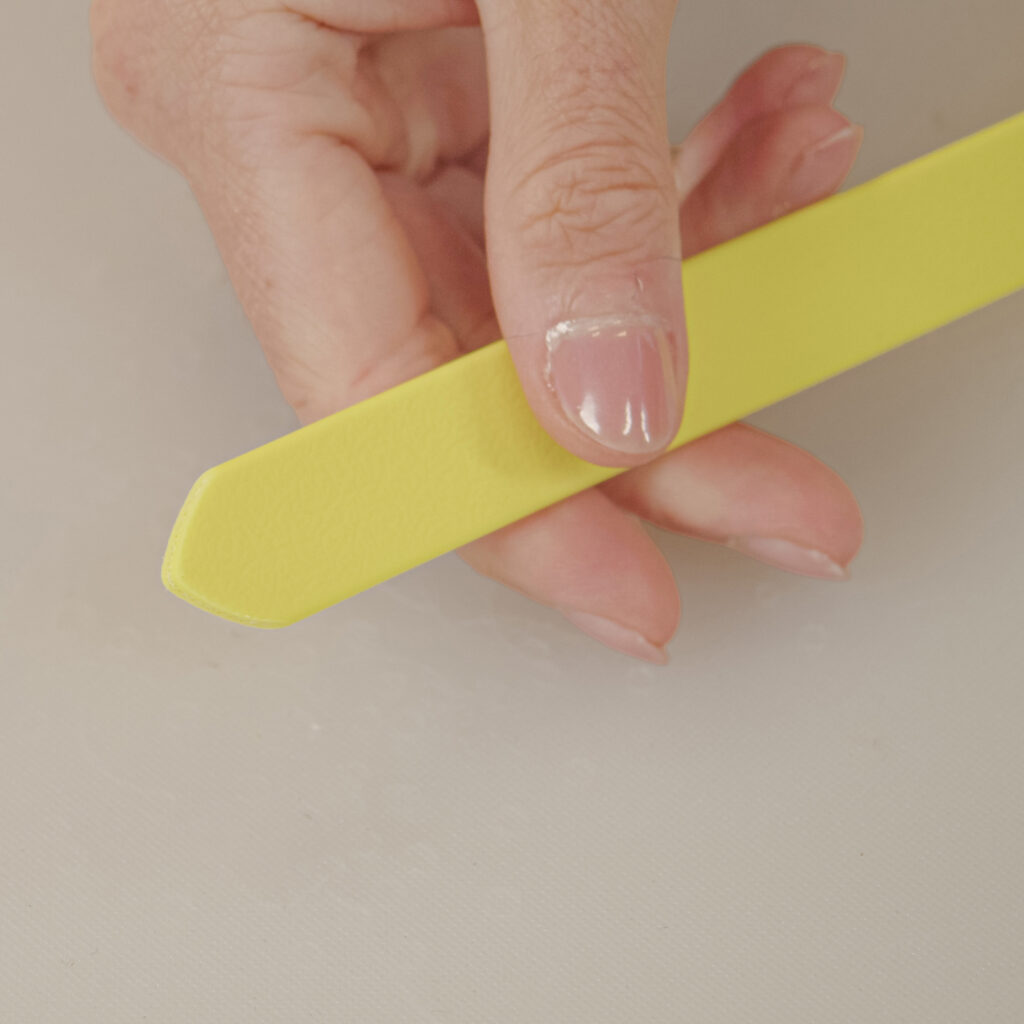
Waterproof Webbings are made for collars, whether you’re producing for your own dog or to order. Unlike standard polypropylene webbings they don’t fray, abrade, or absorb water. They handle rain, mud, and rough terrain; after a walk, just wipe them with a cloth. The edges don’t curl and the collar keeps its shape even after years.
Add quality saddlery hardware and a bit of care and you’ll get a collar that’s functional, durable, and looks professional.
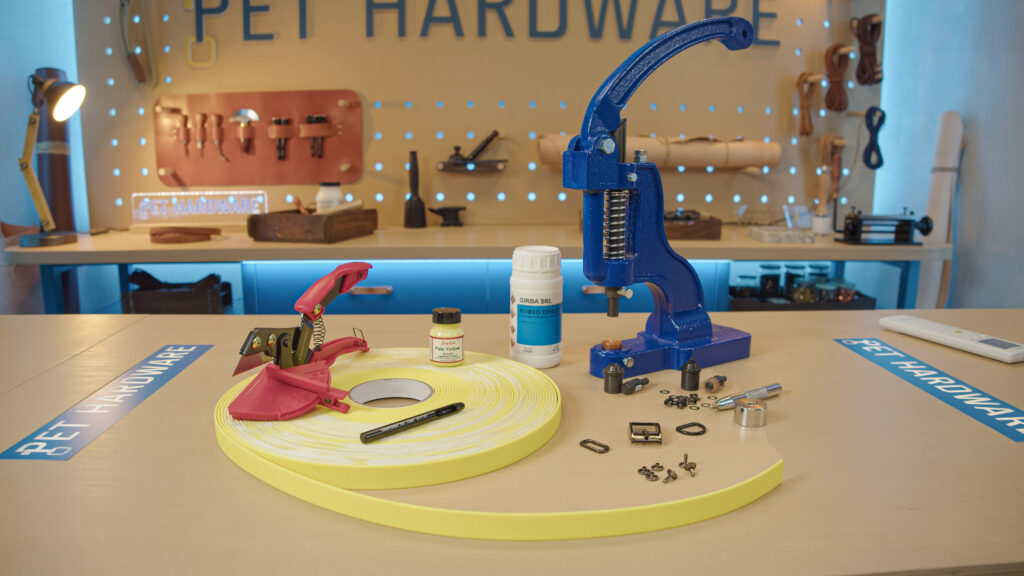
What you’ll need
- waterproof webbing (width 16, 20, 25 mm)
- buckle and D-ring in the webbing width
- eyelets and rivets
- hand press or hand tools for riveting
- punches and end punches for strap ends
- Measuring tape and sharp cutting pliers
- rubberizing gel for finishing webbing edges
- Angelus acrylic paint (optional for color matching)
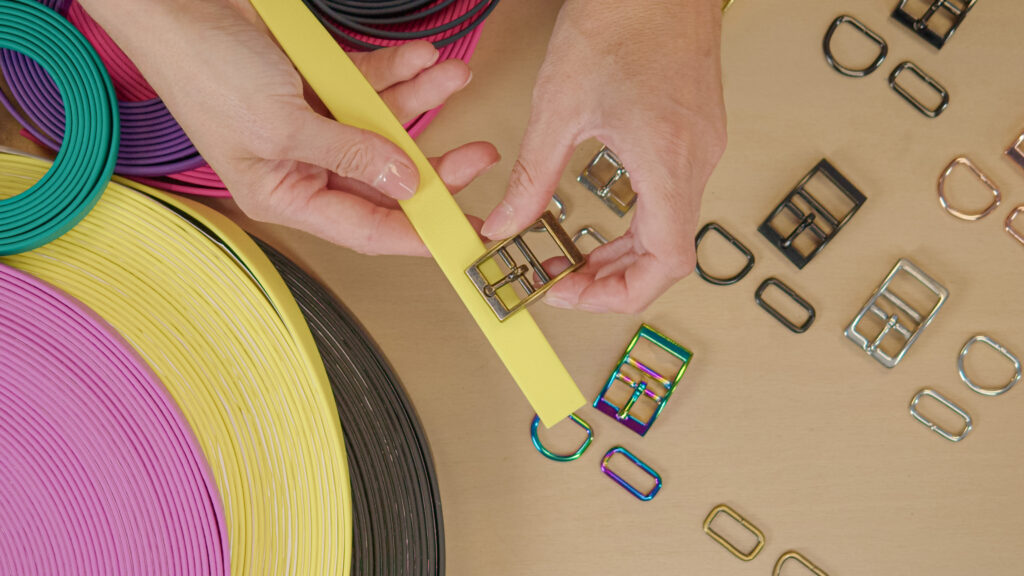
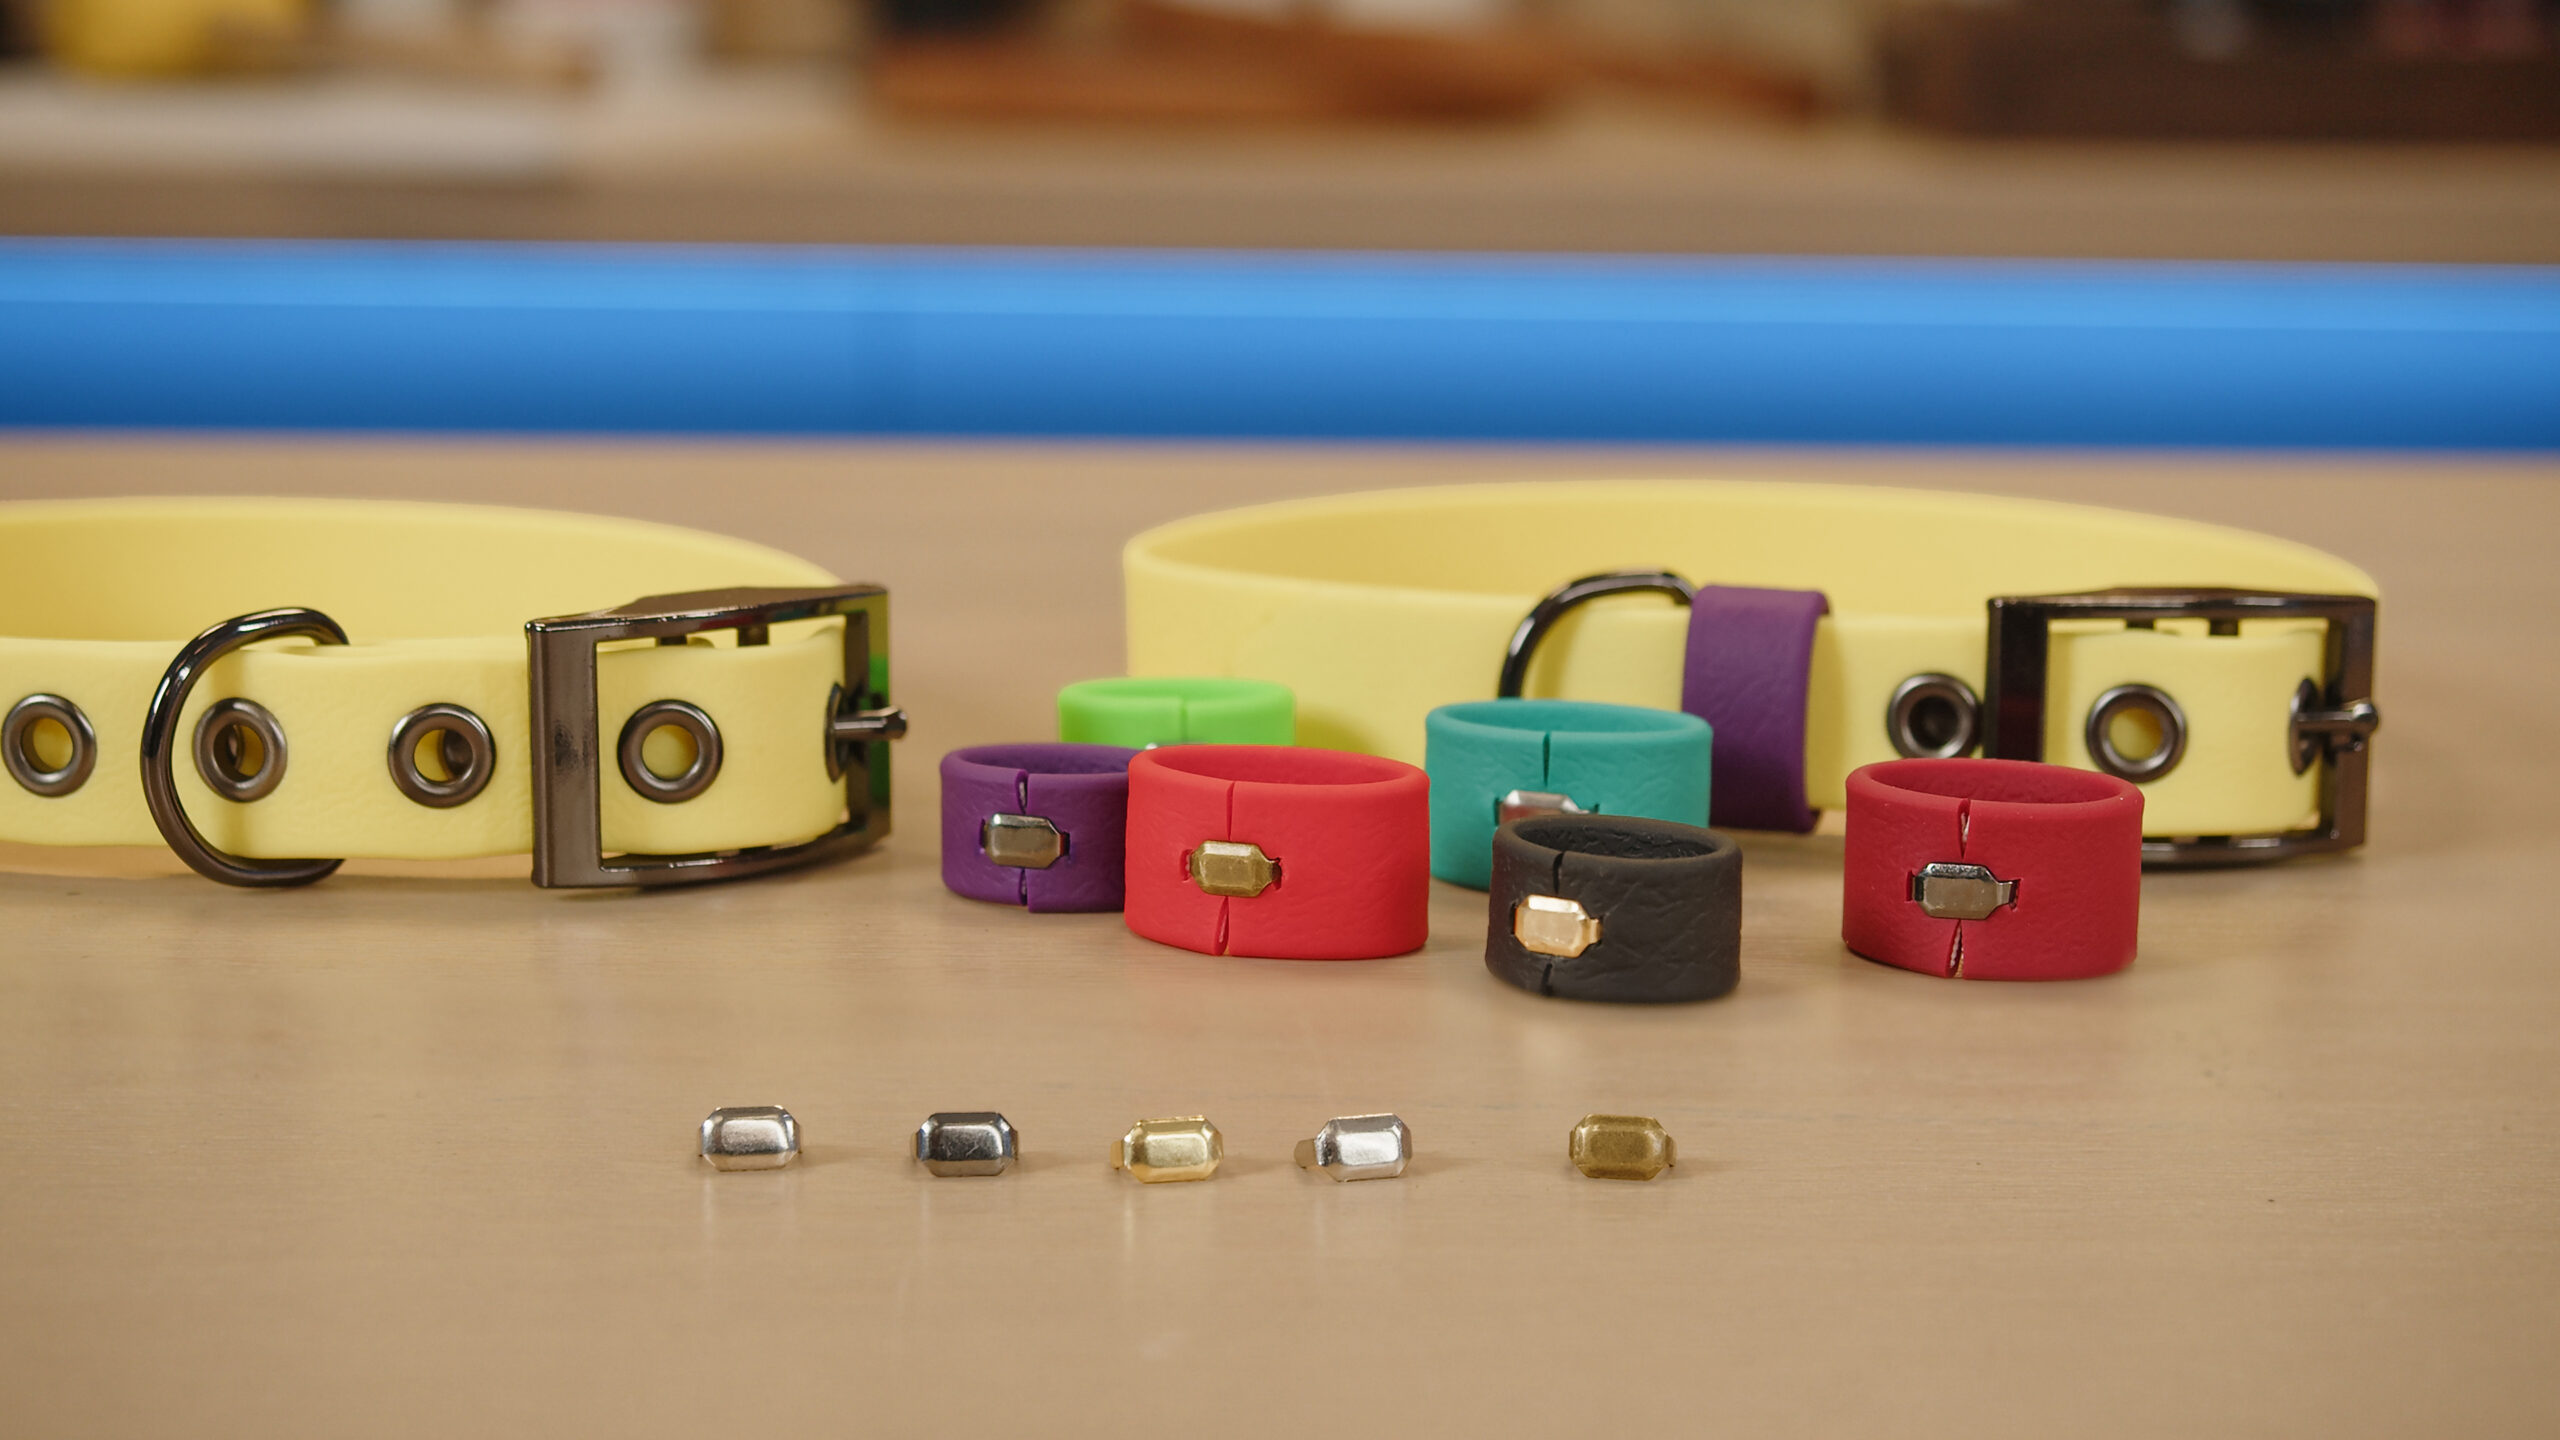
Choosing the combination: webbing and hardware
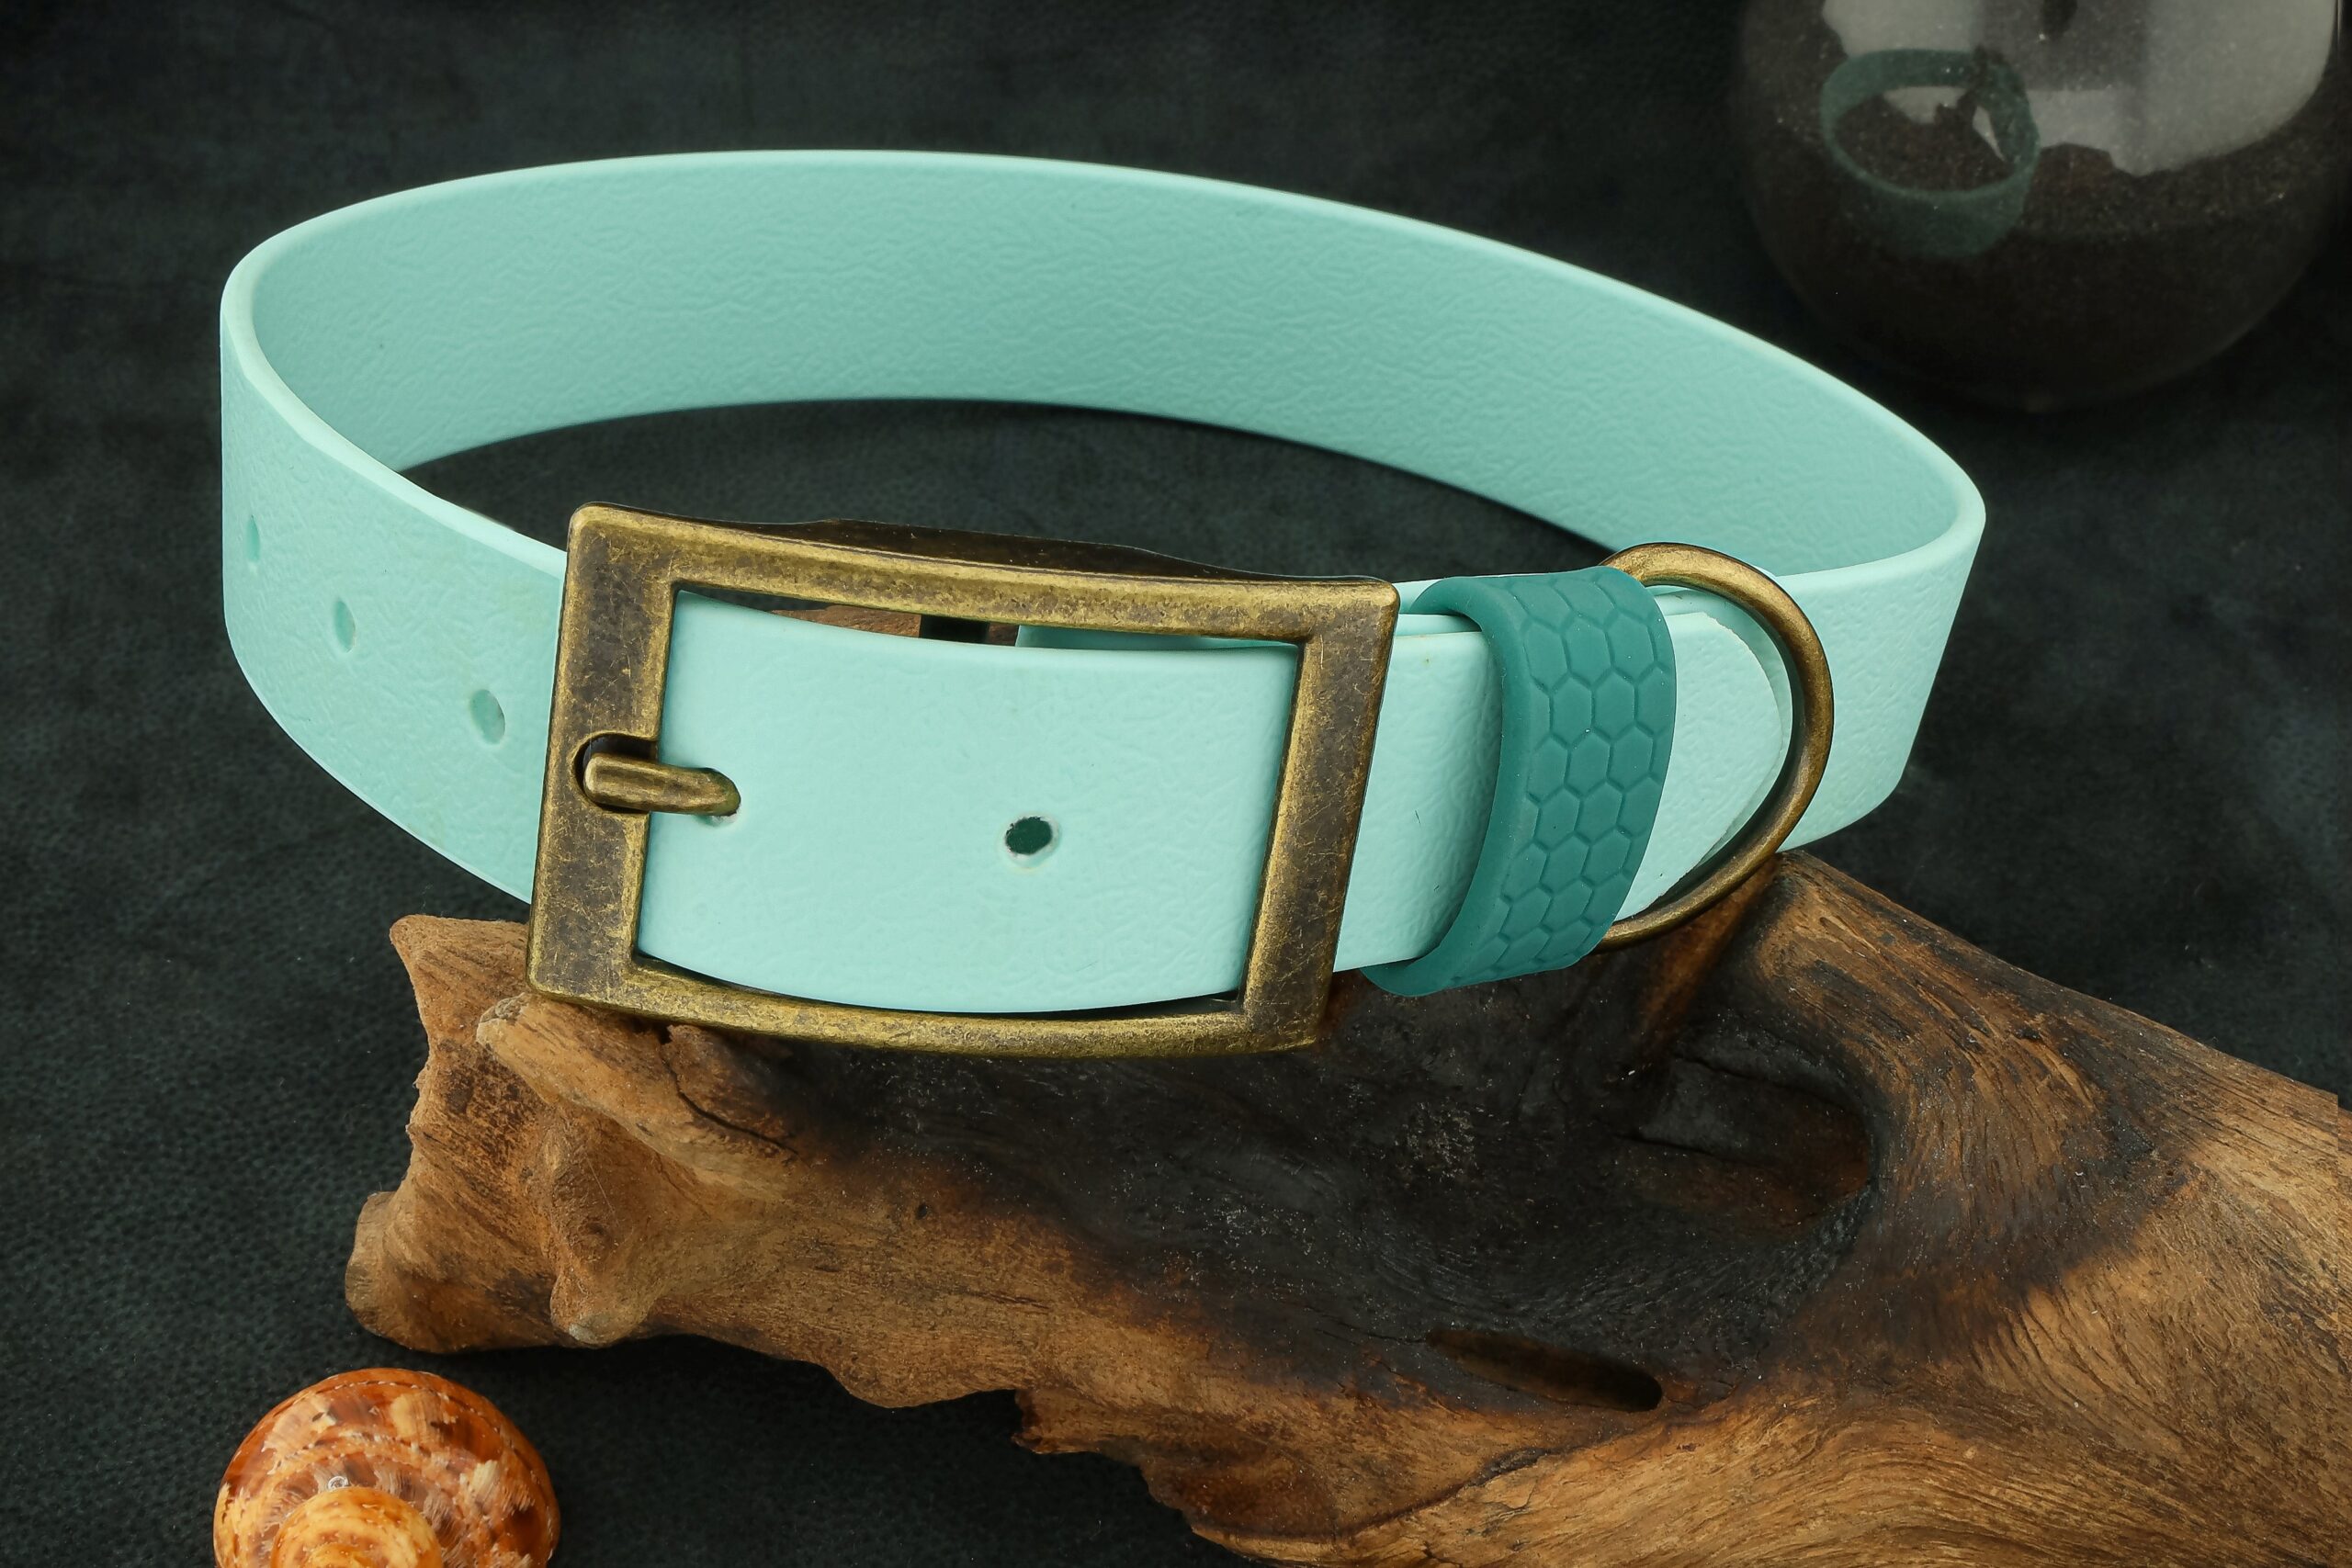
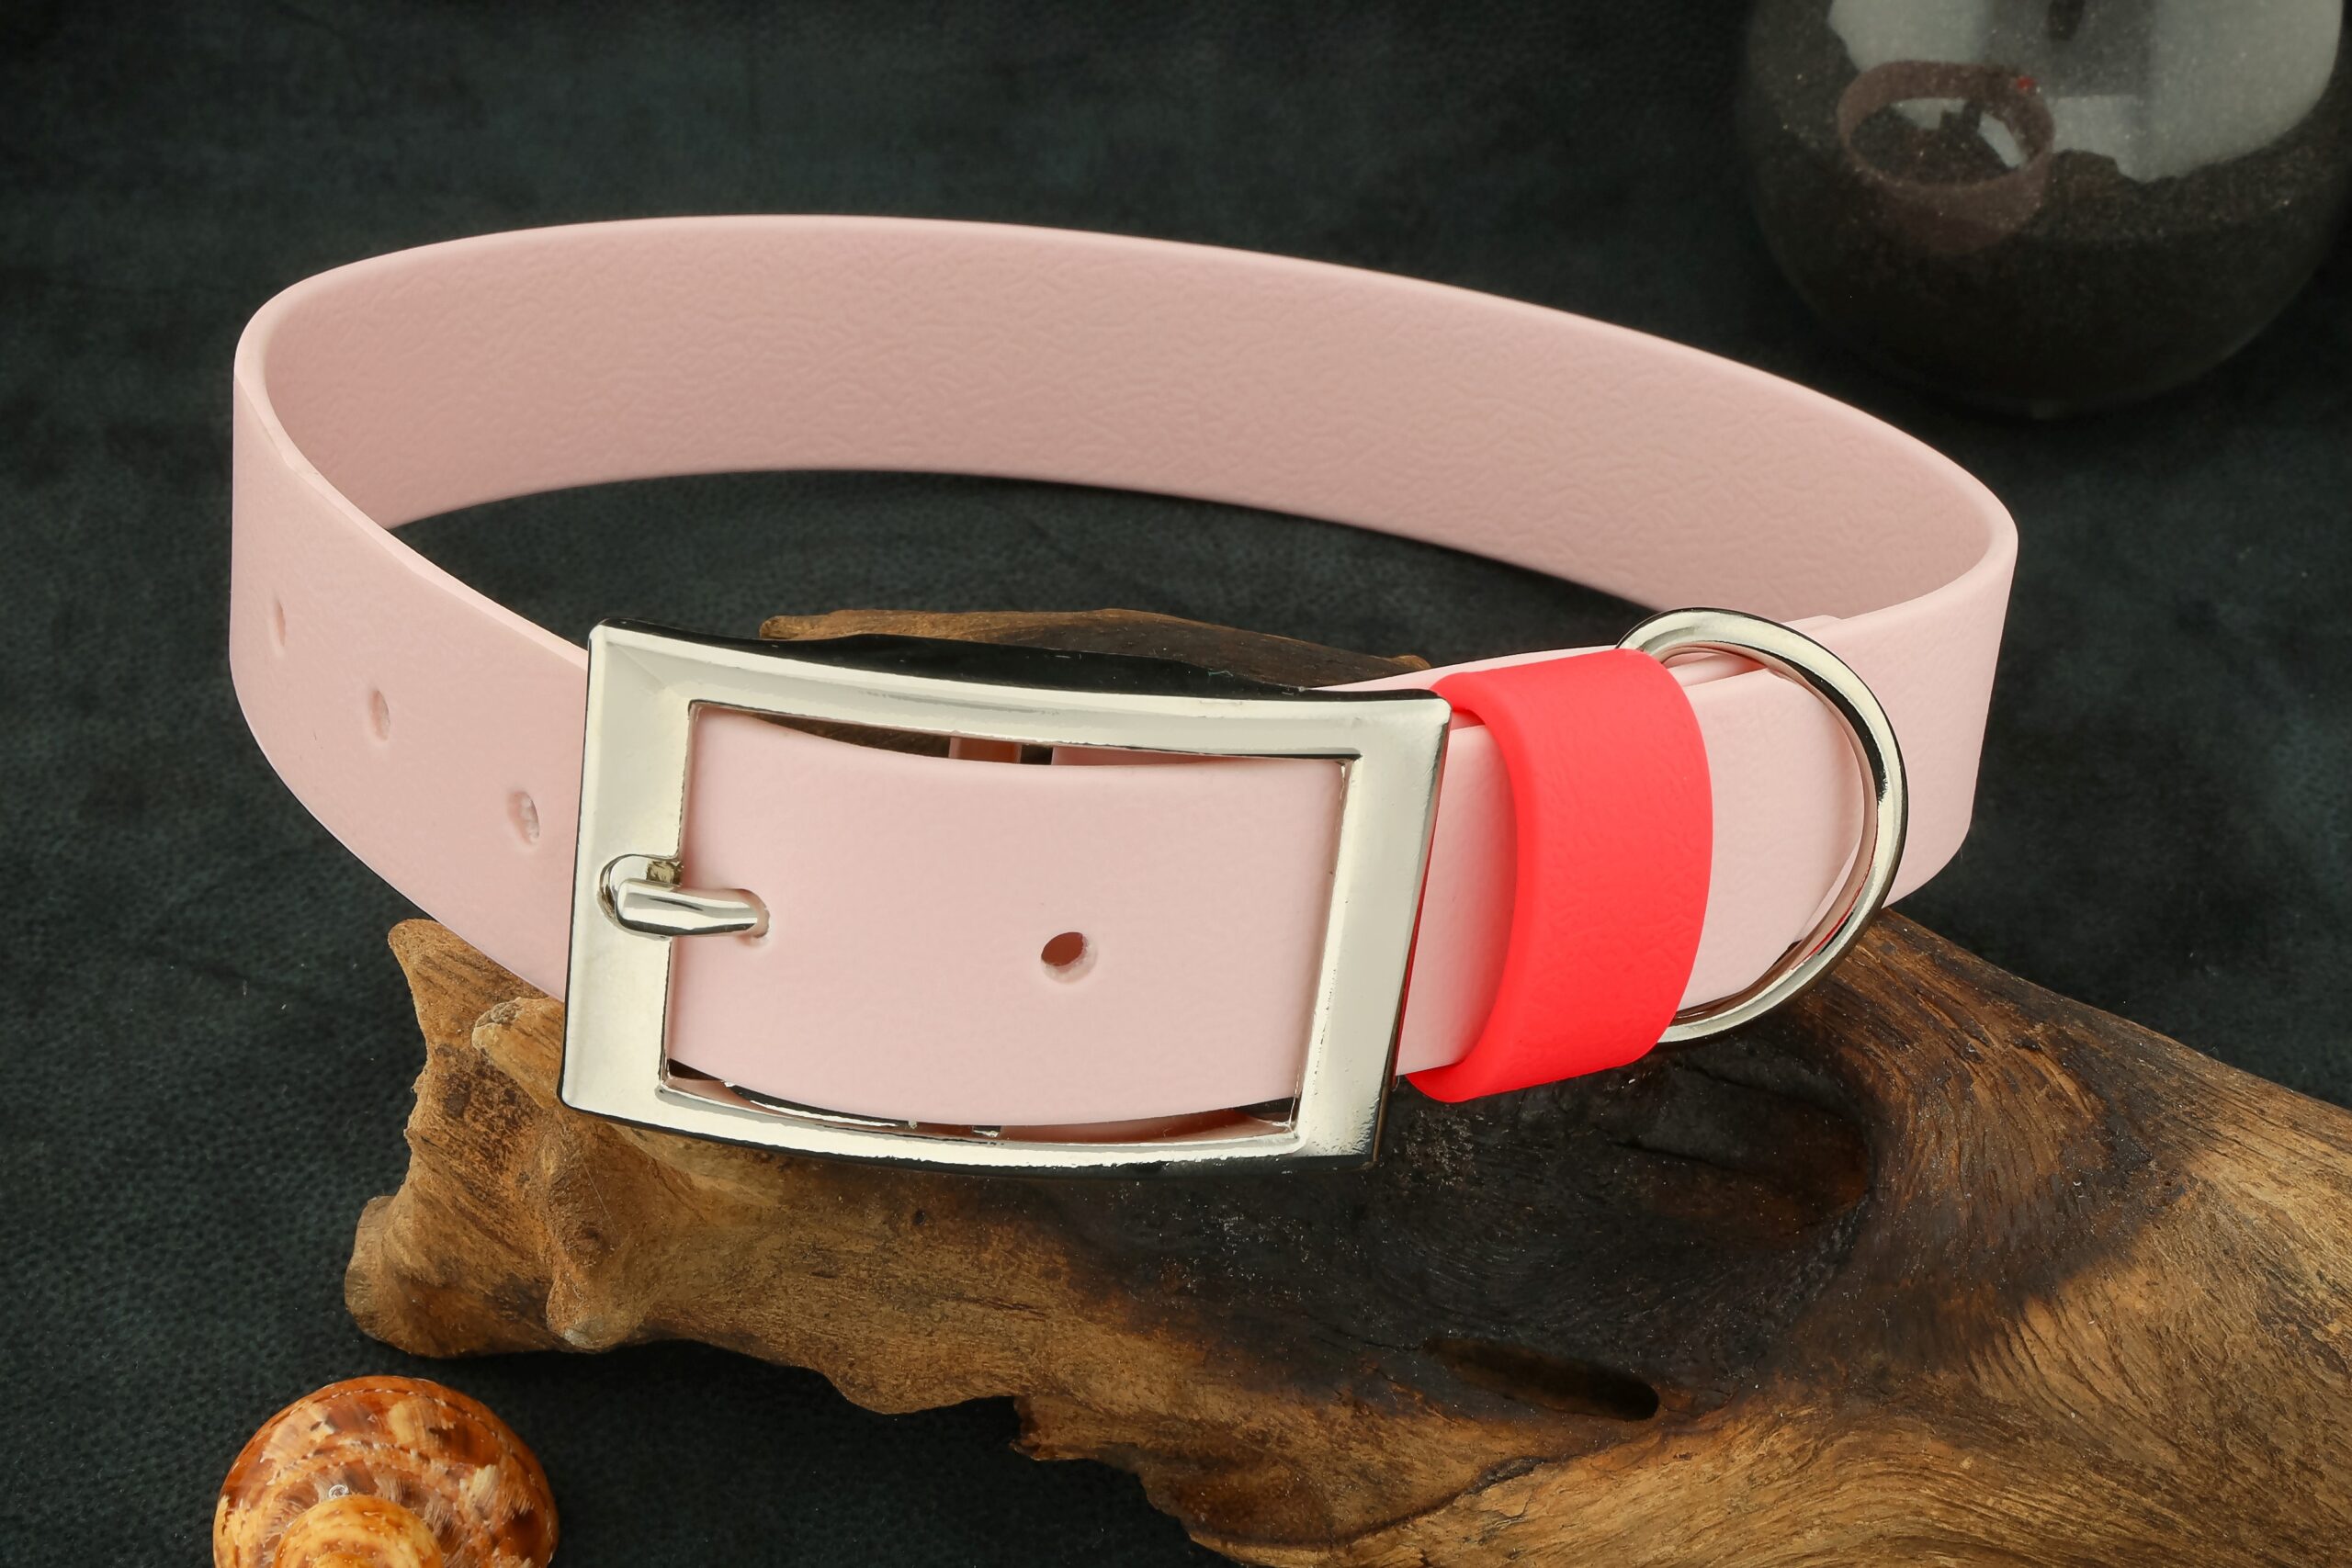
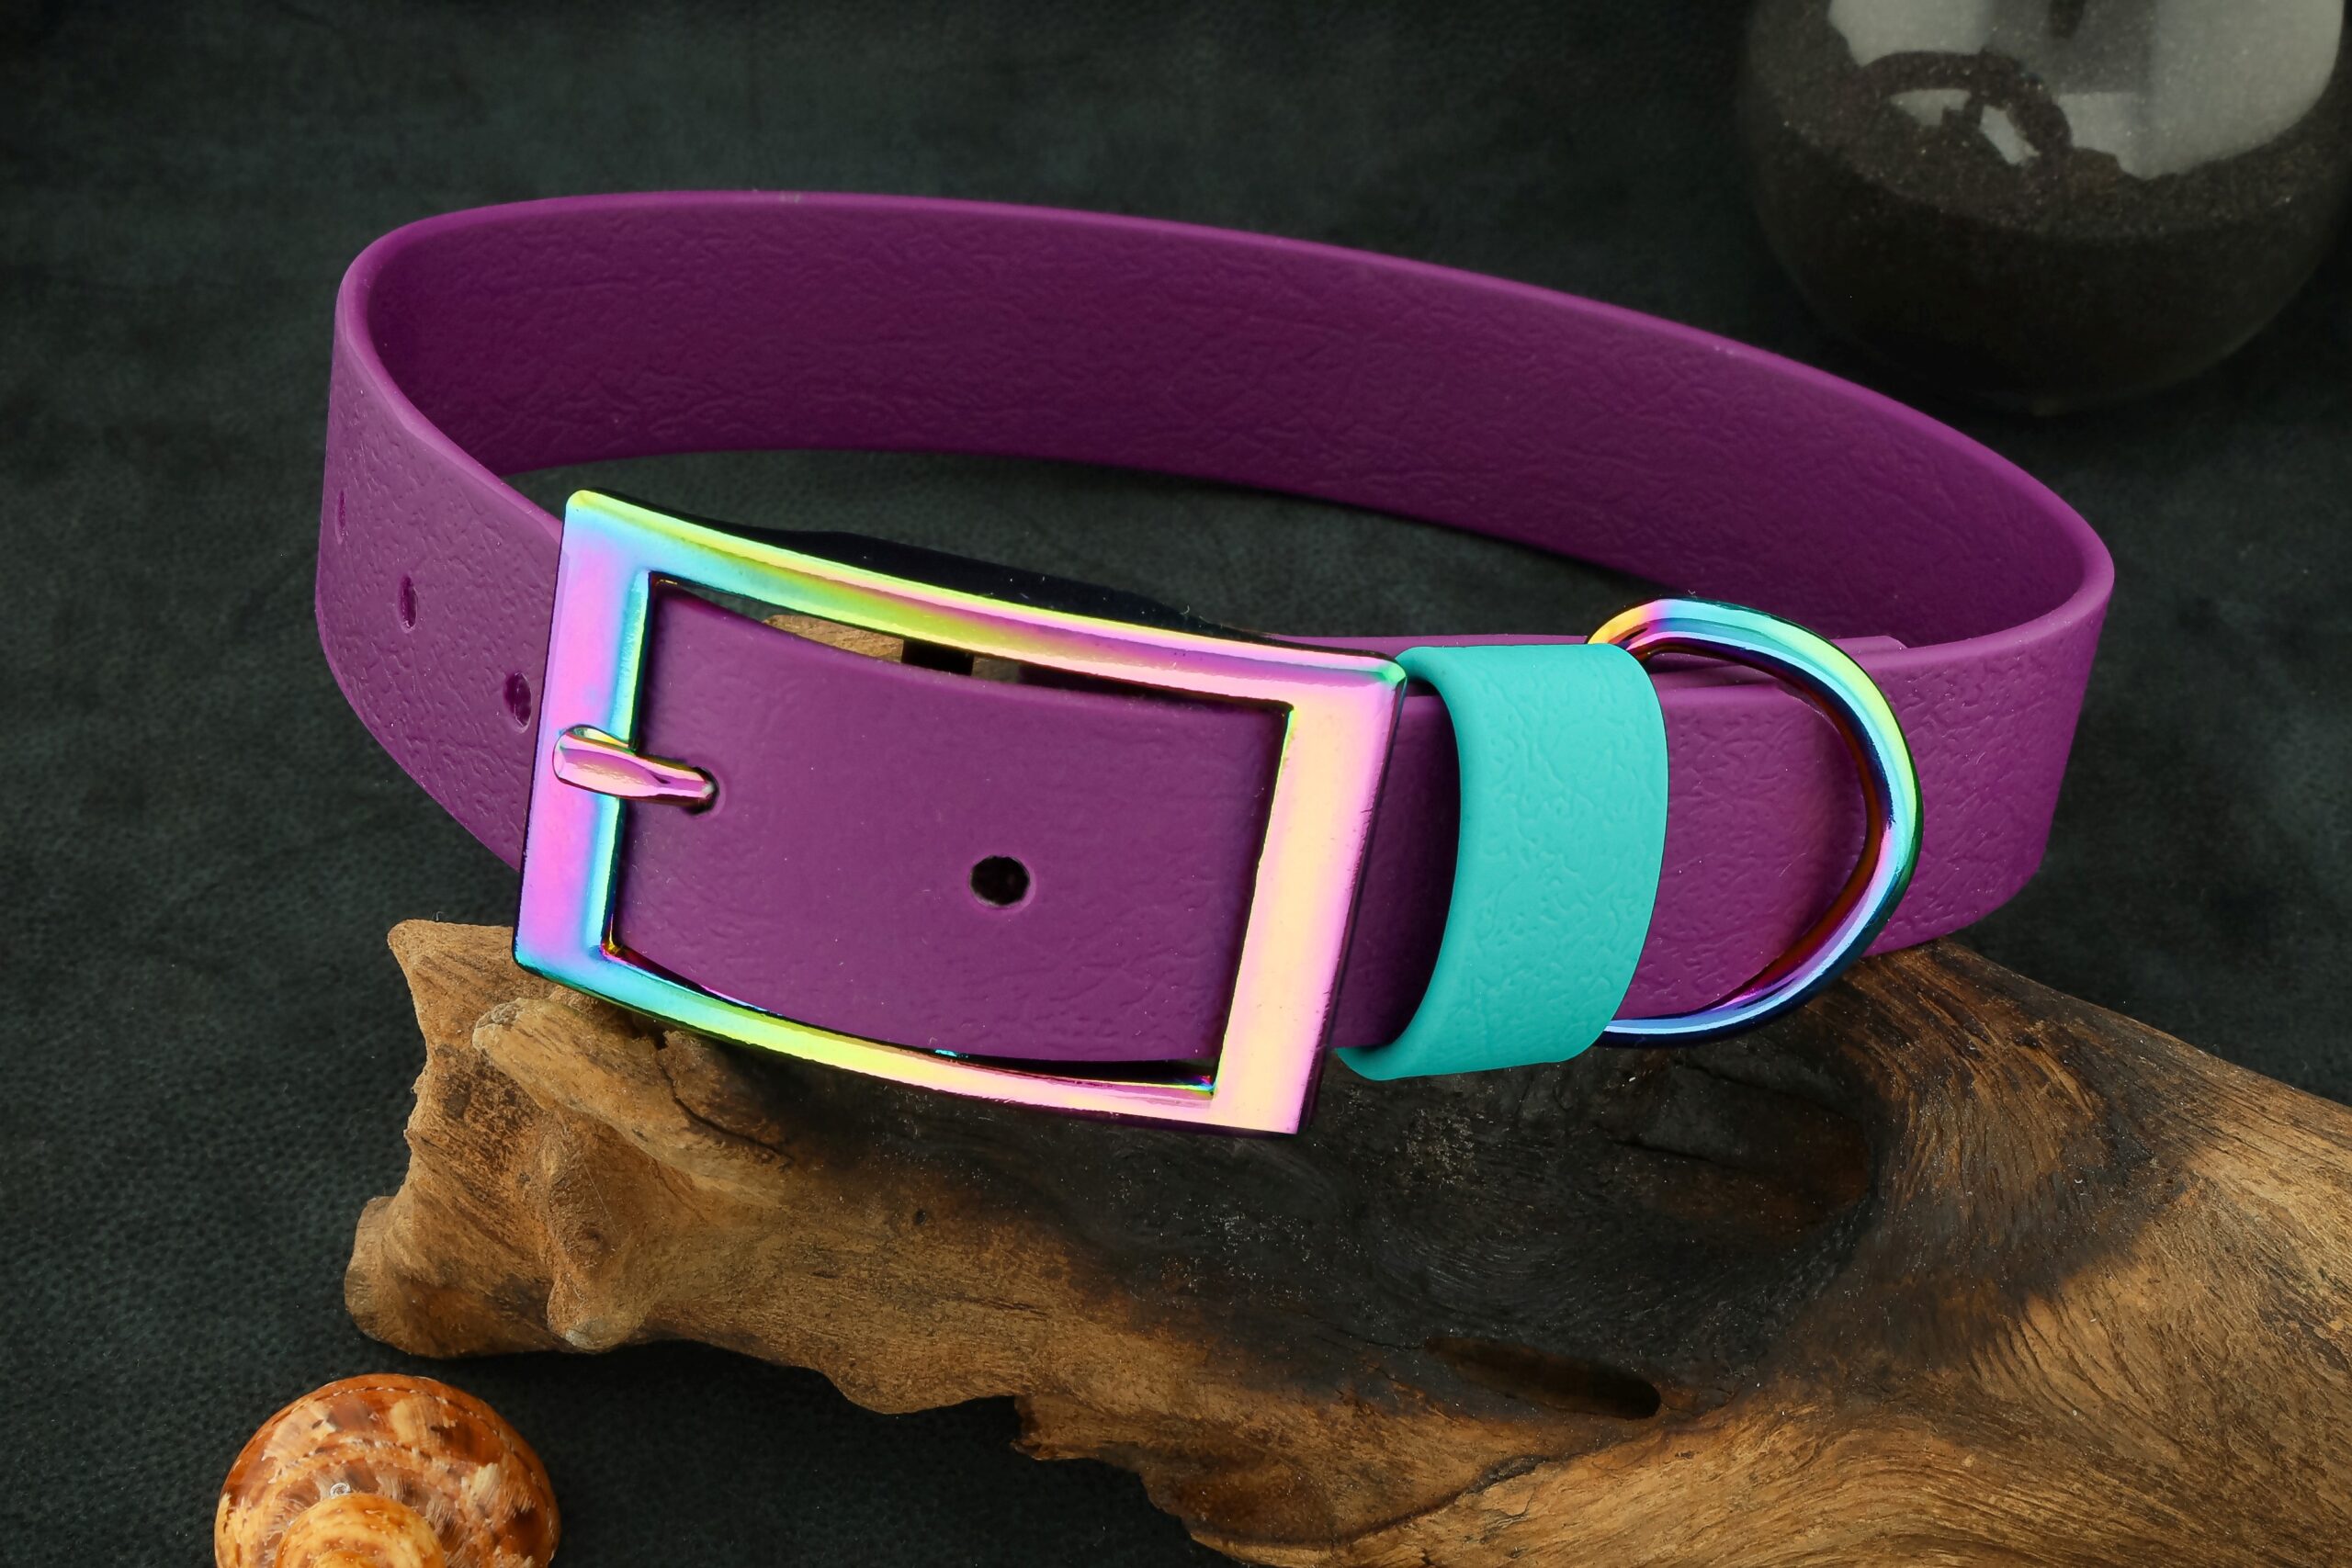
Waterproof webbings and hardware come in many colors and widths. Pick them to match in color or material. You can unify the finish (e.g., antique brass, nickel) or stick to one material (brass, stainless steel).
Collar width 16 mm
- webbing 16 mm
- buckle 16 mm
- D-ring 16 mm
- eyelets 5.2 mm (hand setter)
- double-cap rivet length 8 mm (hand rivet setter)
Collar width 20 mm
- webbing 20 mm
- buckle 20 mm
- D-ring 20 mm
- eyelets 5.2 mm (hand setter)
- double-cap rivet length 8 mm (hand rivet setter)
Collar width 25 mm
- webbing 25 mm
- buckle 25 mm
- D-ring 25 mm
- eyelets 5.2 mm (hand setter)
- double-cap rivet length 8 mm (hand rivet setter)
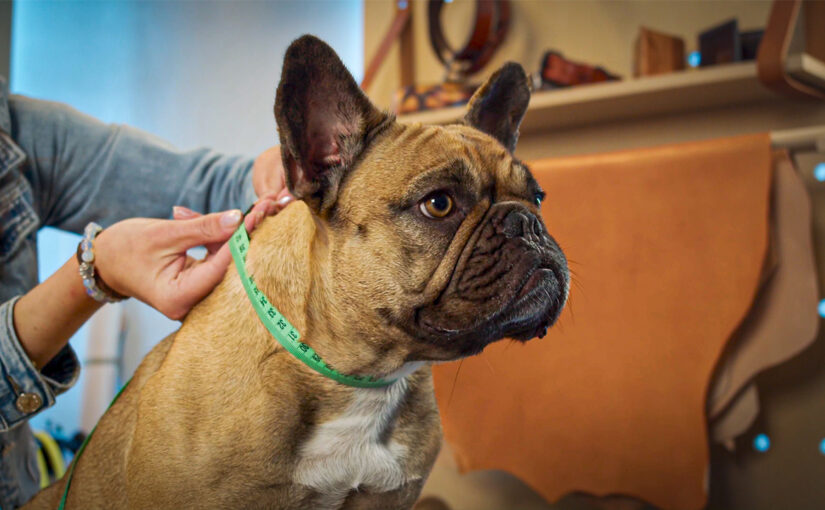
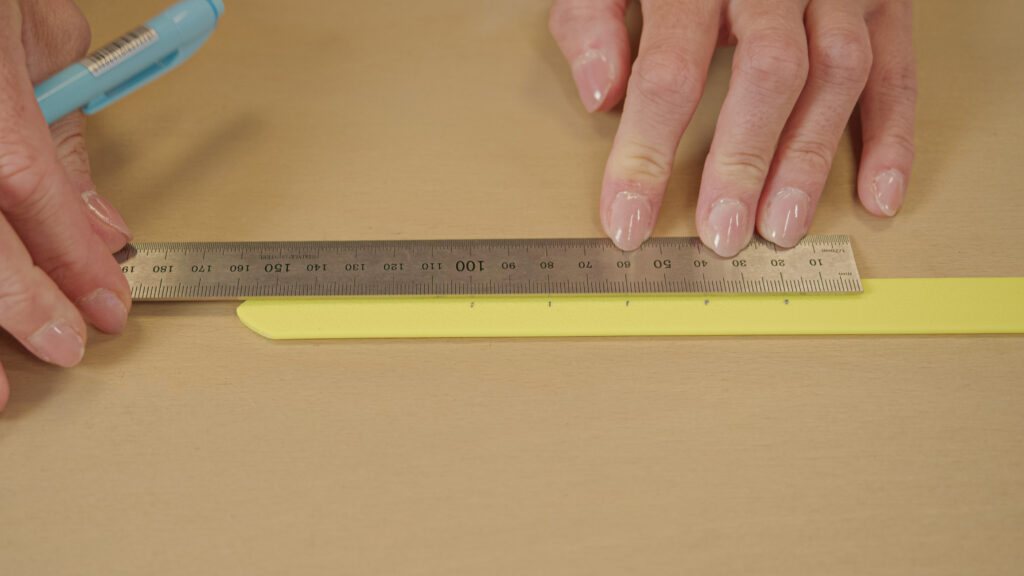
Measuring and preparing the length
- Measure the dog’s neck circumference with a measuring tape.
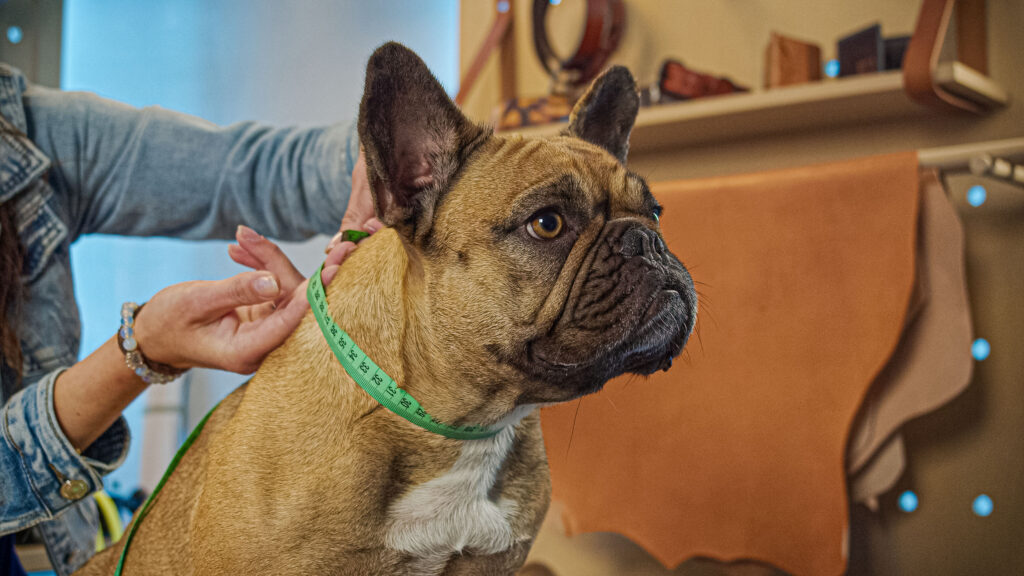
- For comfort add 1–2 cm, or leave two fingers under the tape while measuring.
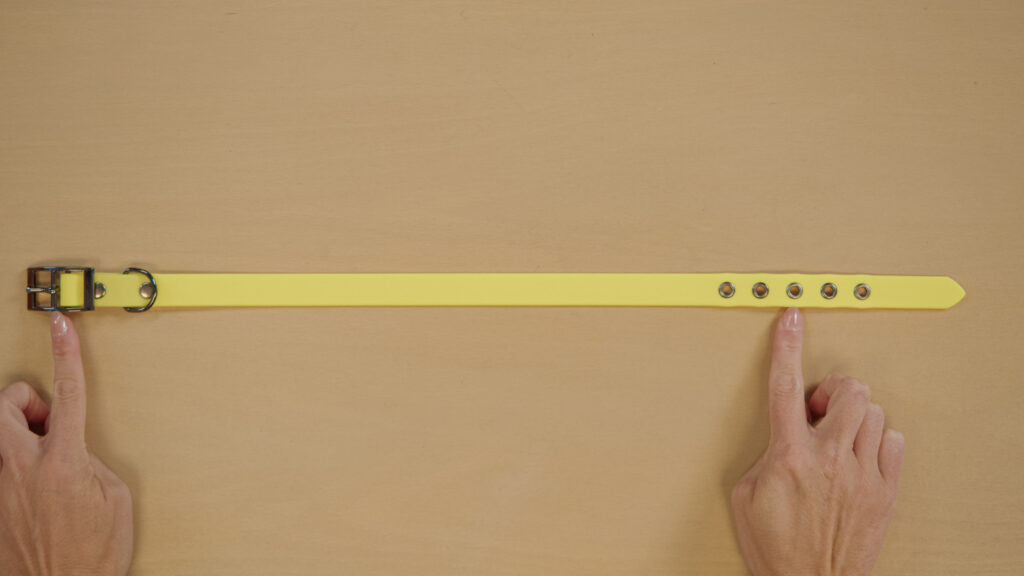
- The finished collar is measured from the buckle to the main hole (the one that matches the neck circumference).
For more flexibility, add at least two extra holes toward loosening. It helps when the dog grows a thicker coat or gets stronger with training.
Calculating the total collar length
To get the actual webbing length to cut, calculate as follows:
- Main hole: the hole that matches the neck circumference (including the 1–2 cm allowance)
- Toward loosening: add at least 2 holes (per your chosen spacing)
- Tail after the last hole: add 4–5 cm on narrower collars (10–16 mm) or 6–8 cm on wider ones (20–25 mm) so the tail can slide into the keeper
- Fold around the buckle: add approx. 6–10 cm (leave it longer and trim later)
Formula (approximate)
Total webbing length =
(neck circumference + 1–2 cm) + (number of loosening holes × spacing) + (tail after last hole) + (fold around buckle)
Example calculation
Neck circumference 41 cm, allowance 2 cm, spacing 2 cm, 2 loosening holes, tail 6 cm, fold 10 cm
→ 41 + 2 + (2×2) + 6 + 10 = 63 cm of webbing to cut
| Neck circumference | Webbing width | Hole spacing | Approximate cut length |
|---|---|---|---|
| 30 cm | 16 mm | 2 cm | 49–53 cm |
| 40 cm | 20 mm | 2.5 cm | 61–65 cm |
| 50 cm | 25 mm | 2.5 cm | 71–77 cm |
Tip: You’ll always fine-tune the buckle fold and tail length to the specific collar type. Stick to the rule: “leave it long, trim later”.
Production steps
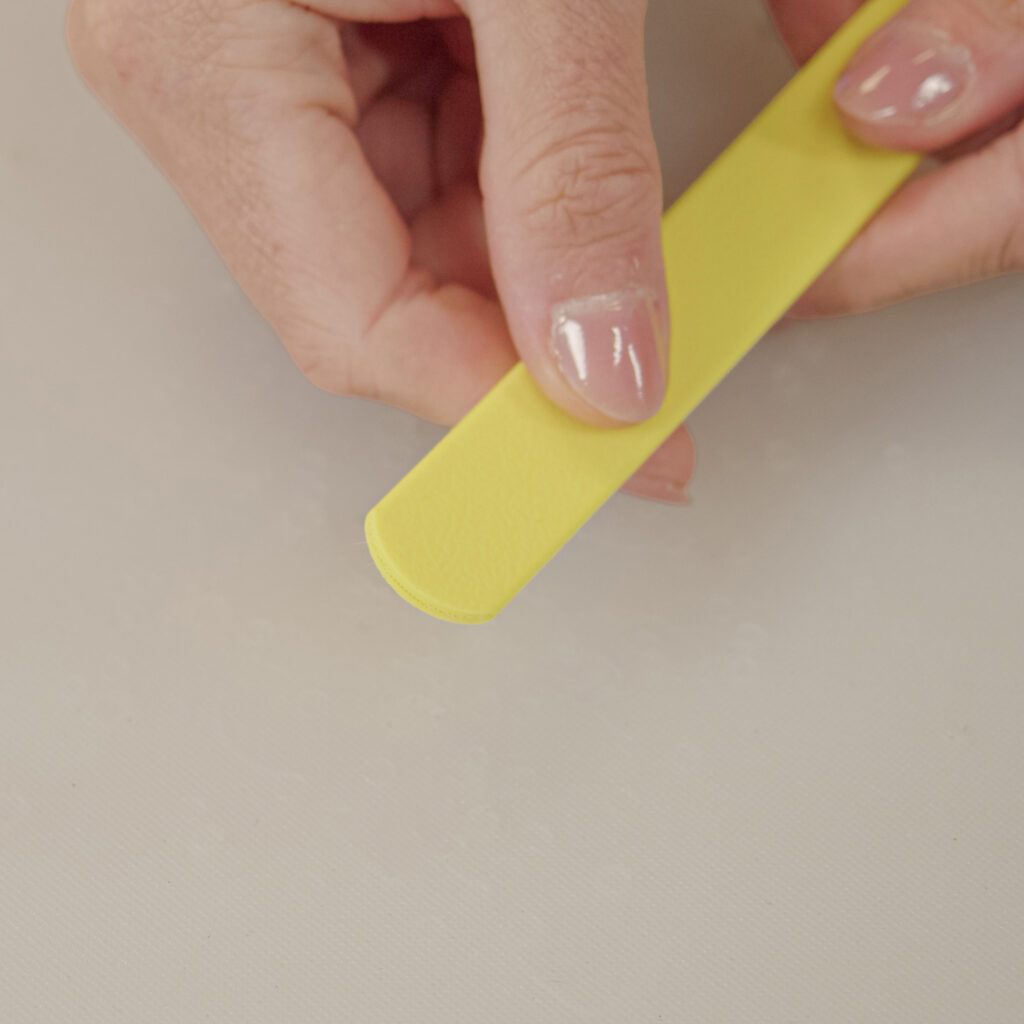
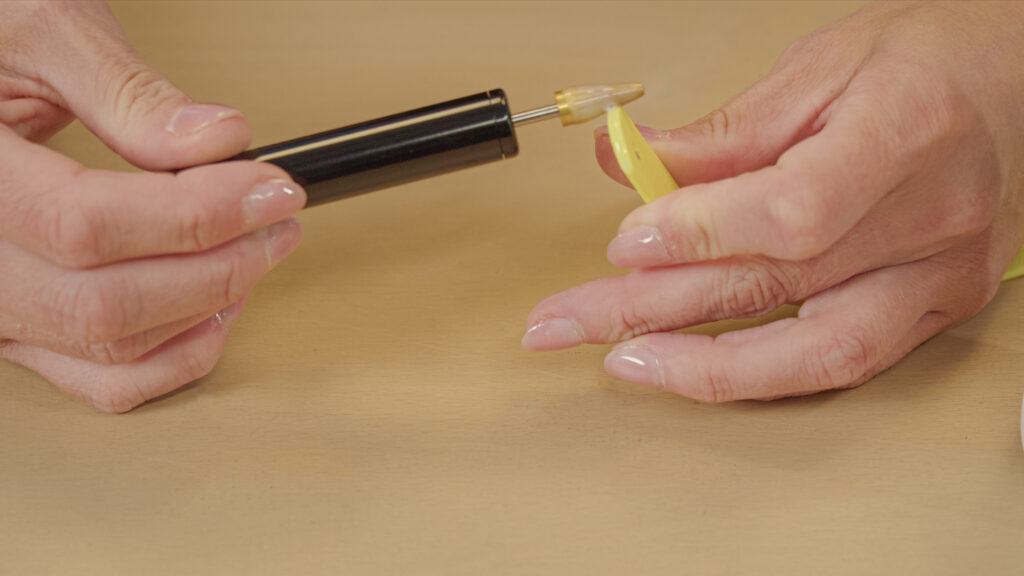
Cutting the webbing and finishing the ends
Cut the webbing to the calculated length. Finish the ends with an end punch – choose the shape you like (rounded, pointed).
Holes and their layout
Lay out the entire collar before punching – always start by positioning the buckle holes. Standard spacing is 2.5 cm (2 cm on smaller collars).
Add 1–2 holes toward tightening. Add at least two toward loosening.
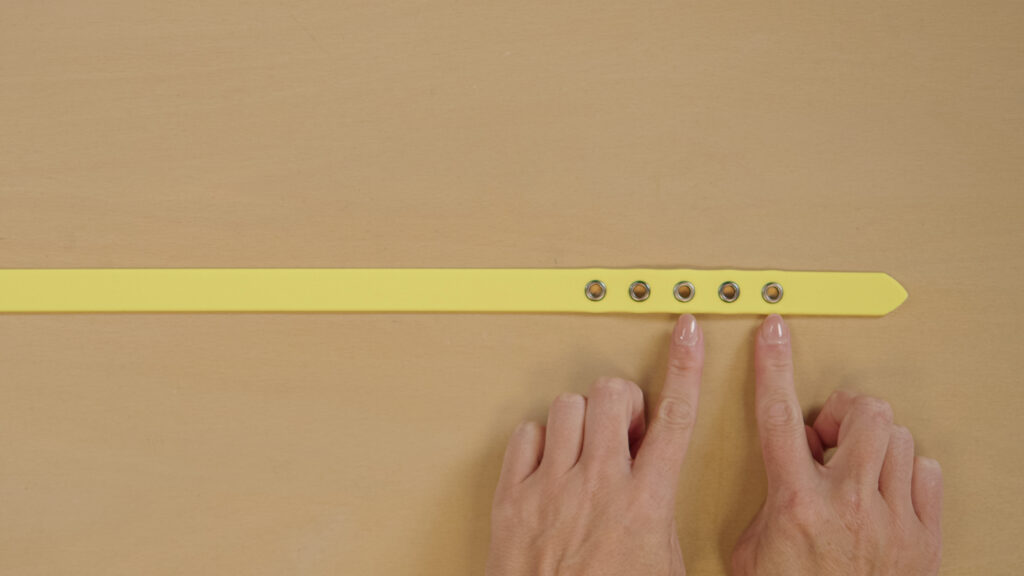
You can punch the holes by hand or with a press.
Tip: Make a test template with different hole diameters – it’s easy to see which hole size fits your buckle’s prong best.
Installing the buckle and D-ring
- From the main hole, measure back the circumference – that’s where the buckle will sit.
- Fold the webbing, slide on the buckle and the D-ring.
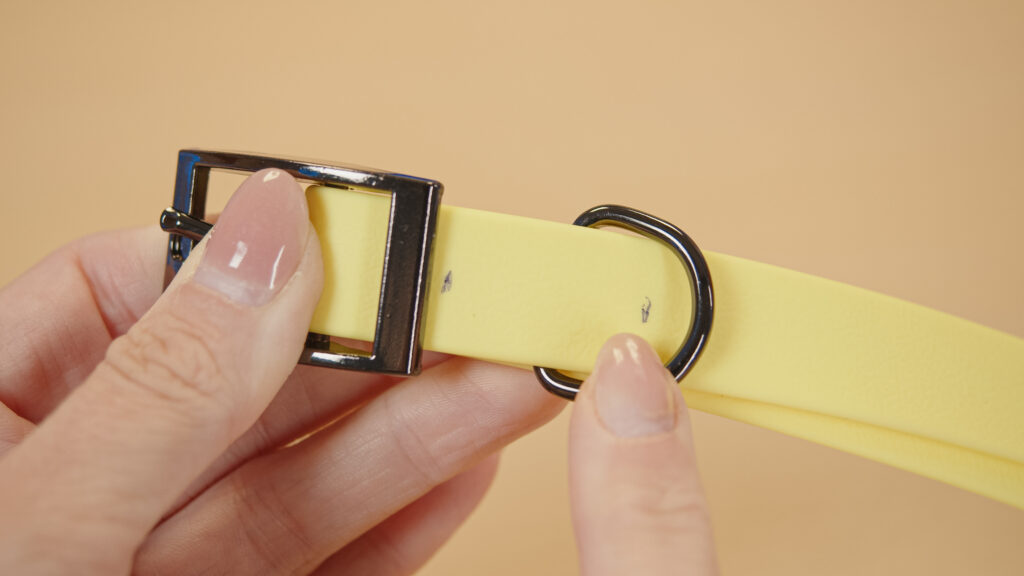
- Mark the rivet positions, punch the holes in the top layer,
fold the webbing and transfer the marks to the lower part of the fold so the holes align perfectly.
- Only now trim the fold to its final length and shape the end.
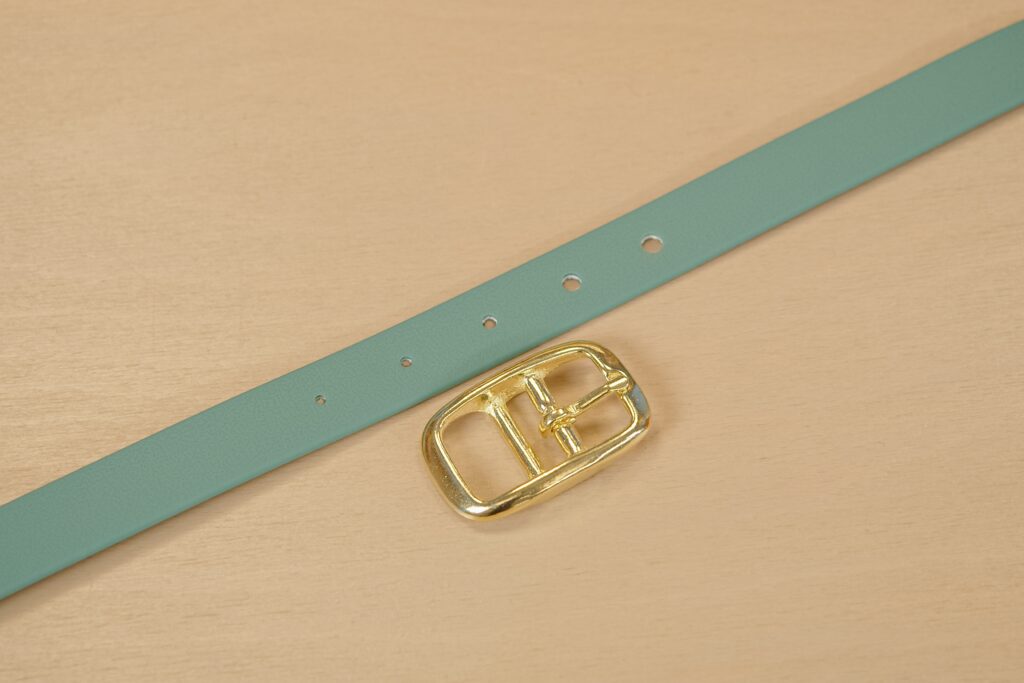
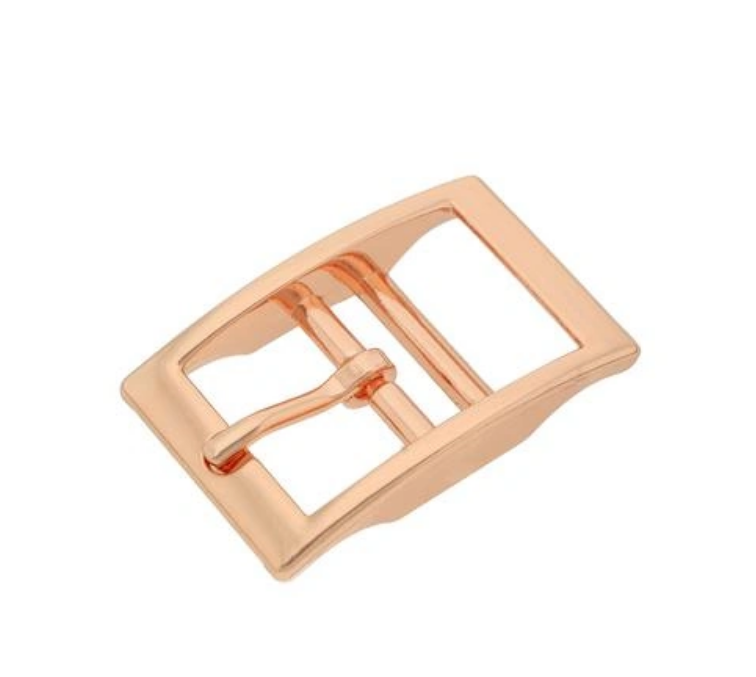
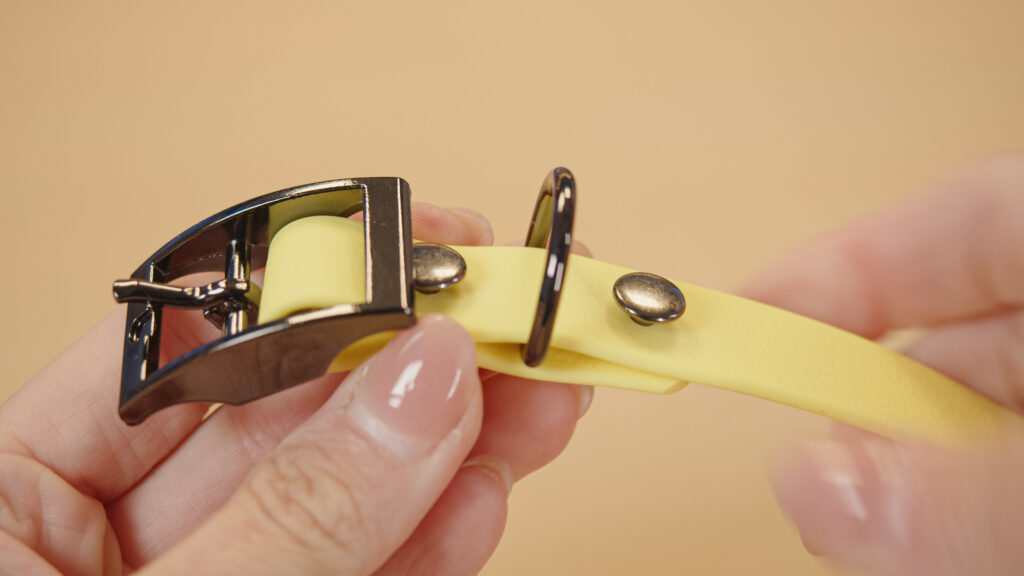
Types of buckles and how to install them
There are two main buckle types – and each installs a little differently.
- Buckle with an inner threading bar: Simply slide the webbing through it and no slot for the prong is needed.
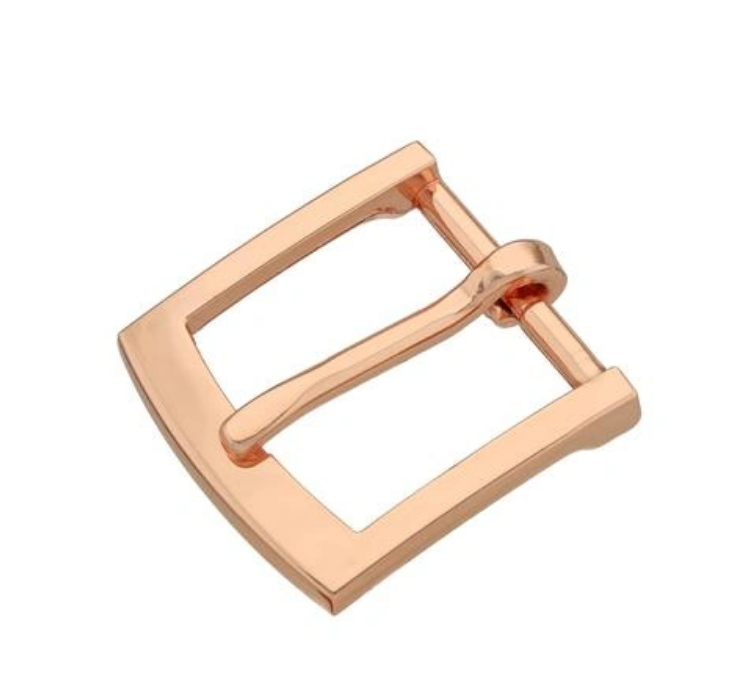
- Buckle without a bar: The prong must pass through the webbing, so you need to punch a slot and insert the prong before folding the webbing back.
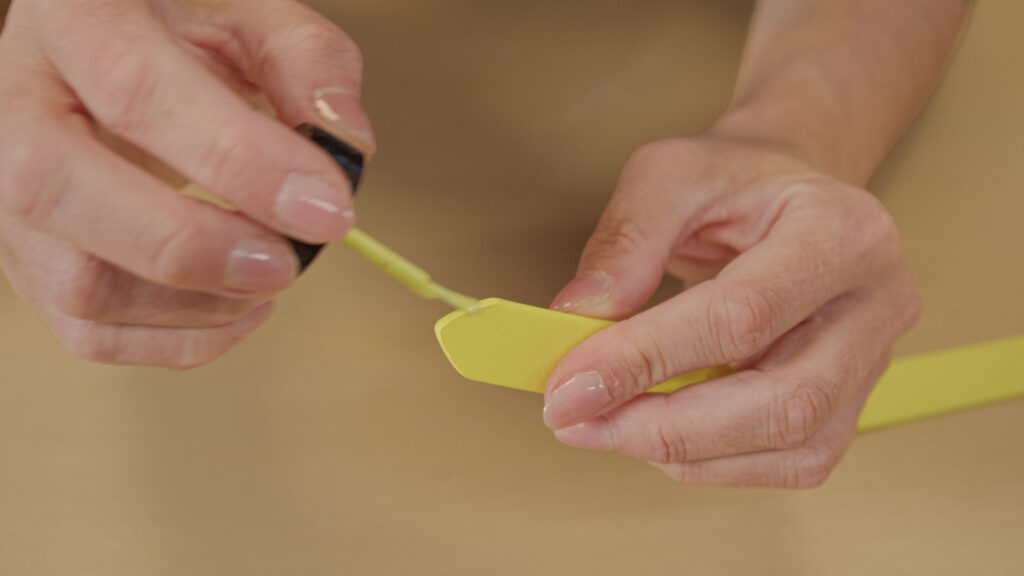
Edge finishing
Even the cut edge with Girba Nubio Opaco – it’s easy to apply and gives a professional finish.
If you want to match the edge color to the webbing, use Angelus acrylic paint – for every webbing color on the site you’ll find our tip for a matching shade.
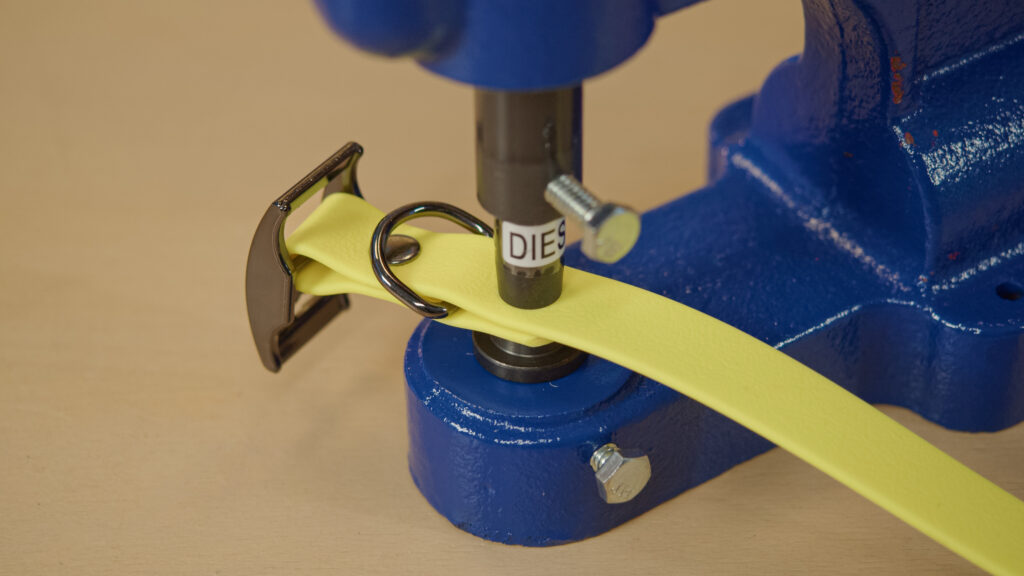
Applying eyelets
- Punch a matching hole for the eyelet size.
- Insert the eyelet into the punched hole and place the washer underneath.
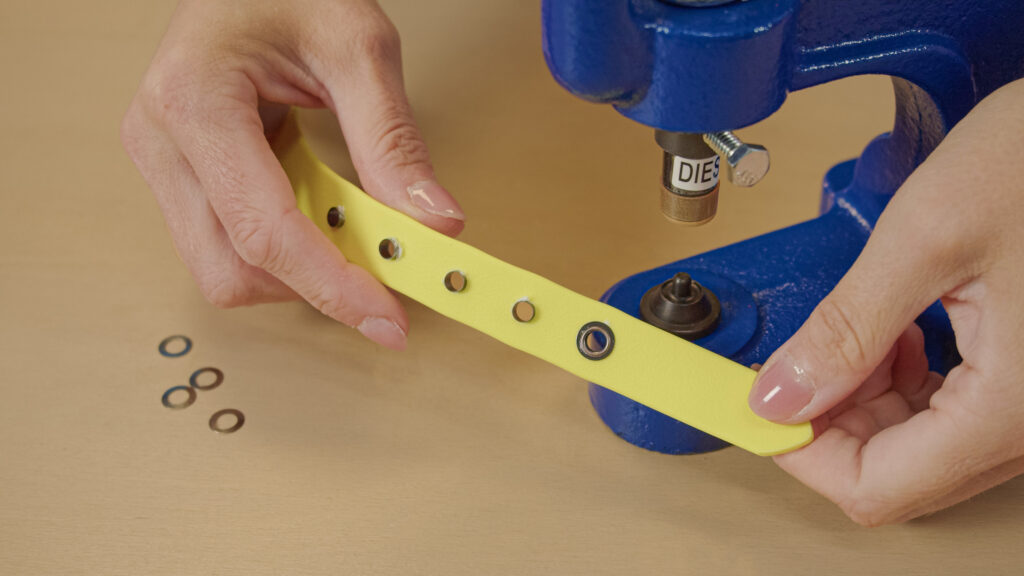
- Set with a press or by hand – using a rivet setter and anvil.
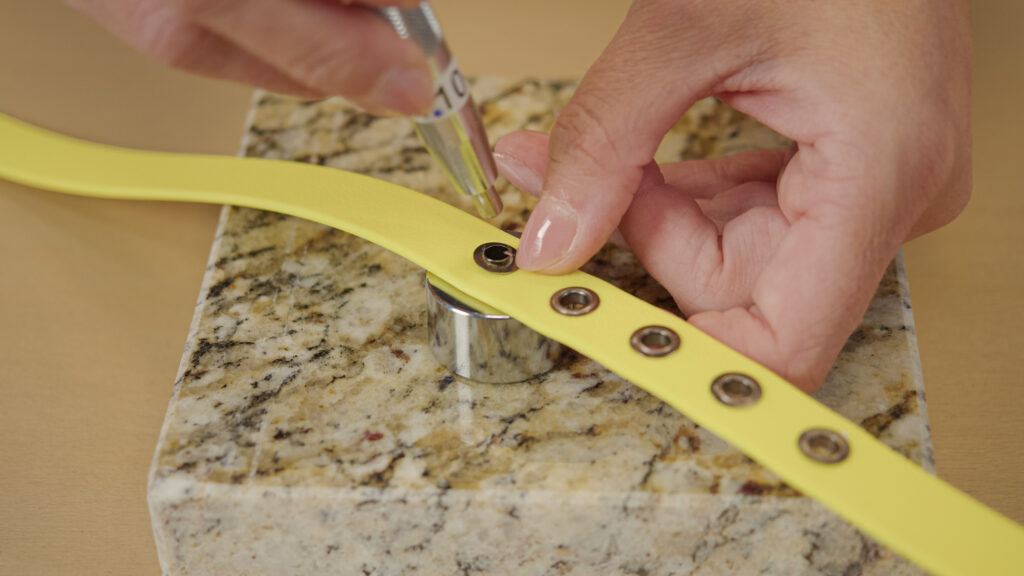
- The result is the same; the difference is mainly speed and convenience: a press is faster, the hand method is more accessible and compact.
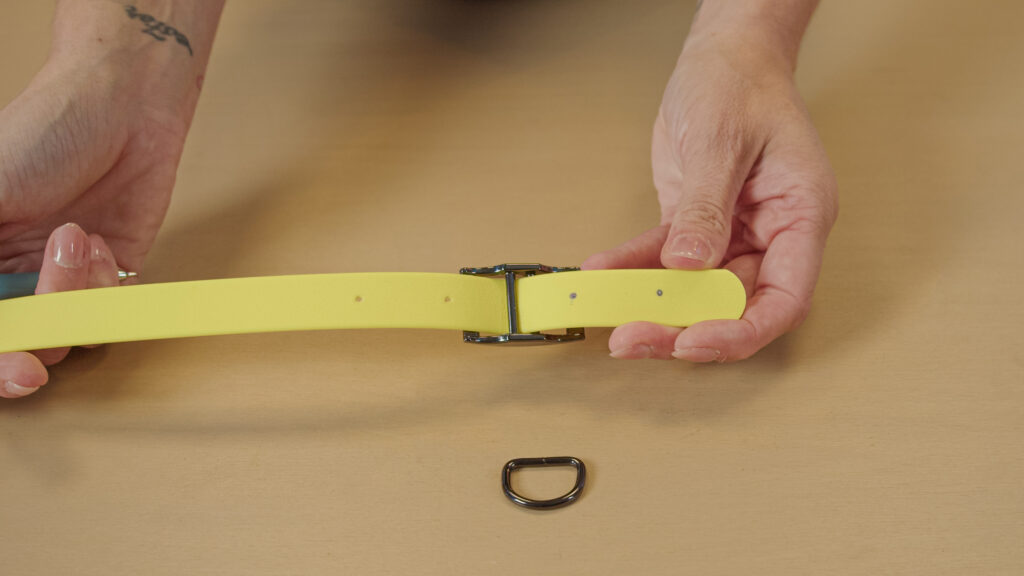
Final assembly of the collar
- Fit the buckle and D-ring, check that everything aligns.
- Rivet the joint with a press or by hand – firmly and square, with no play or skew.
Finally, fasten the collar and check that nothing scratches and that both rivets and eyelets are seated correctly.
Video tutorial

Pro tips to finish
Common mistakes (and how to avoid them)
- Collar too tight – add an allowance + more loosening holes.
- Crooked holes – mark first, then punch; pre-mark opposing holes exactly along the webbing centerline.
- Untidy ends – an end punch + edge gel will help.
- Eyelet doesn’t fit – size it to the buckle prong and choose the correct punch.
Maintenance
The webbing is waterproof – just wipe it with a cloth. After getting wet, dry the hardware. Occasionally check the eyelets and rivets, especially if the dog pulls a lot.
Tip: Want to make more collars? Make a template – you’ll speed up the work and every piece will be equally precise.
Making a keeper loop
If the collar has more holes (e.g., a wider tightening/loosening range), it pays to add a keeper loop for the loose webbing tail. It prevents flapping and keeps the collar tail in place.
- Make the keeper from a narrower waterproof webbing – so the collar tail slides through comfortably.
- First place the two layers of collar webbing together (as they’ll overlap when worn).
- Then wrap them with the narrower webbing, mark the joint, and cut the strip.
- Test again that the length really fits – the keeper mustn’t be too loose or too tight.
- Punch small holes at both keeper ends (approx. 3–4 mm from the edge) – ideally with a flat punching chisel (e.g., 2 mm).
Finally insert the staple, align, and close the tabs with pliers.
Slide the keeper onto the collar before the final riveting.
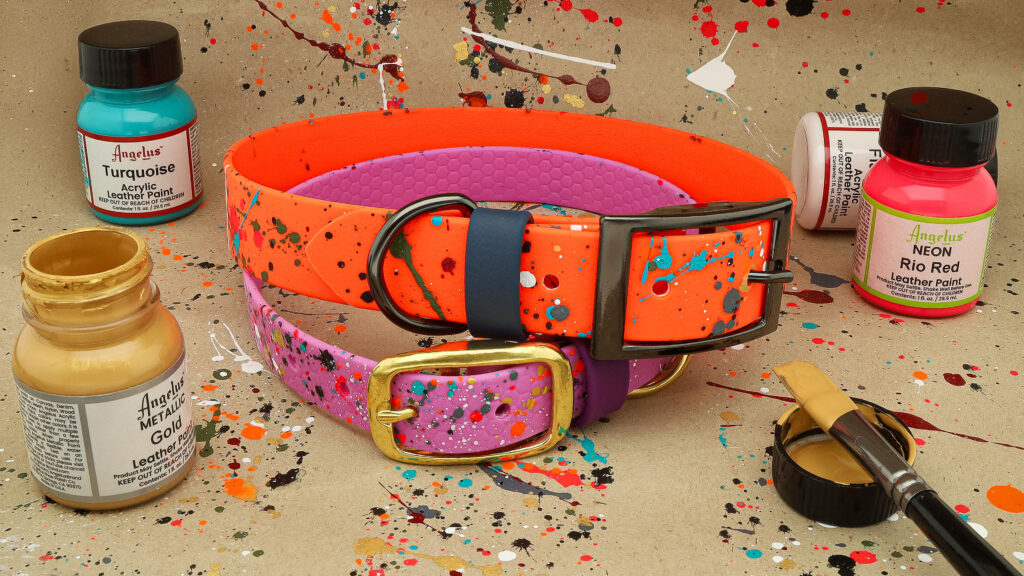
Decorating with paints
Your collar is finished – but if you want to take the look to perfection, check out our article on dyeing waterproof webbings.
Most common questions about making a collar
How do I calculate the correct webbing length?
Formula: neck circumference + adjustment allowance + tail after the holes + buckle fold. Always mark the main hole after a test fit on the neck. For quick reference use the mini-table in the article.
What hole spacing should I choose?
Narrower collars (16 mm) typically 2 cm, wider ones (20–25 mm) usually 2.5 cm. Always base it on the dog’s size and the buckle type.
How do I choose the webbing width?
16 mm for smaller dogs/slim necks, 20 mm is an all-rounder for medium dogs, 25 mm for larger and strong pullers. Consider the look you want as well.
How to pick a compatible buckle and D-ring?
The buckle and D-ring must have the same nominal width as the webbing (16/20/25 mm). For the buckle, account for the required space for the buckle fold based on its construction.
Do I have to use eyelets in the holes?
Not always. In the highest-stress holes they extend service life and keep the opening shape – recommended mainly for wider collars and for dogs that pull more.
Press vs. hand riveting: which is better?
A press is faster and more consistent; hand riveting is cheaper and compact. When riveting by hand, ensure a square strike and a hard base.
What punch diameter and hollow rivet length should I choose?
For 16 mm webbings usually 4 mm, for 20–25 mm 4.5–5 mm. Choose hollow rivet length according to the total stack thickness at the riveting point (webbing + fold + optional keeper); the rivet must be neither too short nor excessively long.
How do I test the collar before first use?
Do a pull test by hand (simulate a sharp tug). The rivet must hold square, without play and without cracks around the holes.
How often should I check the collar and how do I care for it?
Do the first check after 1 week of use, then periodically during maintenance. Wipe the webbing with a damp cloth; dry the hardware after getting wet.
What if my buckle differs from the example?
Adjust the length according to the actual buckle fold depth of your buckle. Test-fold first, verify strap threading and the main hole position, then do the final punching.
Pethardware.com
The only shop you’ll ever need for crafting collars and leashes.
Visit Pethardware.com