
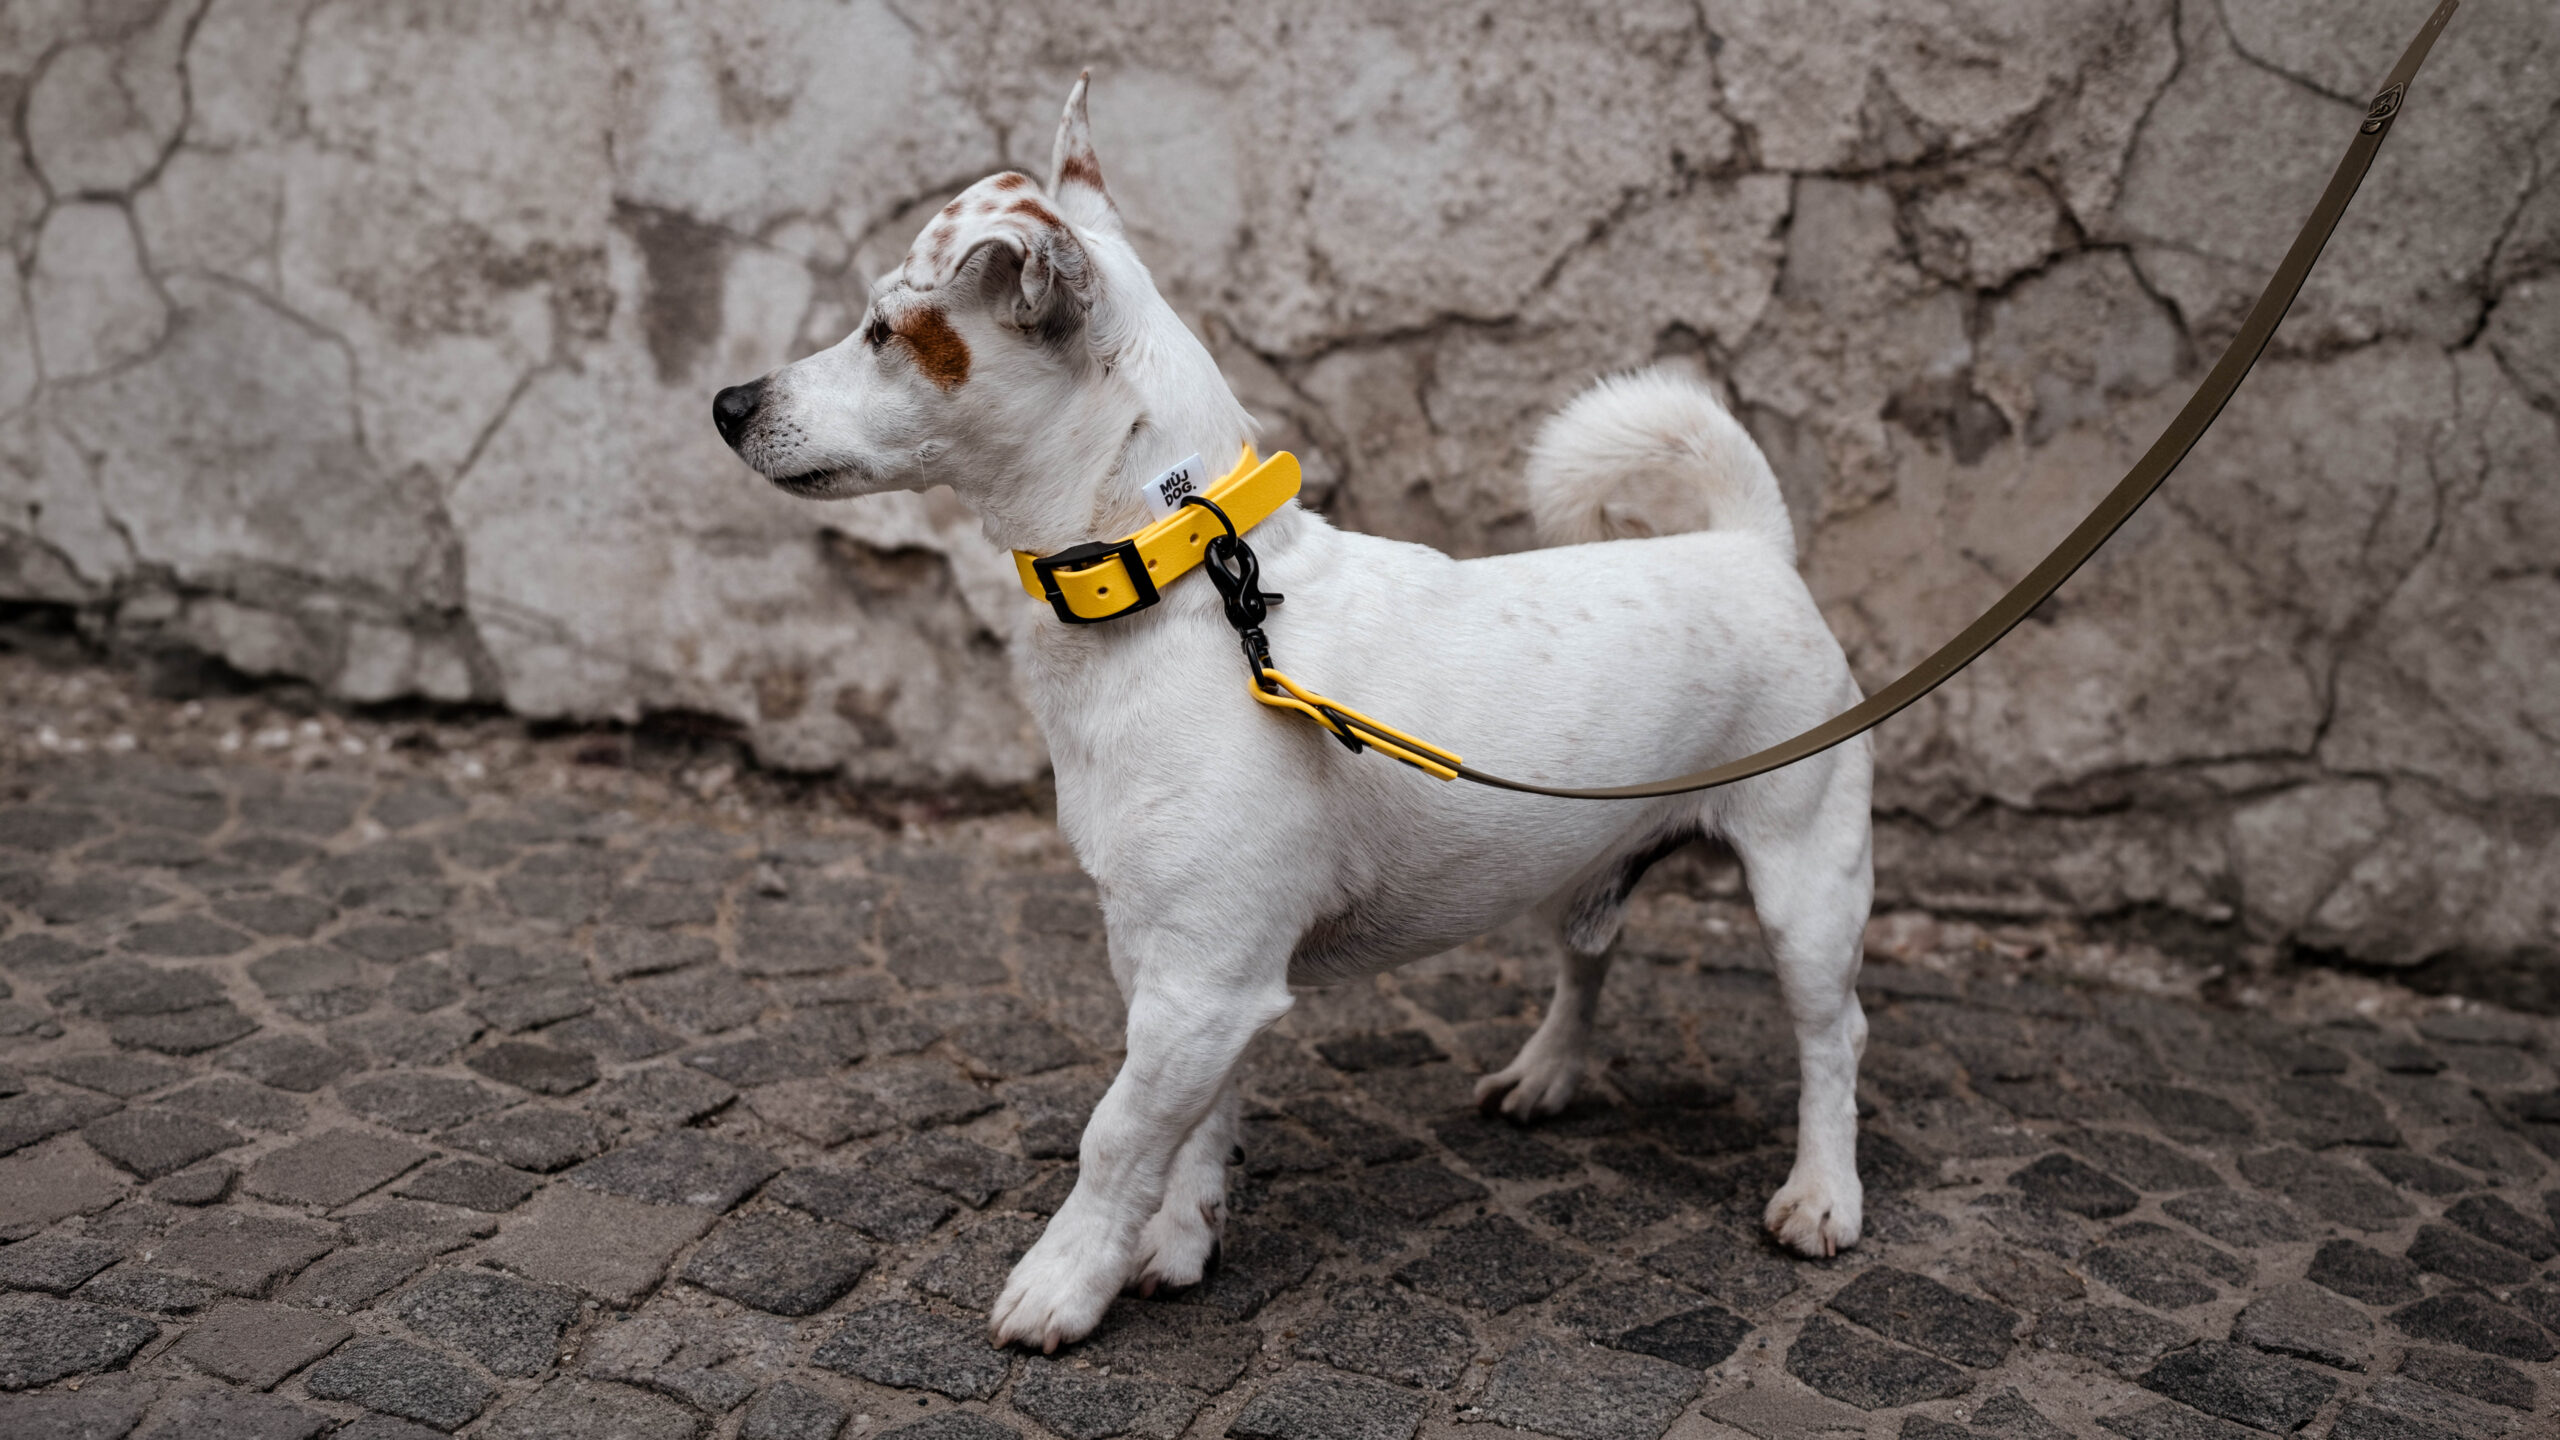
Waterproof webbing is a popular material for dog collars, leashes, harnesses and horse tack. Makers value it for its high resistance to wear. Unlike ordinary webbing, it does not fray, does not stretch and stays flexible even in freezing weather.
Properties of waterproof webbing
The webbing consists of an inner textile core coated with a layer of PVC or TPU, depending on the type. The coating makes the webbing resistant to water, frost and sweat. The surface does not soak up sweat or odors. It has certified health safety for contact with animal and human skin and stays flexible in the cold: we had its bending tested down to −40 °C.
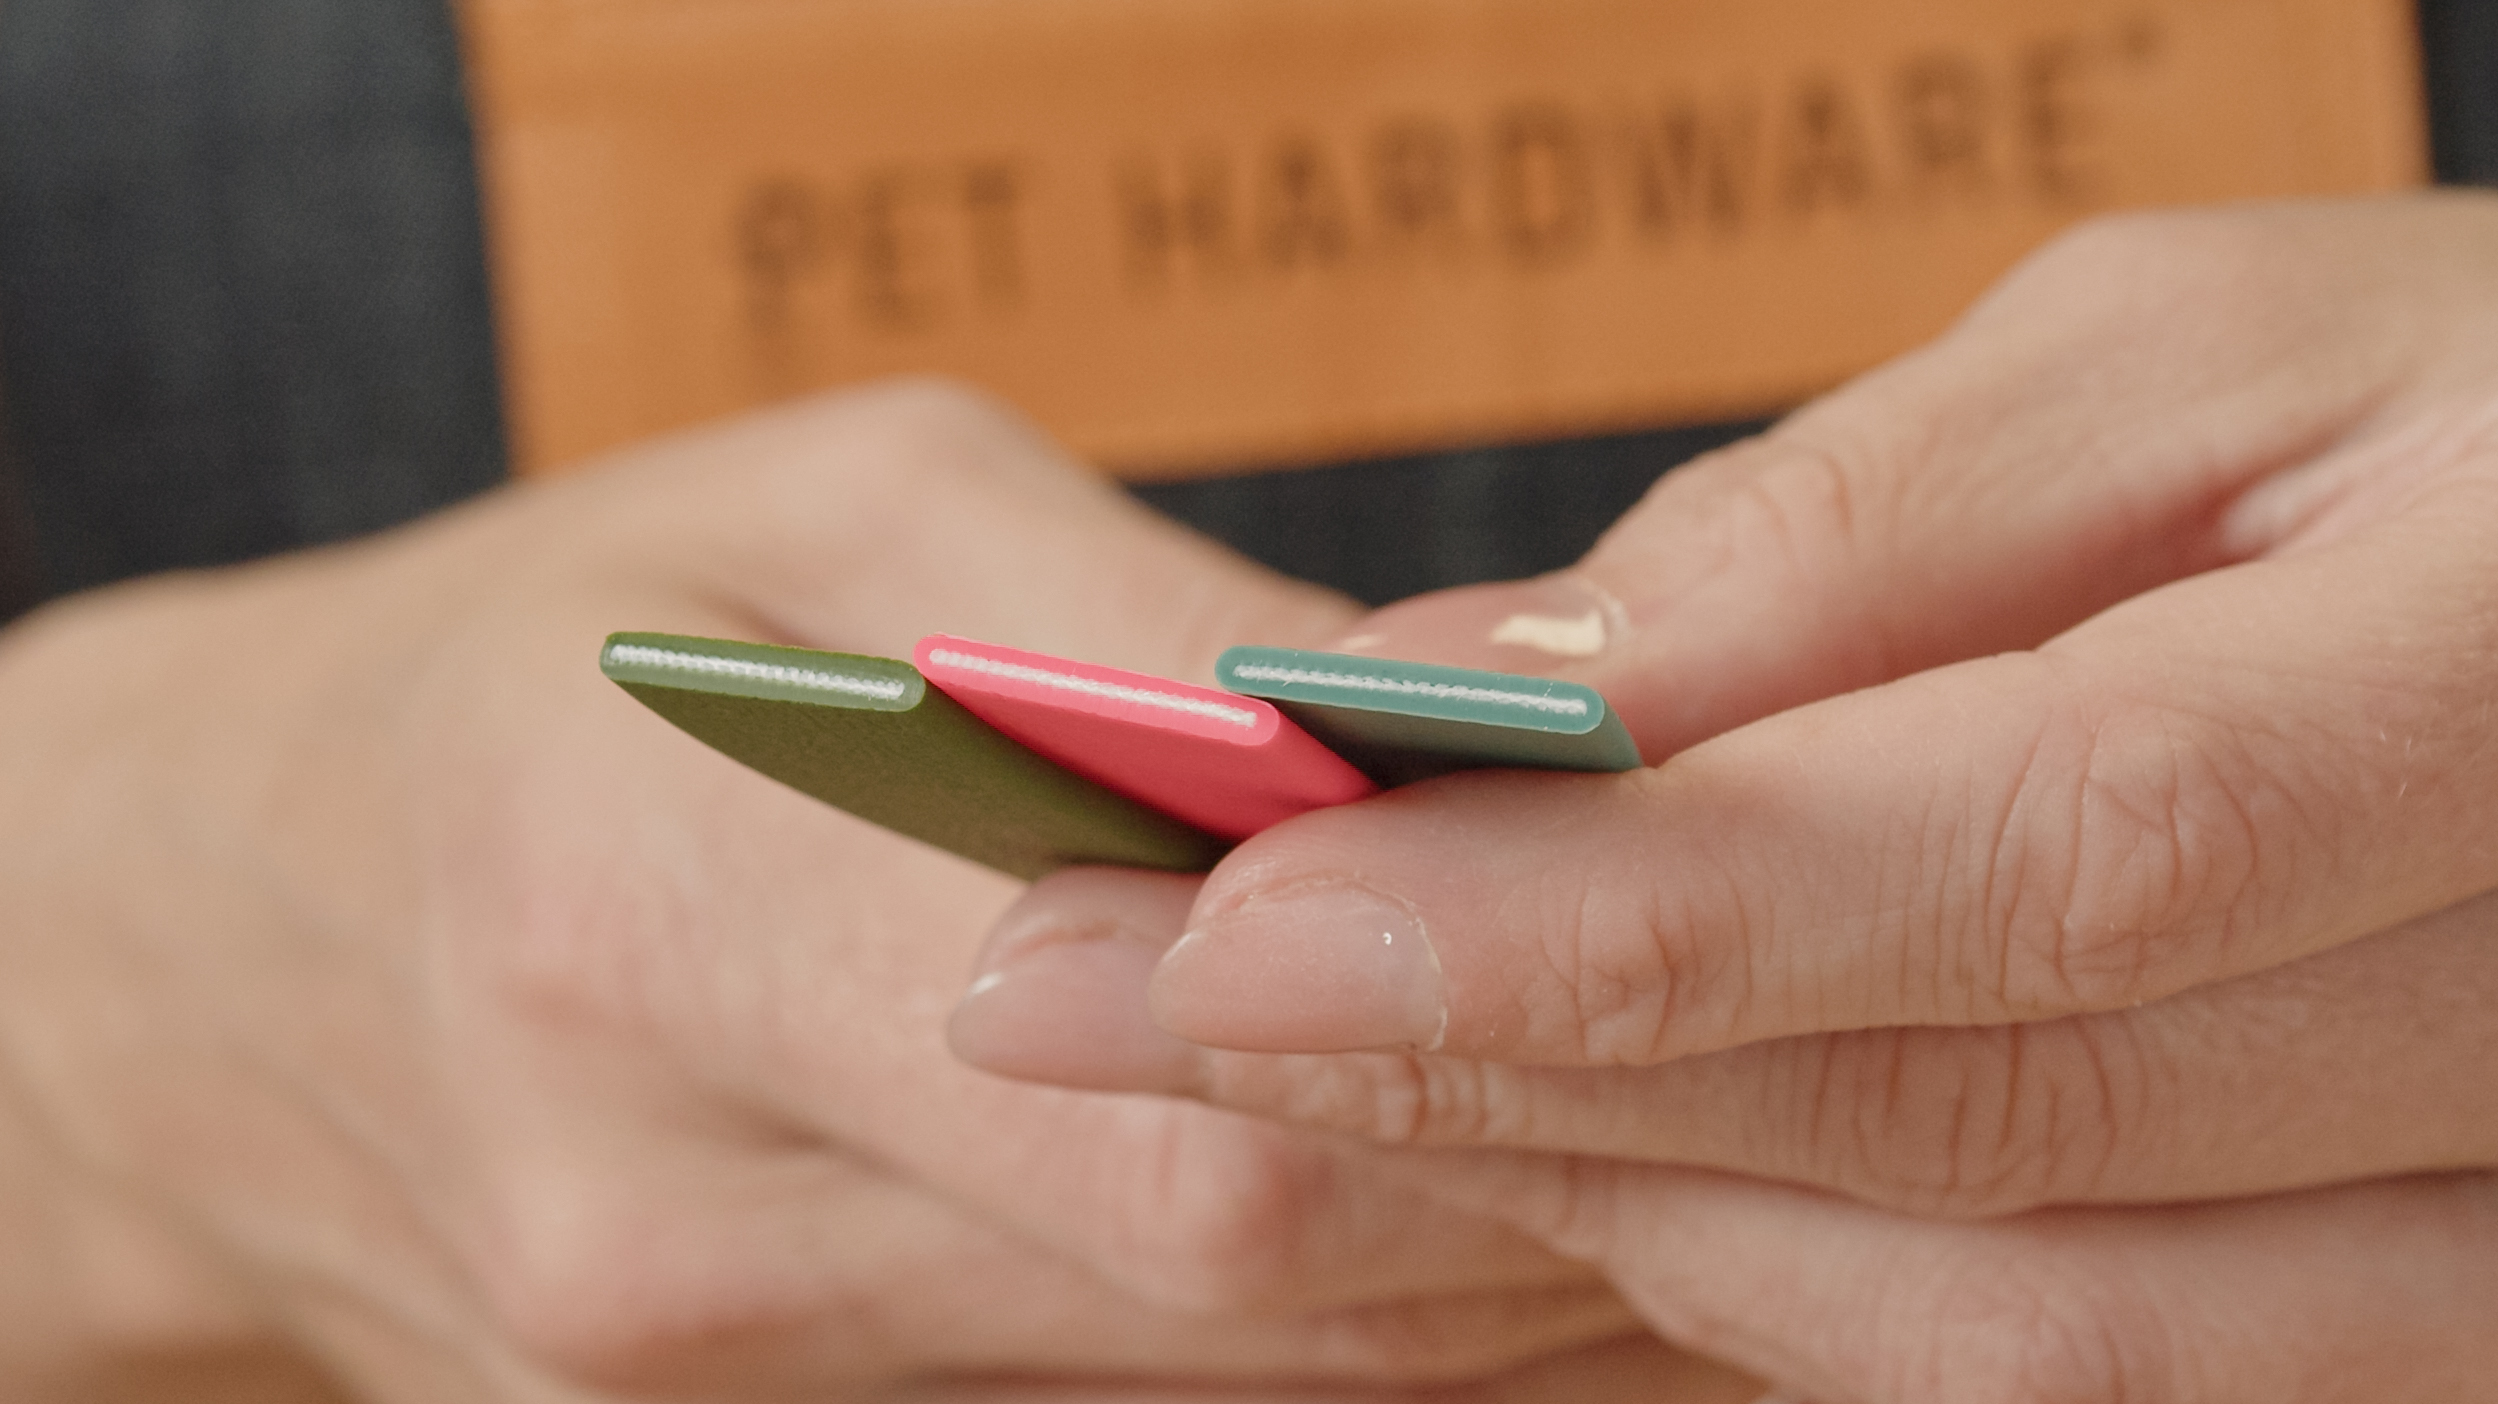
We had the webbing tested in accredited laboratories for health safety, breaking load and bending at low temperatures. You will find the test reports for each webbing under Documents to download. Despite its thickness, the webbing is flexible and soft. Another big advantage is how easy it is to clean with soapy water.
Types of waterproof webbing
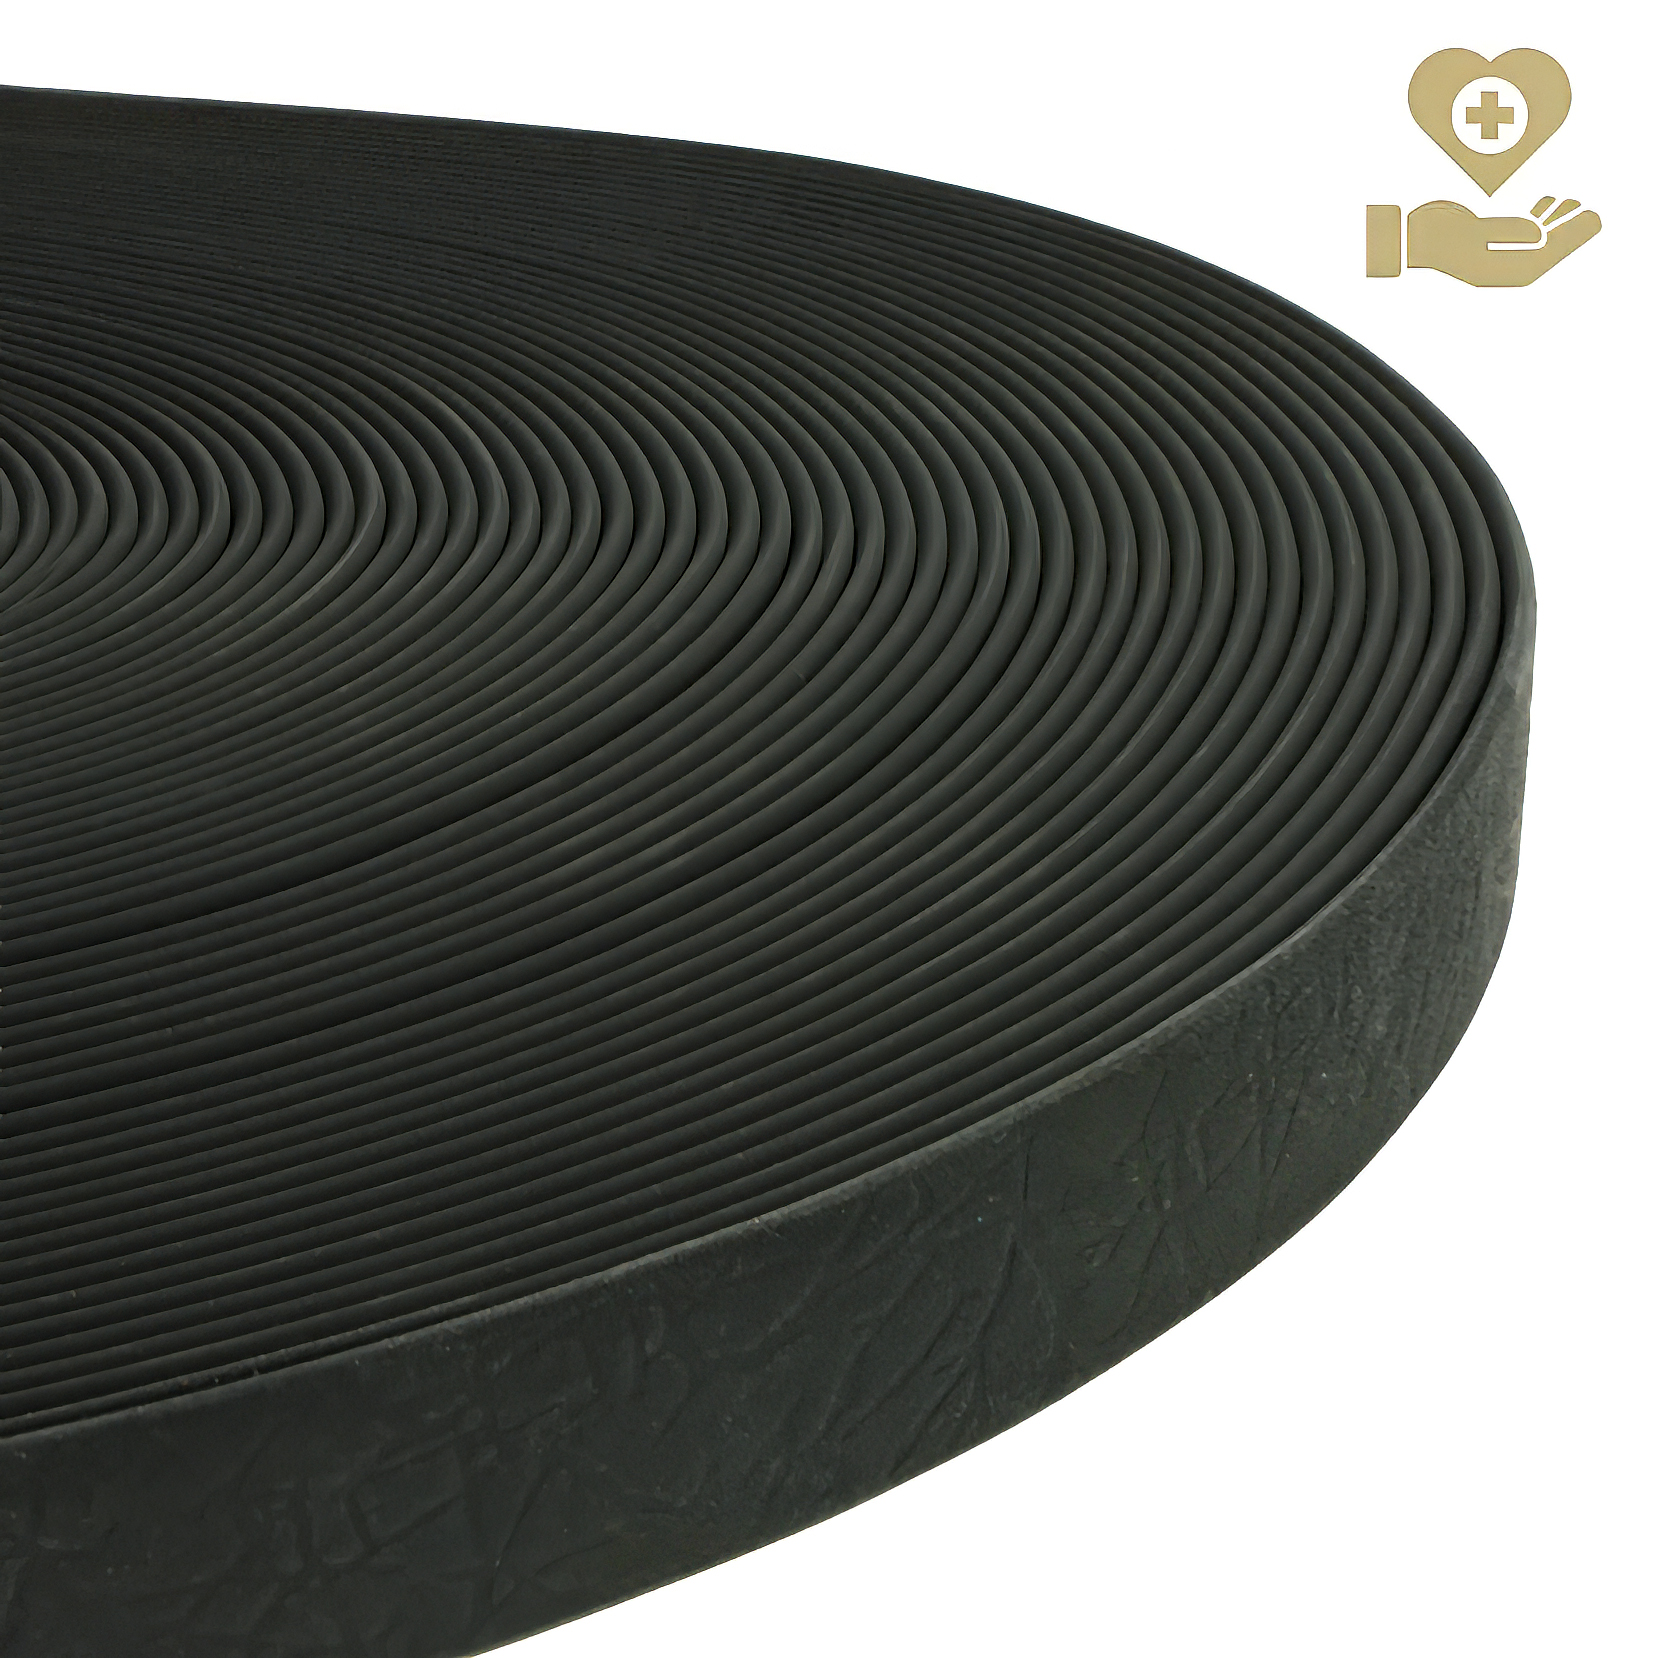
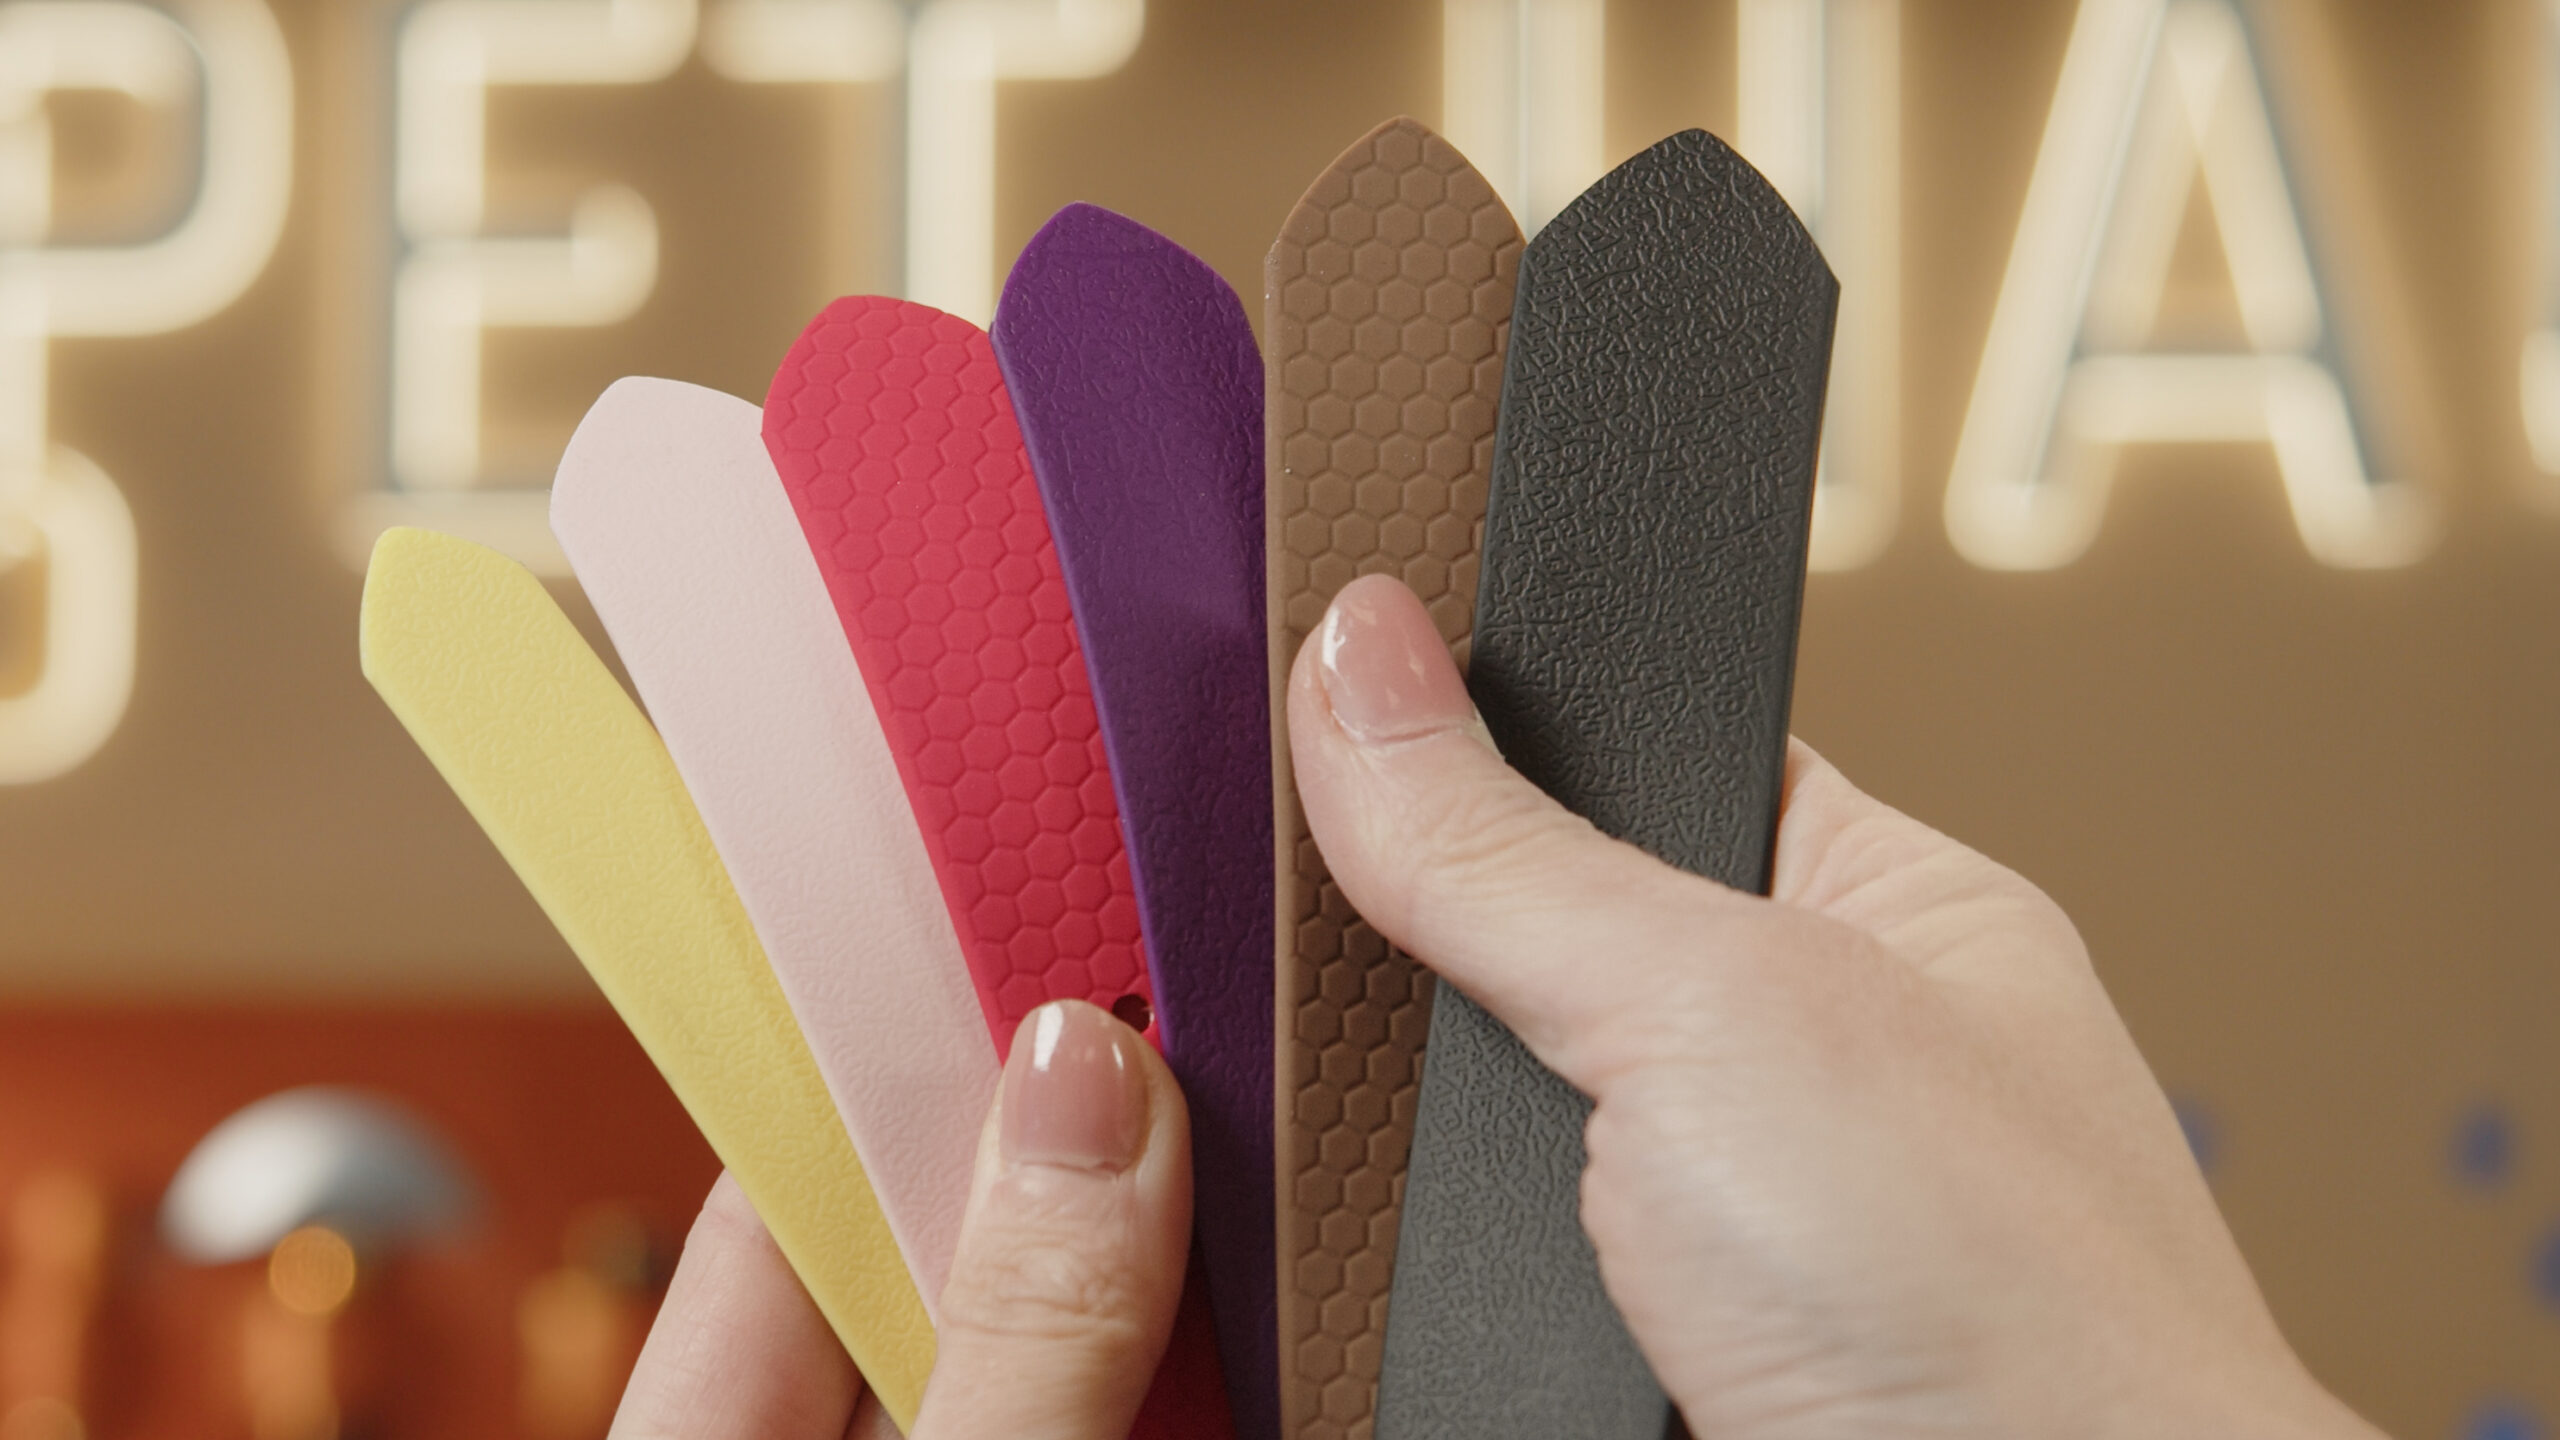
Although all our webbing shares the same basic properties (durability, textile core, PVC or TPU coating), each type has a different texture. Each design suits a slightly different kind of product:
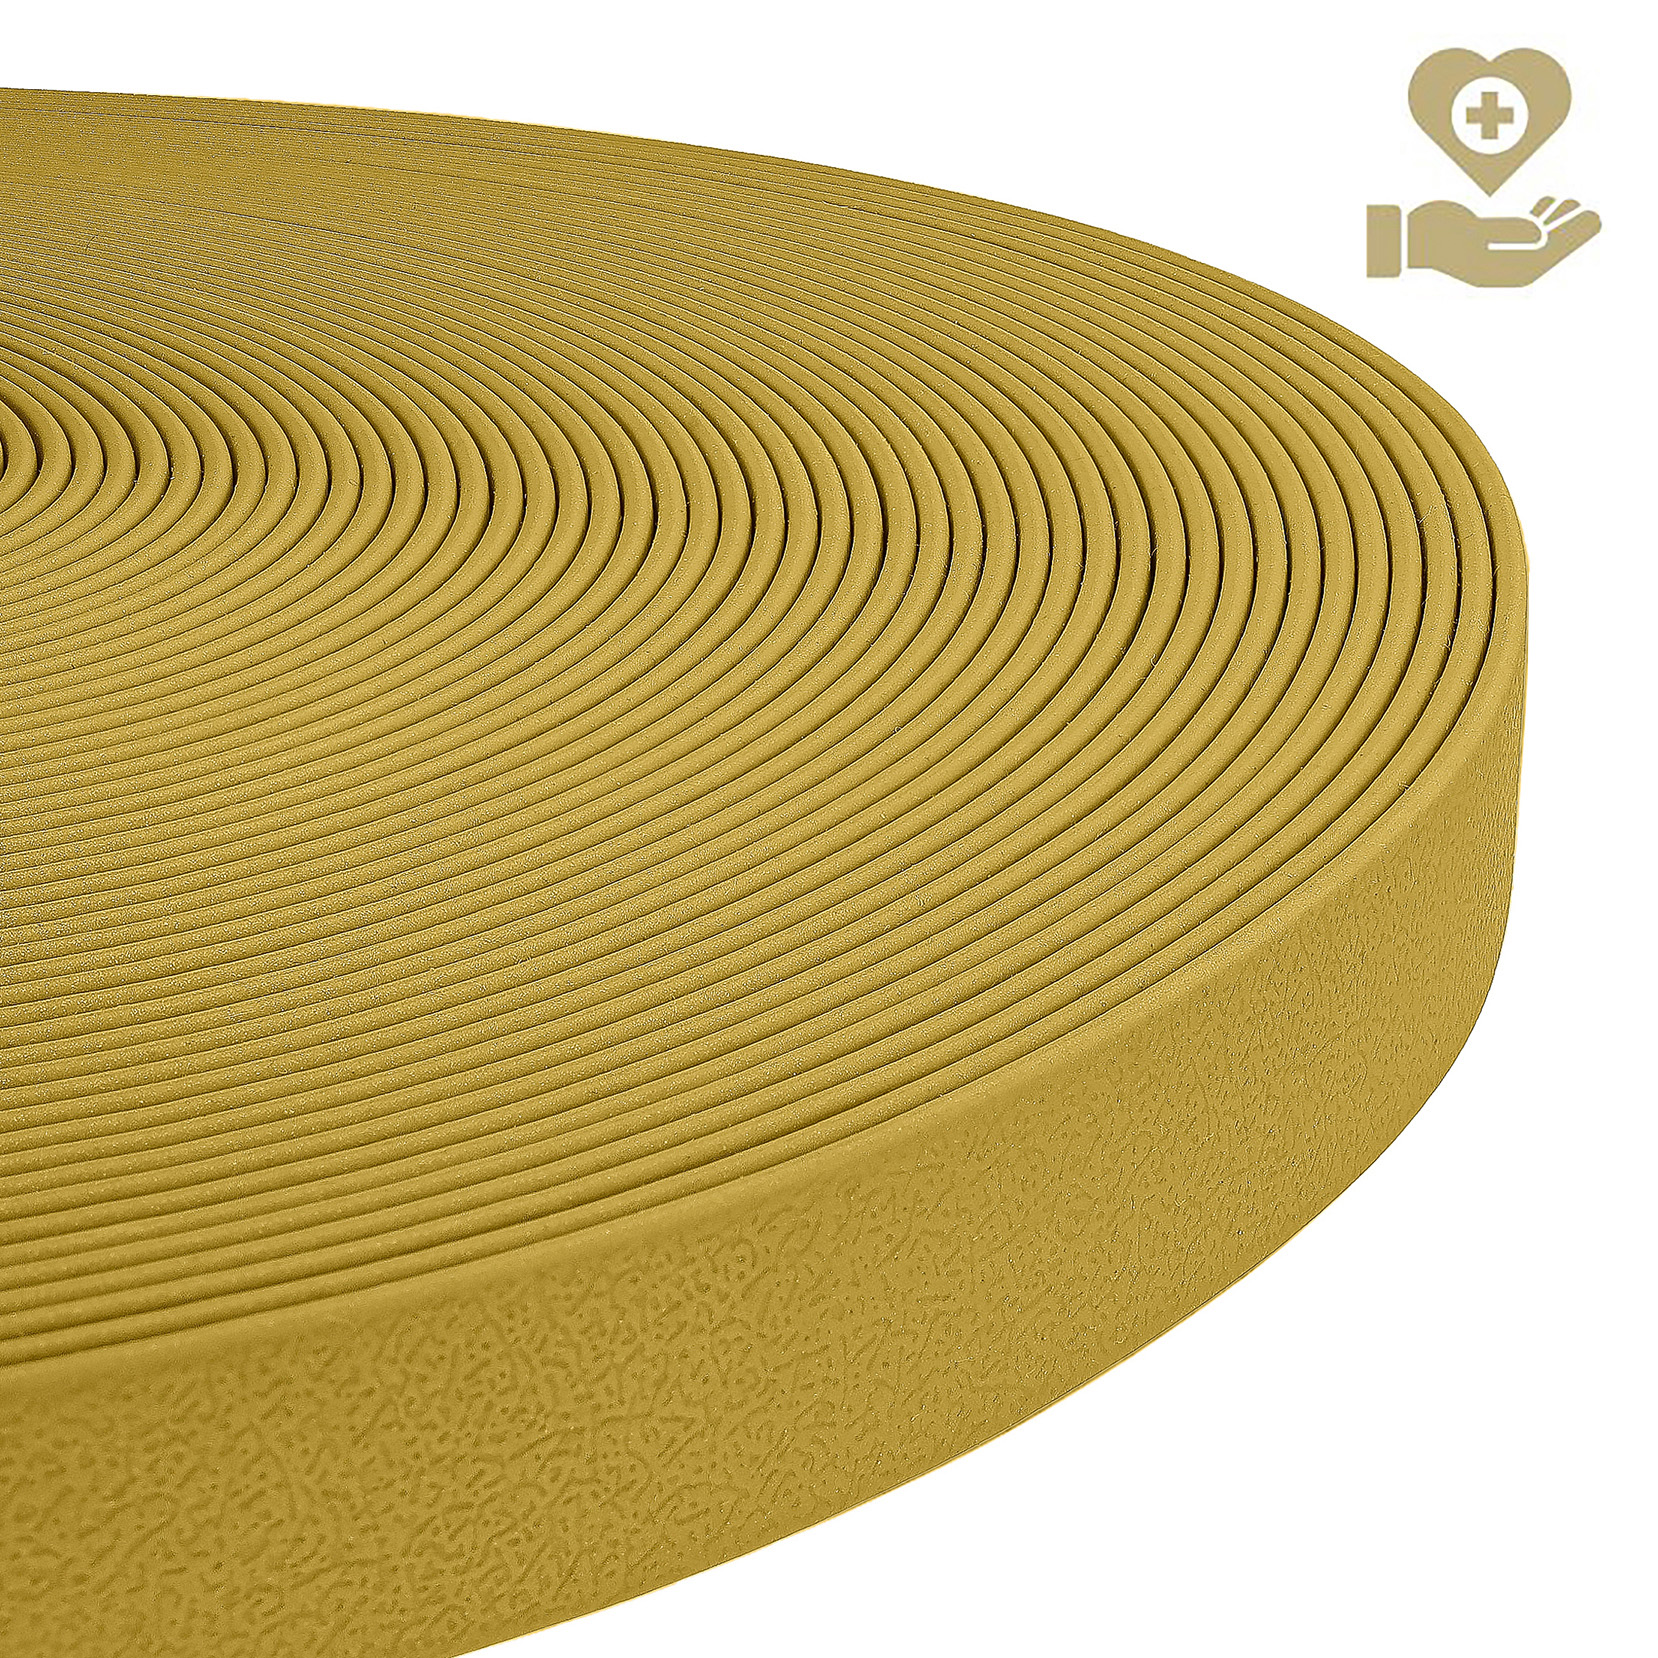
- Classic (smooth) webbing: It has a fine, leather-like surface. This is the most widely used type and looks very elegant.
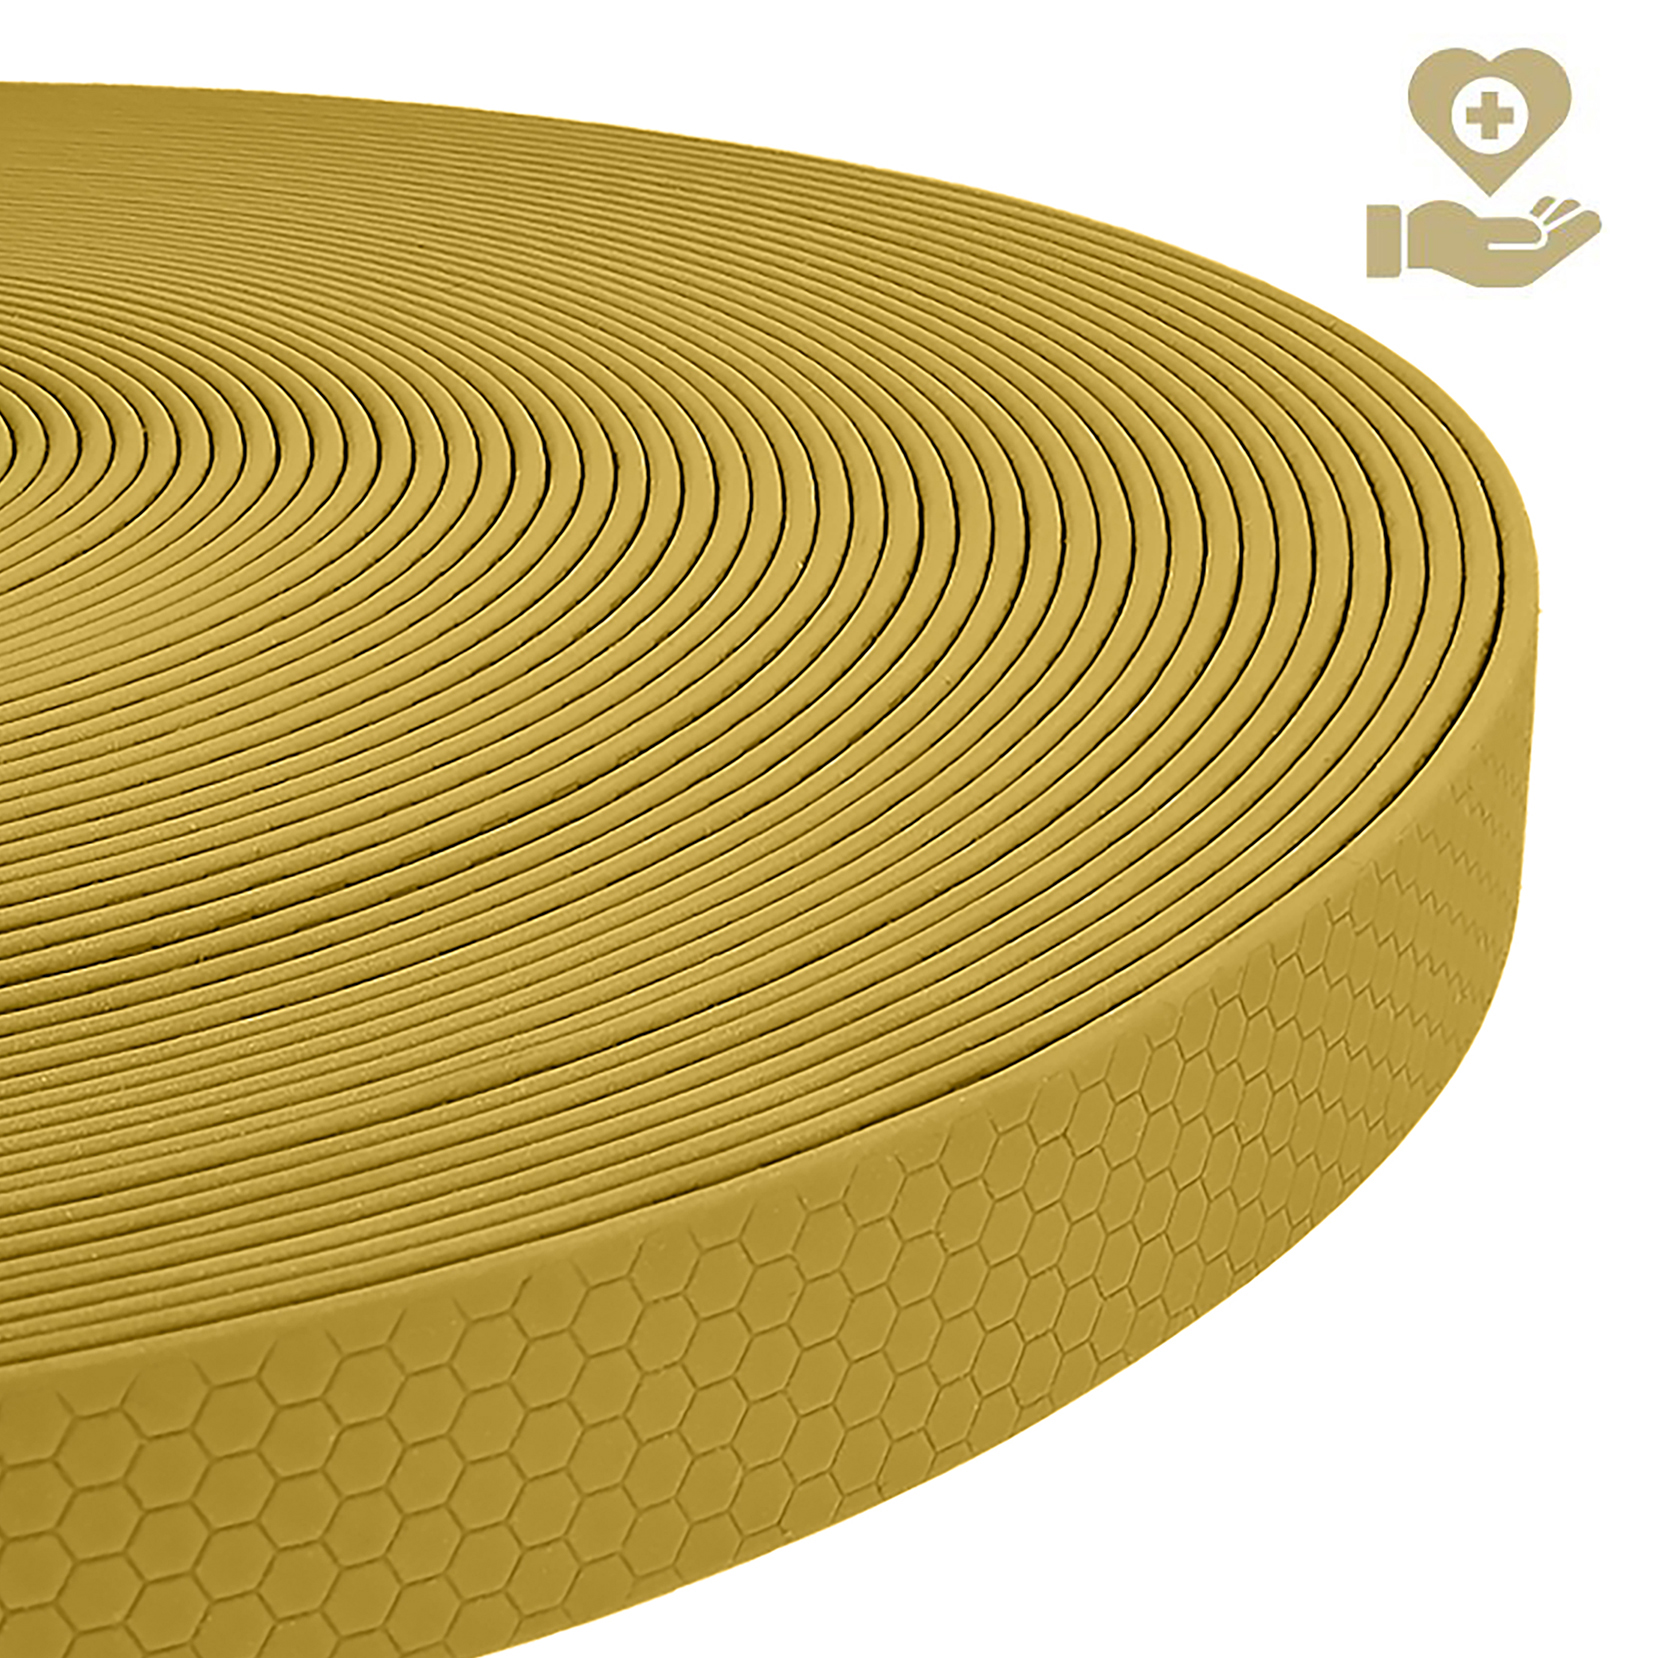
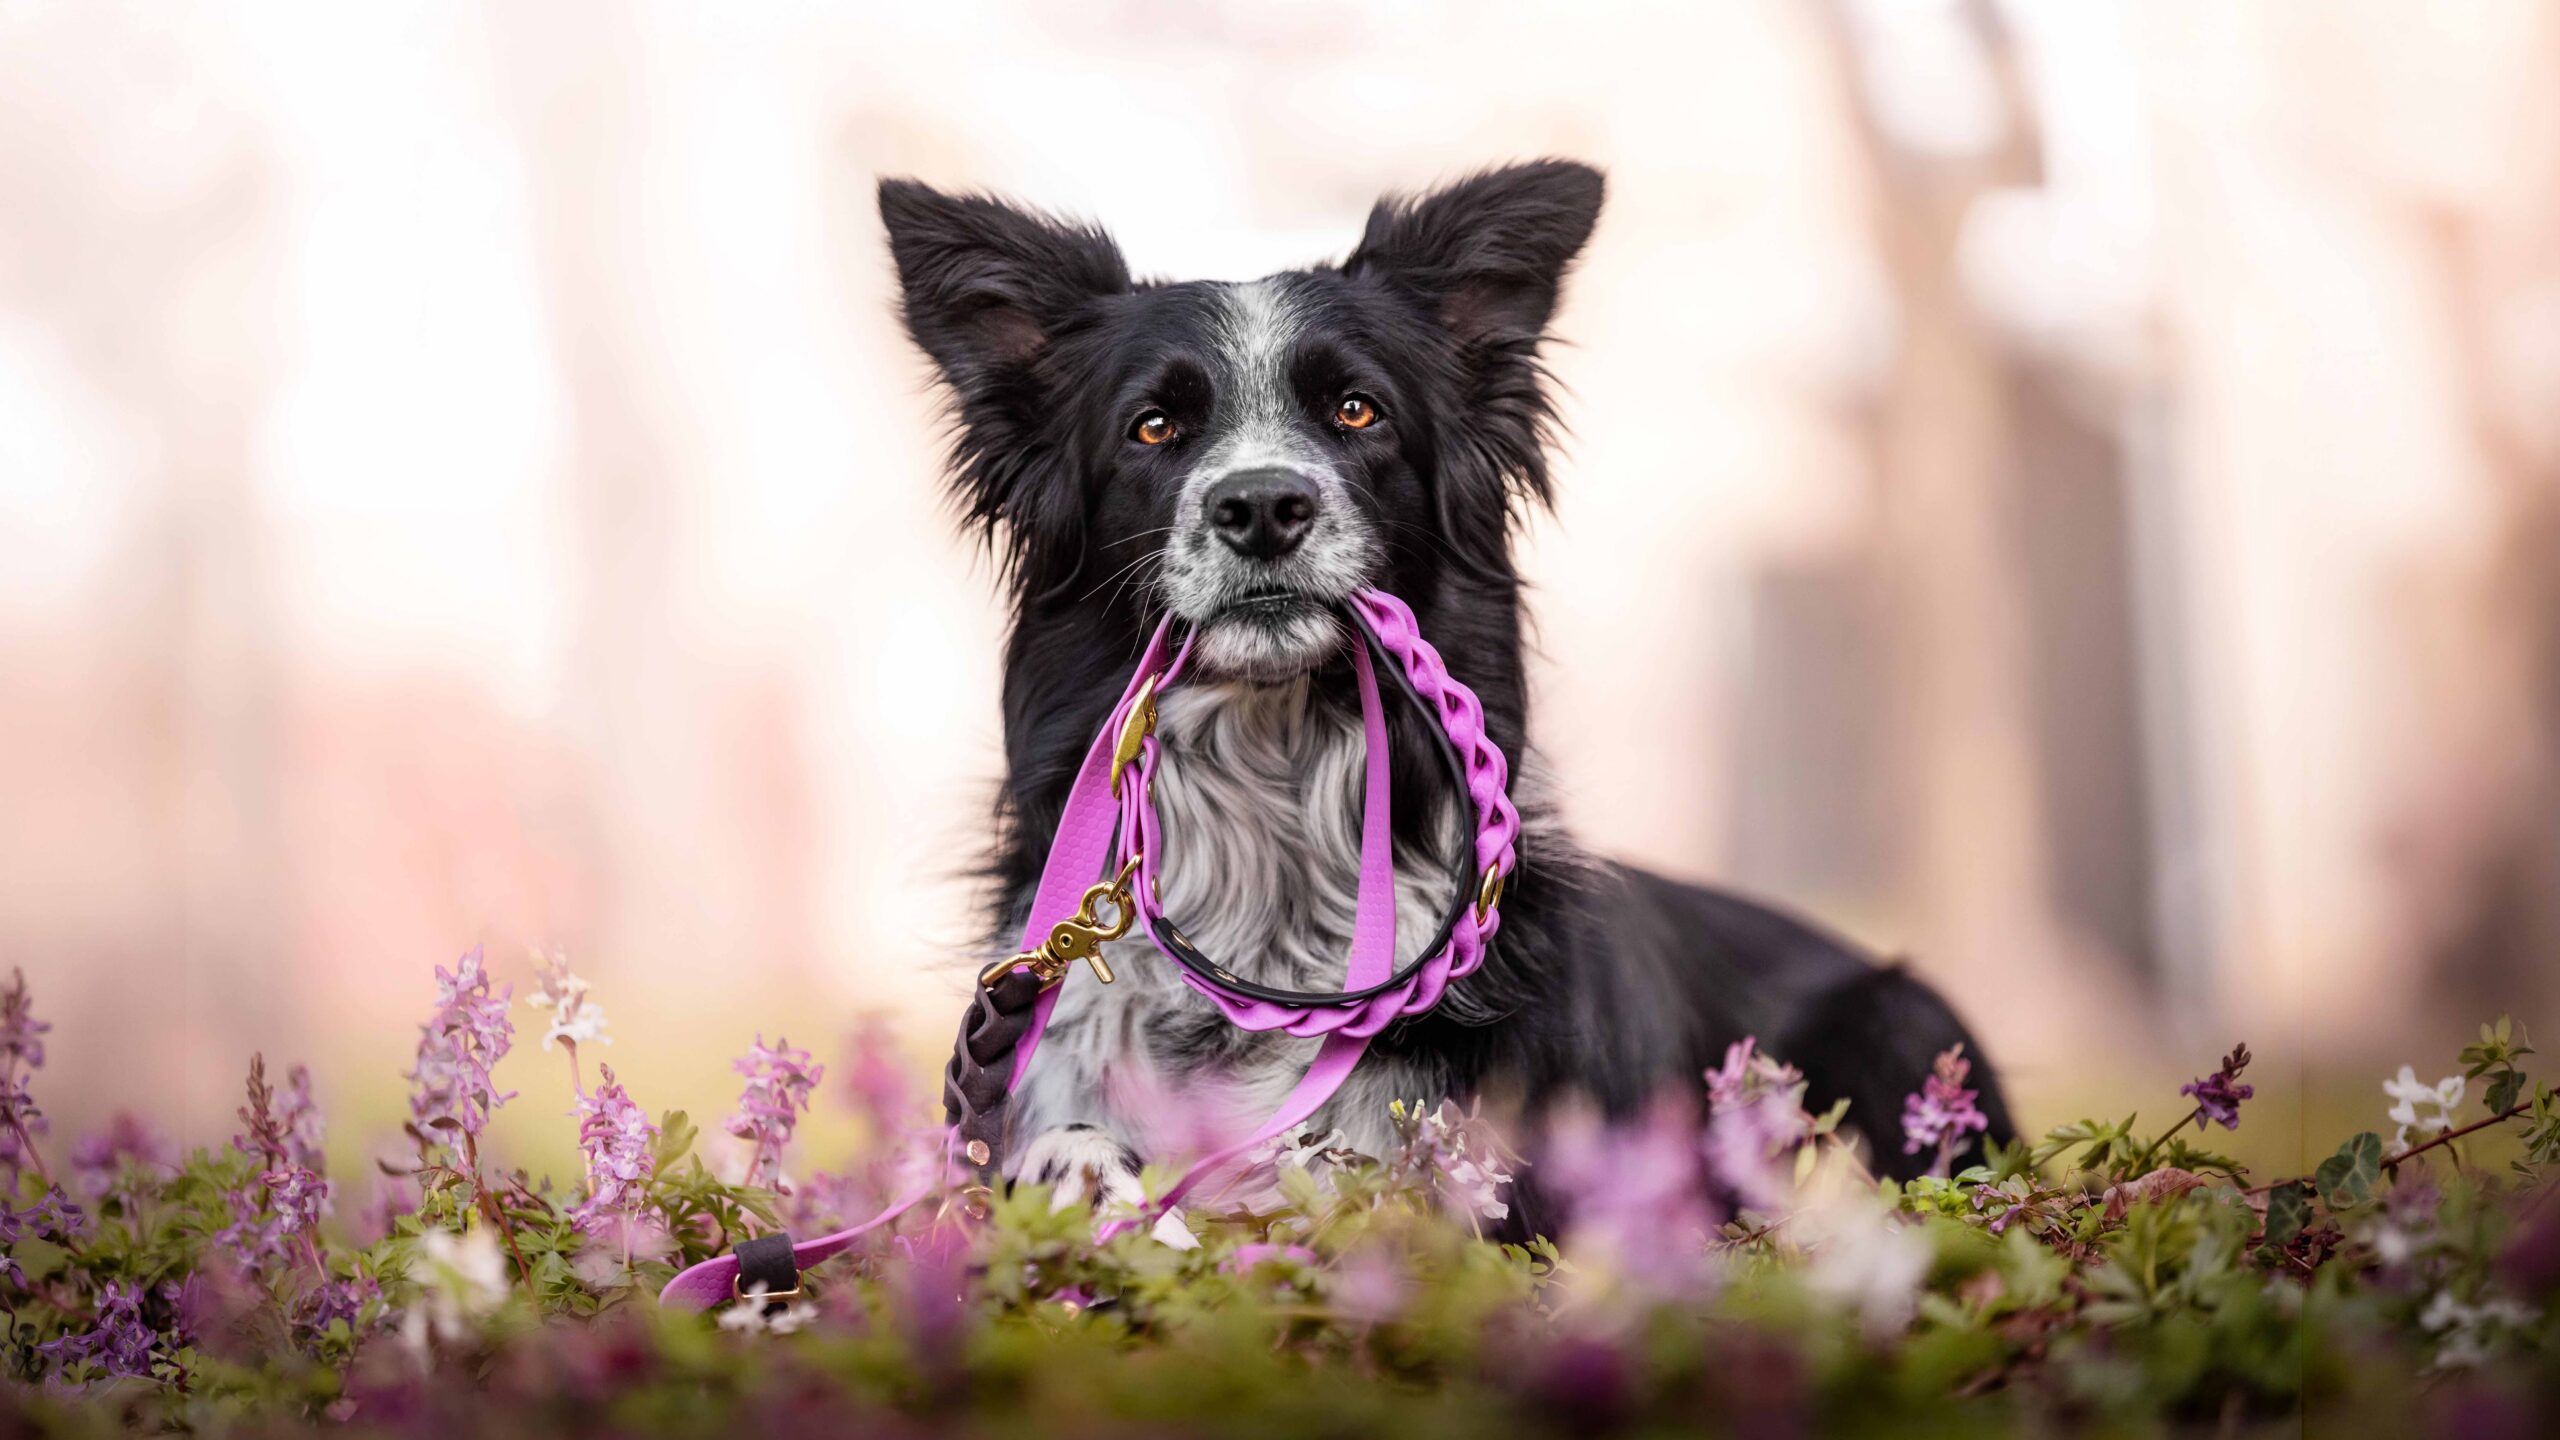
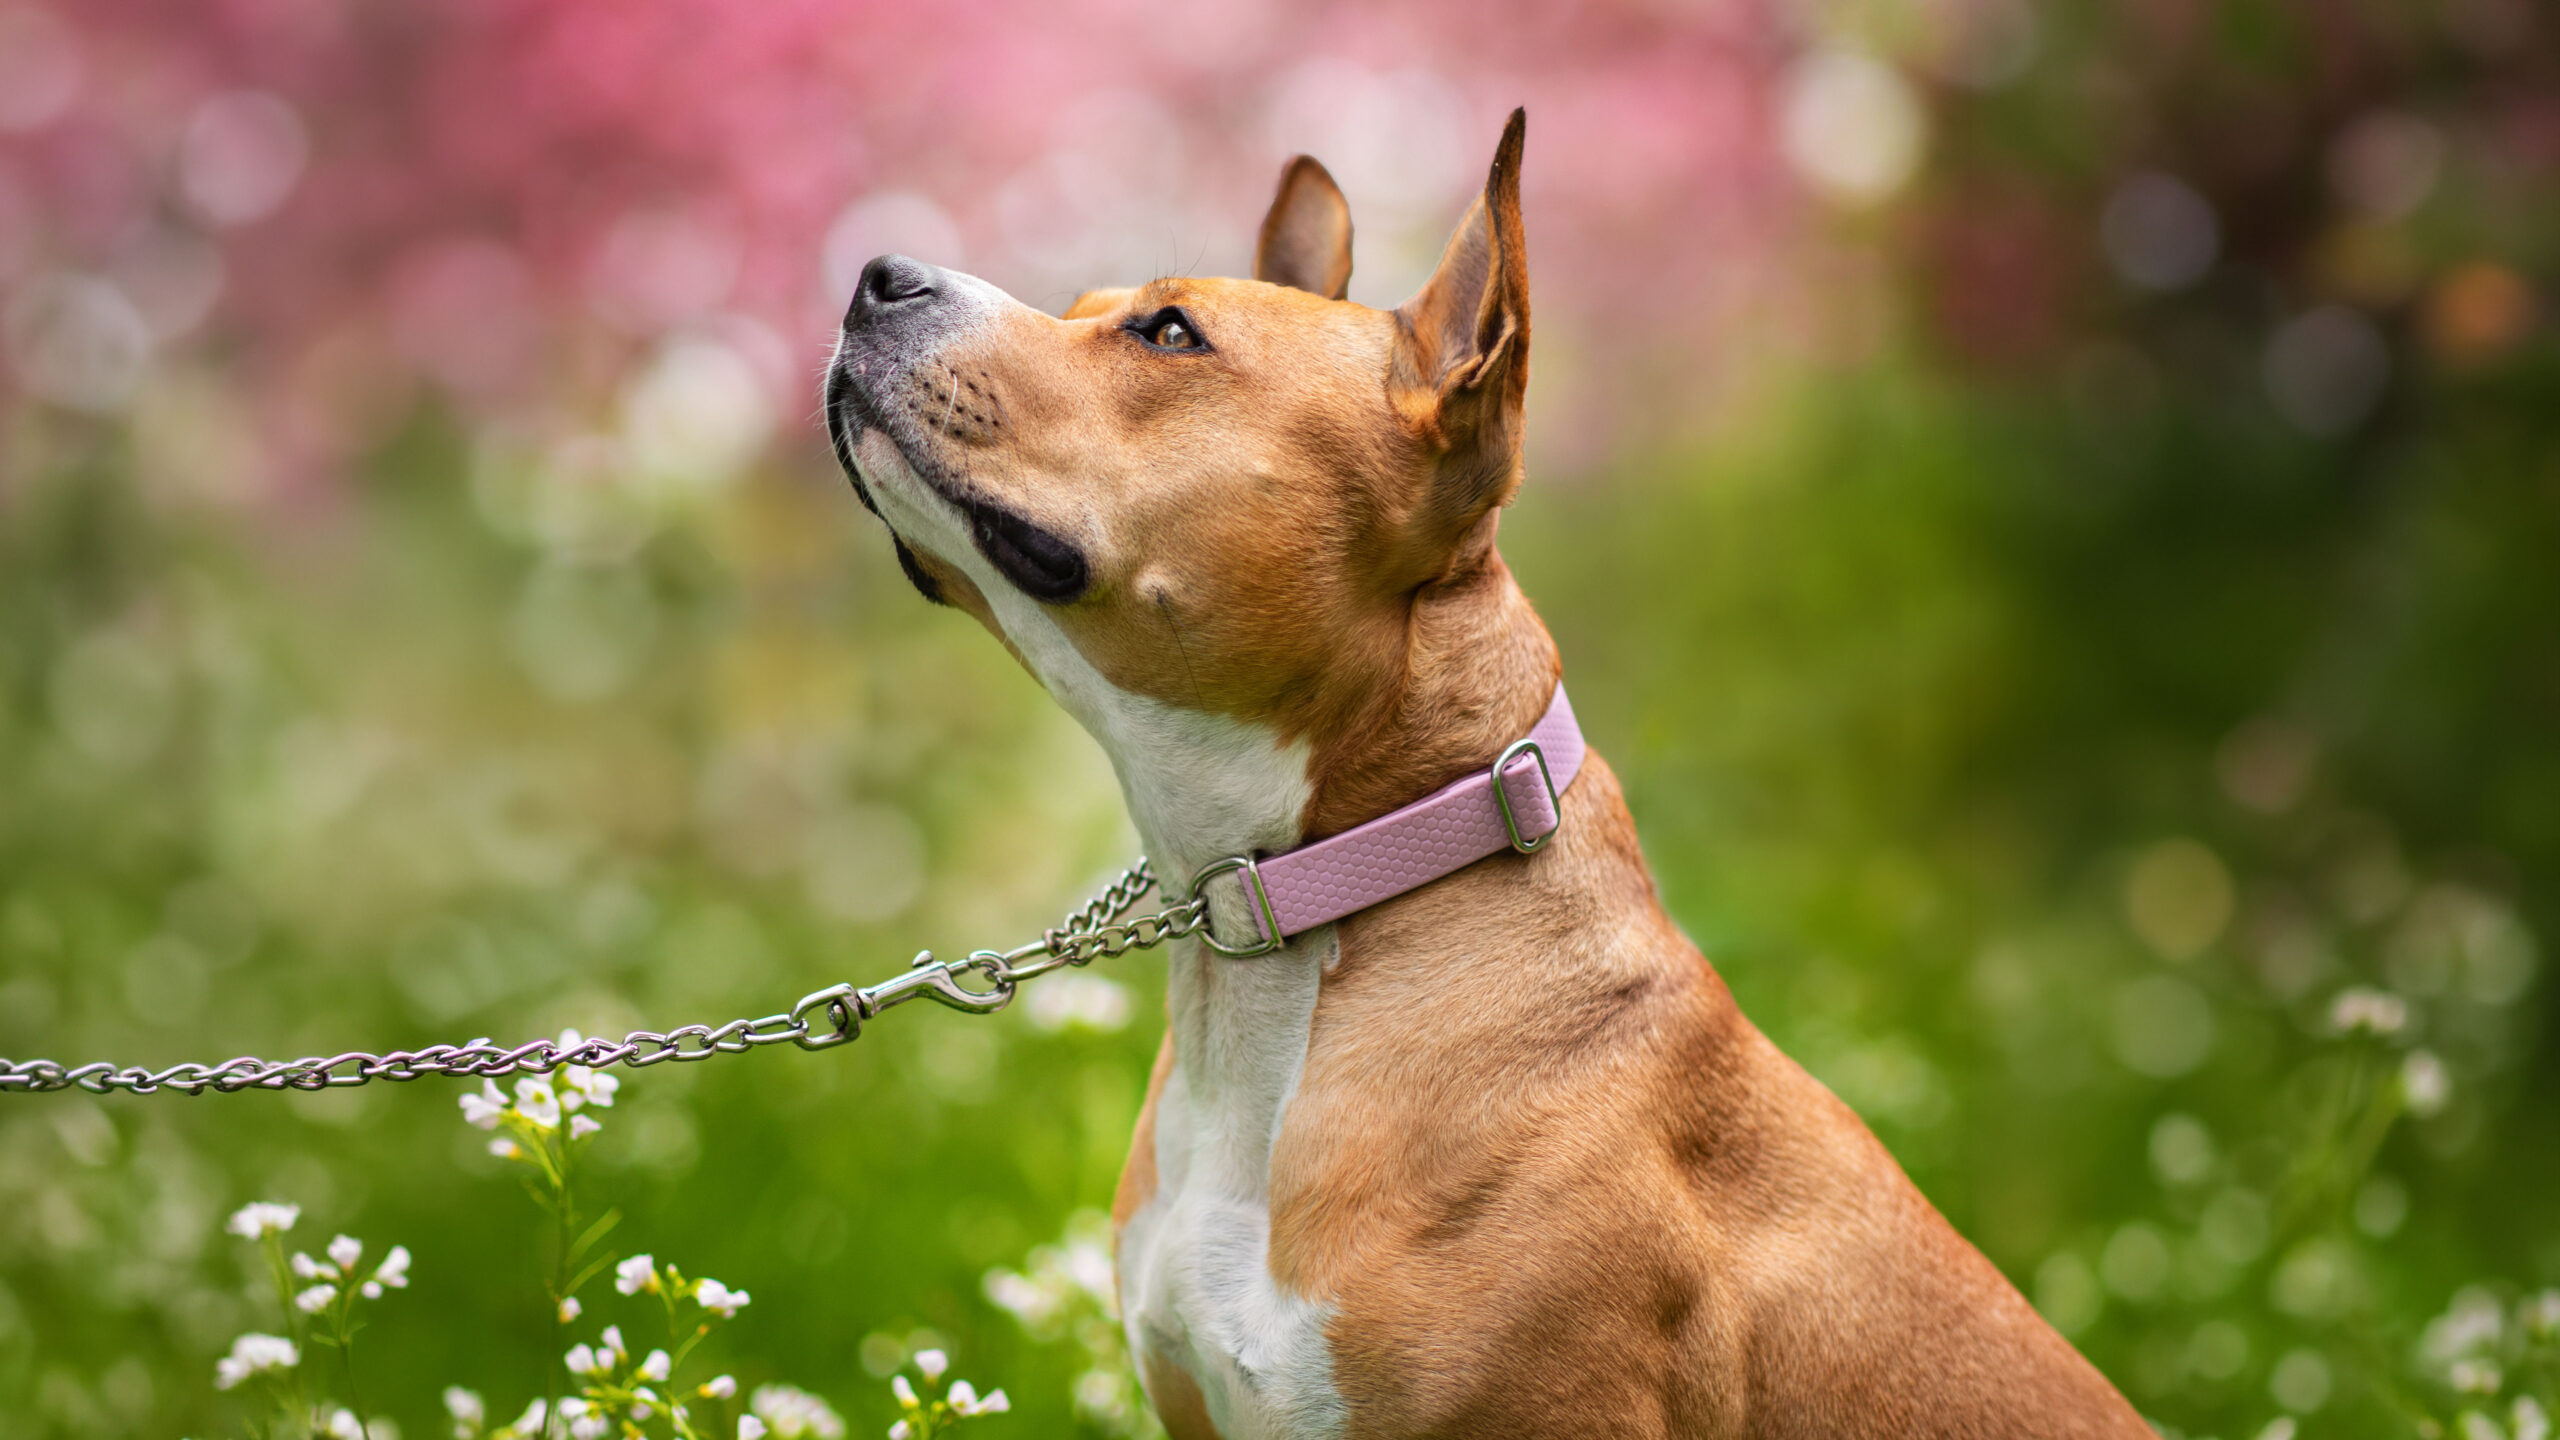
- Hexa webbing: The surface has a pattern of small hexagons (like a honeycomb). This design is popular with dog owners. Thanks to the texture, the webbing does not slip in your hand even when it is wet or muddy, and it has a modern, sporty look.
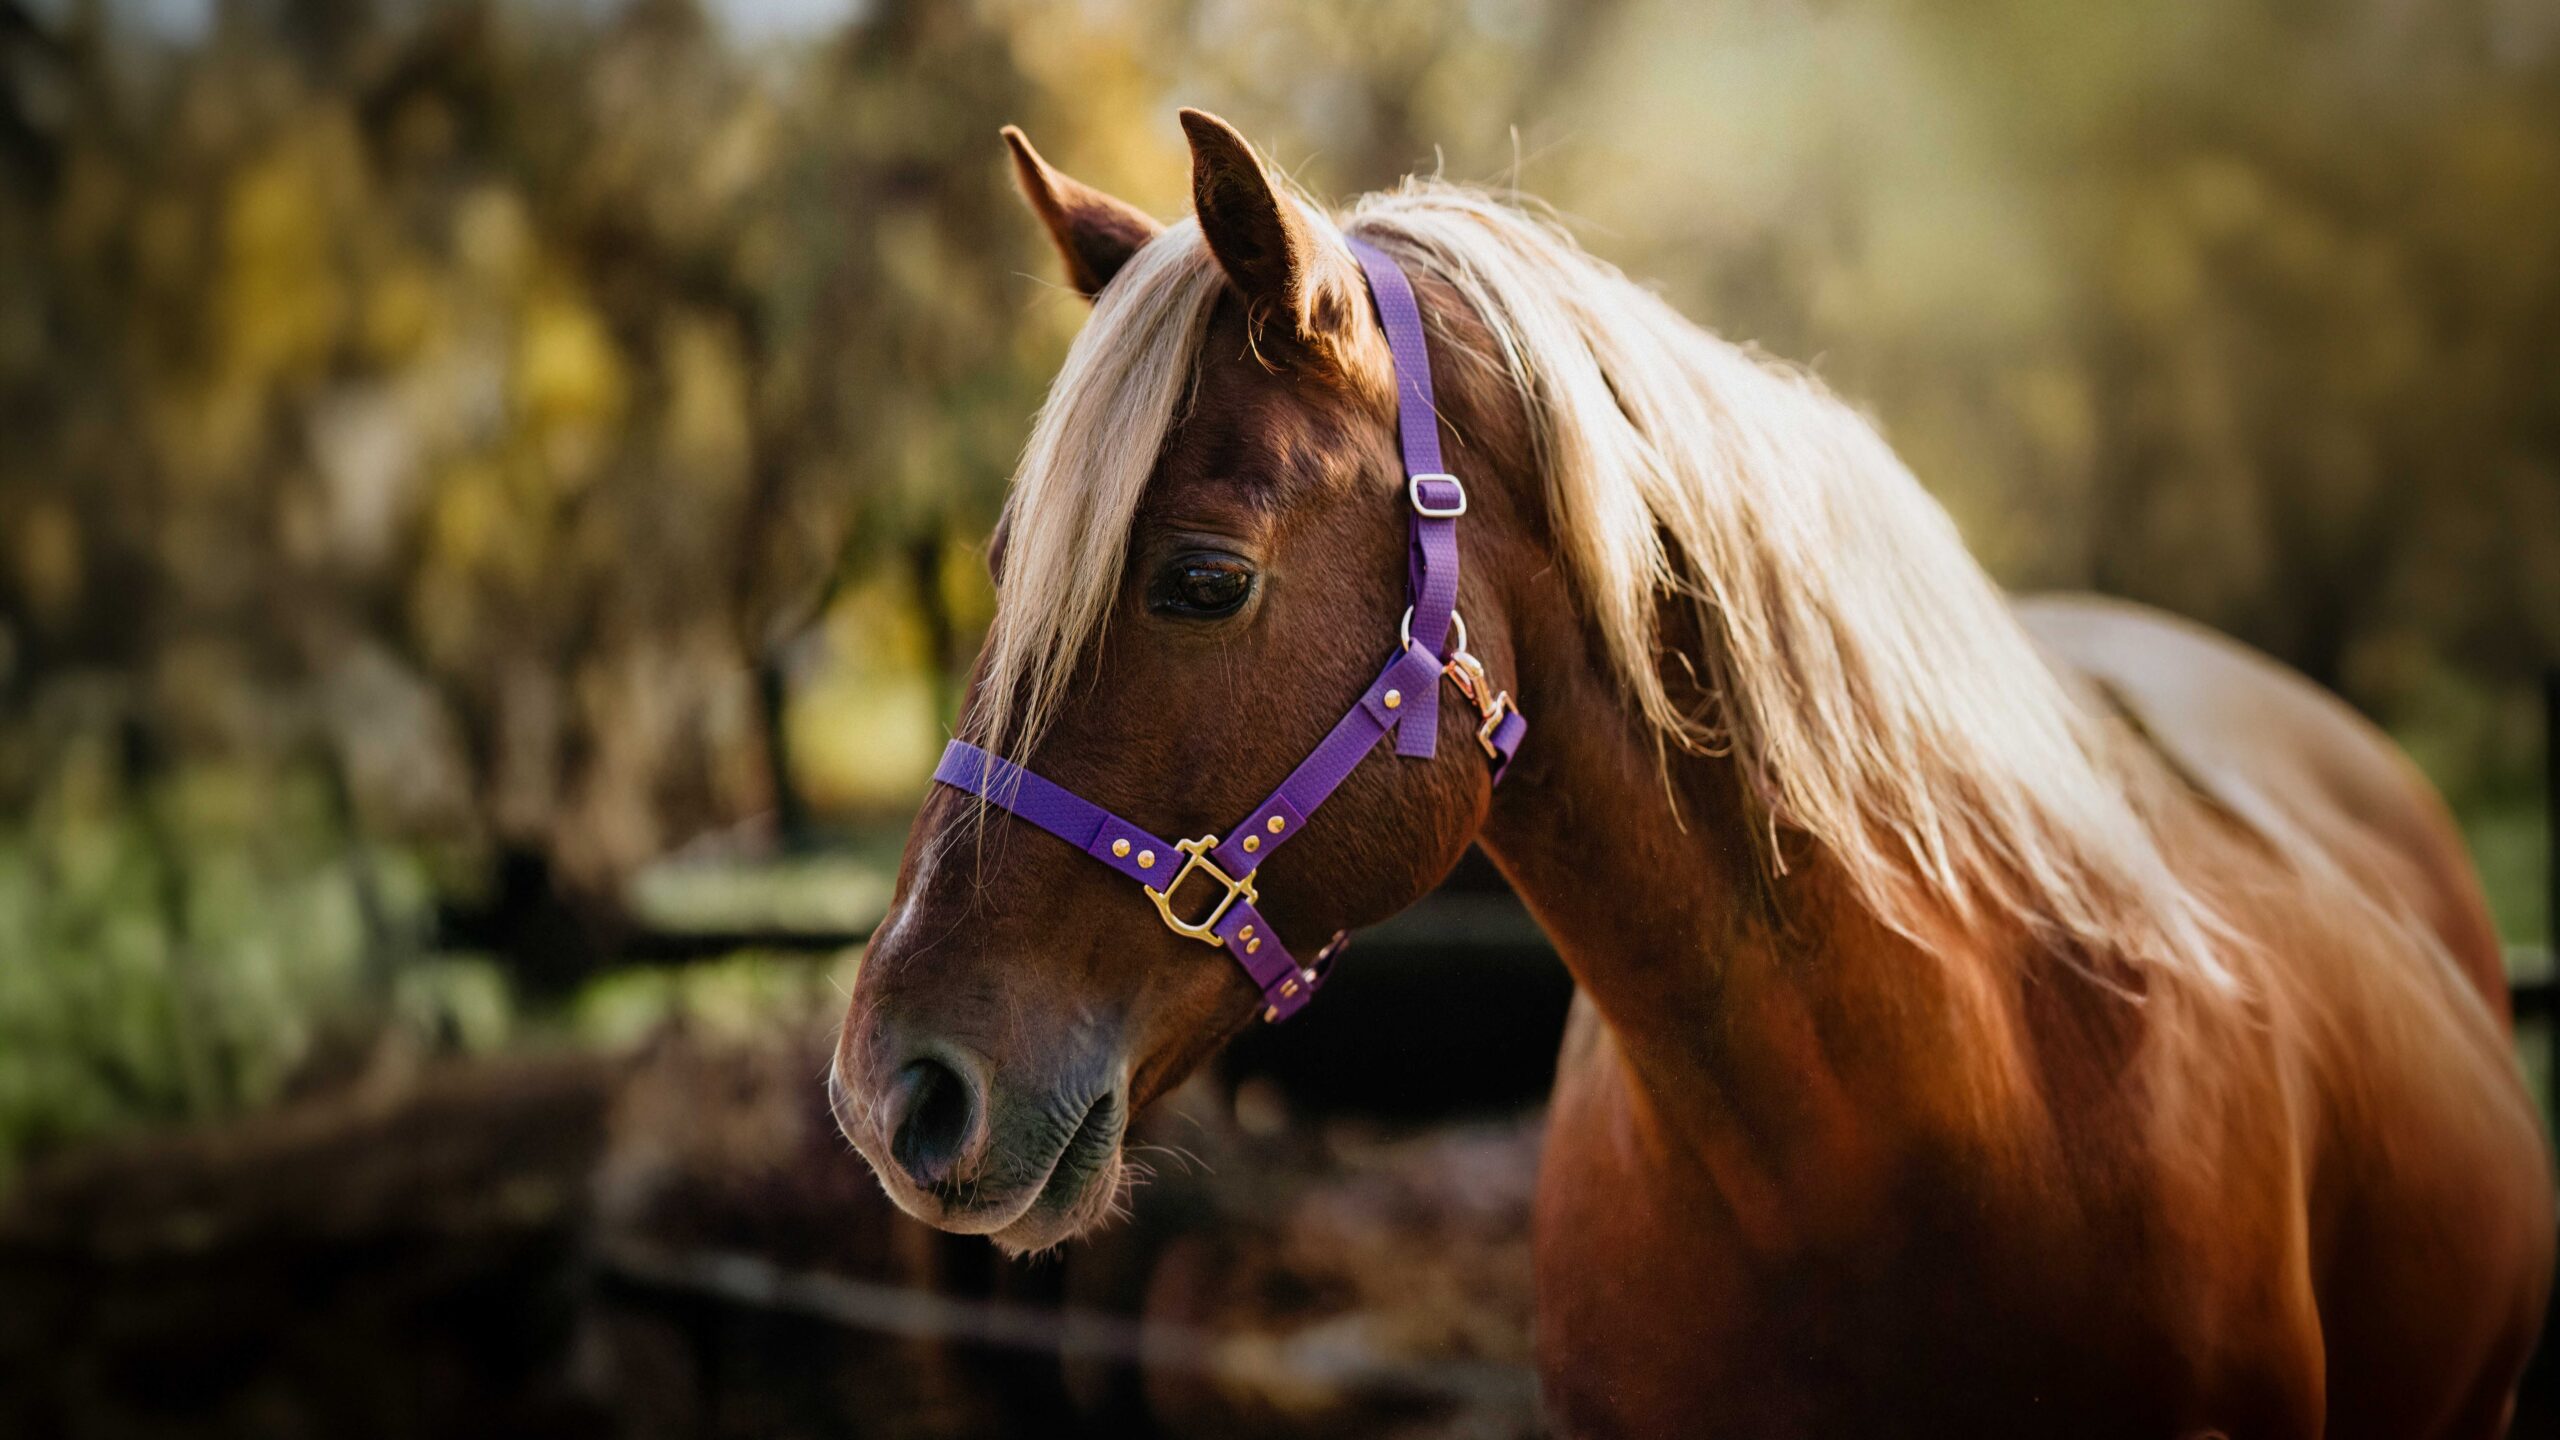
- Bark webbing: It has a bolder texture that resembles tree bark. It looks very natural, so makers often choose it for horse tack or heavier-duty harnesses.
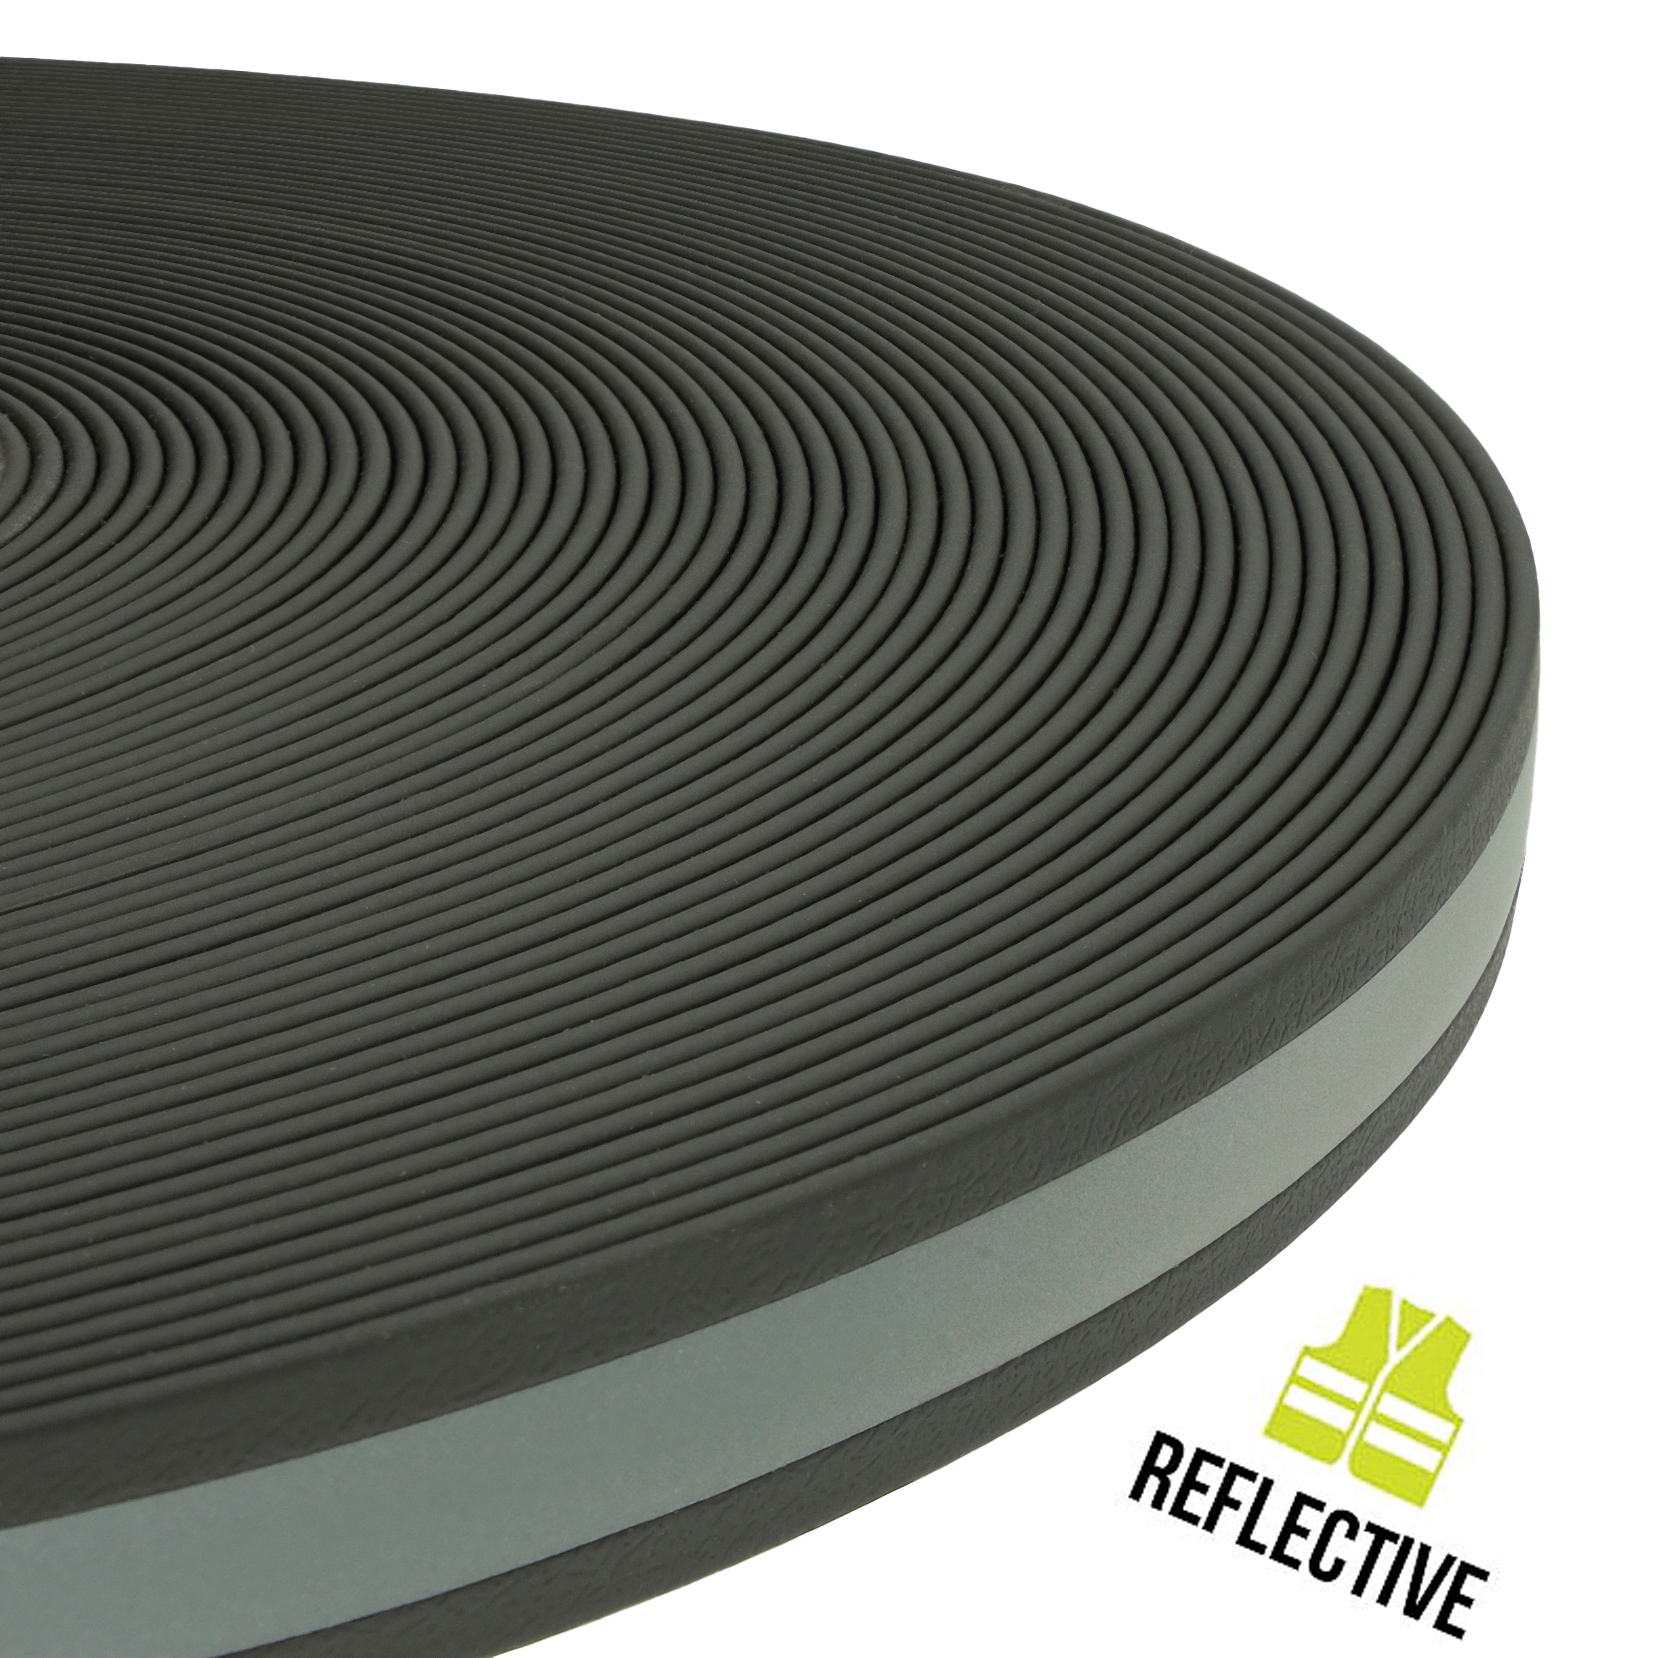
- Reflective webbing: It has a highly reflective stripe that makes both the animal and the owner more visible at dusk and in the dark. A good choice for safe leashes and collars for evening walks.
Cutting: forget the scissors
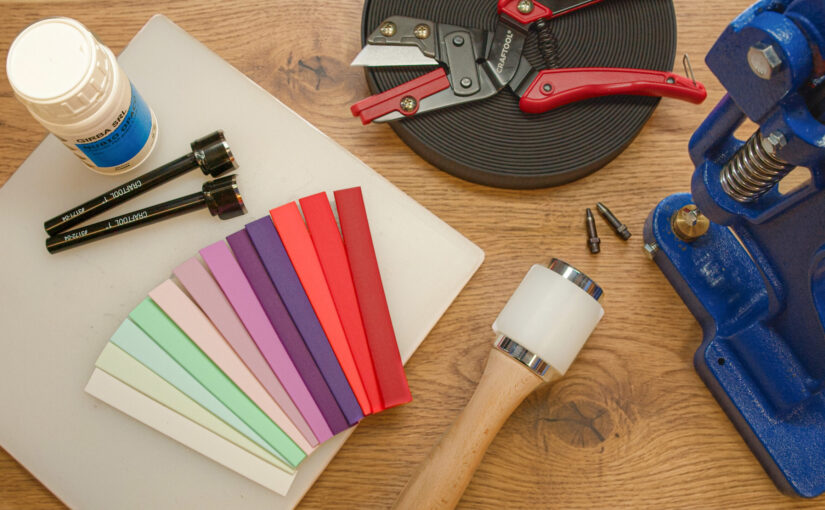
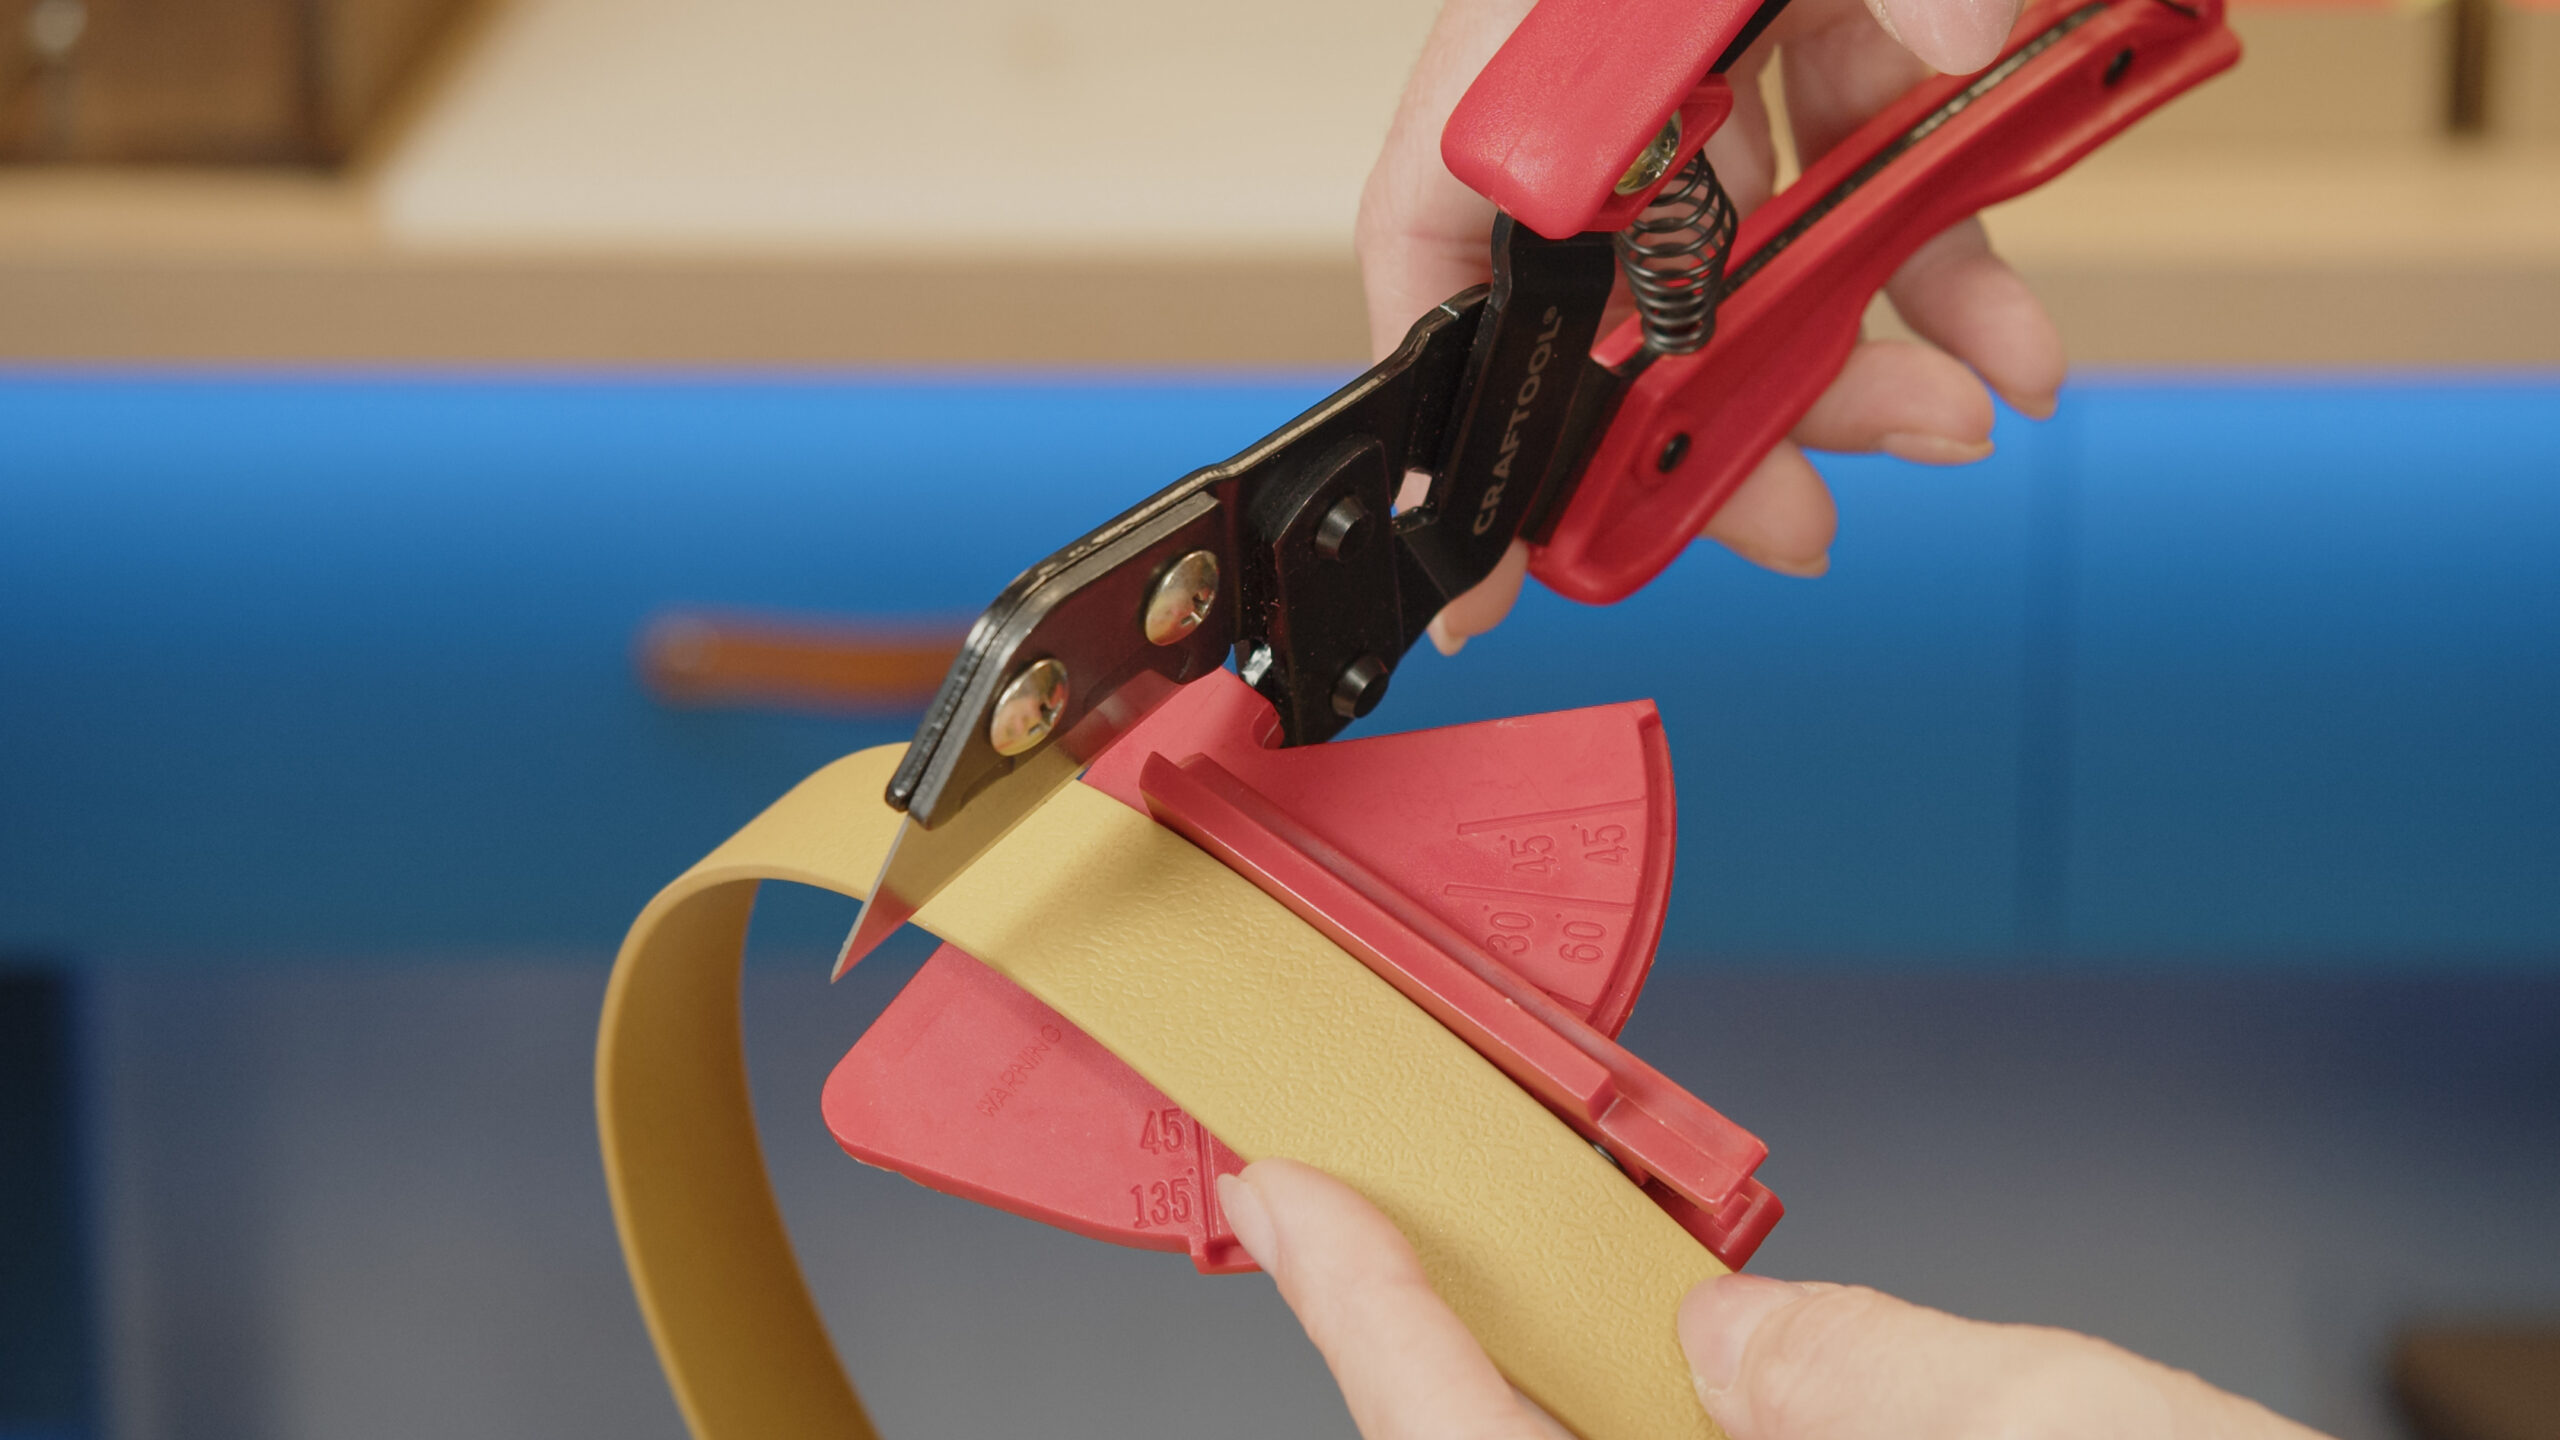
Waterproof webbing does not fray after cutting, but ordinary scissors tend to chew it rather than cut it. That needlessly deforms the surface and the inner textile core. For clean work, use the Craftool razor pliers, which give you a straight, square cut with little effort and no ragged edges.
Why use pliers instead of scissors:
- Precise cut: They are very sharp and cut straight down, so the edge of the webbing stays straight and undeformed.
- Angle guide for accuracy: They come with an adjustable angle guide that lets you cut at exactly 90°, 75°, 60° or 45°. Handy for angled ends or precise joints.
- Practical design: The handle holds two spare blades, so you do not have to stop working when the blade gets dull.
Shaping the ends: strap end punches
If you want the end of a collar or leash to look clean and neat, scissors or a knife are not enough. That is what strap end punches are for: one blow of the mallet gives you a symmetrical shape. With waterproof webbing, a strap end punch pays off mainly when you make several pieces and every end has to be the same.
You can choose from three basic shapes:
- Clipped end punch: Makes a clean wedge-shaped end (for widths up to 50 mm). On narrower webbing, for example 16 mm, center the webbing on the middle of the blade.
- Point end punch: For a classic pointed strap end. We sell it in widths of 19, 25, 38 and 45 mm, and it must match the width of the webbing.
- Round end punch: For rounded ends, in widths of 19, 25 and 38 mm; it also has to match the width of the webbing.
Just place the punch straight on the webbing and strike. Always work on a suitable poly cutting board, which keeps the blade from going dull. You get a clean, symmetrical end without the jagged edges that are hard to avoid when you cut by hand with scissors.
Finishing the edges for a polished look
When you cut the webbing, the textile core stays visible at the end. If you do not want it on show, seal the edge.
To be honest, this is mainly a matter of design. No paint in the world lasts forever, and with daily use it can wear off over time. But if you care about details and want a well-finished item, this combination is the best we have found so far for PVC webbing.
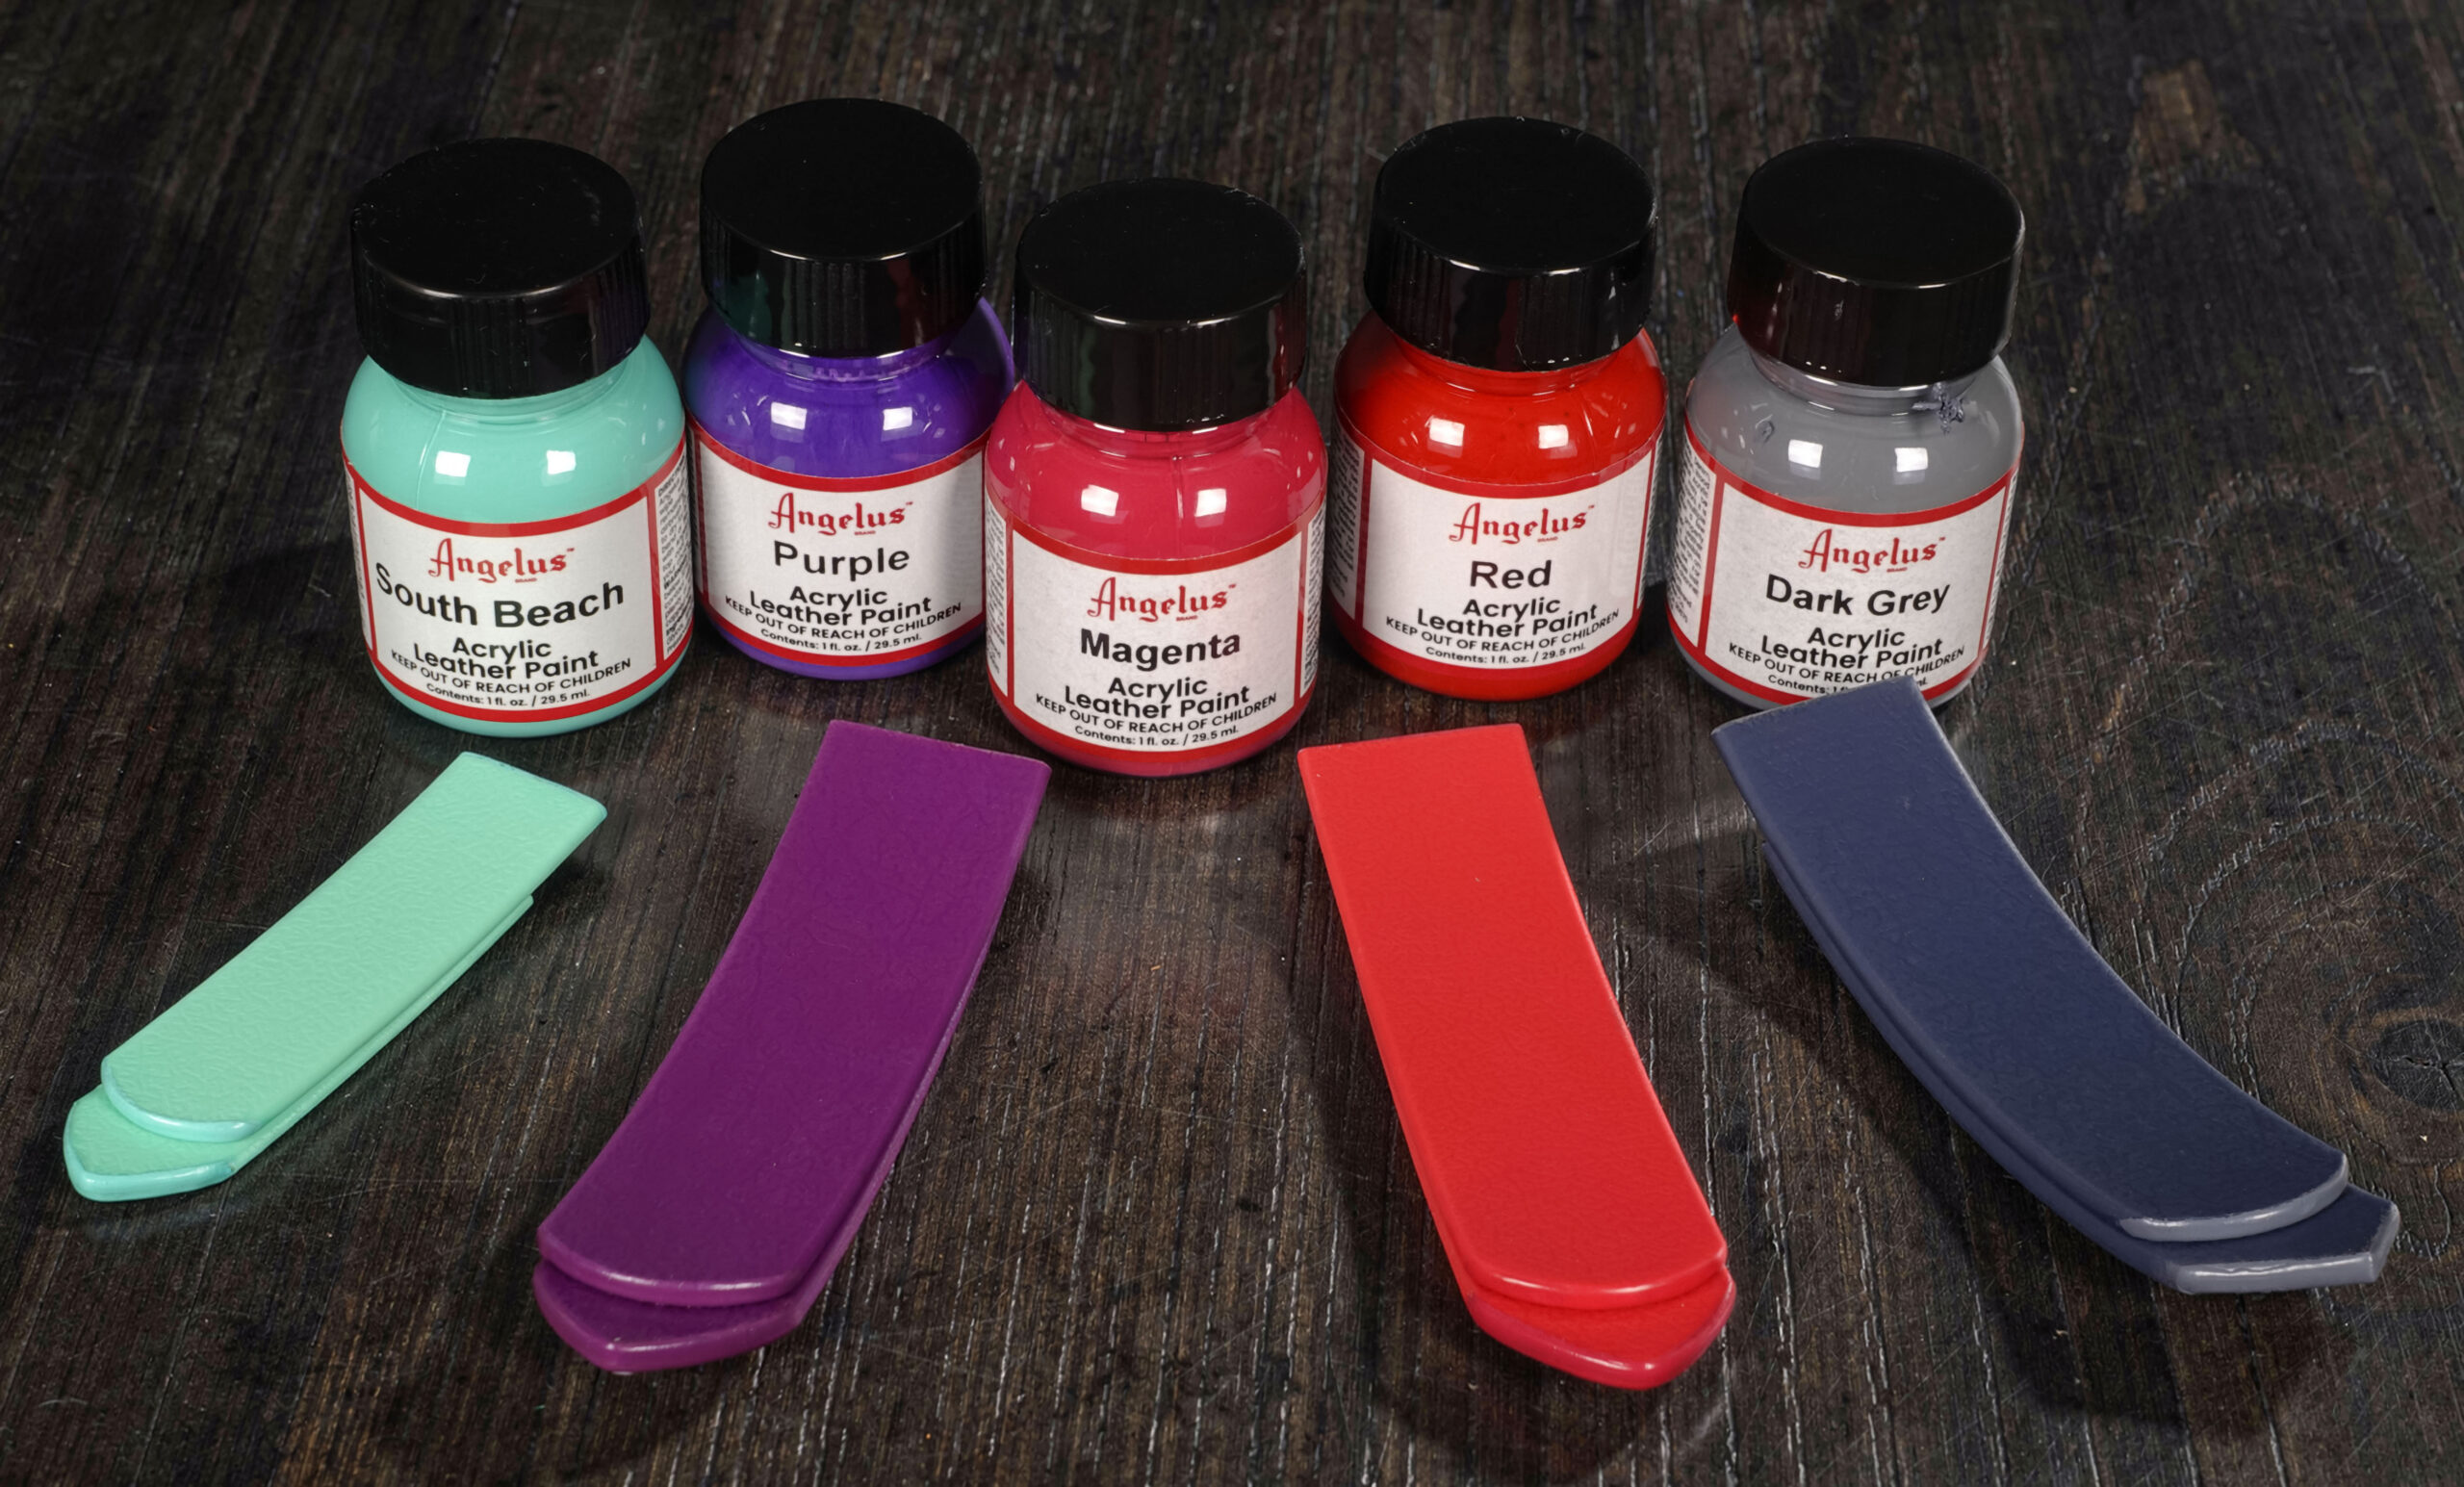
Working with Girba Nubio Opaco gel
To create a rounded, rubbery edge, we use the white rubberizing gel Girba Nubio Opaco. It gives the edge the body it needs and prepares it for paint.
Apply it in layers:
First degrease the edge with isopropyl alcohol (IPA) and wait until it has fully evaporated. One or two coats of gel are enough to cover the edge; for a rounded, rubbery shape, apply three thin ones. Let each coat dry for at least an hour before you apply the next.
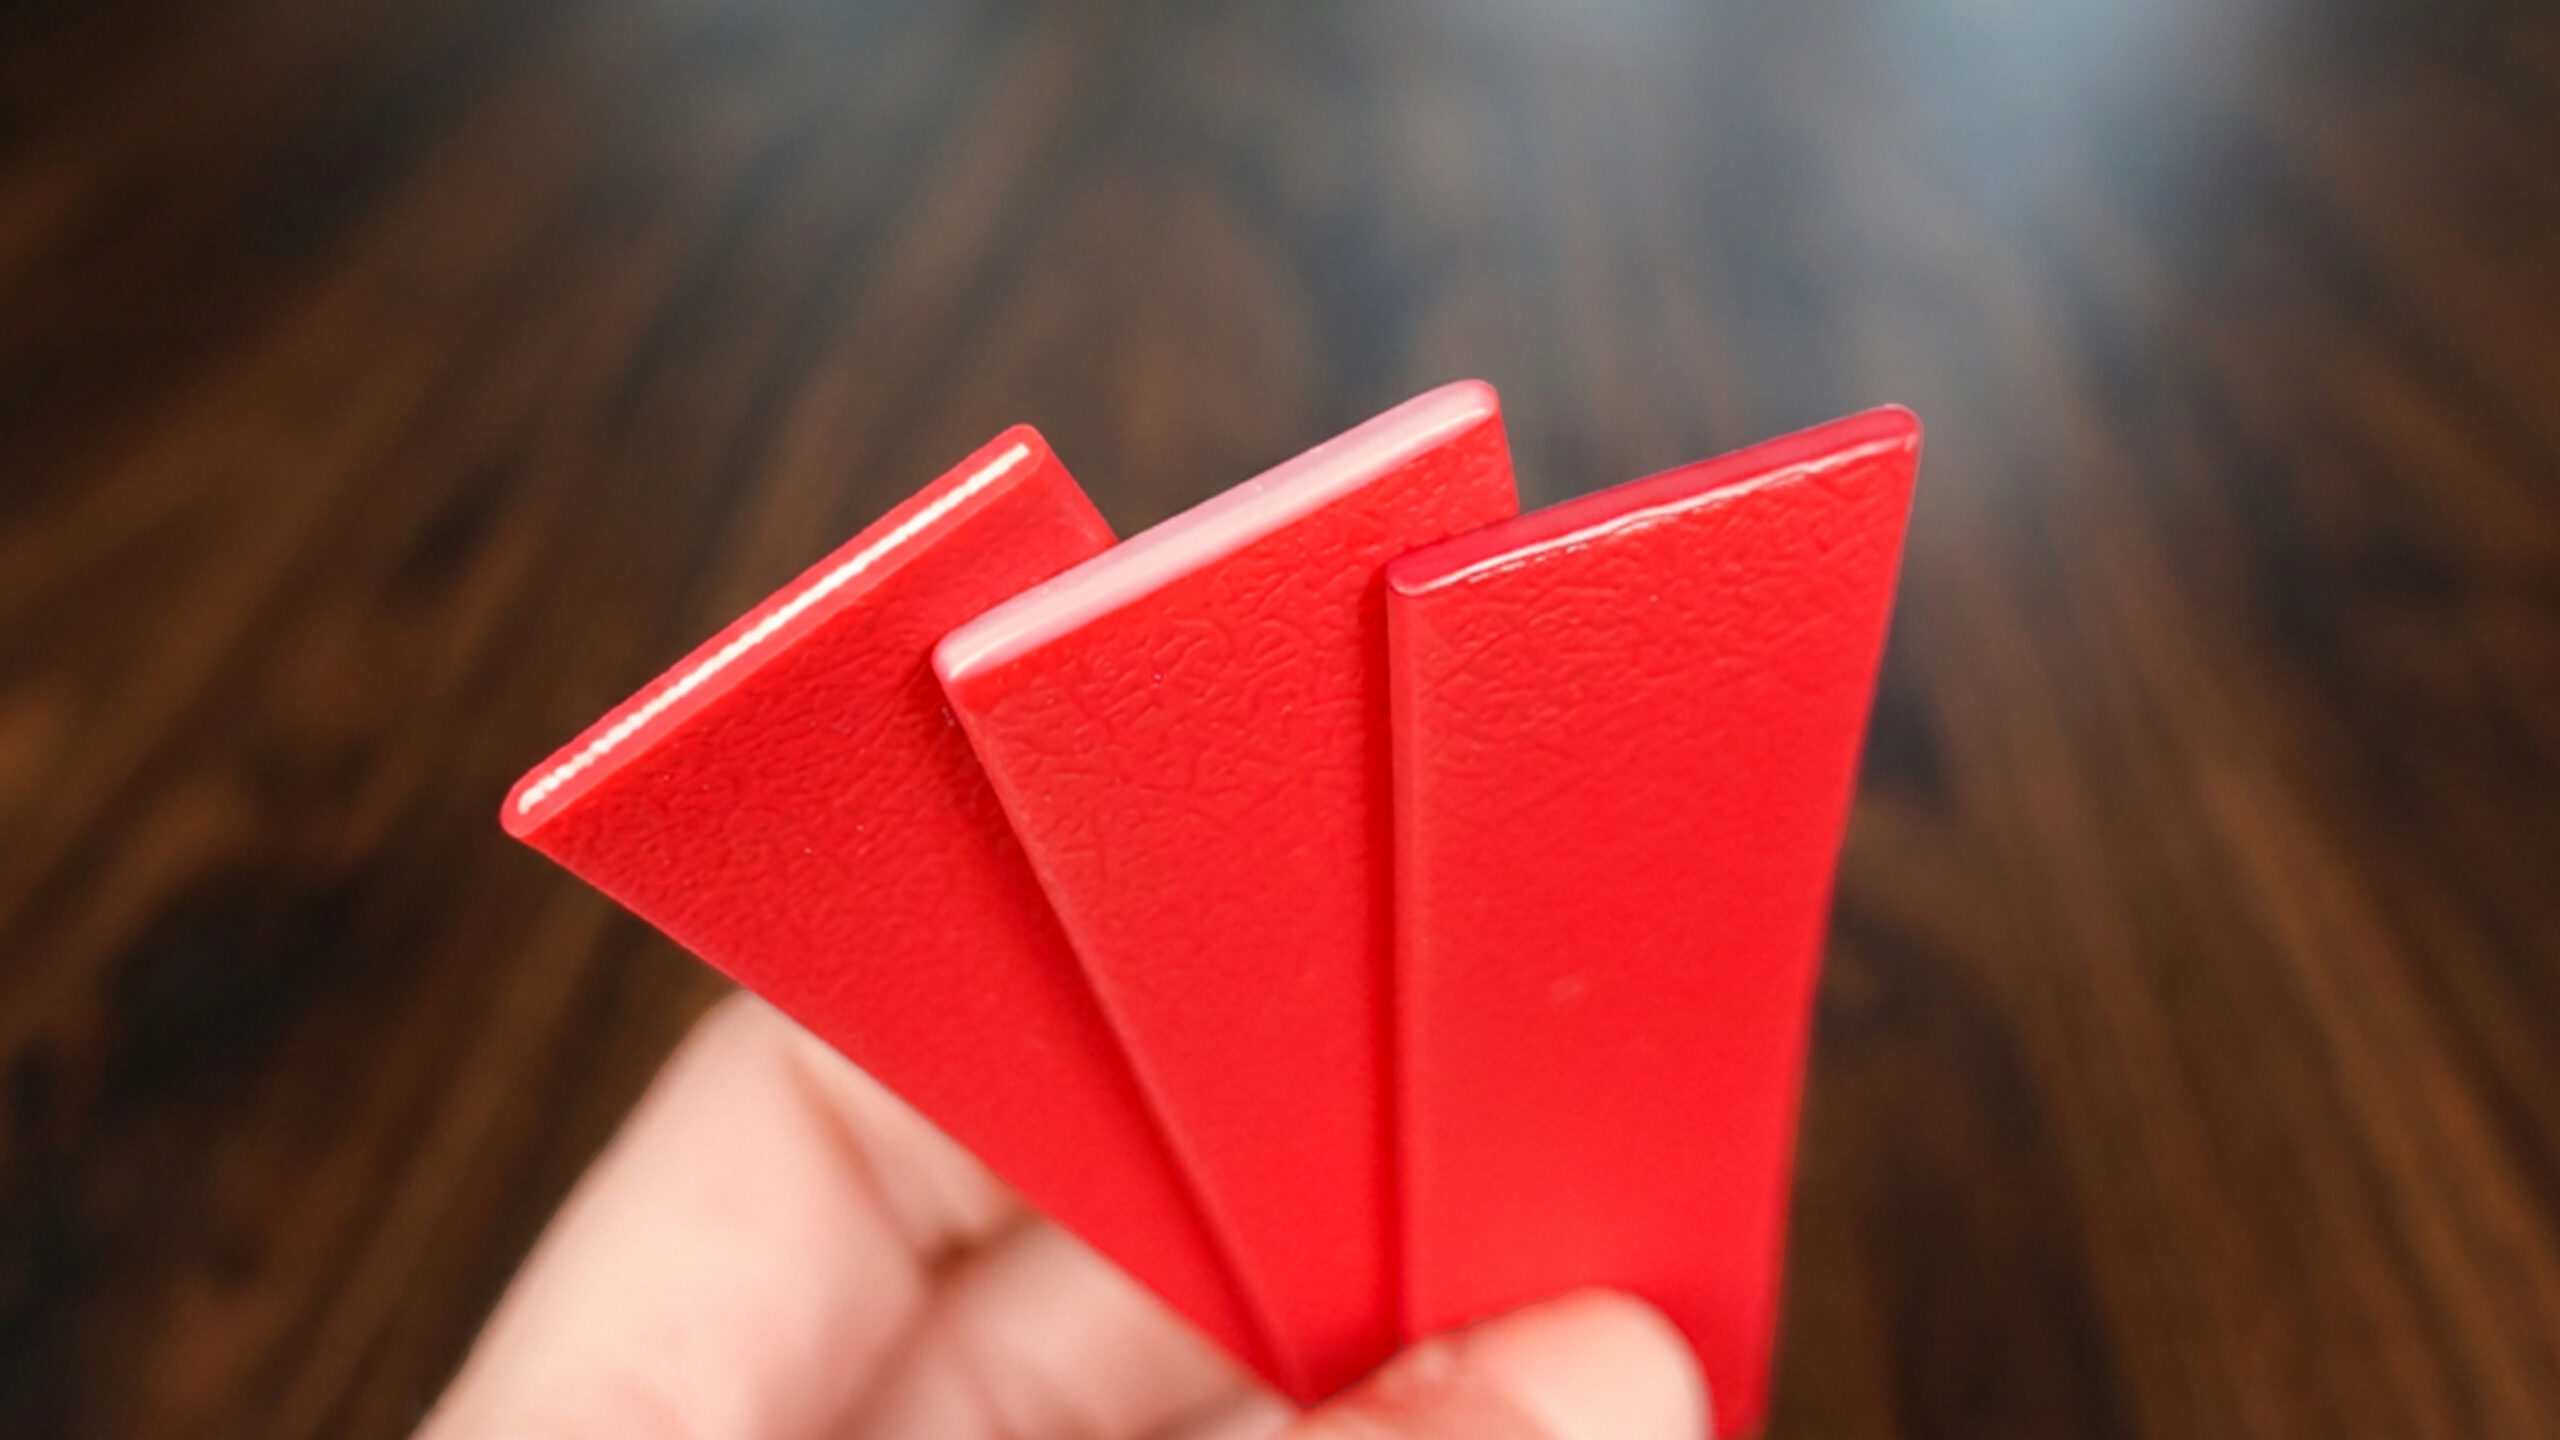
Workshop tip
Right after opening, the gel is quite runny. We recommend letting it air for about 10 minutes in a small dish. The gel thickens slightly, goes on more easily and, above all, does not run off the edge.
Painting and mixing shades
Once the gel has formed a firm, smooth base, it is time to paint. We use Angelus acrylic paints.
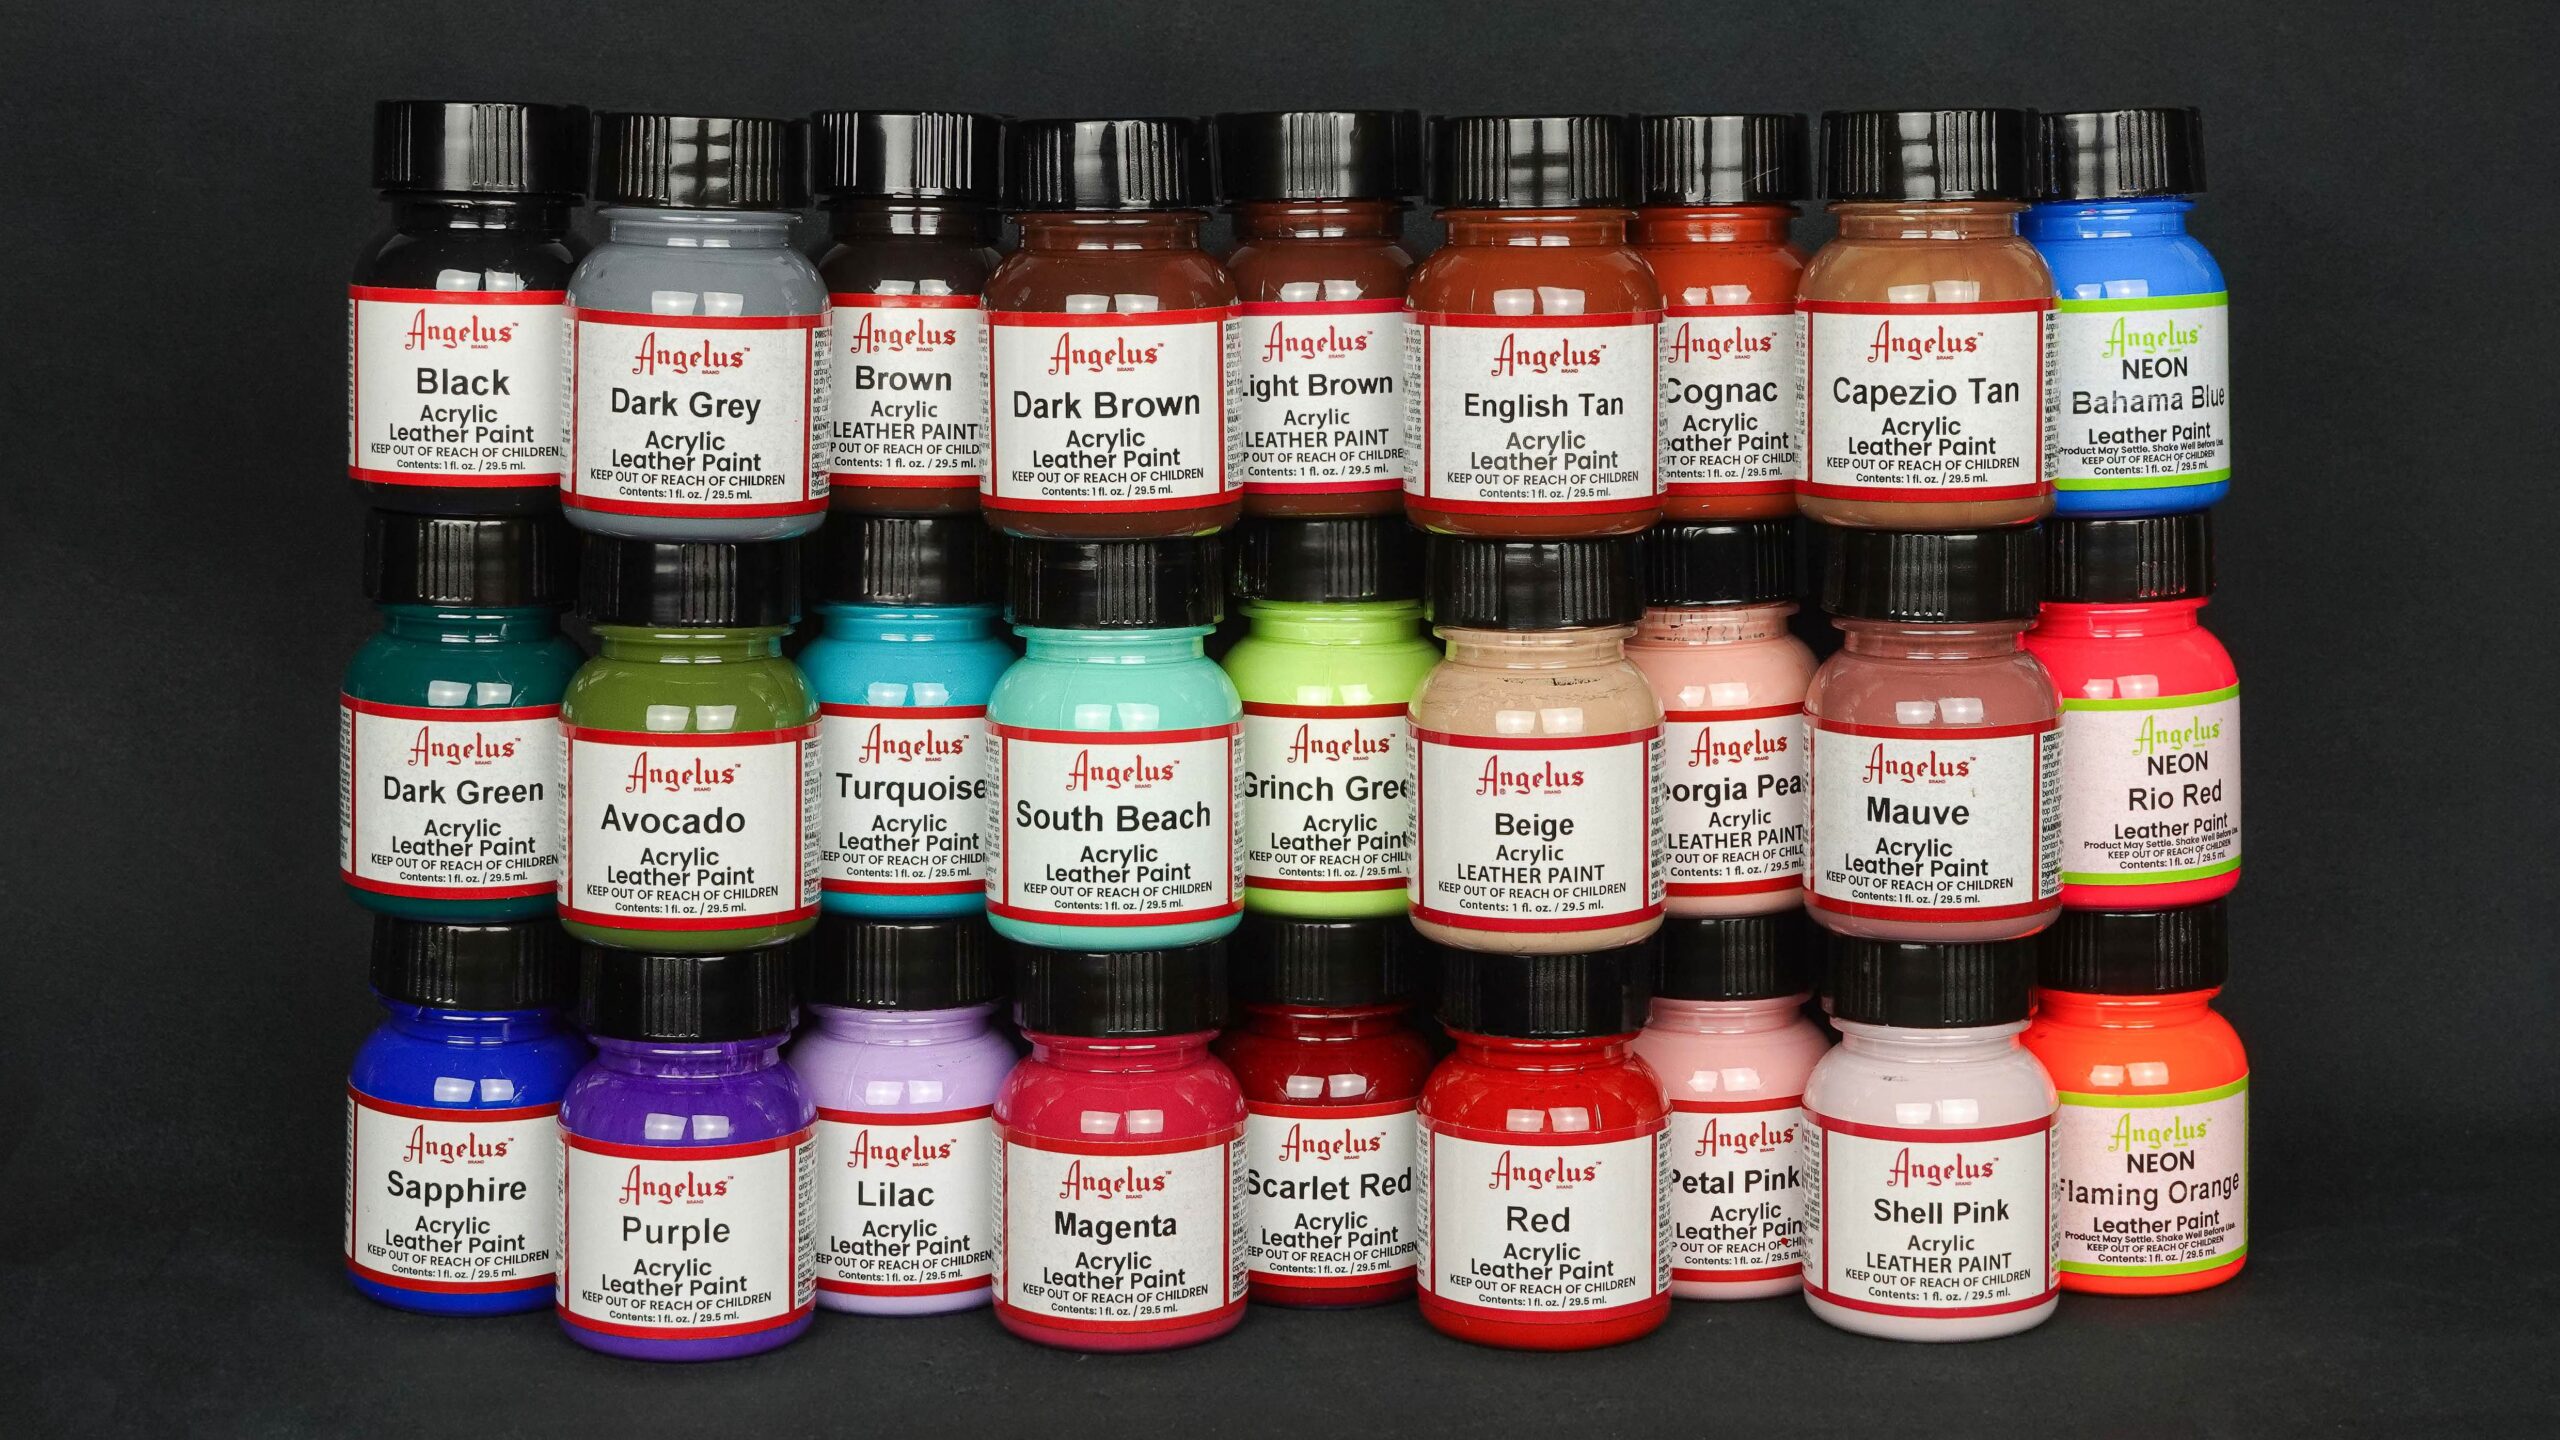
- Shades matched to our webbing: We know how hard it is to hit the right color, so we took every webbing we sell and kept mixing paints until we found the closest shade. You will find these tested combinations for each webbing in the Compatible products section. You can check the webbing colors in advance in the color swatch, which saves you a lot of time mixing on your own.
- Matte finish: The PVC surface of the webbing is matte, so a glossy edge would stand out. You can add Duller to the paint. Be very careful with it, though. Just dip the tip of your brush in it and mix it well into the paint on your palette. If you overdo it, the paint can lose its flexibility and start to crack. What Angelus paints can and cannot do on waterproof webbing, we tested in a separate article.
Punching holes: why ordinary tools fail
Punching is the stage where tools get damaged most often. The PVC surface itself is not the problem; it is soft. The critical part is the inner textile core. In ordinary polypropylene webbing, holes are burned through with a soldering iron so the fibers melt and seal. You cannot use a soldering iron on waterproof webbing, though: the high temperature would burn the PVC surface and release hazardous fumes.
So you need a clean mechanical cut. If you use ordinary leather hole punches, they will not punch through the tough textile fibers inside the webbing. The result is a ragged hole with threads sticking out and a tool that dulls very quickly or simply breaks after a few holes. We explain the difference between punches for leather and punches for webbing in our comparison of hole punching tools.
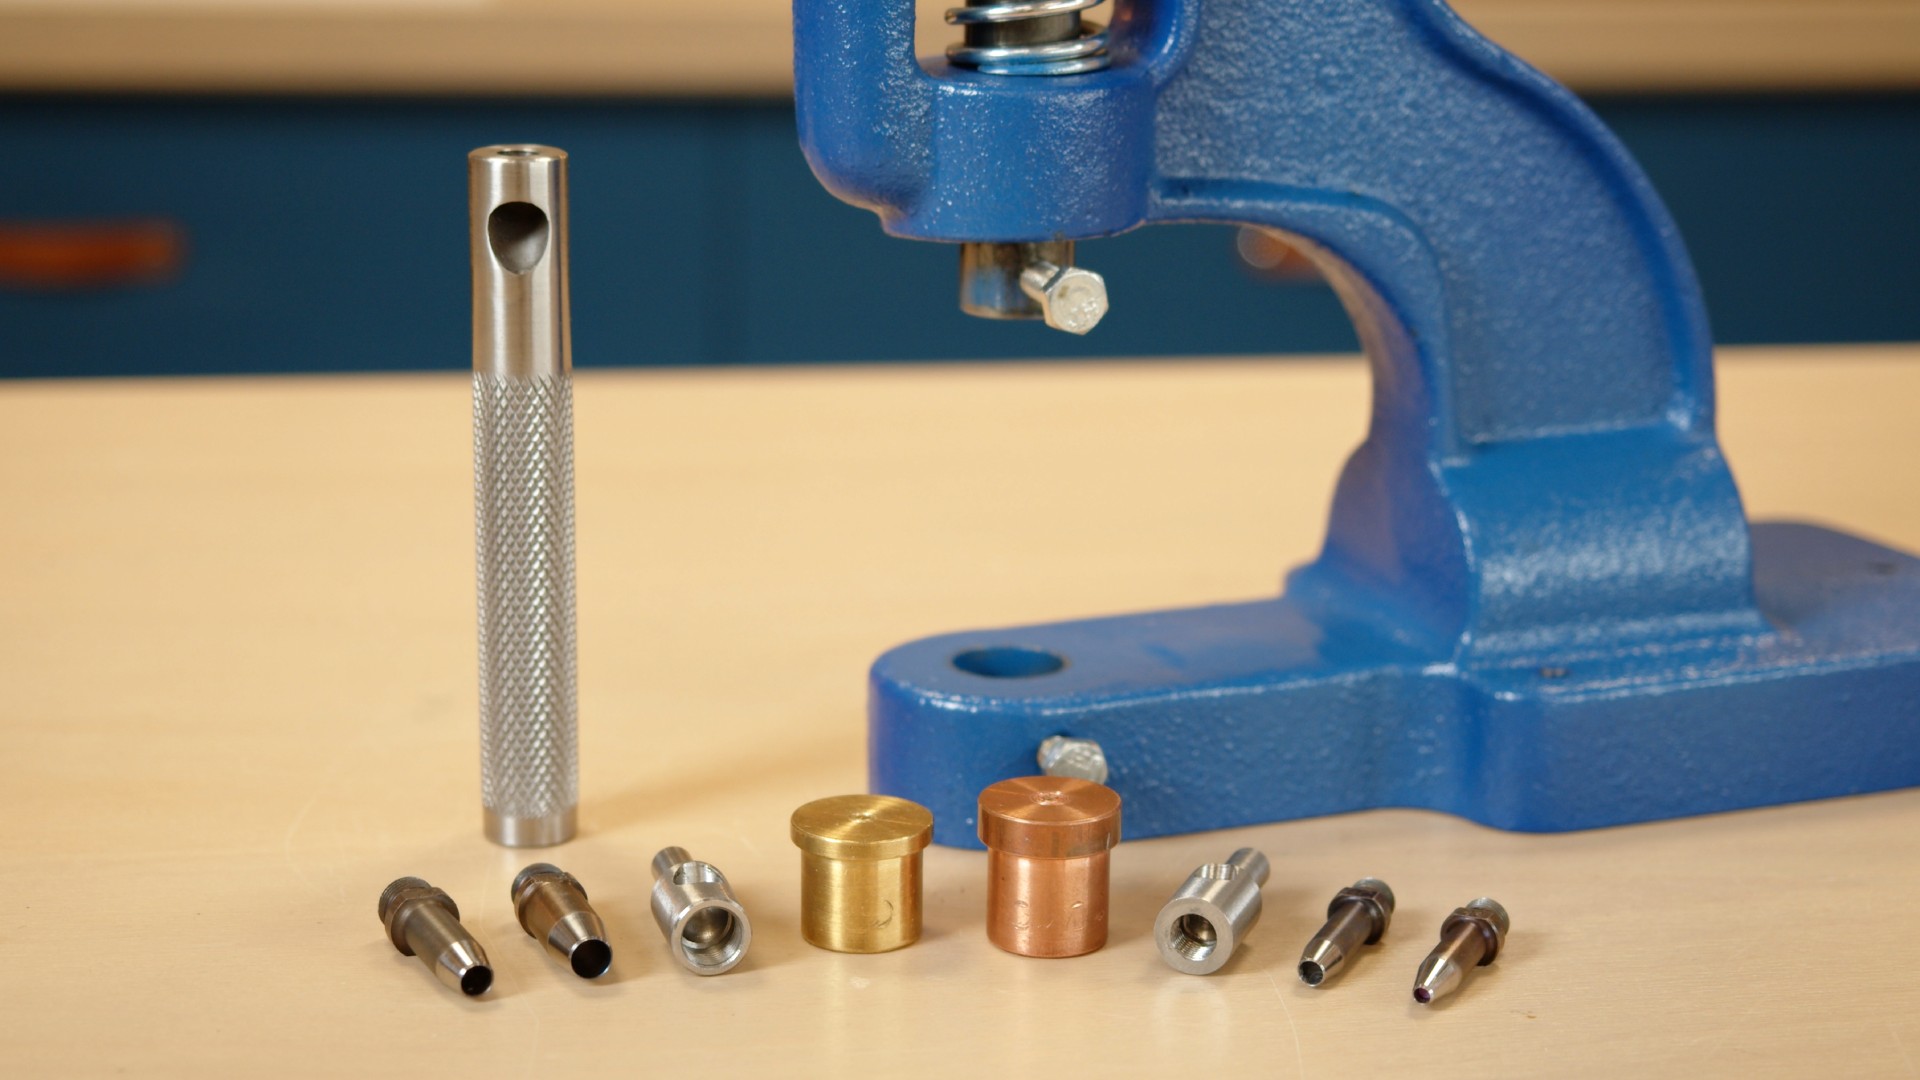
We use drive punches from the #211700STP series. They are made for webbing with a tough textile core:
- Sharp edge: Punches through the textile core and the coating in one blow.
- Polished inside: The punched-out pieces drop out freely, so the punch does not clog and stays sharp longer.
- Hard-wearing: The punches are made of steel and can handle the tough textile core of the webbing.
Two ways to a clean hole
Always hold the drive punch straight, at a right angle to the webbing, and strike or press hard enough to punch through all the fibers. You have two methods to choose from:
1. Punching by hand
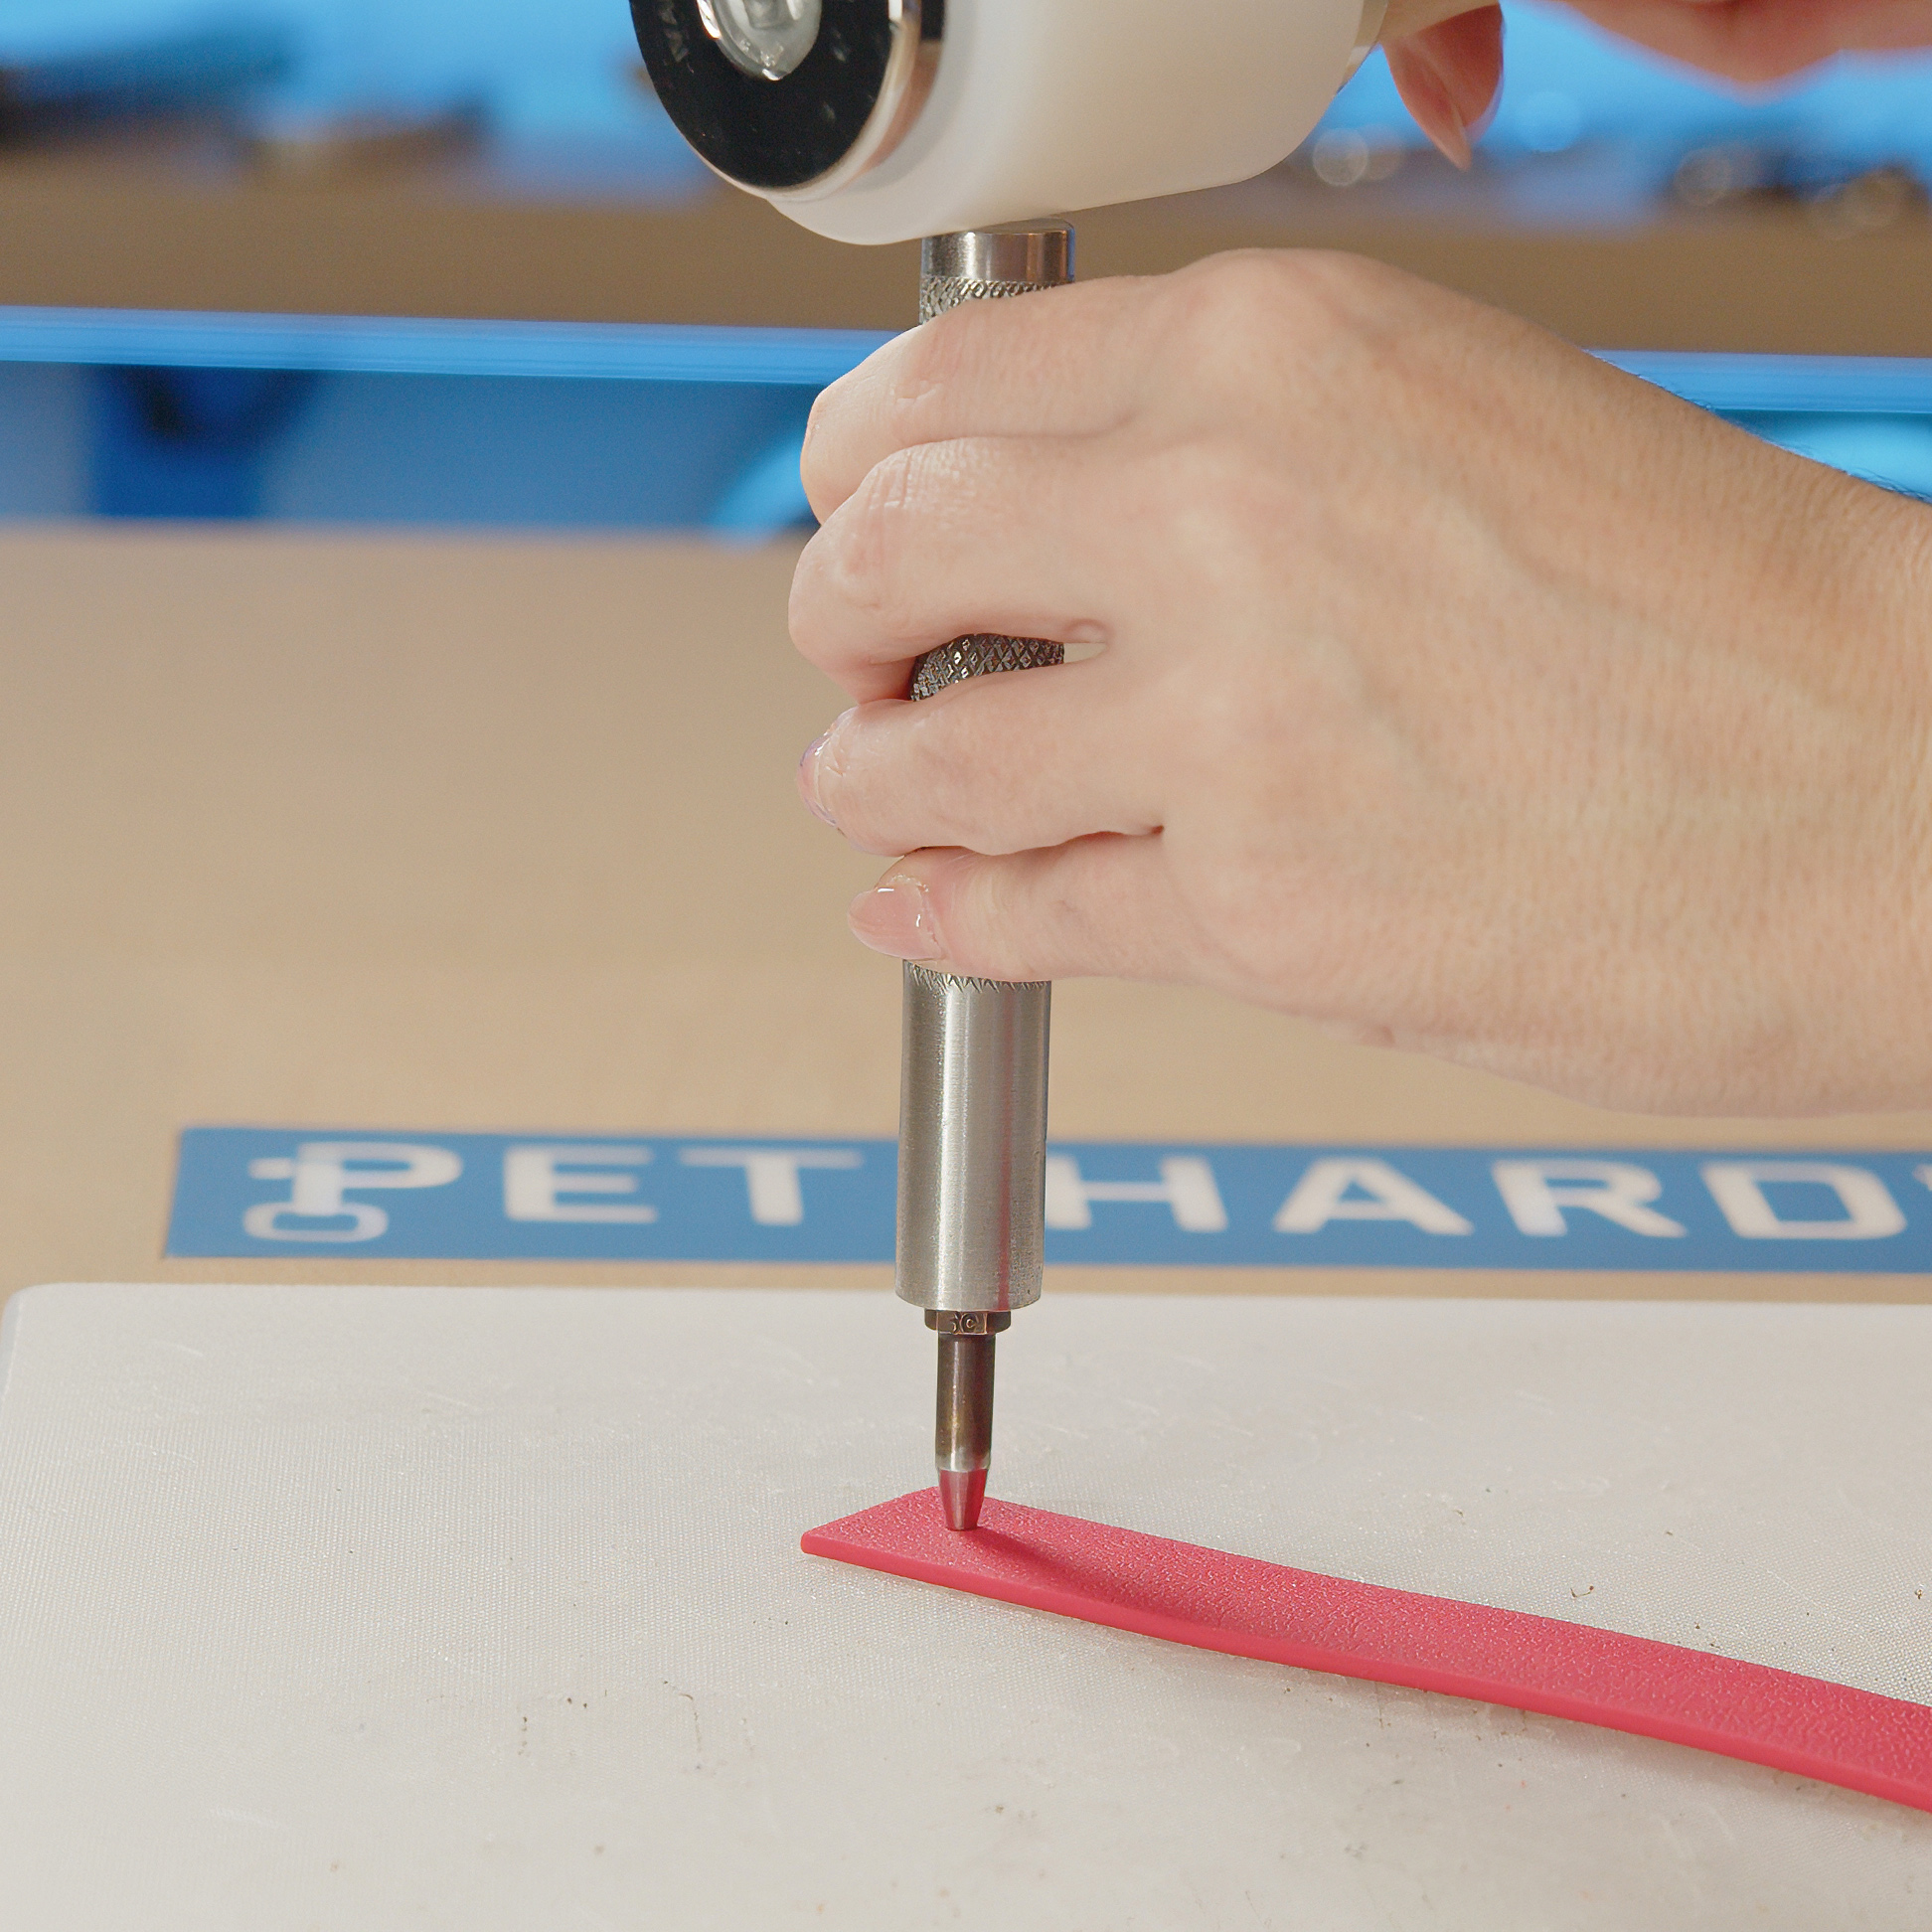
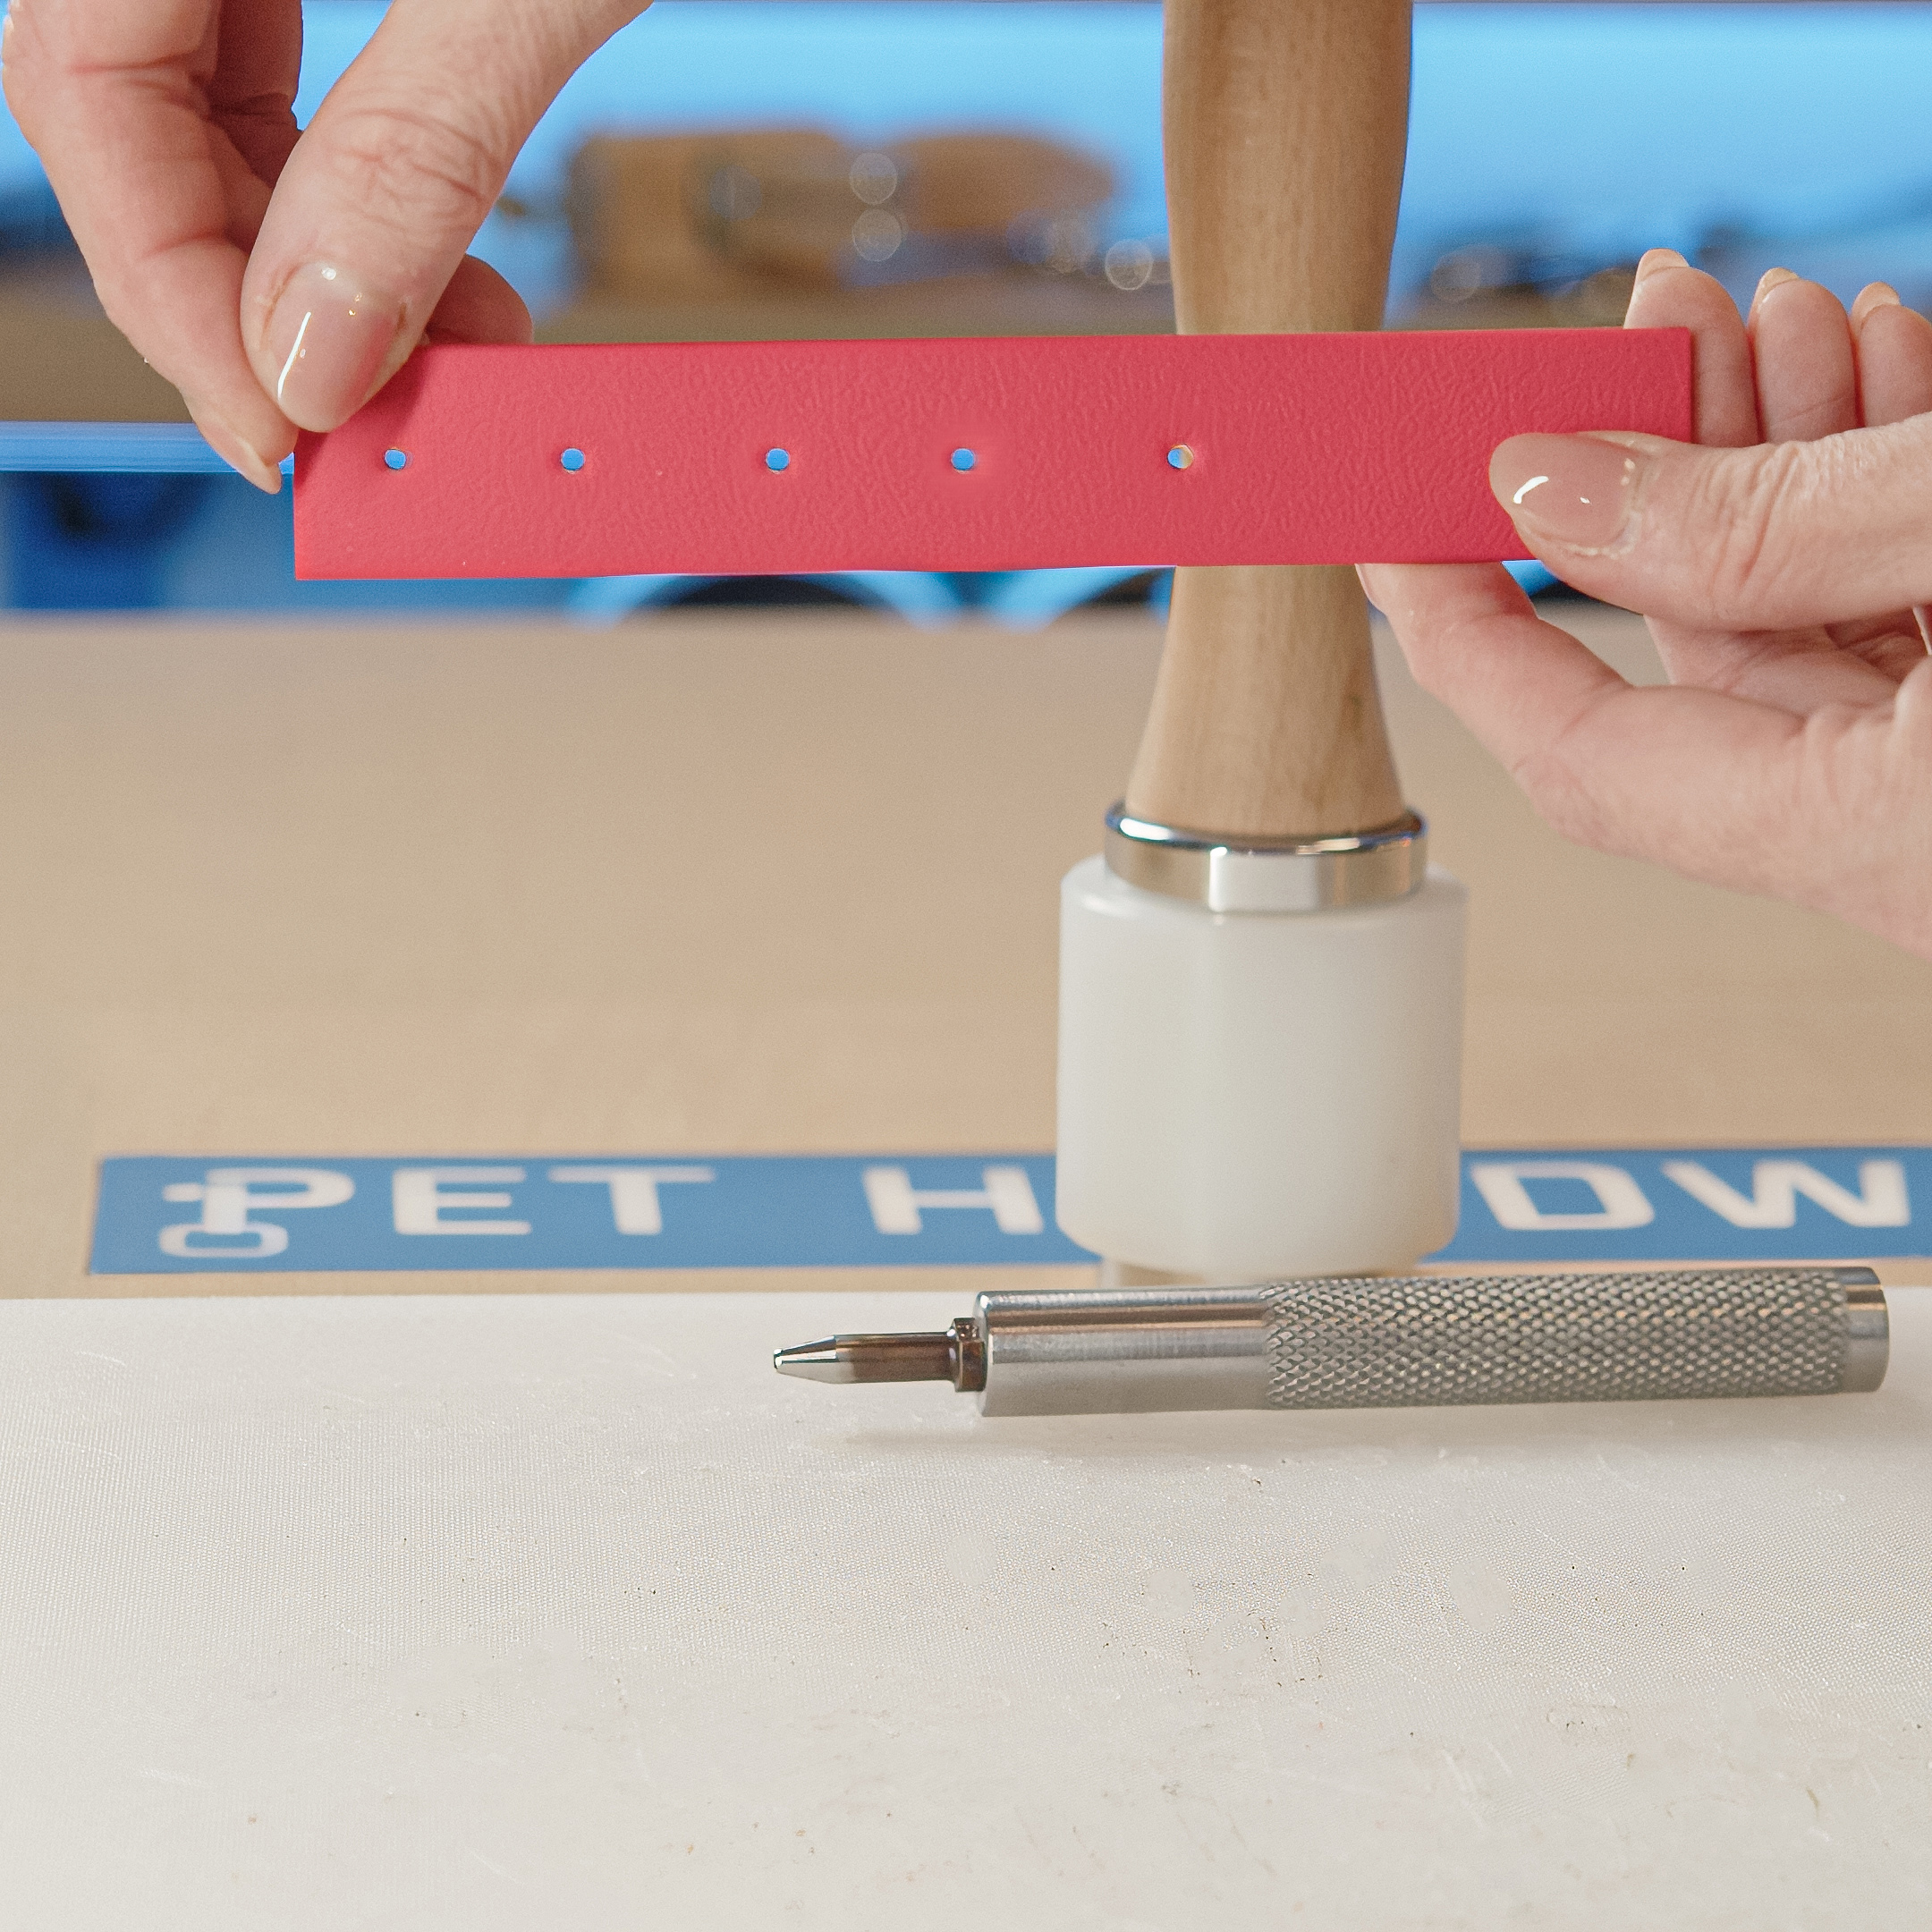
For small batches or custom work, a steel handle is all you need. Screw a 3 or 4 mm drive punch into it and strike it with a mallet. The handle is solid and knurled (it does not slip), and the blow goes straight into the tool. It only takes 3 and 4 mm punches; it is not suitable for grommet punches (5.2 and 6 mm).
2. Punching with a press
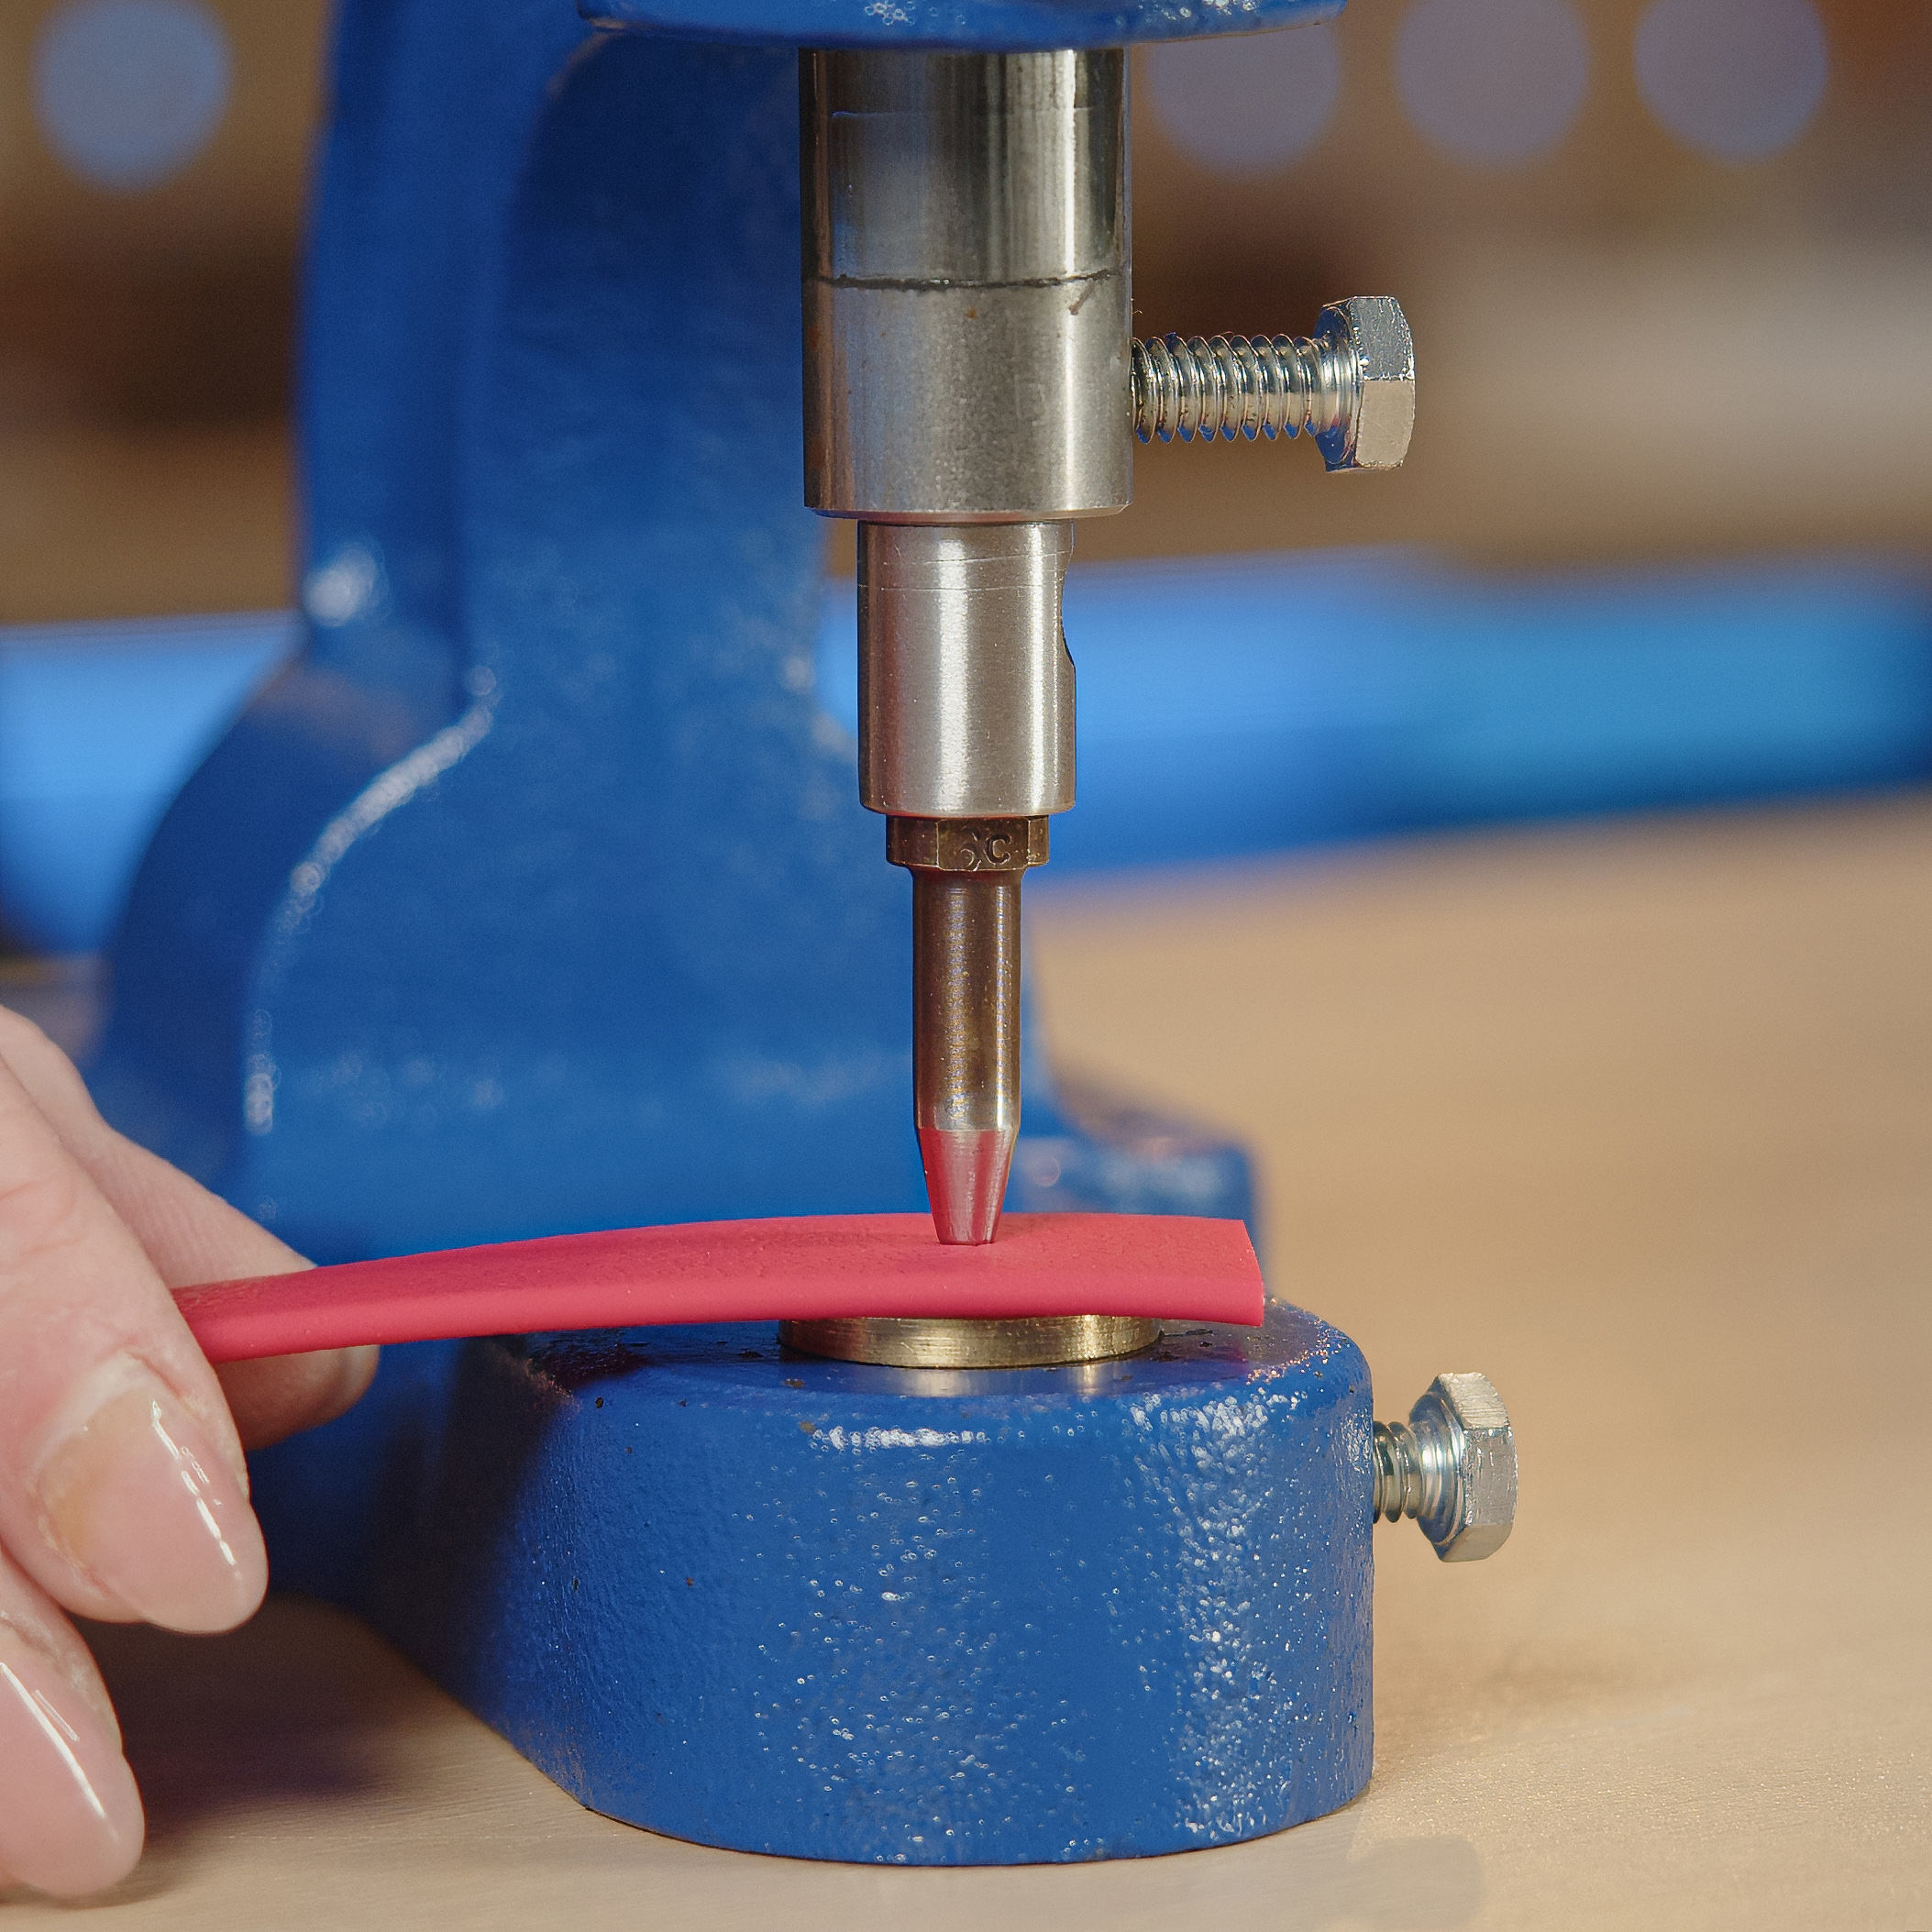
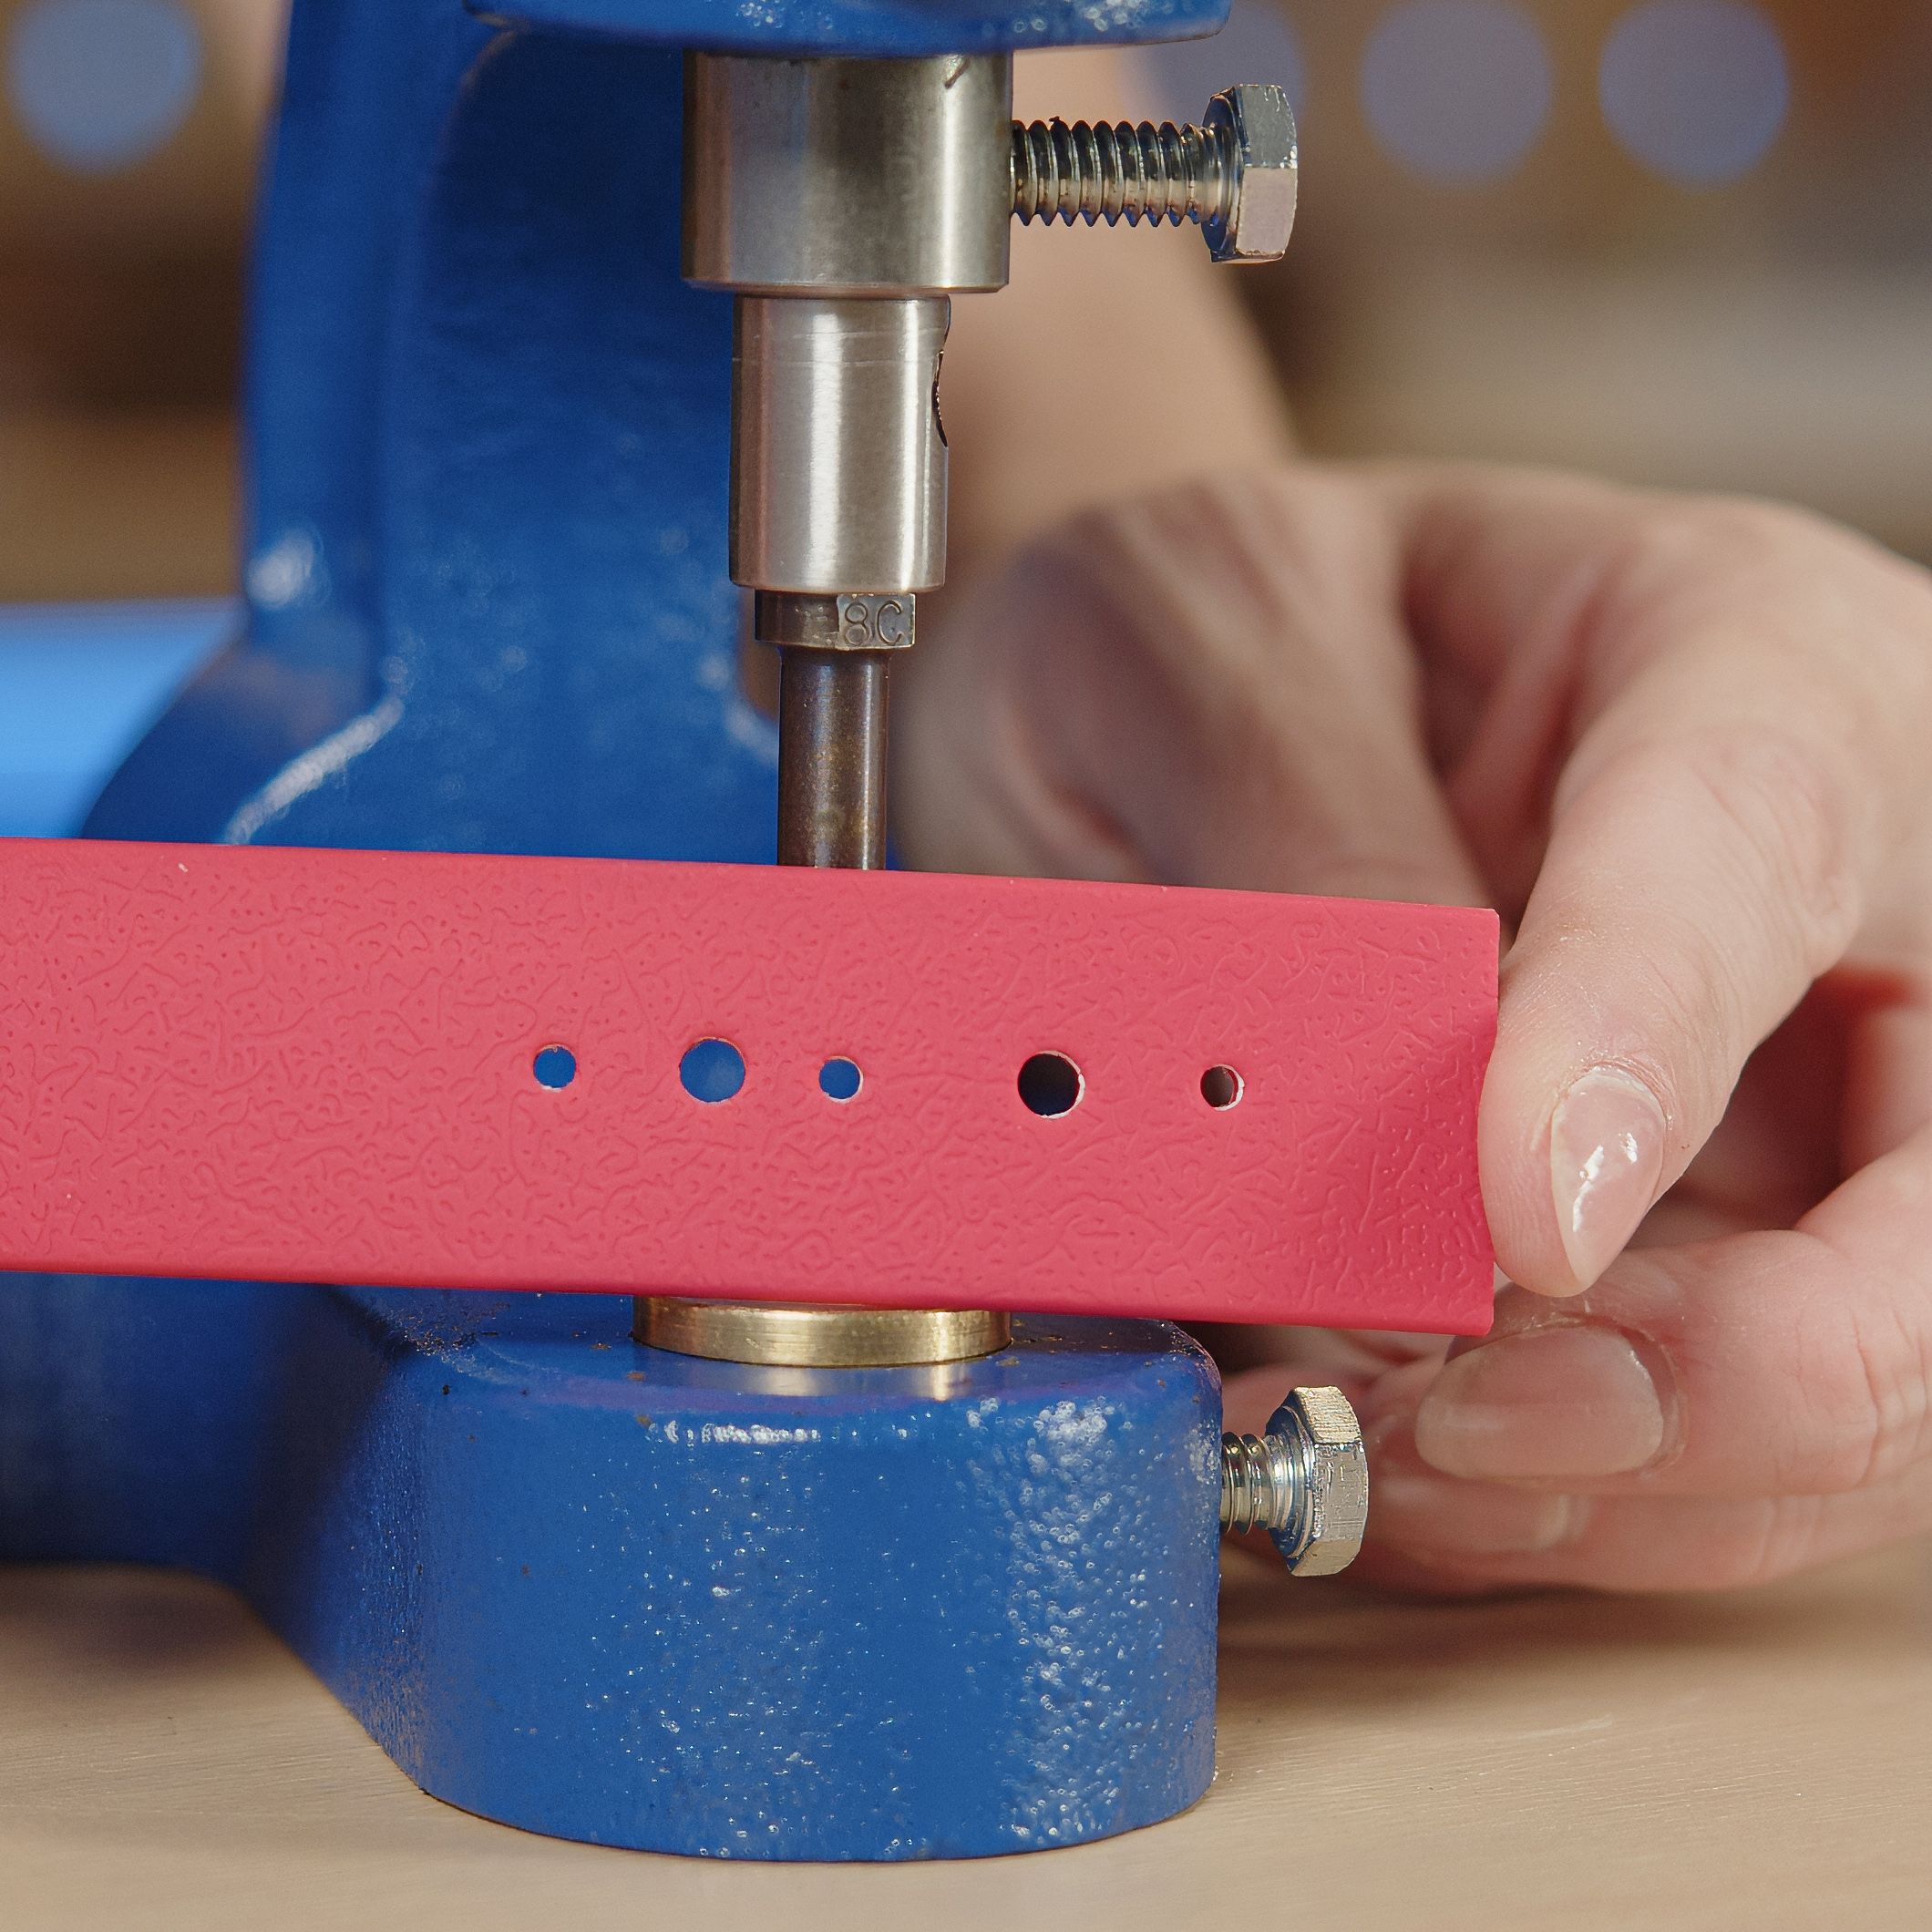
If you produce in larger quantities, a hand press is a must. You fit the drive punches into it with a special punch adapter. You get straight holes every time, a quiet workshop and less strain on your hands.
Which punch size to use for rivets
Waterproof webbing is very tough and its plastic surface gives very little. A punched hole therefore barely stretches on its own. For the rivet post to slide through the webbing smoothly the first time, without you having to force it, the hole should match its size as closely as possible.
In the table below, we have listed the recommended punch for each rivet size:
| Rivet code | Hole diameter | Punch code |
|---|---|---|
| 20 Z, 63 Z, 66 Z, 70 Z (including 8 and 13 mm posts) | 3 mm | 211700STP-6 |
| 70 Z 11mm, 72 Z, 75 Z, 79 Z (including the 15 mm post) | 4 mm | 211700STP-8 |
Riveting: how to join it all into a durable whole
The last step is a secure joint between the webbing and the hardware. On waterproof webbing, double cap rivets are the most common choice, as they hold firmly even under strong pull.
You will find a detailed overview of all rivet types, materials and sizes in our separate article:
How to choose the right rivet size
Since this webbing has a standard thickness of 2.5 mm (1.5 mm webbing needs a shorter post), we have put together a table of recommended rivets. Just choose by the number of layers, the webbing width and the cap size:
1. Joining 2 layers of webbing (about 5 mm in total)
For this joint, we recommend rivets with an 8 mm post.
2. Joining 3 layers of webbing (about 7.5 mm in total)
For this joint, we recommend rivets with an 11 mm post.
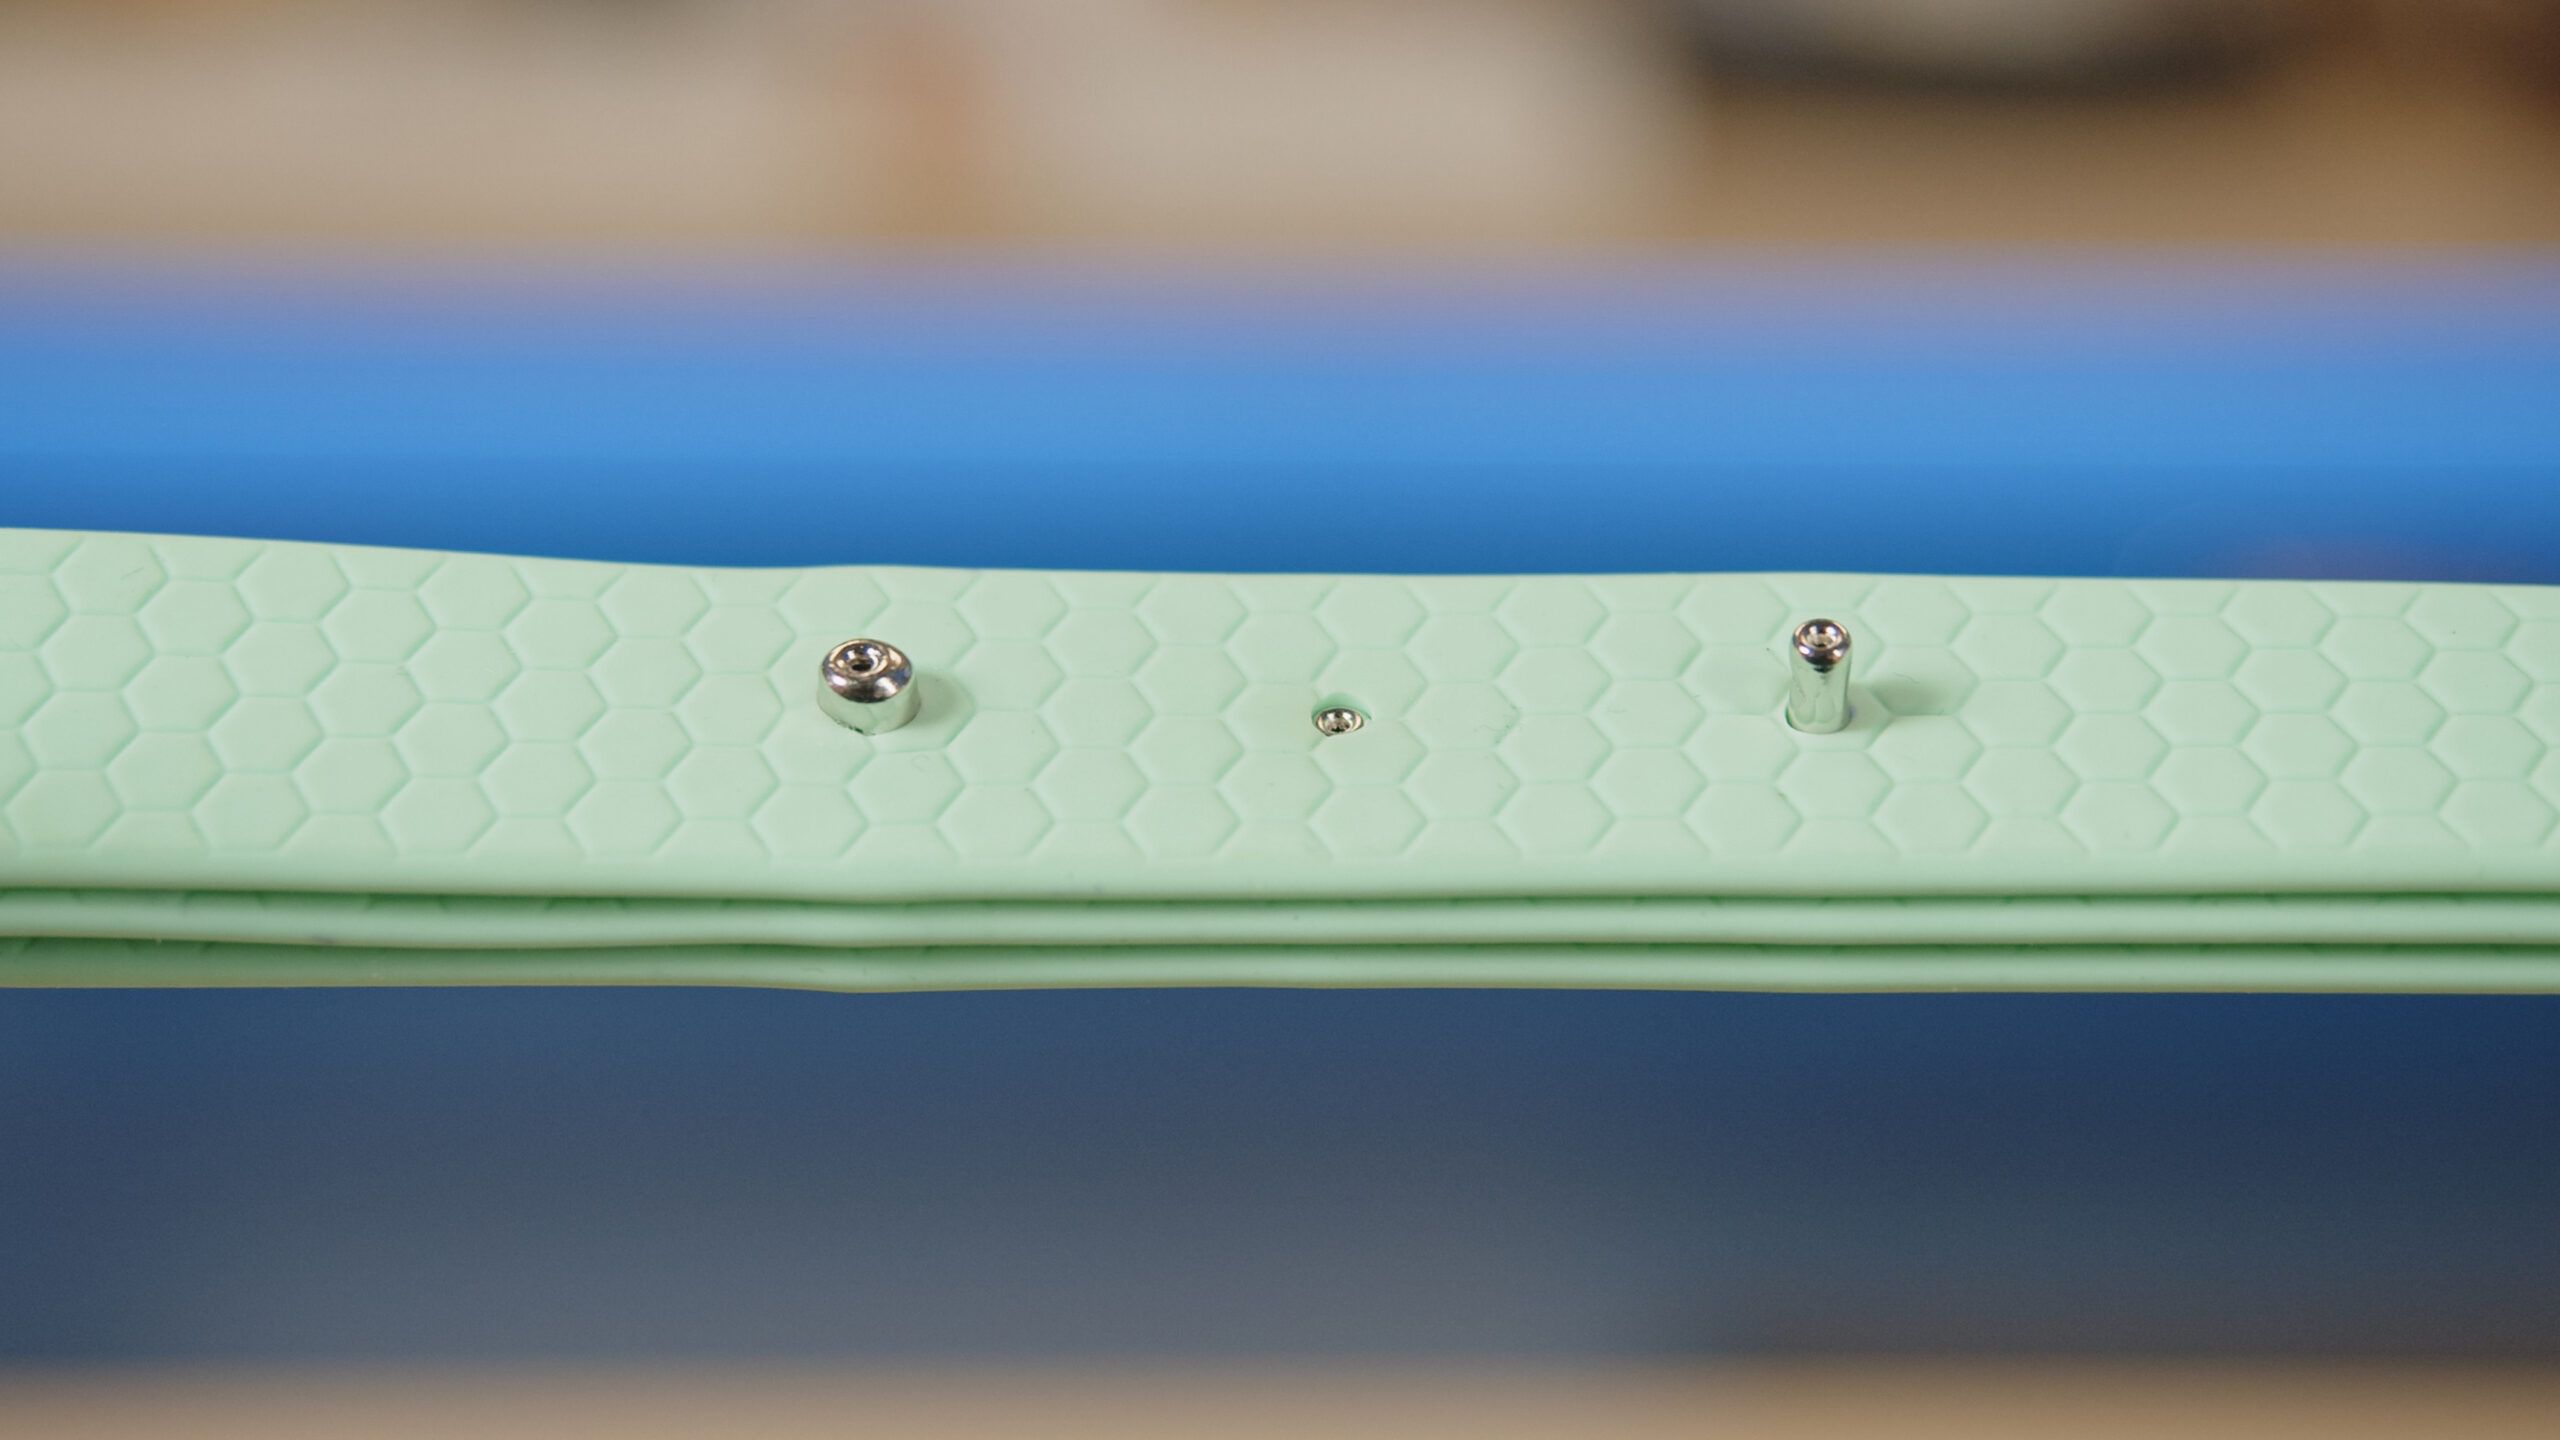
What to watch out for
- If the post is too short:
The rivet does not grip the bottom piece well enough and the joint comes apart the first time you put it under load.
- If the post is too long:
When you set it, the post bends sideways inside, the rivet shifts and the cap will not sit flat on the material.
Riveting with a press
A hand press sets rivets best: the cap comes down straight with even pressure. The rivet then holds firmly, does not deform and the joint looks clean.
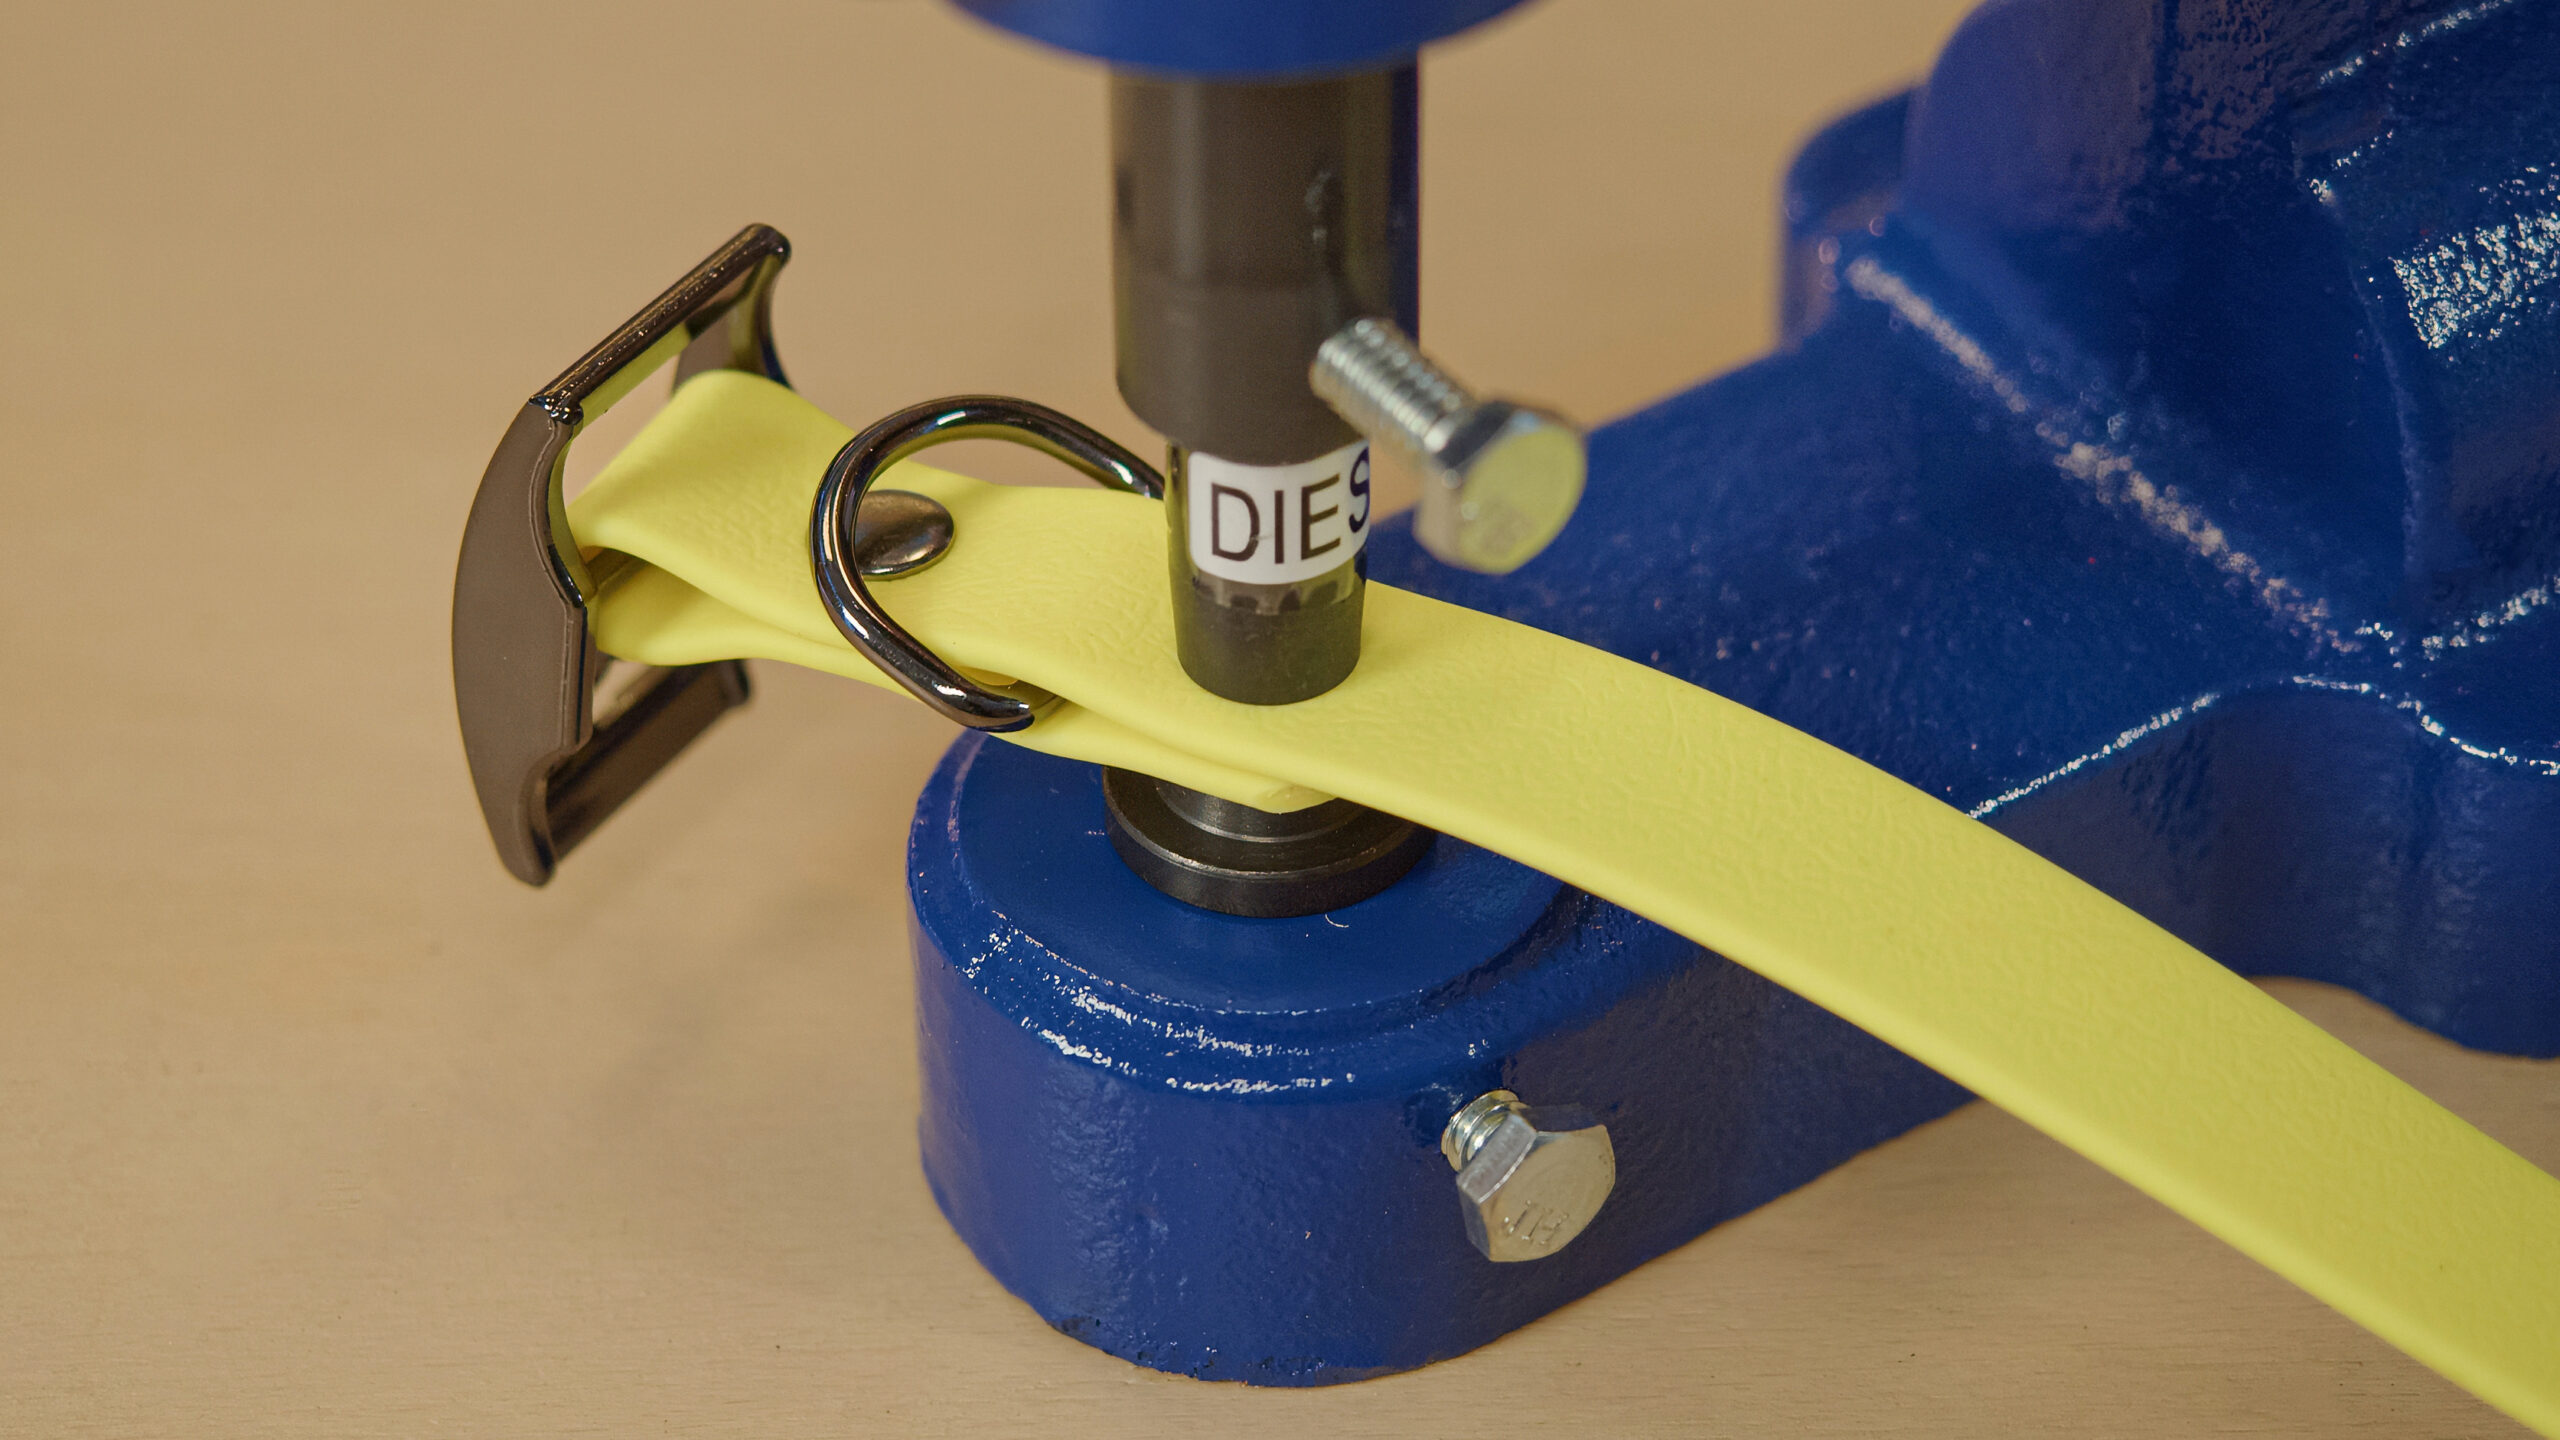
If you pair the webbing with stainless steel or brass hardware, you get a long-lasting item that, as a whole, stands up to the toughest conditions.
Want to see the exact step-by-step process of riveting with a press and avoid the most common mistakes? (If you do not have a press, take a look at our guide to setting rivets by hand.)
Sewing waterproof webbing: strength and tradition
Riveting is fast and modern, but many makers still swear by classic stitching. They consider it the strongest joint, and we fully agree. You sew waterproof webbing the same way as regular polypropylene or cotton webbing, just with a thicker needle (see the Sewing tip).
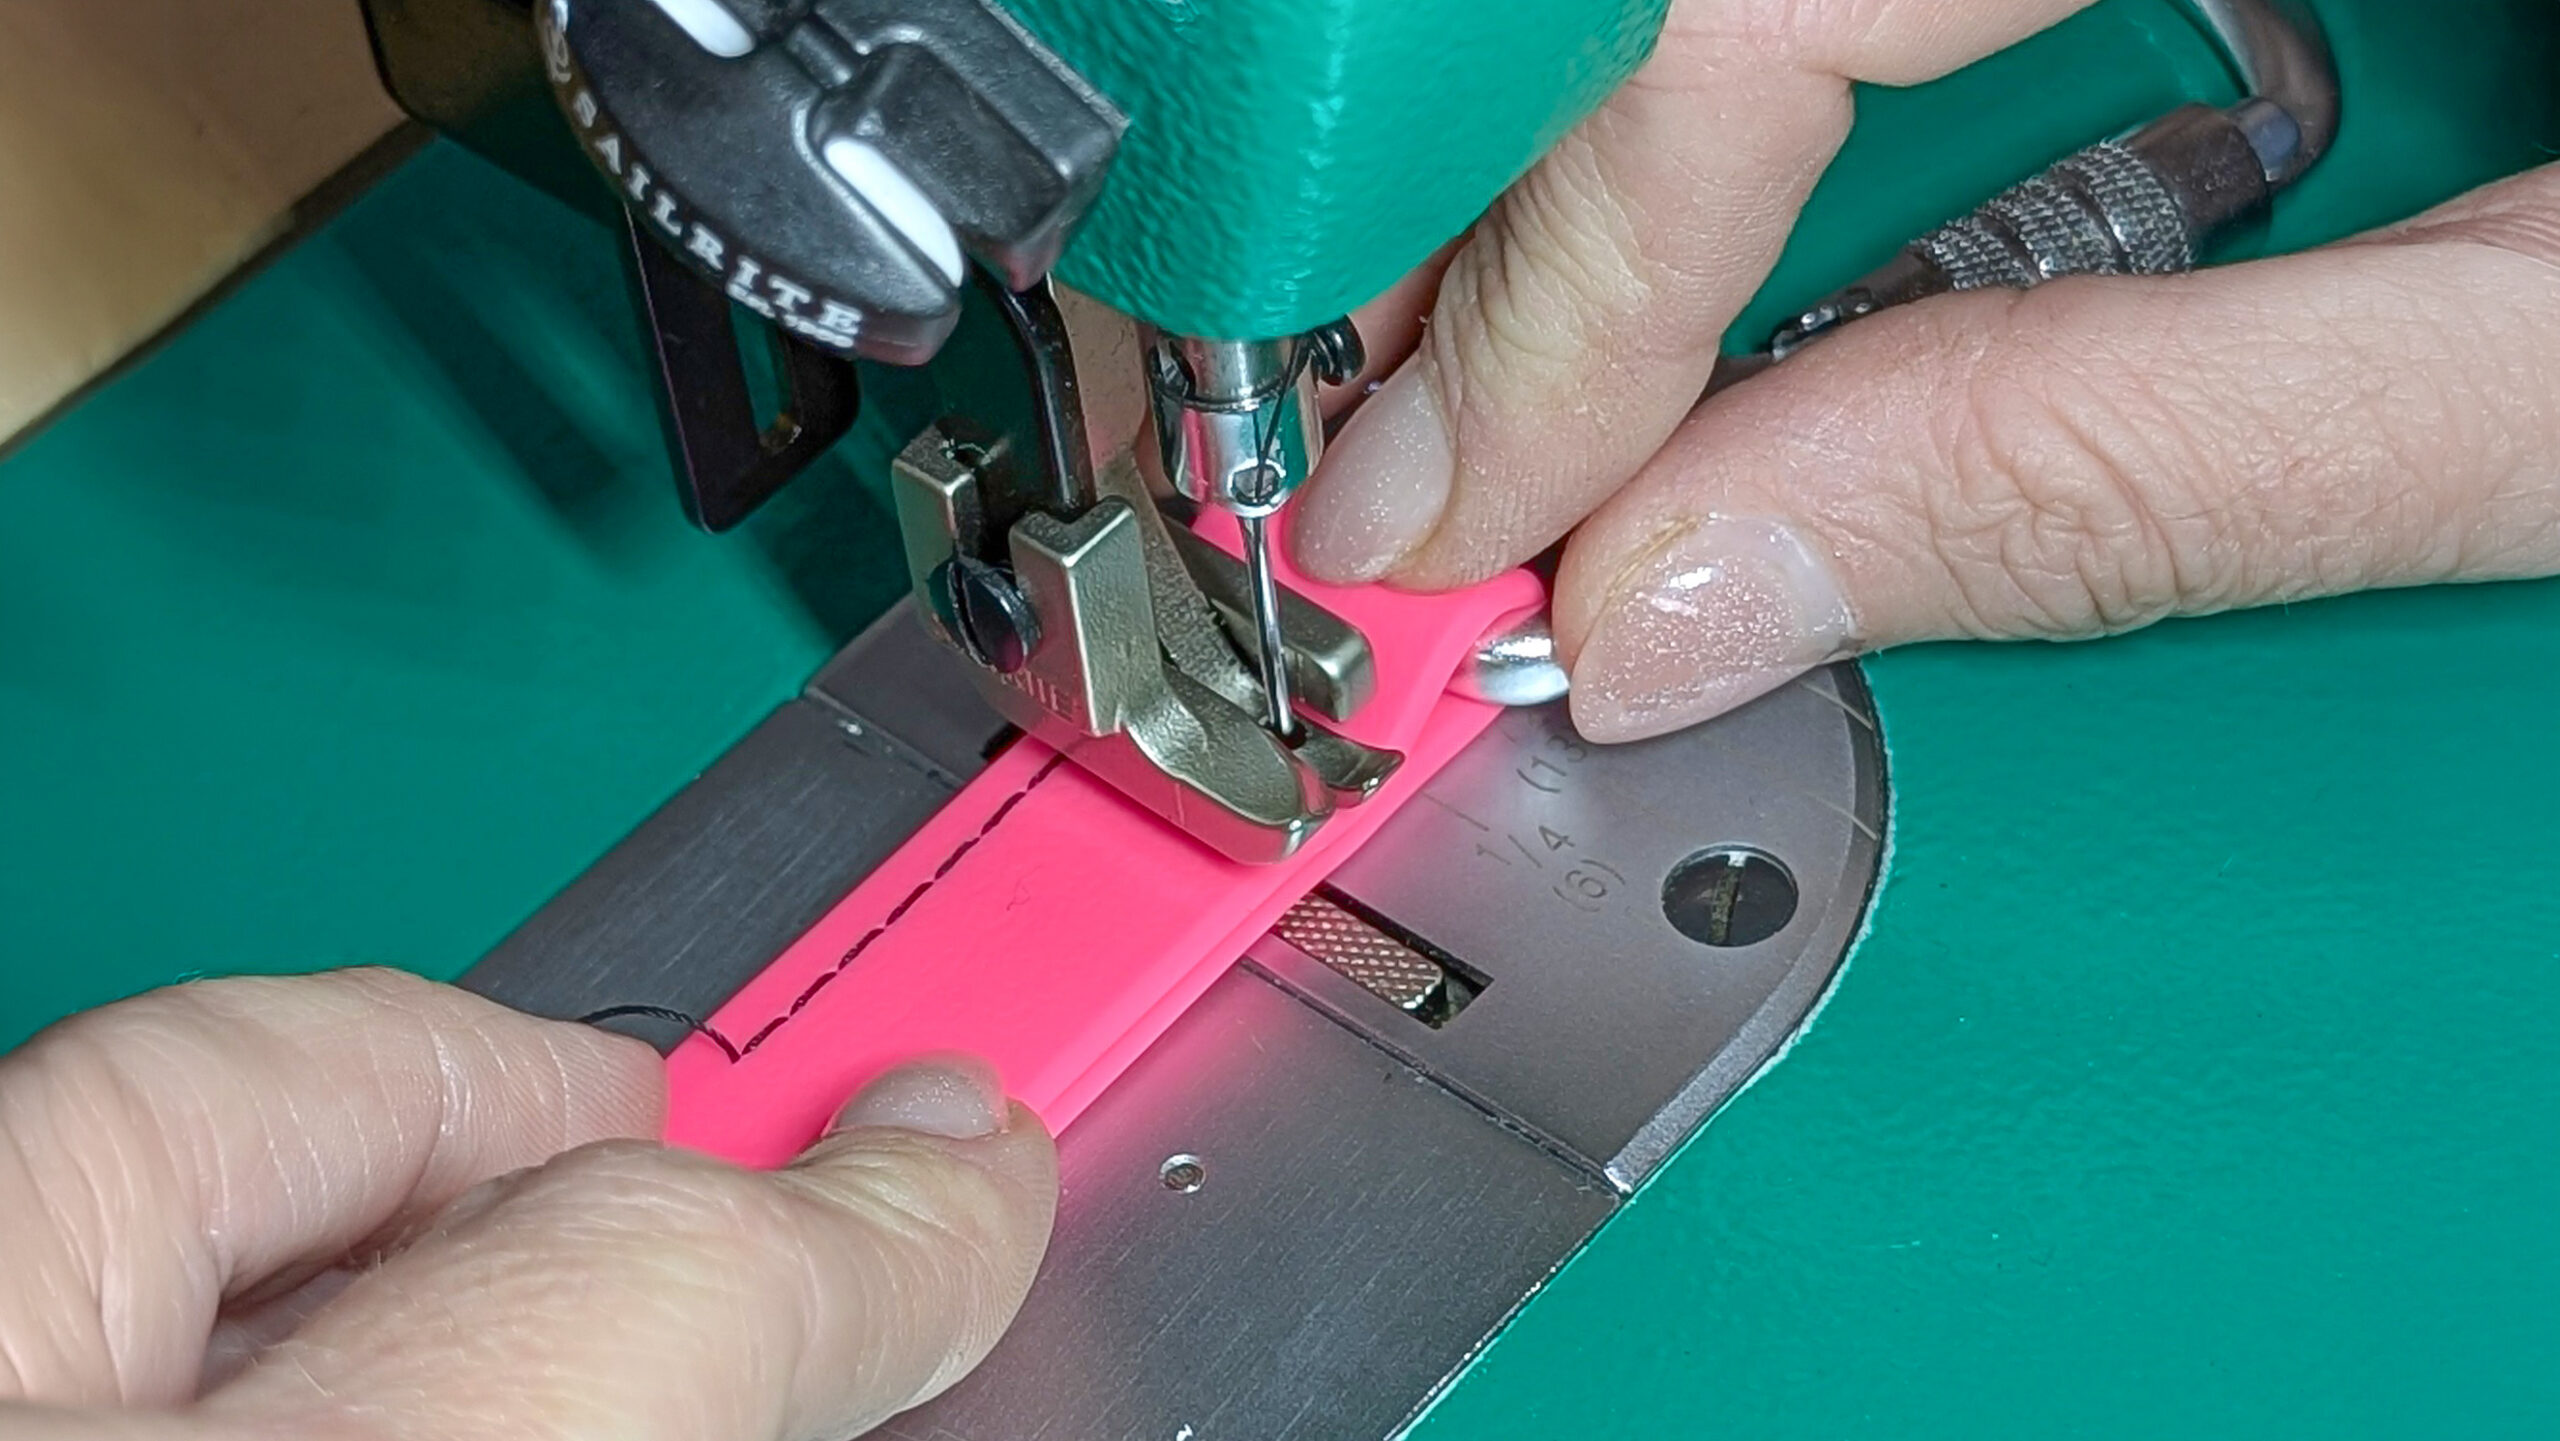
Can your machine handle it?
The good news is that you do not need a special workshop to make a collar or leash.
- Home sewing machines: Even an ordinary home machine can handle the webbing. You just need to follow a few rules (see the “Sewing tip” below).
- Older all-metal machines: If you have a good old sewing machine at home, you are all set. These machines have a lot of piercing power and will sew through PVC webbing without hesitation.
- Industrial machines: They are of course the top of the field if you plan to sew hundreds of pieces a day, but for regular production you do not need one.
Sewing tip
To keep your machine from struggling with the webbing, we recommend increasing the upper thread tension and using a heavier needle (preferably size 100–120). Denim or leather needles work very well, as their points are shaped to go through the material more easily.
Stitching gives your items a touch of honest saddlery craft. Whether you sew the webbing for looks or for the strongest possible joint, with a good needle and thread it goes smoothly.
Grommets: good looks and a protected hole
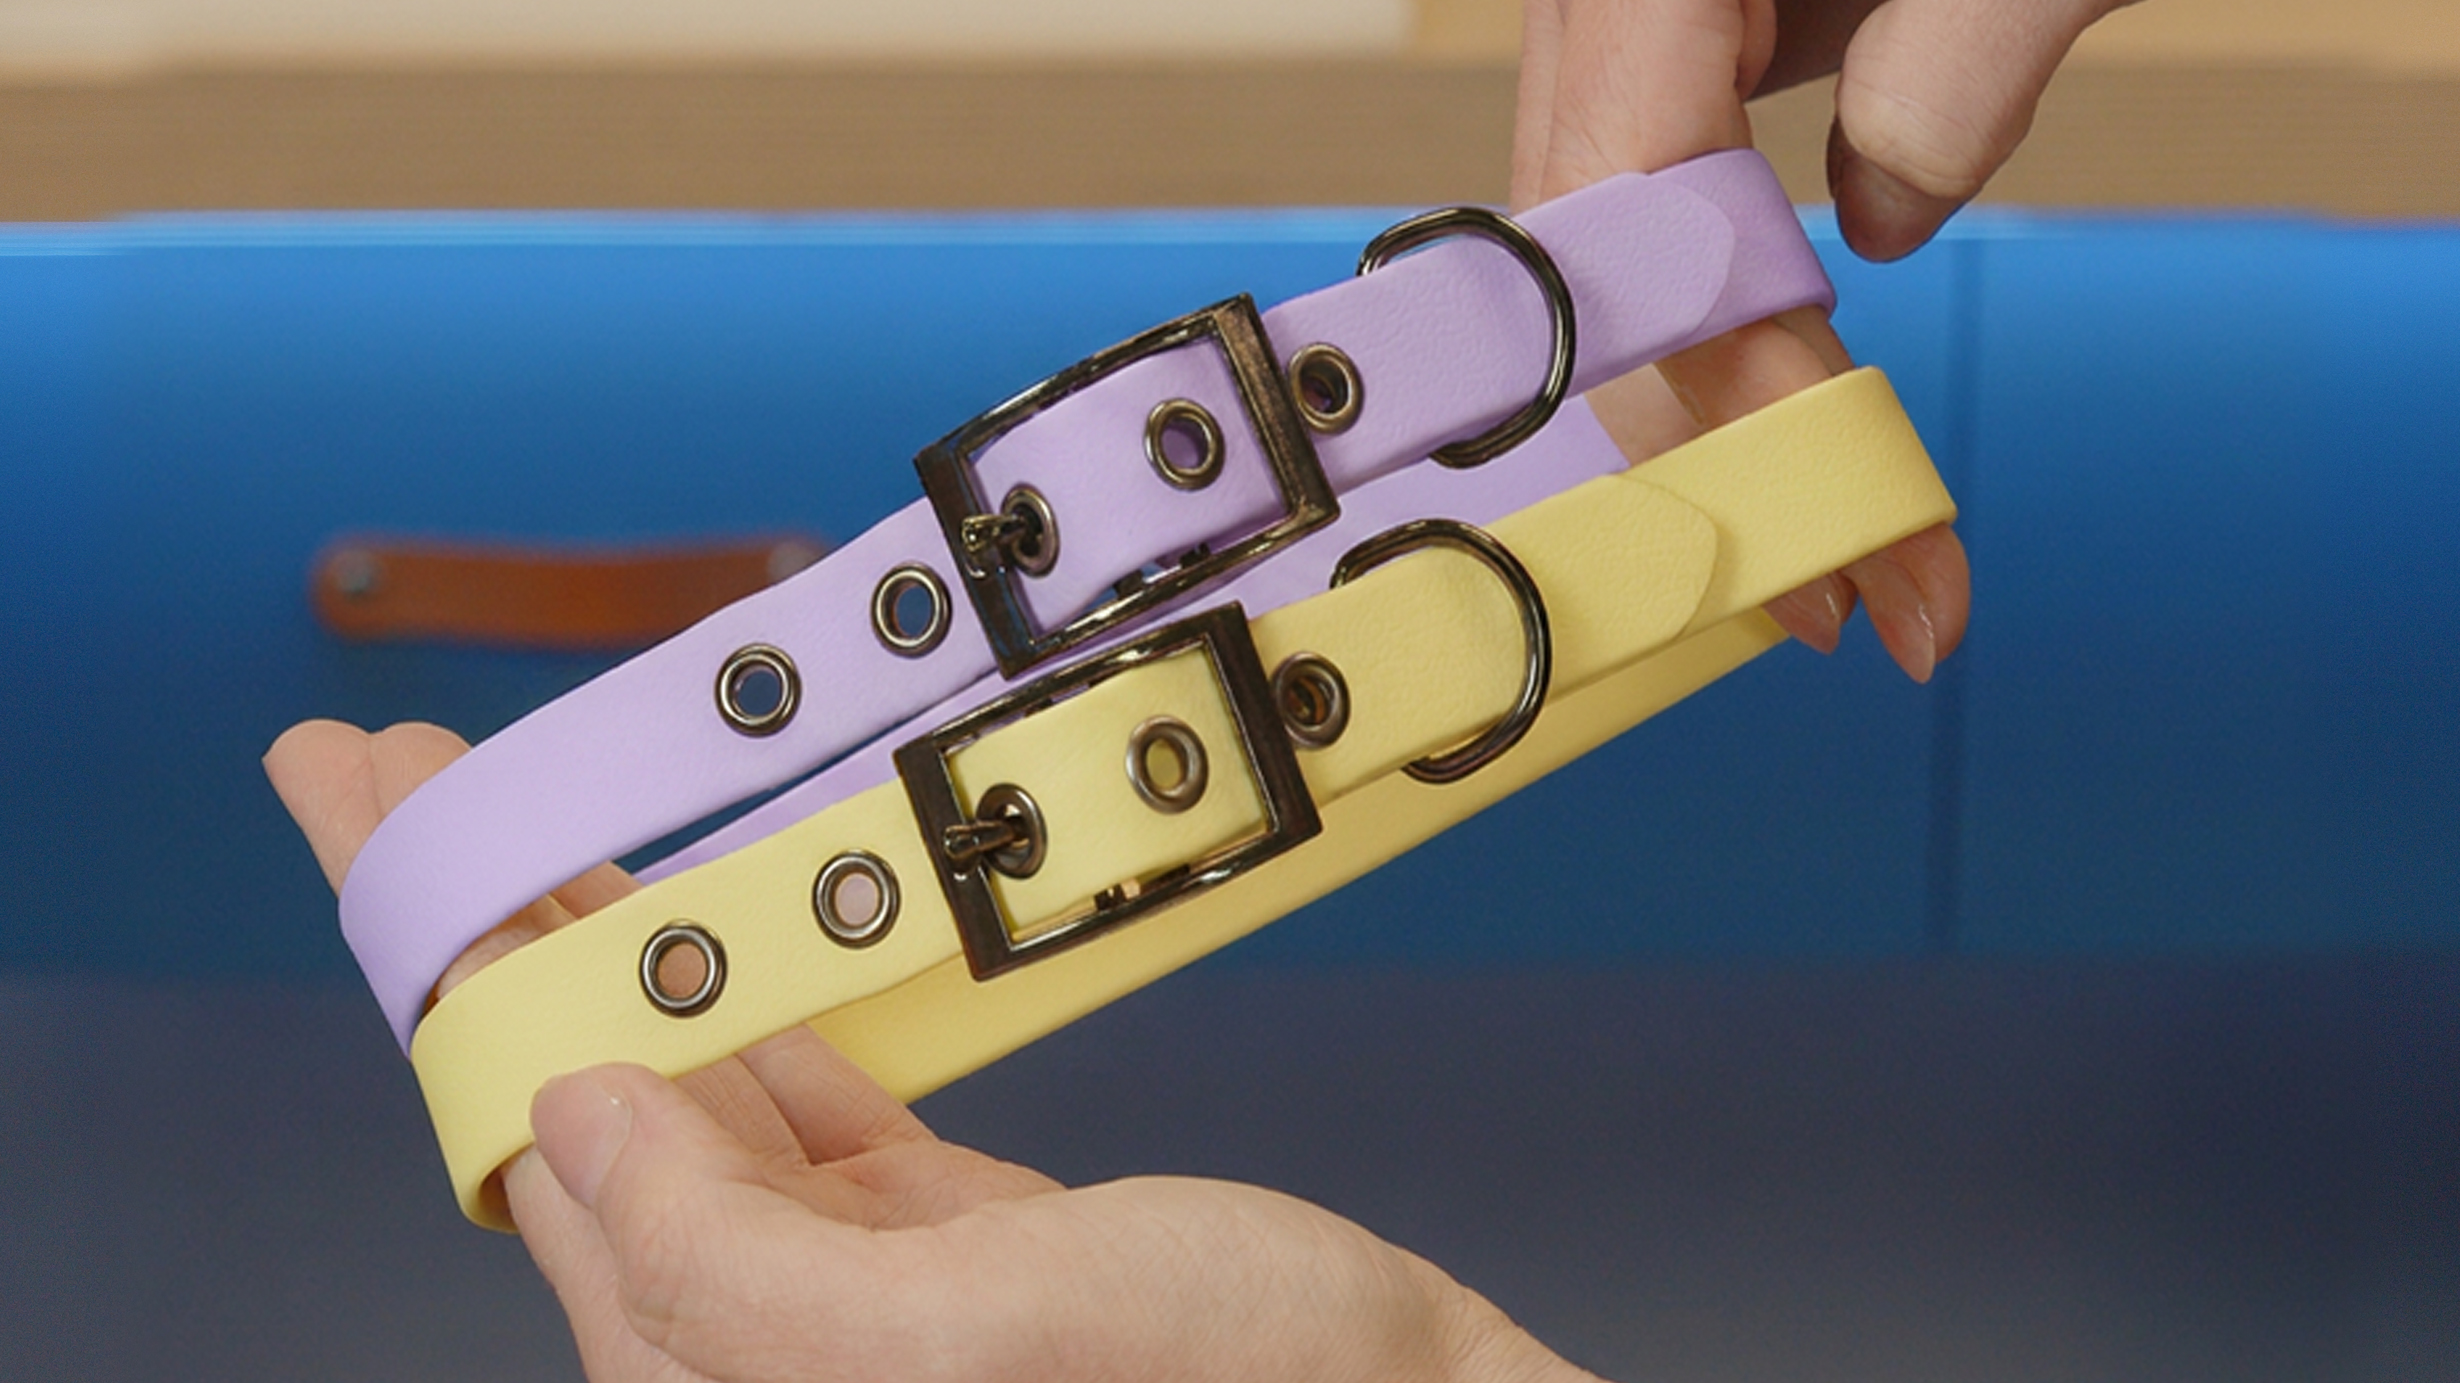
A common question is whether to use metal grommets (eyelets) in the holes for the buckle prong. On waterproof webbing, they have two main benefits:
- Looks: A collar with metal grommets looks sturdier and more technical, like a finished workshop product.
- Protecting the material: The buckle prong rests against metal, not directly against the edge of the webbing. This keeps the hole from stretching or deforming with long-term wear and strong pull.
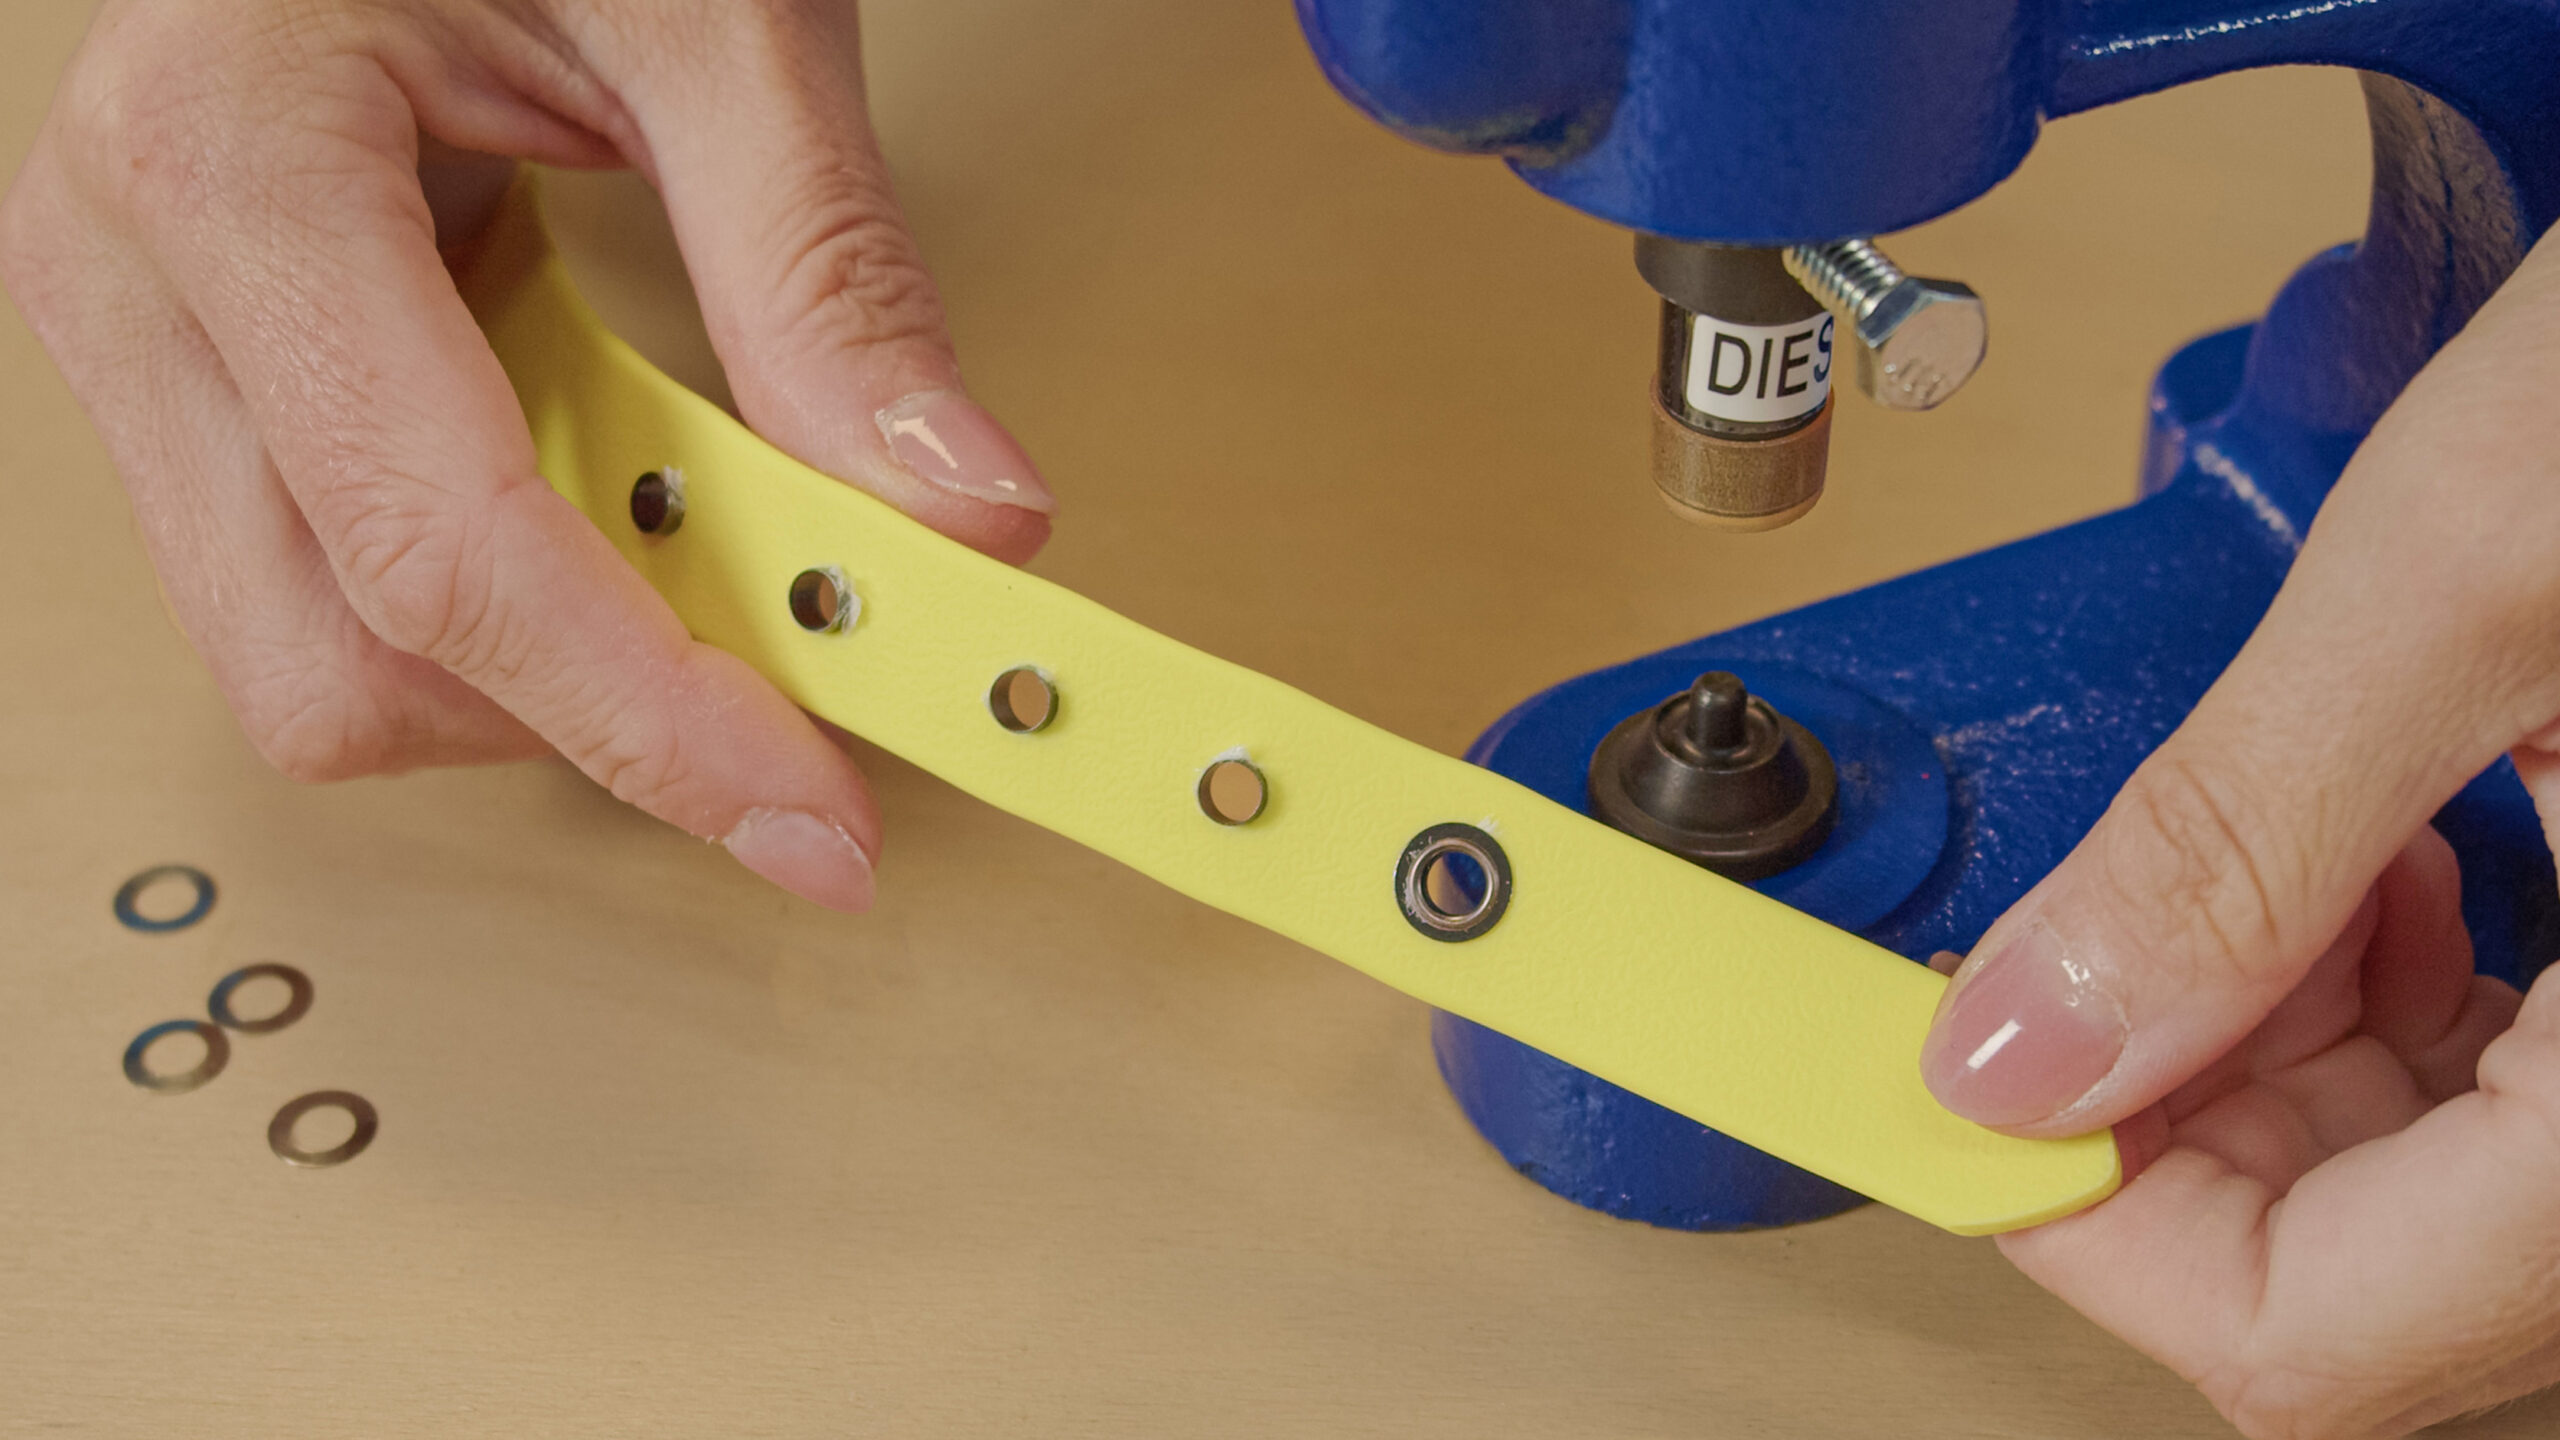
What to watch out for
For a grommet to sit firmly in the webbing and not fall out, you must follow two steps.
1. The exact hole size
With grommets, the most important thing is that the hole exactly matches the size of the grommet. If the hole is too big, the grommet will wander in the material and sooner or later may fall out. If the hole is too small, the grommet is hard to seat and may not grip the material properly when you press it.
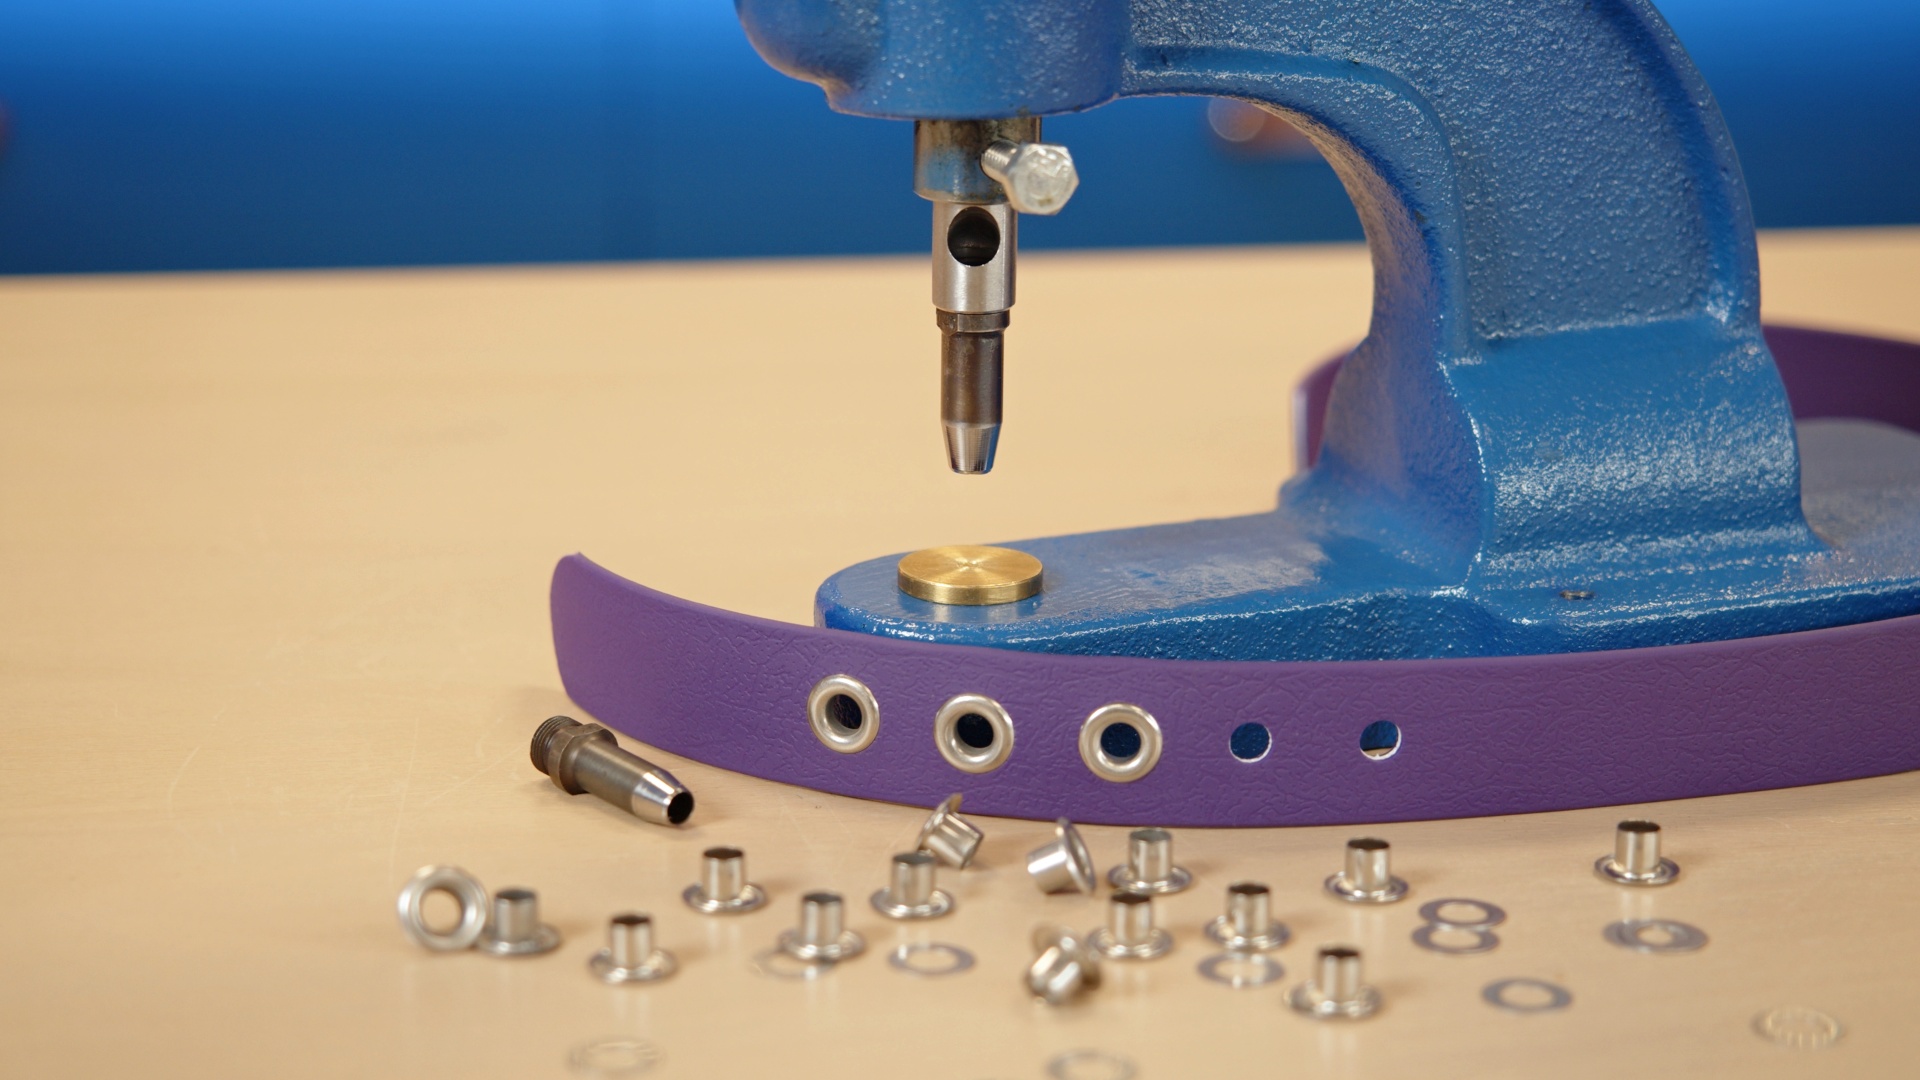
For waterproof webbing, we therefore recommend drive punches made specifically for it. So you do not have to convert millimeters and hunt for the right combinations, we have put together this simple table.
| Grommet | Hole diameter | Punch code |
|---|---|---|
| E10x5.2 | 5.2 mm | 211700STP-12 |
| E12x6.0 | 6.0 mm | 211700STP-14 |
2. Setting it firmly
It does not matter whether you choose a hand press or a hand grommet setter and a maul. Either way, you need to set the grommet with enough force for its edges to wrap firmly around the webbing and hide all the textile fibers inside. You will find step-by-step instructions in our guide to setting grommets.
How to put a logo or name on the webbing
Nobody will mistake a collar with the dog’s name or a leash with your workshop logo for something off the shelf. You can mark waterproof webbing in four ways:
- Hot stamping: presses crisp lettering or a logo into the surface.
- UV printing: handles colorful, detailed designs.
- Laser engraving: burns a sharp mark into the surface. The webbing contains PVC, which releases harmful fumes when burned, so check with the laser operator beforehand that their machine is allowed to process PVC.
- Hand painting: degrease the surface and paint the name or design with Angelus acrylic paints.
Results vary with temperature and the equipment you use. Before you mark a whole batch, test the method on a scrap of the same webbing.
Final word
Waterproof webbing is easy to cut, rivet and sew, and after use a wipe with a cloth is all it needs. Whether you choose modern riveting with a press or stick with traditional stitching, the key to success is careful preparation and tools made for this material.
We hope this guide has given you a clear picture of everything you need. Now all that is left is to pick a webbing color, match it with your hardware and start your first project.

Can you recommend a thread use of sewing it?
Polyester bonded thread – Your go-to option. Strong, UV-resistant, and handles moisture like a champ.
Look for:
Nylon bonded thread – Also strong and flexible, but less UV-resistant than polyester. Only use if UV exposure is minimal.
PTFE thread (e.g. Gore Tenara) – Top-shelf stuff. Insanely durable, won’t degrade in sun, rain or salt. But it’s pricey and a bit tricky to sew.
Have you ever been successful in branding PVC collars in any way? Such as a dogs name or logo for maker?
Yes, absolutely. Our waterproof PVC-coated webbing can be branded in several ways, depending on the look and durability you’re after:
? Hot stamping – works great for clean, pressed-in lettering or logos
?️ UV printing – for colorful and detailed designs
? Laser engraving – gives a sharp, permanent mark (especially on darker colors)
? Or go the creative route: degrease the surface and use Angelus leather paints for hand-drawn names or artwork
So yes — your dog’s name, your maker logo, or even a little masterpiece… it’s all doable. Let us know what you have in mind and we’ll help guide you to the best method.
Dear Pet Hardware Team,
Thank you for this informative post on working with waterproof webbing and the excellent tips for branding.
I have a critical question regarding the material composition, as the blog post seems to contain a slight contradiction that is important for safety:
The text under “Characteristics” states: “The core of the webbing consists of a PVC fabric over which a layer of thermoplastic polyurethane (TPU) is applied.”
The comment reply states: “Our waterproof PVC-coated webbing can be branded in several ways…”
Could you please clarify the exact composition of your standard, non-reflective “Waterproof Webbing”?
Is the coating purely TPU (Thermoplastic Polyurethane)?
Is the coating purely PVC (Polyvinyl Chloride)?
Or is it a blend/hybrid?
This distinction is crucial, particularly when using methods like Laser Engraving or Hot Stamping.
Thank you in advance for the clarification!
Thank you so much for your kind words and for catching this important detail.
Our standard, non-reflective waterproof webbing is composed of:
– A polyester core (woven fabric)
– Fully coated with PVC (Polyvinyl Chloride)
So to answer your questions directly:
– The coating is pure PVC, not TPU
– There is no TPU in this specific type of webbing
– If you’ve seen TPU mentioned, it referred to reflective variants.
And yes because it’s PVC-coated, it reacts well to laser engraving, hot stamping, and heat embossing, but the results can vary slightly based on temperature and equipment, so we always recommend testing on a small piece first.
Thanks again for your detailed attention — exactly the kind of feedback we love getting.
Dear PetHardware,
I have heard that engraving PVC is extremely harmful to the engraving machine and the human body. Harmful gases are released during engraving.
When laser processing PVC, hydrogen chloride (HCl) gas is produced:
It is irritating and harmful to health when inhaled,
It can form hydrochloric acid with moisture in the air,
It is highly corrosive, so it can damage the metal parts, electronics and optics of the machine in the long term.
I would like to know what your opinion is on this? I would like to buy a laser engraver now.
Thank you very much!
Hi Eszter,
Thank you for your comment. You are completely right — engraving or laser cutting PVC releases harmful gases (such as hydrogen chloride), which can be hazardous to health and highly corrosive to the machinery.
As we do not sell laser equipment, we always strongly recommend consulting the specific manufacturer or supplier of your laser engraver. They can provide accurate guidance regarding suitable materials, proper exhaust systems, filtration, and safety precautions required for your specific setup.
Best regards,
PetHardware Team
Hiya,
Very informative post, thanks. I would like to know if this material could be hand-sewn in a manner similar to how leather can be hand-sewn.
Thanks in advance!
Hi Kita,
yes, waterproof webbing can also be sewn by hand, for example using a saddle stitch in a similar way to leather.
However, it is worth keeping in mind that the material behaves a little differently when sewn. The outer coating is flexible and the hole can partially close again after being pierced, which can make pulling the needle through more difficult. In that case, a small pair of pliers can help.
We recommend making relatively small holes, leaving enough distance from the edge, and making sure the stitches also pass through the inner textile core of the webbing, which provides its strength.
So yes, hand sewing is definitely possible, but it is usually a little more laborious than sewing traditional leather. For products that will be under greater strain, we recommend testing a few stitches on a scrap piece of material first.